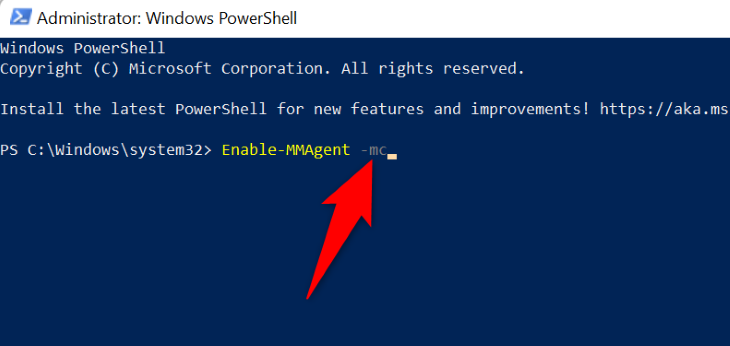
you could block the feature by running the “Disable-MMAgent -mc” command.
This allows your PC to read data faster, improving your overall experience.
We’ll show you how to enable and disable memory compression on your rig.

Justin Duino / How-To Geek
What Is Memory Compression in Windows 11?
Related:What Is the Windows Page File, and How Do You Configure It?
If it’s already enabled, you won’t have to do anything.
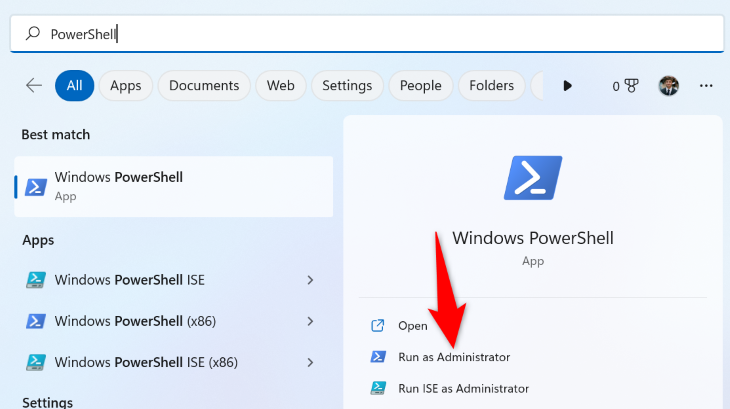
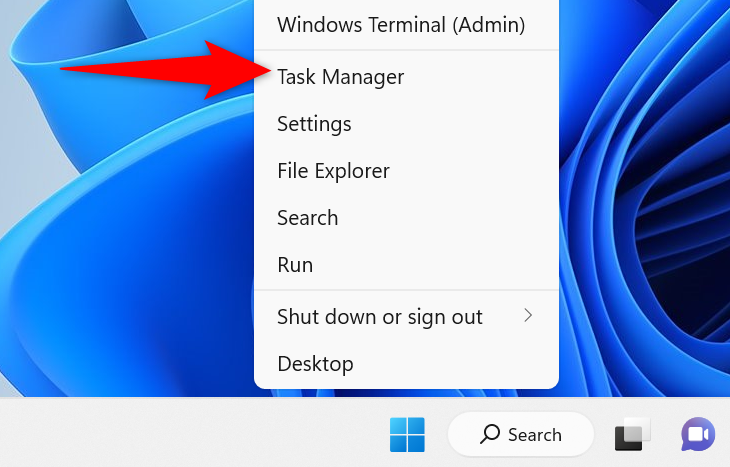
First, pop swing open the “Start” menu and search for “PowerShell”.
Then, on the right, click “Run as Administrator.”
In the “User Account Control” prompt, choose “Yes.”
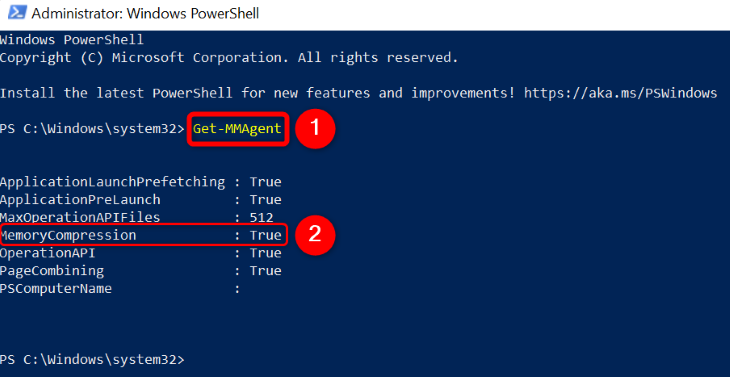
If it says “True,” the feature is enabled.
If it says “False,” the feature is disabled.
double-check to choose “Yes” in the “User Account Control” prompt.
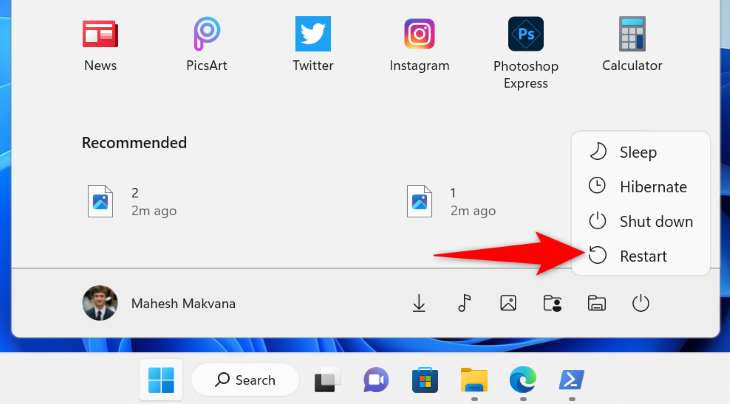
terminate the PowerShell window.
And you’ve successfully enabled memory compression on your system.
Then, in the “User Account Control” prompt, choose “Yes.”
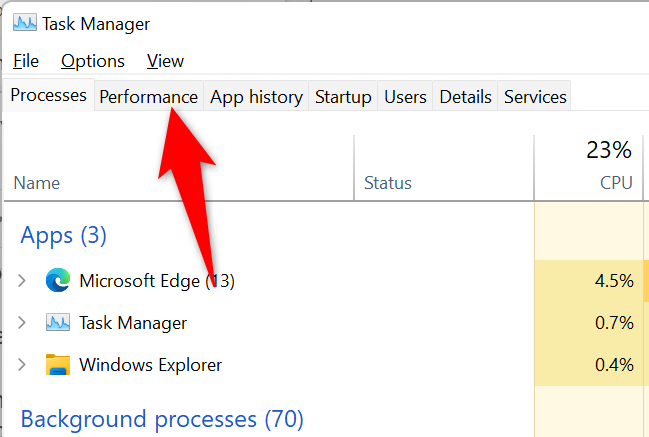
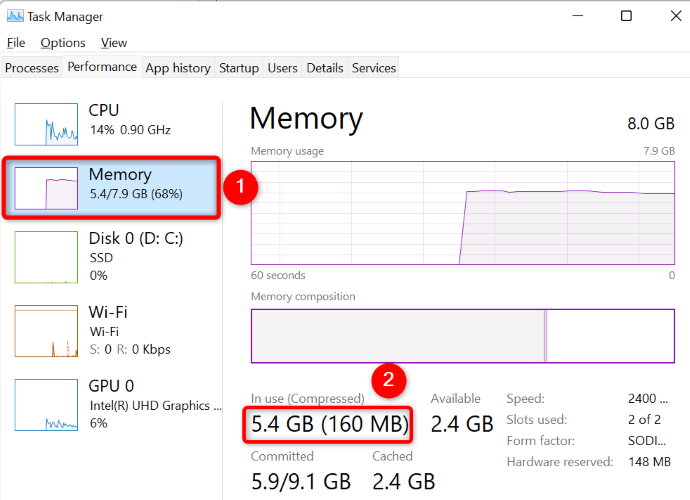
To access that data,open your PC’s Task Manager.
In Task Manager, from the tab list at the top, go for the “Performance” tab.
From the options displayed on the left, choose “Memory.”

The figure in the brackets is the amount of memory that memory compression has currently compressed.
And that’s all there is to activating and deactivating Windows 11’s memory compression feature.
Related:10 Quick Steps to Increase PC Performance