Select File > Export > Create PDF/XPS Document.
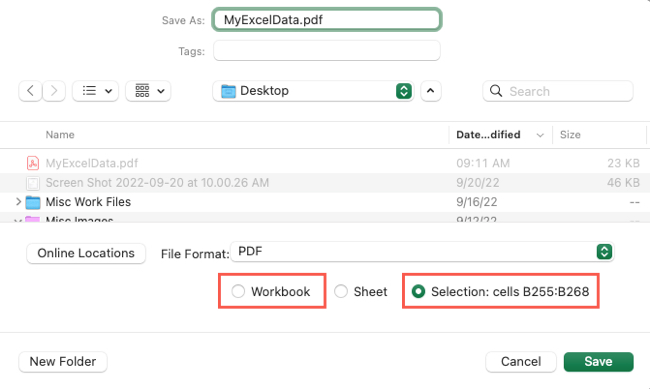
On a Mac, these options are displayed at the bottom of the save dialog.
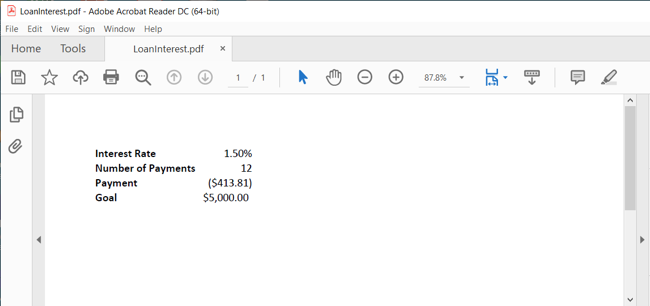
The result is a super handy document you’re able to share any way you want.
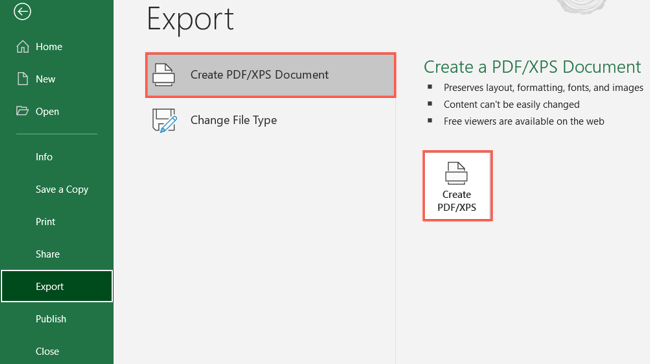
Go to the File tab and select “Export” on the left side.
On the right, pick “Create PDF/XPS Document” and poke the Create PDF/XPS button.
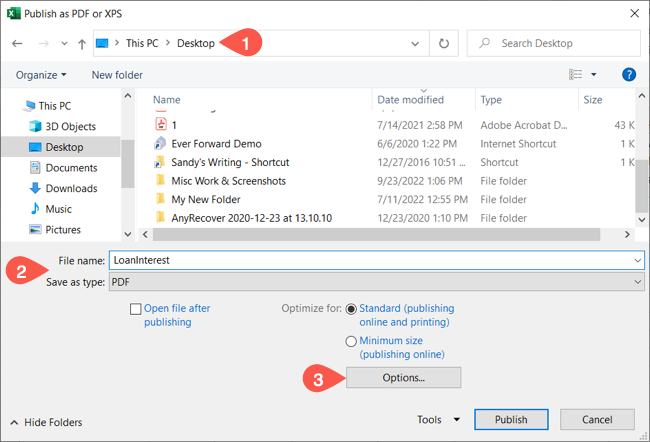
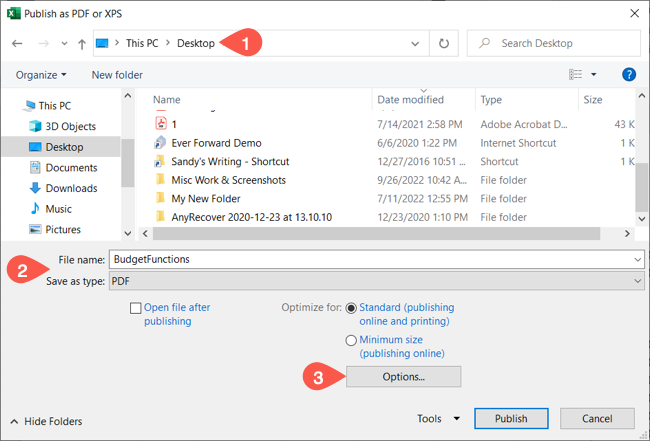
When the Publish as PDF or XPS window opens, choose a location to save the file.
Optionally adjust the file name and confirm that PDF is selected in the Save as key in drop-down box.
Then, select “Options.”
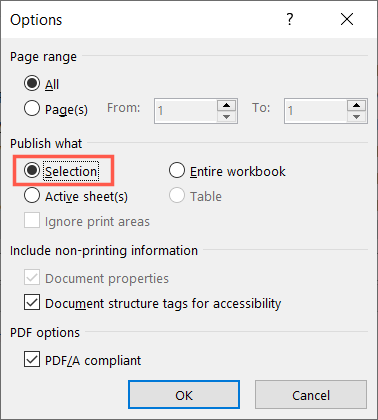
In the Options window, pick “Selection” in the Publish What section.
Navigate to the location where you saved the PDF to jump into the file.
By default, sheets with a lot of data carry over to the other pages.
If you want one sheet per page, take a look at our how-to forinserting page breaks in Excelfirst.
On the right, pick “Create PDF/XPS Document” and poke the Create PDF/XPS button.
Then, select “Options.”
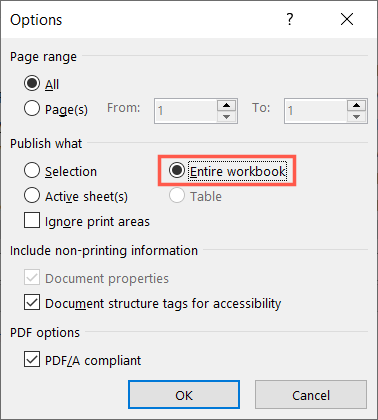
Below Publish What, pick “Entire Workbook.”
you’ve got the option to then use the Page Range and other areas and options as needed.
Then, visit the location where you saved the PDF file to open it.
The steps are slightly different from those above.
To save the entire workbook as a PDF, simply open it.
Select File > Save As in the menu bar.
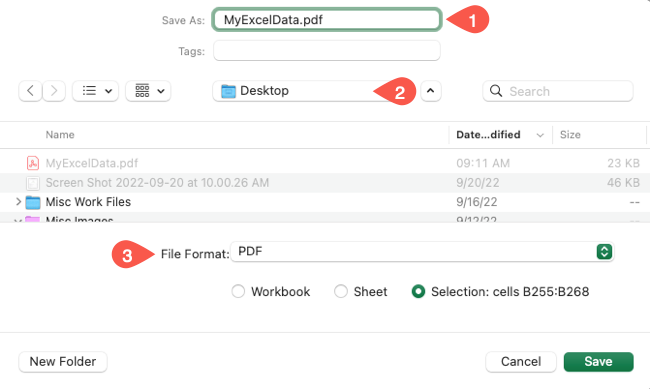
When the window appears, choose a location and optionally adjust the filename.
Then, select “PDF” in the File Format drop-down box.
To export the cell range, choose “Selection” which displays the selected cells for you to confirm.
To export the entire workbook, choose “Workbook.”

For more, look at how toinsert a PDF into Excelor how toimport data from a PDFinto your workbook.