it’s possible for you to extract images from a Microsoft Office document with a simple trick.
And best of all, you don’t need any extra software.
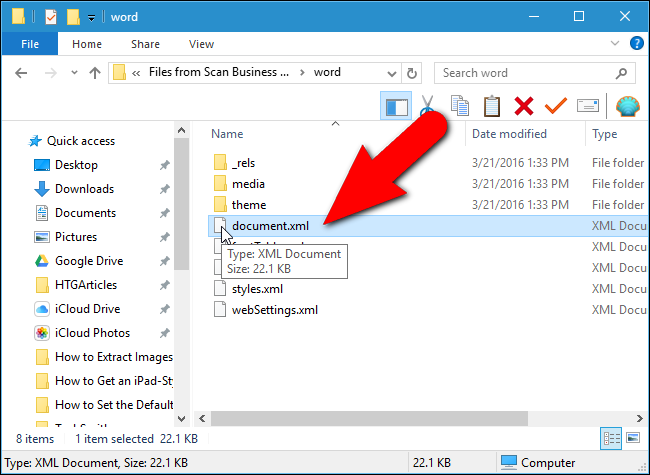
From there, you’re able to extract images, text, and other embedded files.
you’re free to use Windows' built-in .zip support, oran app like 7-Zipif you prefer.
We’ll detail that process at the end of this guide.
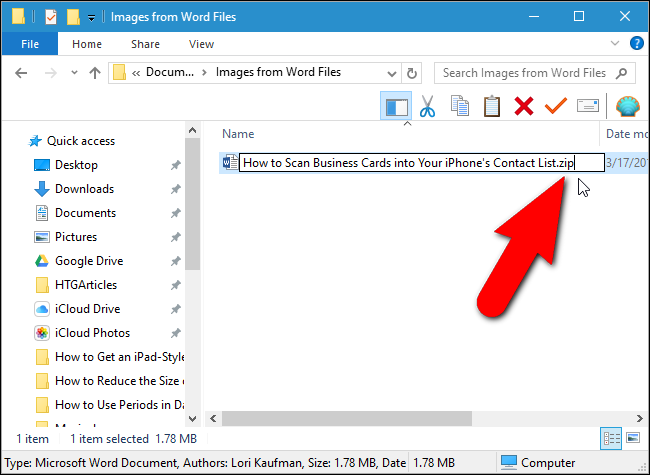
Leave the main part of the filename alone.
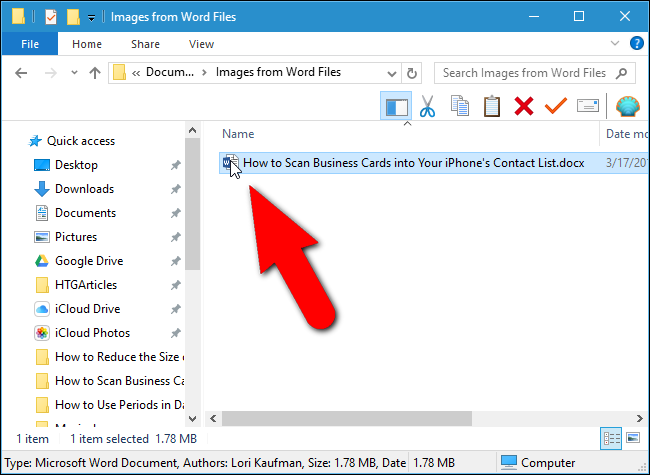
Press Enter when youre done.
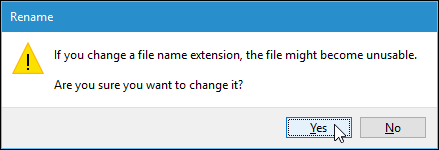
The following dialog box displays warning you about changing the file name extension.
Windows automatically recognizes the file as a zipped file.
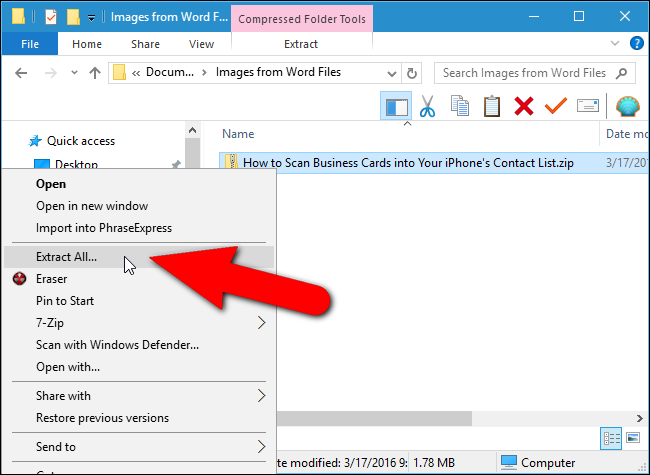
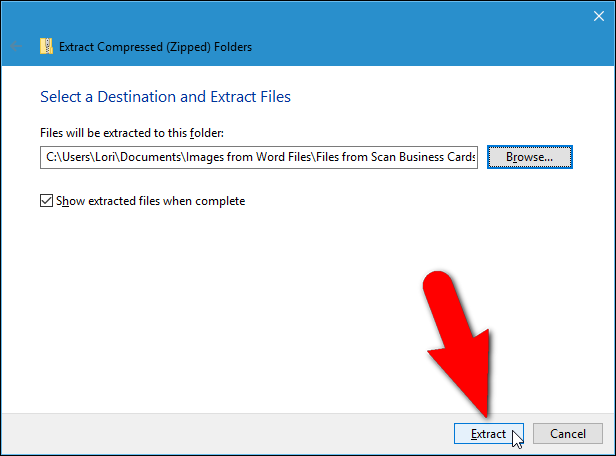
To extract the contents of the file, right-press the file and select Extract All from the popup menu.
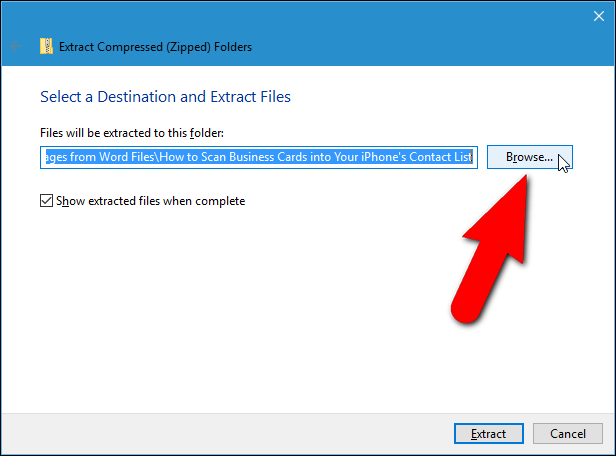
To extract the files to a different folder, click Browse.
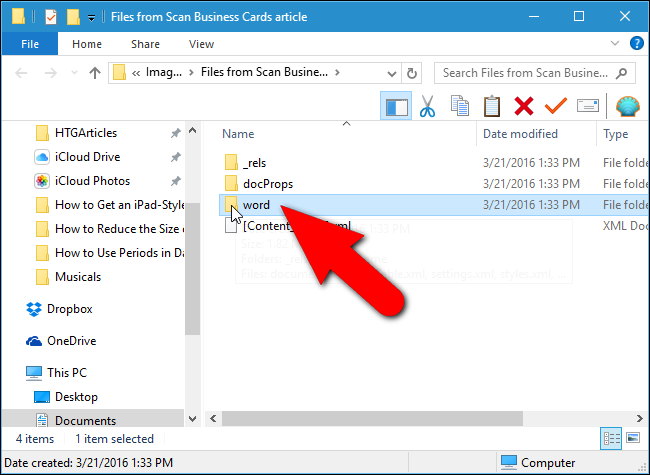
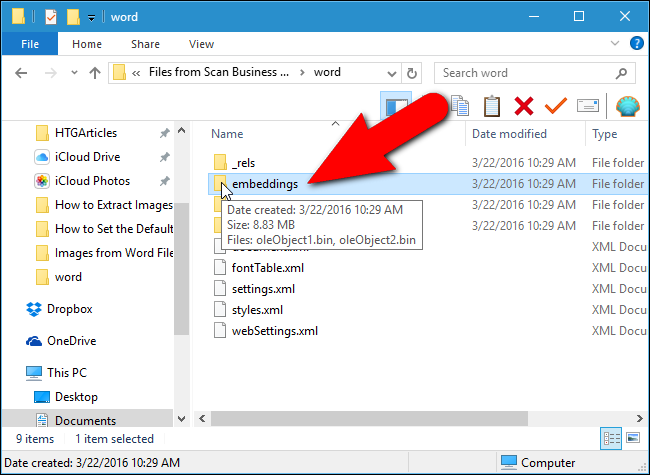
Double-pick the word folder to open it.
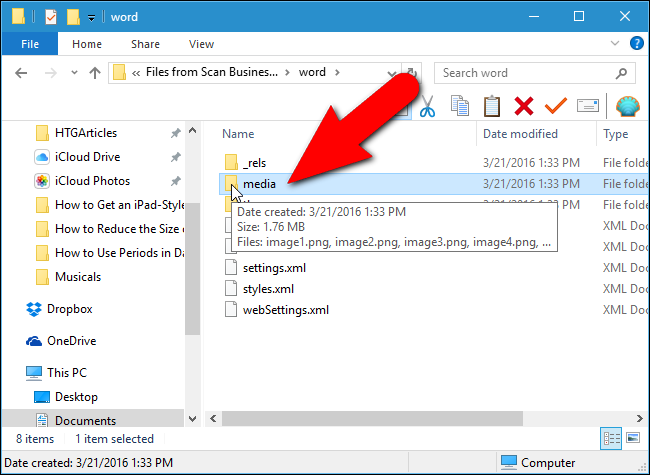
Double-smack the media folder.
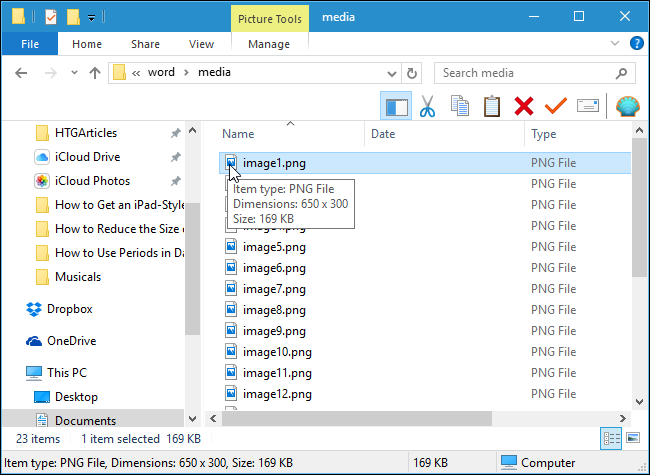
All the images from the original file are in the media folder.
The extracted files are the original images used by the document.
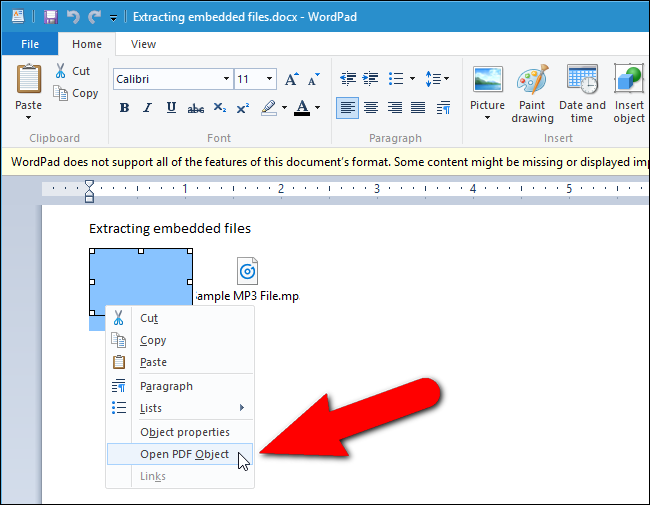
You might notice that some of the embedded file icons do not display, but theyre still there.
Some of the embedded files might have partial filenames.
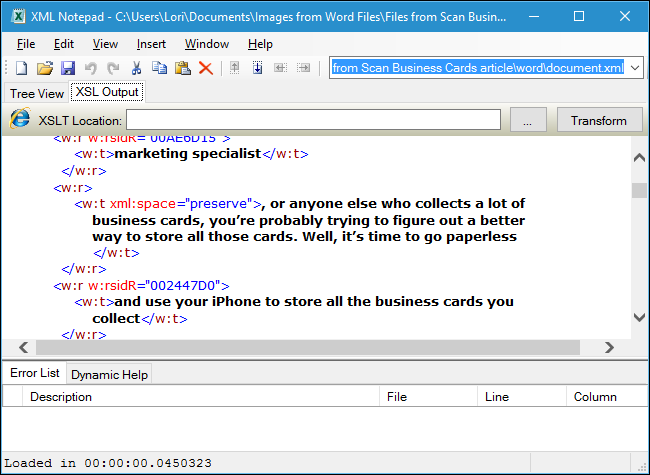
WordPad does not support all of Words features, so some content might be displayed improperly.
But you should be able to enter the files.
This opens the PDF file in the default PDF reader program on your PC.
From there, you’re free to save the PDF file to your hard drive.
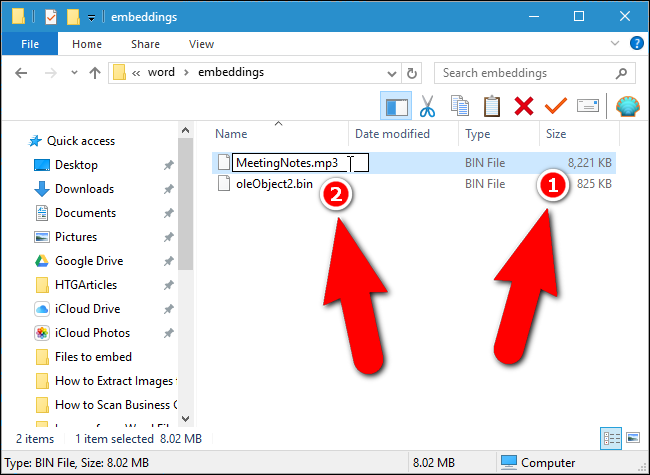
For example, our second file in this document is a .mp3 file.
Unfortunately, the file types are not preserved in the filenames.
They all have a .bin file extension instead.
In our example, we had a PDF file and an MP3 file embedded in our document.
Below, we’re renaming the MP3 file.
The file will remain intact and can be opened normally in the corresponding program.
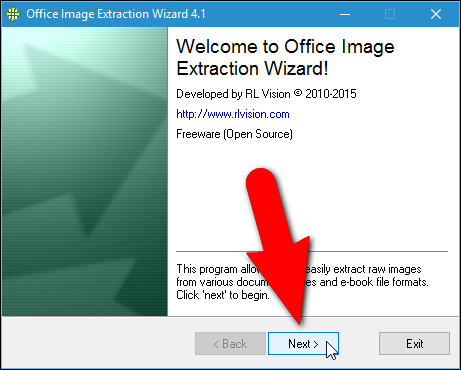
fire off the program, and the Welcome screen displays.
Click “Next”.
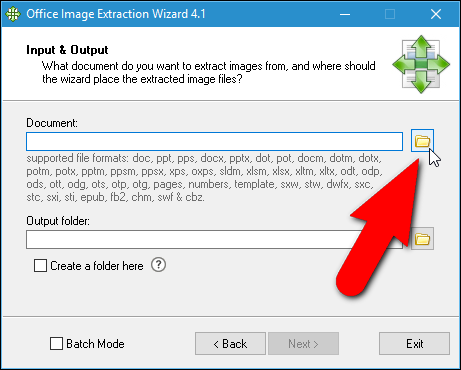
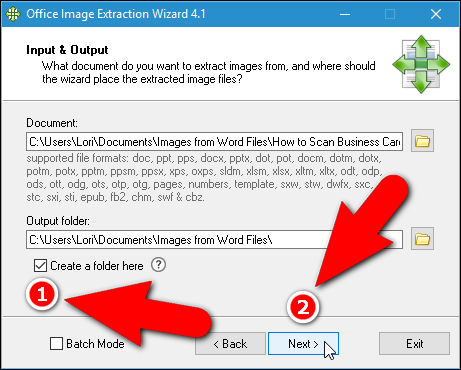
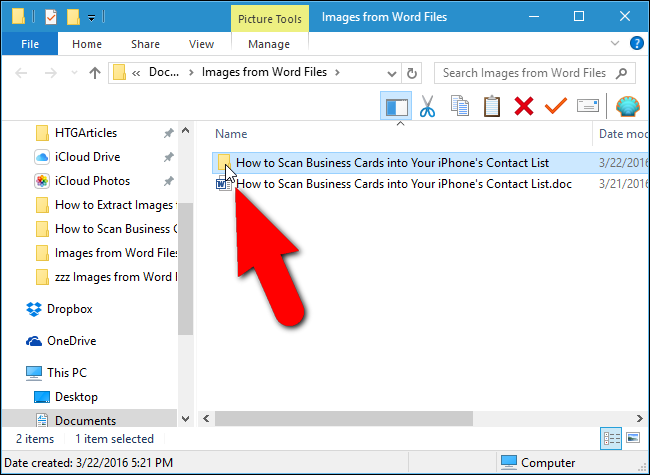
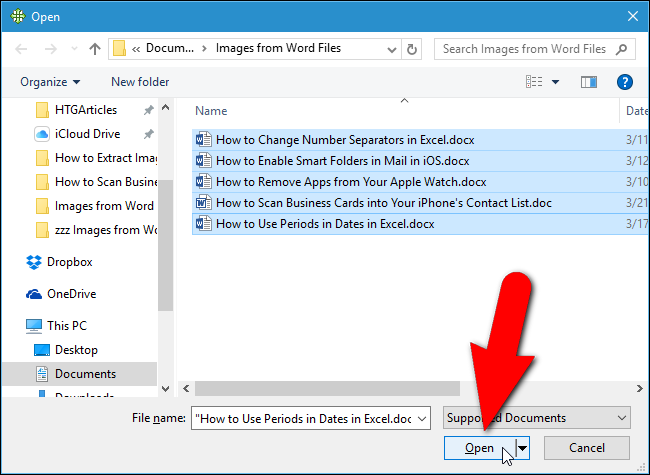
First, we need to pick the file from which you want to extract the images.
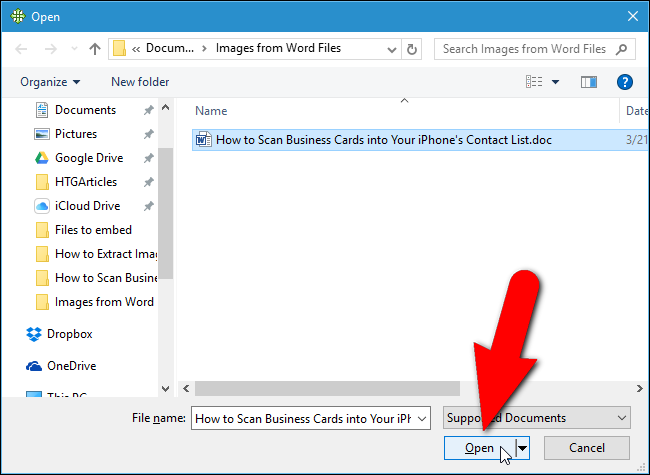
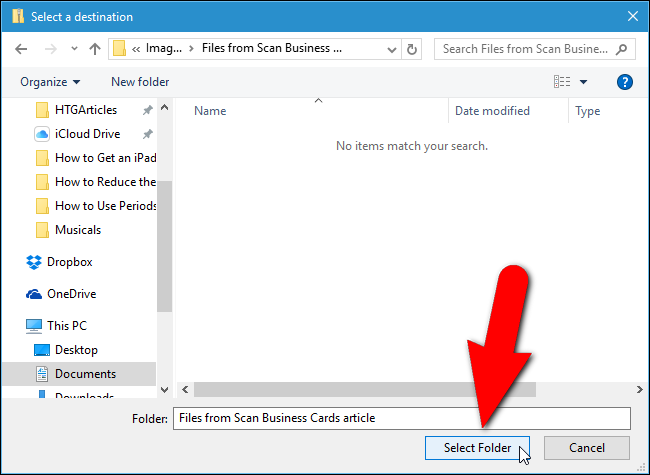
Navigate to the folder containing the document you want, select it, and click “Open”.
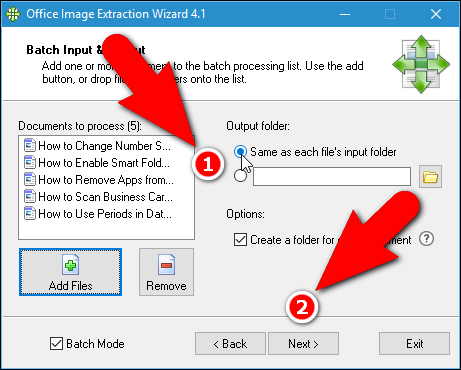
The folder that contains the selected file automatically becomes the Output folder.
Then, click “Next”.
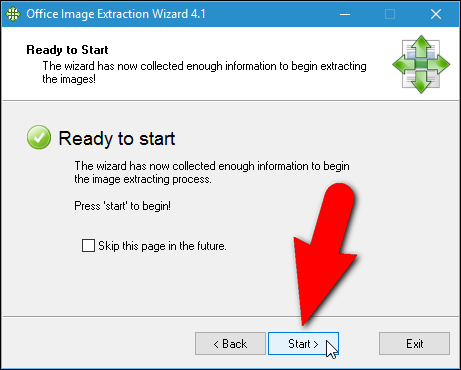
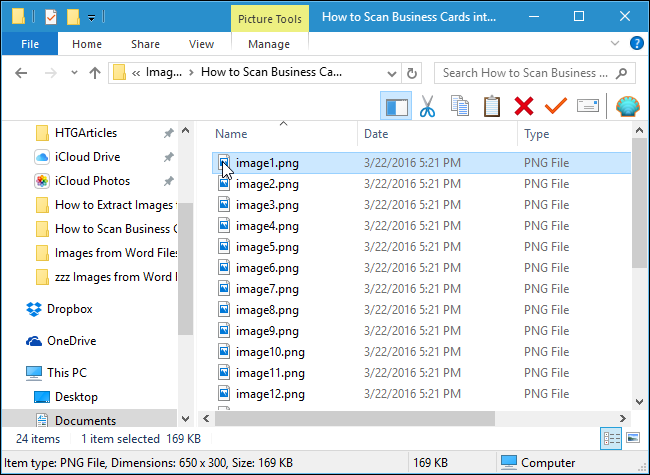
On the Ready to Start screen, click “Start” to begin extracting the images.
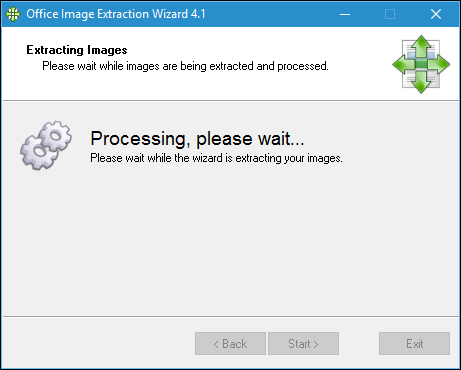
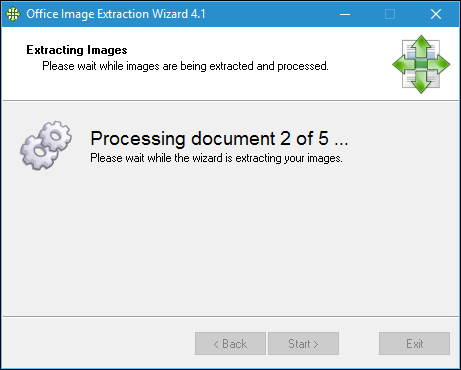
The following screen displays while the extraction processes.
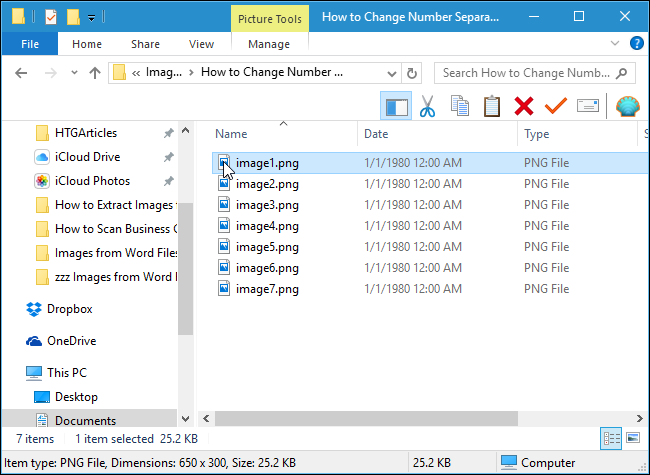
You will see all the images as numbered files.
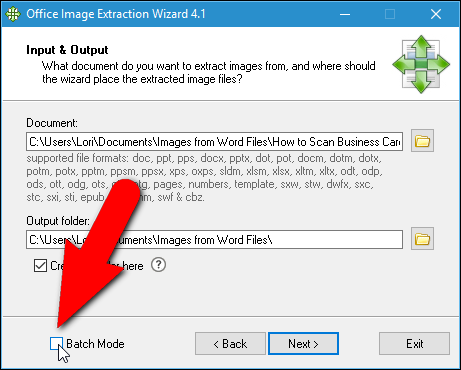
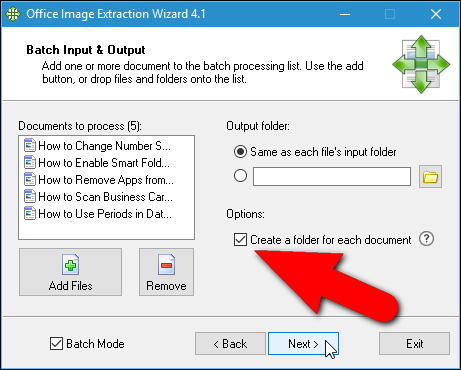
you’ve got the option to also extract images from multiple files at once.
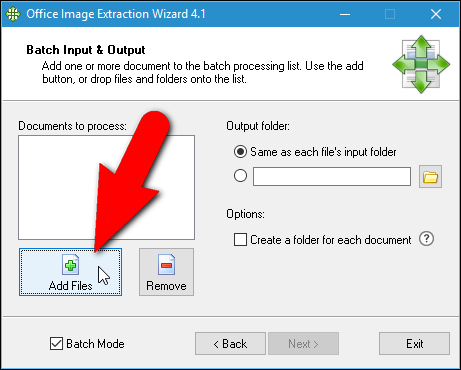
The Batch Input & Output screen displays.
Click “Add Files”.
Click “Next” when you’ve got selected the options you want.
Click “Start” on the Ready to Start screen.
The following screen displays showing the extraction progress.
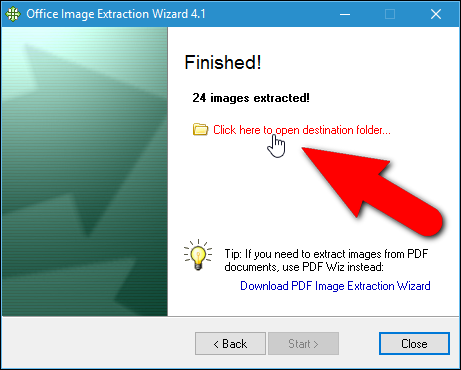
The number of images extracted displays on the Finished screen.
Click “Close” to terminate the Office Image Extraction Wizard.
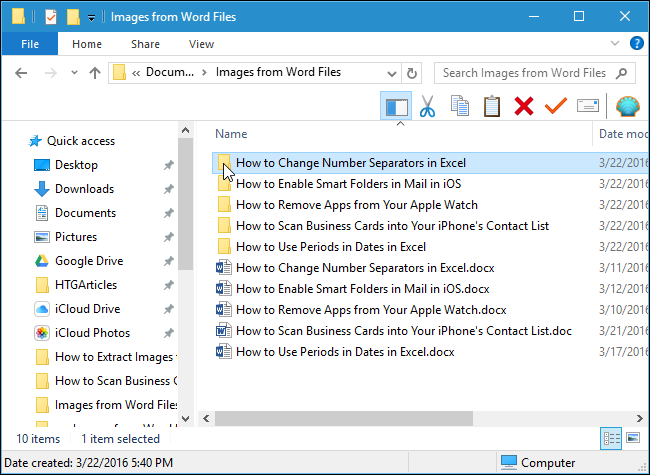
Again, we get all the images as numbered files for each document.
Just see to it you have the rights to use them legally.