WithWindows 10’s Anniversary Update, this tool is included with Windows, and even easier to launch.
Here’s how to use it, no matter which version of Windows you’re on.
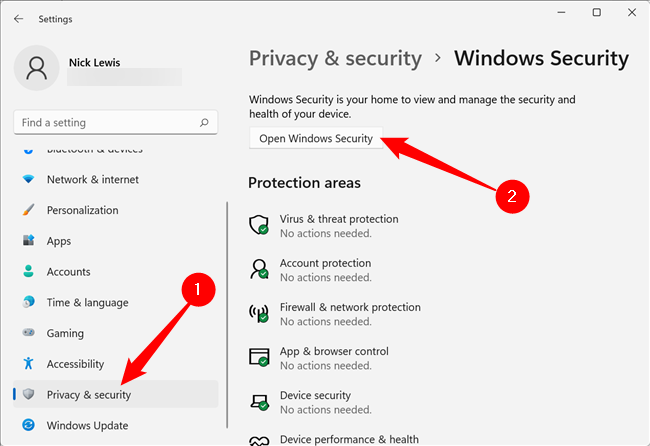
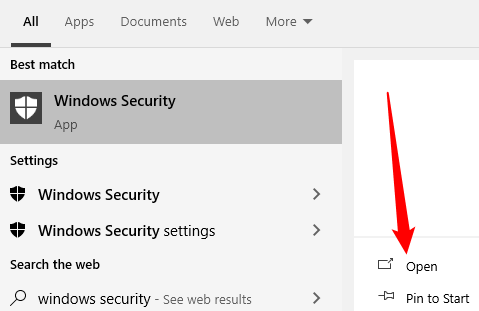
Click Privacy and Security > Windows Security > Open Windows Security.

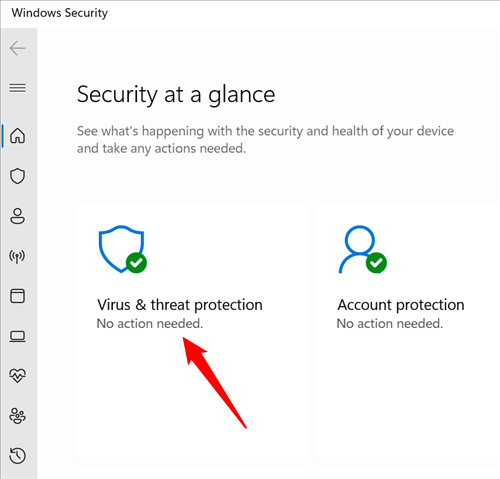
Click “Virus & Threat Protection.”
Scroll down and select “Microsoft Defender Offline Scan,” and then click “Scan Now.”
Click “Scan” in the popup and your Windows 11 PC will restart itself and begin the scan.
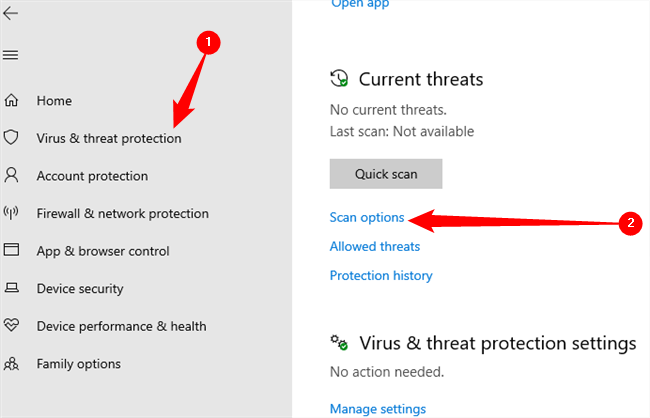
Then select Virus & threat protection, click “Scan options” under Current threat.
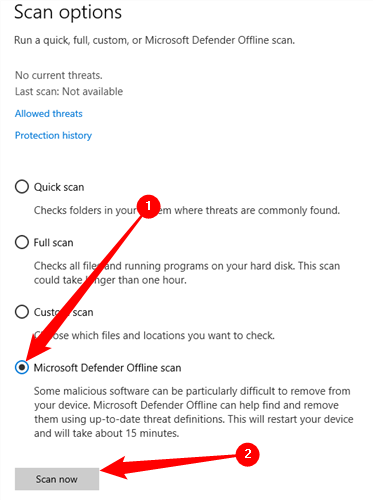
Select “Microsoft Defender Offline scan” to choose an offline scan.
Click “Scan now” to perform the scan.
Related:What’s the Best Antivirus for Windows 10 and 11?
(Is Microsoft Defender Good Enough?)
After you click this button, your box will automatically reboot and begin scanning your PC for malware.

The scan may take up to fifteen minutes.
If no malware is found, your machine will automatically boot back into Windows once the scan is complete.
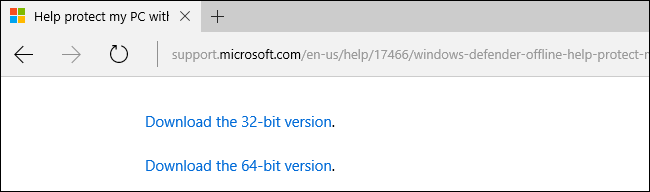
Microsoft recommends creating bootable media on a known-clean computer.
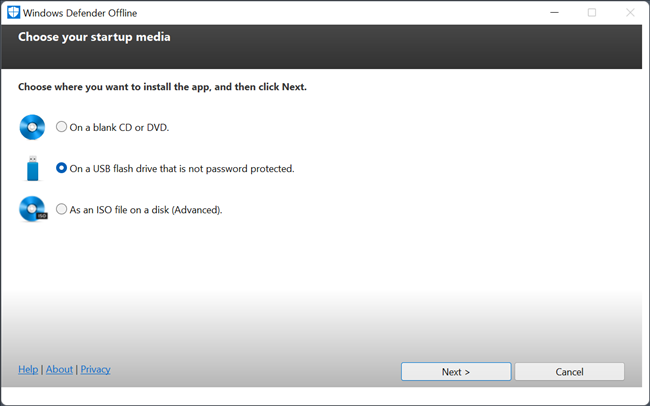
The tool will create Microsoft Defender Offline media containing the latest virus definitions.
Be sure to back up any important data from the drive first.
Insert the USB drive or disc into the other computer and restart the computer.
It works identically to Microsoft Defender Offline on Windows 10 and 11.