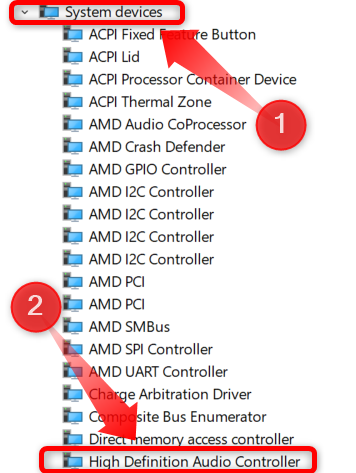
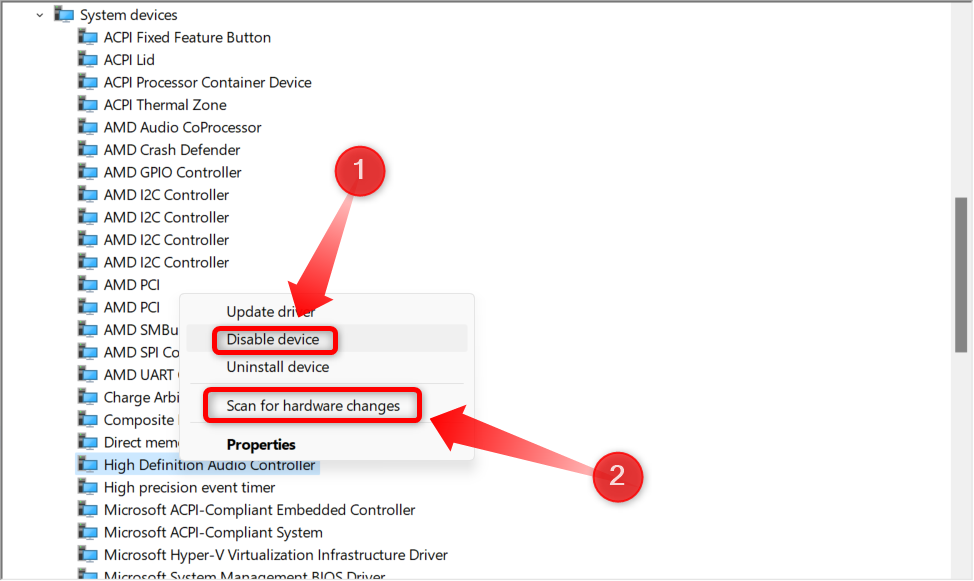
Once in there look for the “System Devices” tab and double-press it.
The tab should expand with one of the devices listed being the aforementioned “High Definition Audio Controller.”
One of the two actions should make Windows recognize your TV and solve your issue.
Marcus Mears III / How-To Geek
Scanning for hardware changes fixed the issue in our case.
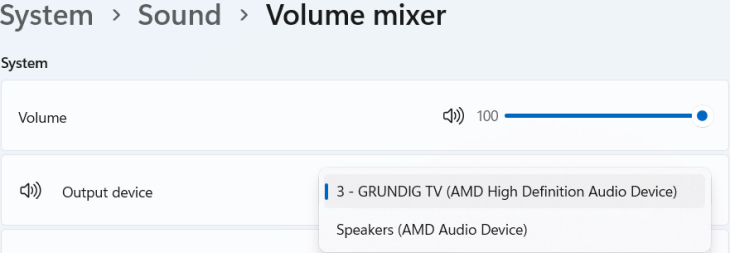
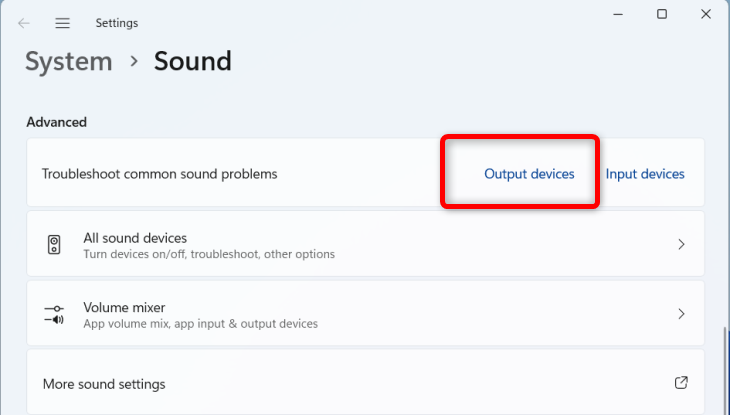
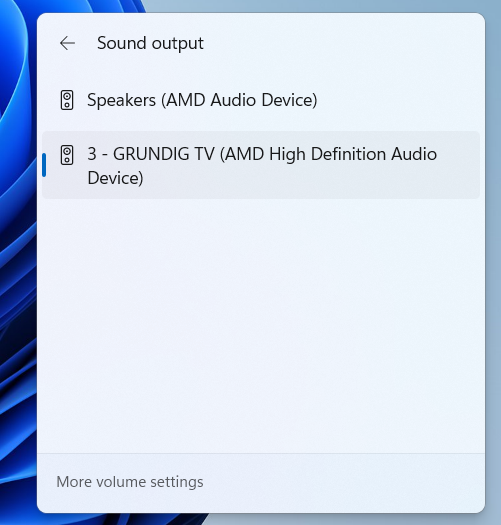
You should see your TV among the “Sound Output” devices.
For instance, the soundbar our TV is connected to works great most of the time.
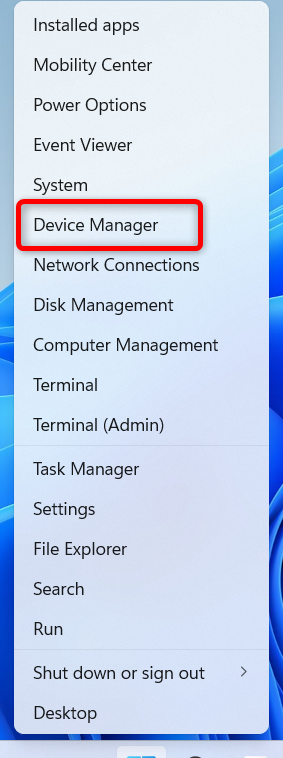
To Access Windows Device Manager right click the Start button and then click on the Device Manager
Sometimes it’s not even as complicated as that, though.
A reboot can solve a surprisingly large number of issues, including audio-related ones.
And if that happens on SteamOS, similar issues can arise on Windows.
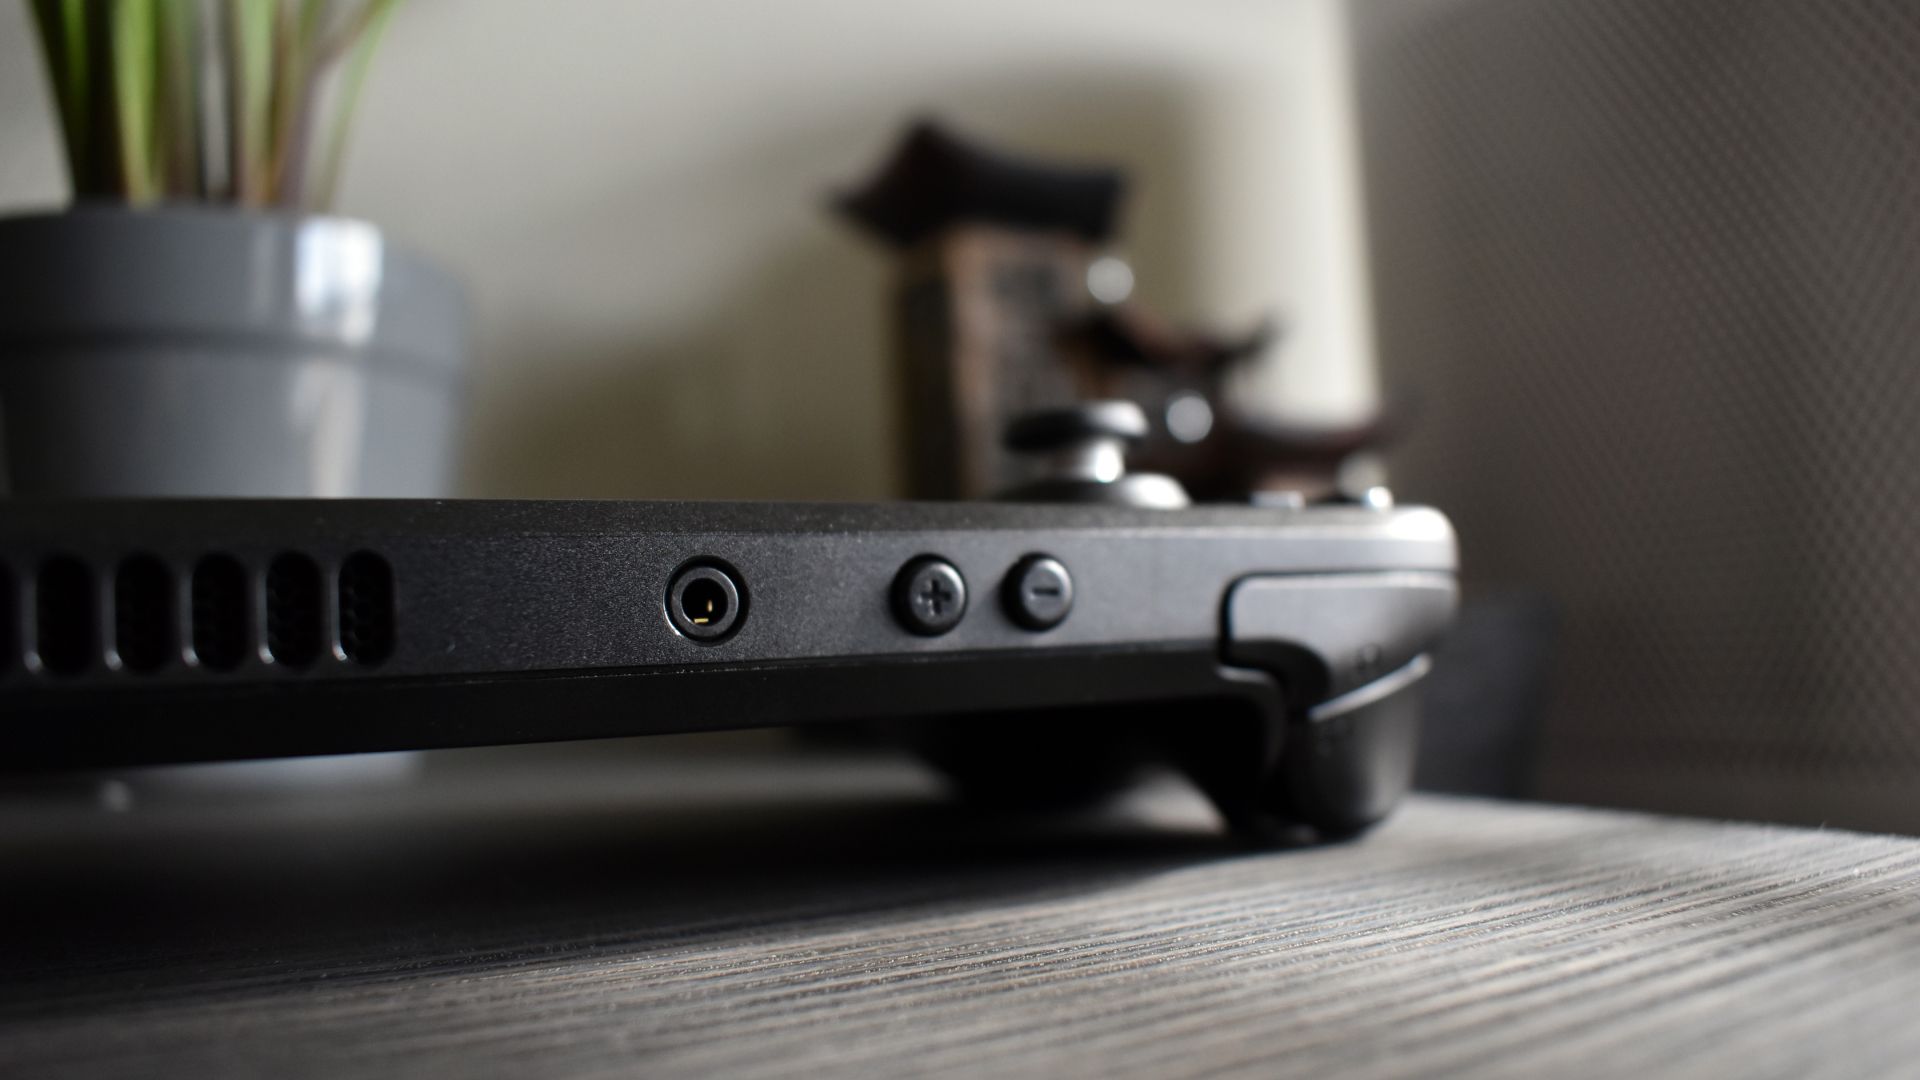
In that case, test your dock or cables for problems as we’ve explainedbelow.
On Windows 10, you should see a small red X next to the audio icon.
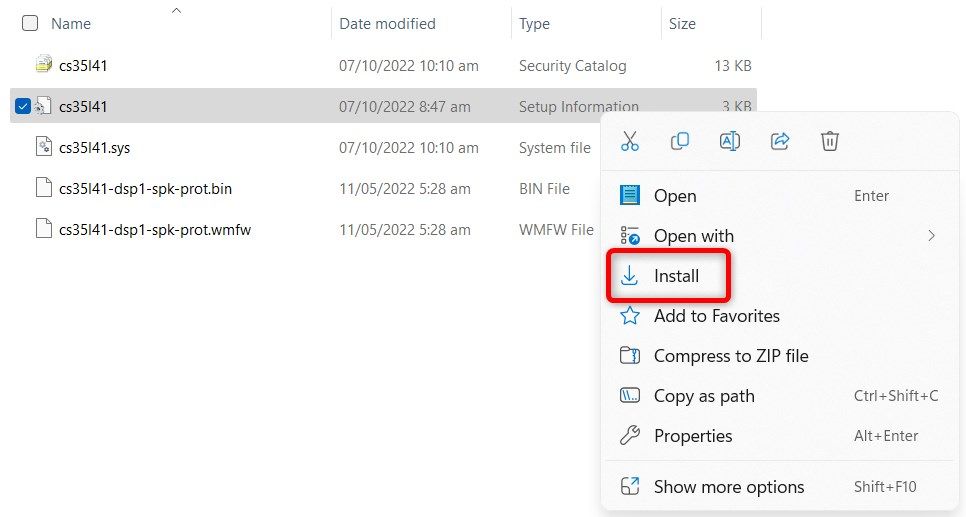
If that’s the case, you didn’t roll out the audio drivers.
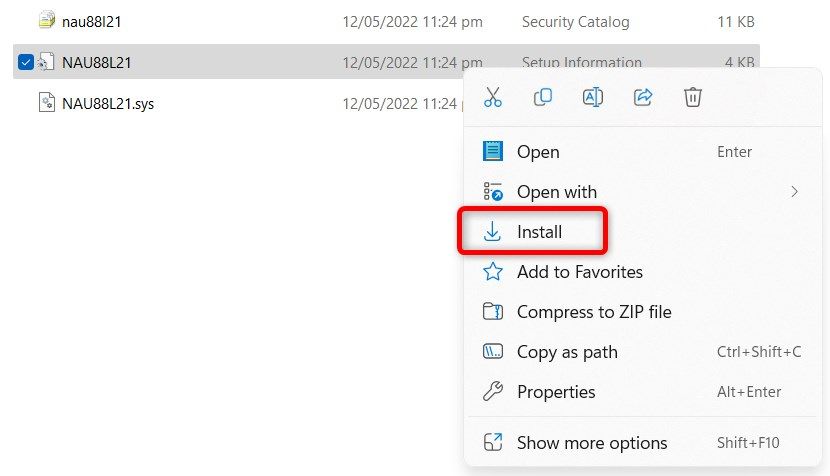
To install them, go to Valve’sSteam Deck Windows Resources websiteand download both audio drivers.
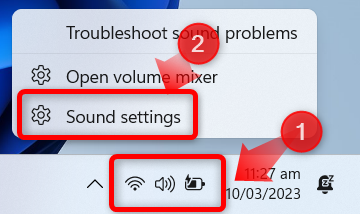
On Windows 10, simply right-hit the speaker icon in the taskbar and click “Open Sound controls.”
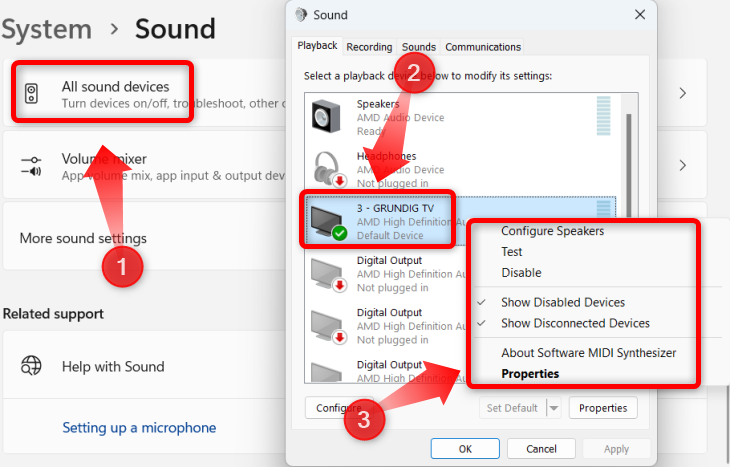
If it is, but you don’t have any audio, it might be disabled.
Right-choose your TV icon and then choose “Enable.”
If the dock or adapter doesn’t work, replace it.
If it works, test theHDMI cableyou’re using.
If the cable doesn’t work, replace it.
If you still face audio issues it’s time to move to the next potential solution.
After you install every update, either let Windows automatically kickstart your Steam Deck or restart the Deck manually.
Once Windows reboots, look for your TV in the “Sound Output” list.
If that’s the case, we recommendcontacting Valve regarding your Steam Deck warranty.
Related:How to Install Windows on Your Steam Deck