Here are some solutions you could try.
Perform Some Preliminary Checks
Start the troubleshooting process by applying some basic fixes.
First,reset your computerto fix any minor glitches that may be causing the issue.
Also, unplug and then plug them back in to your system.
Ensure you haven’t mistakenly plugged your audio output machine into the microphone jack.
If you have multiple audio output devices connected simultaneously, unplug all except your primary rig.
Additionally, uninstall any audio customization applications you might be using.
If none of these basic checks help deal with the issue, apply the remaining fixes.
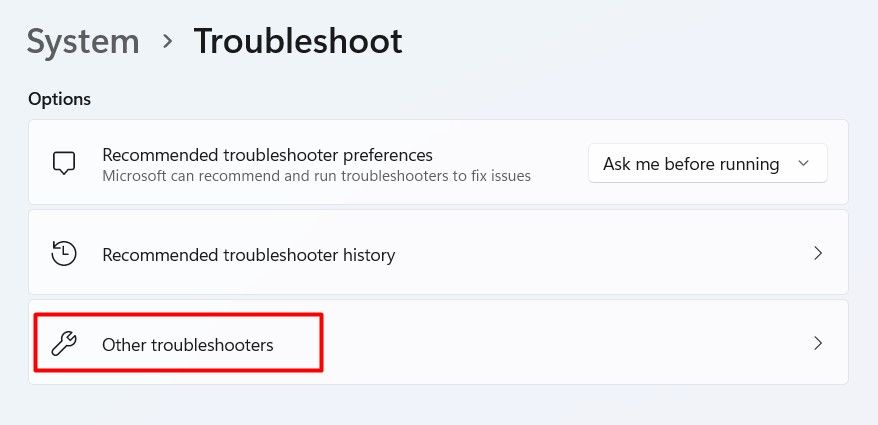
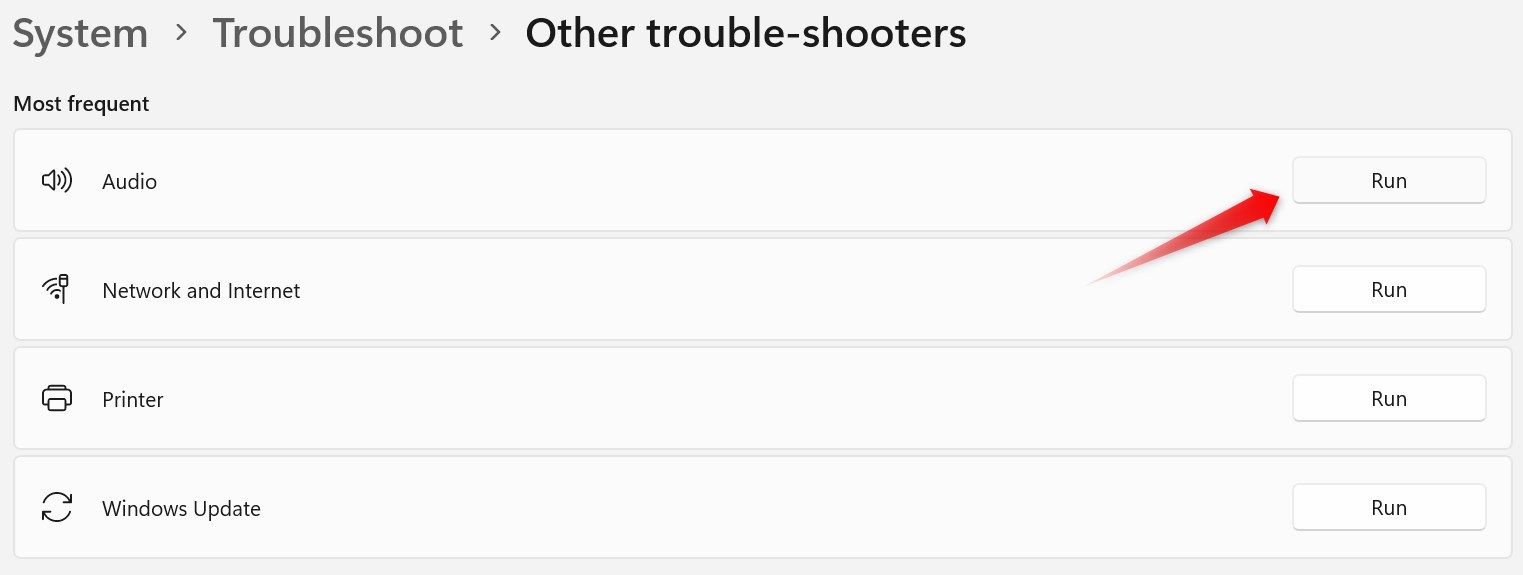
If the above basic checks don’t solve the problem, try running the audio troubleshooter.
Right-nudge the Start button, open “tweaks,” and go to Troubleshoot > Other Troubleshooters.
If the audio troubleshooter fails to detect the problem, try our remaining fixes to manually fix the problem.
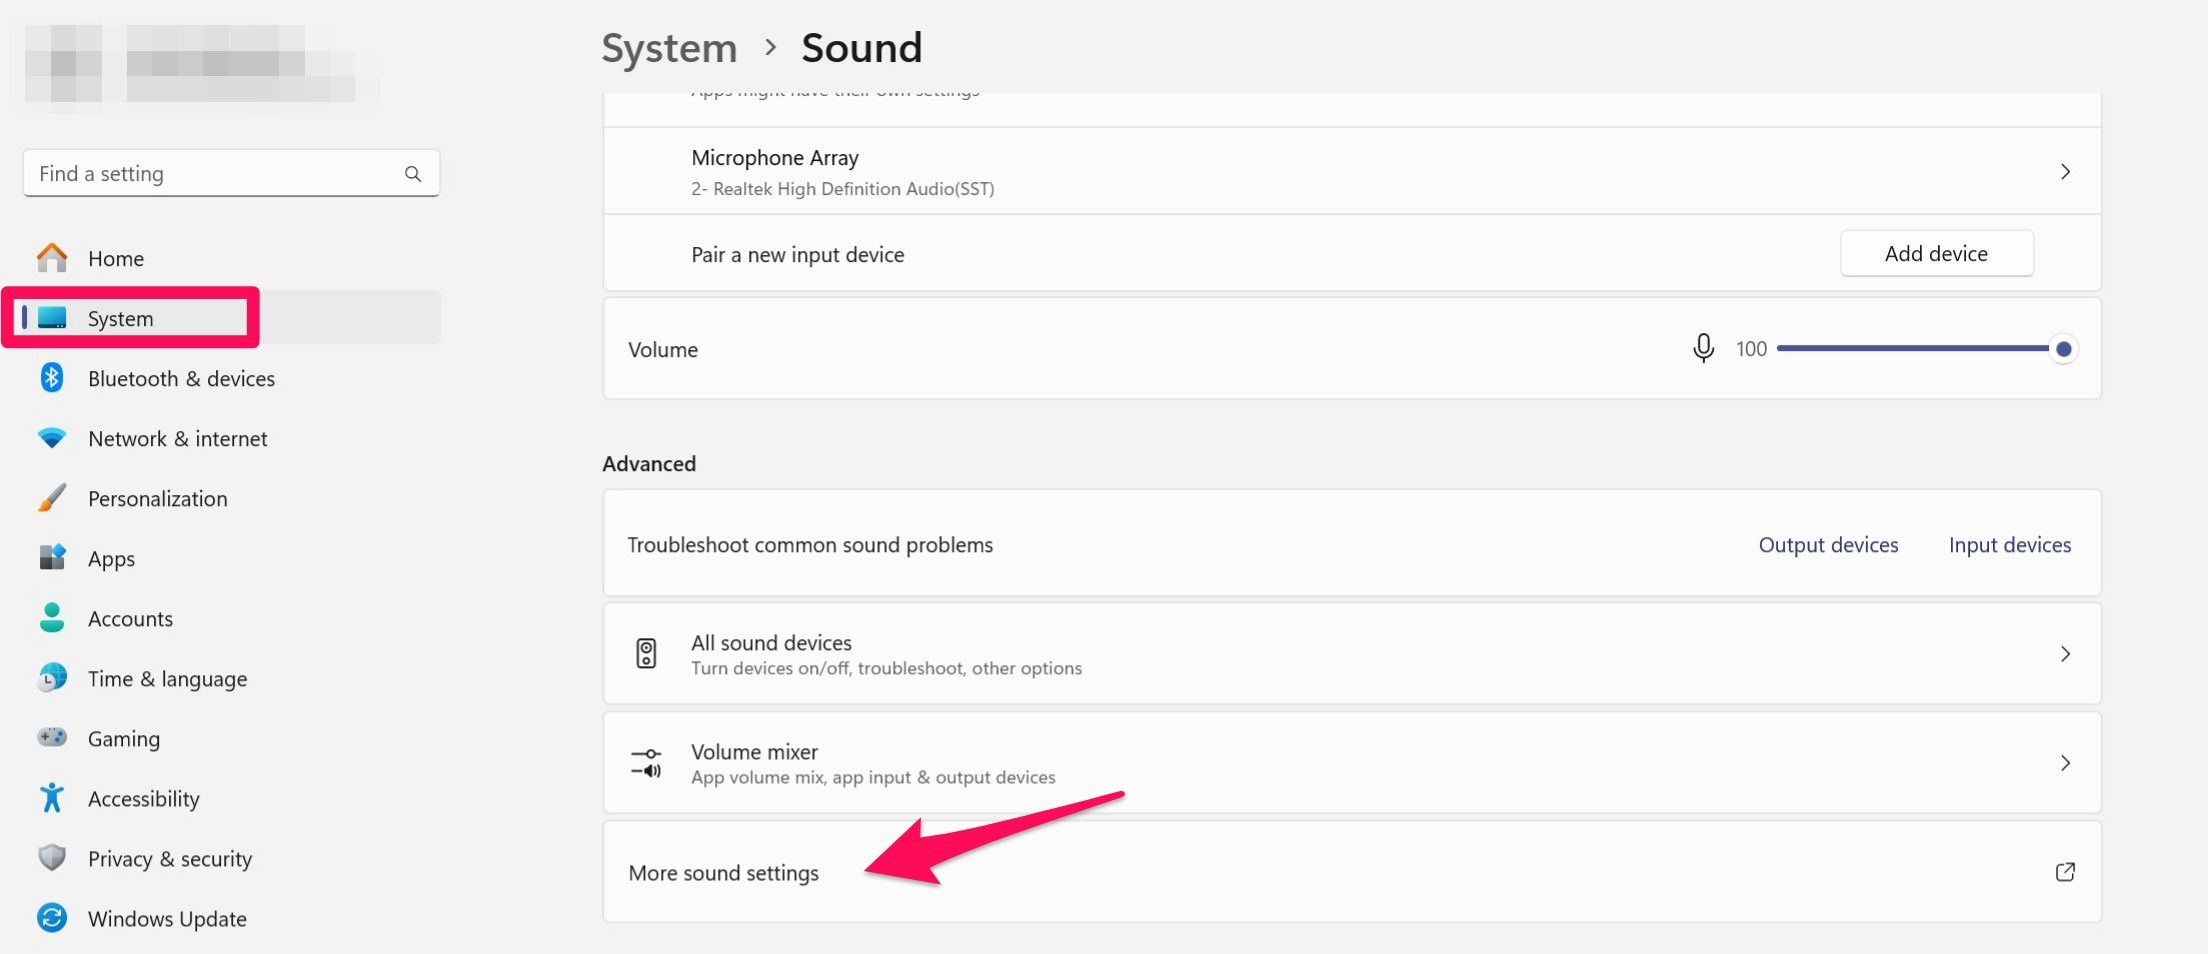
To ensure that’s not the case, right-poke the Start button and open “options.”
Then, navigate to System > Sound, and click “More Sound parameters” under Advanced.
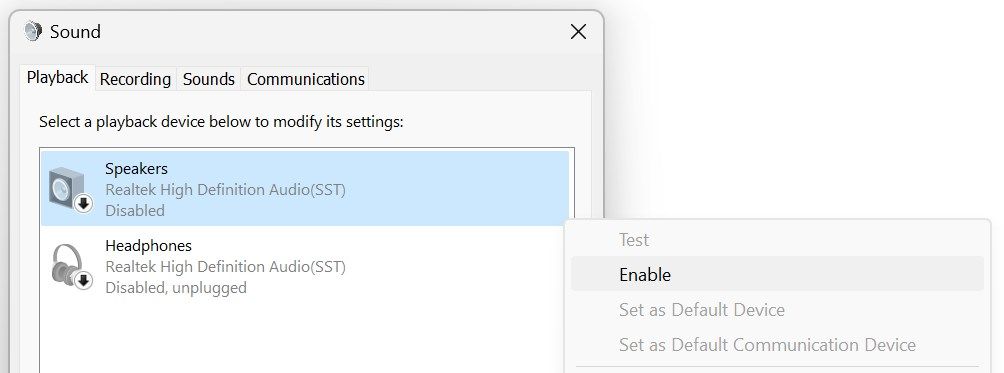
Then, go to the “Playback” tab.
If you find all audio output devices disabled here, you should activate the primary playback unit.
To do so, right-choose it and select “Enable.”
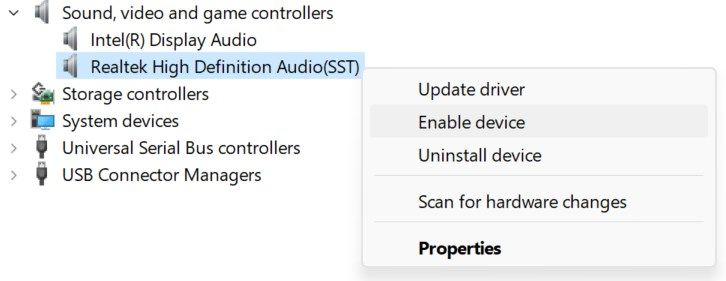
To ensure that’s not the case, right-opt for Start button and open “machine Manager.”
Then, expand the “Sound, Video, and Game Controllers” category.
If you see a downward arrow on the audio machine, it indicates that it’s disabled.
To rectify this, right-tap on it and select “Enable equipment.”
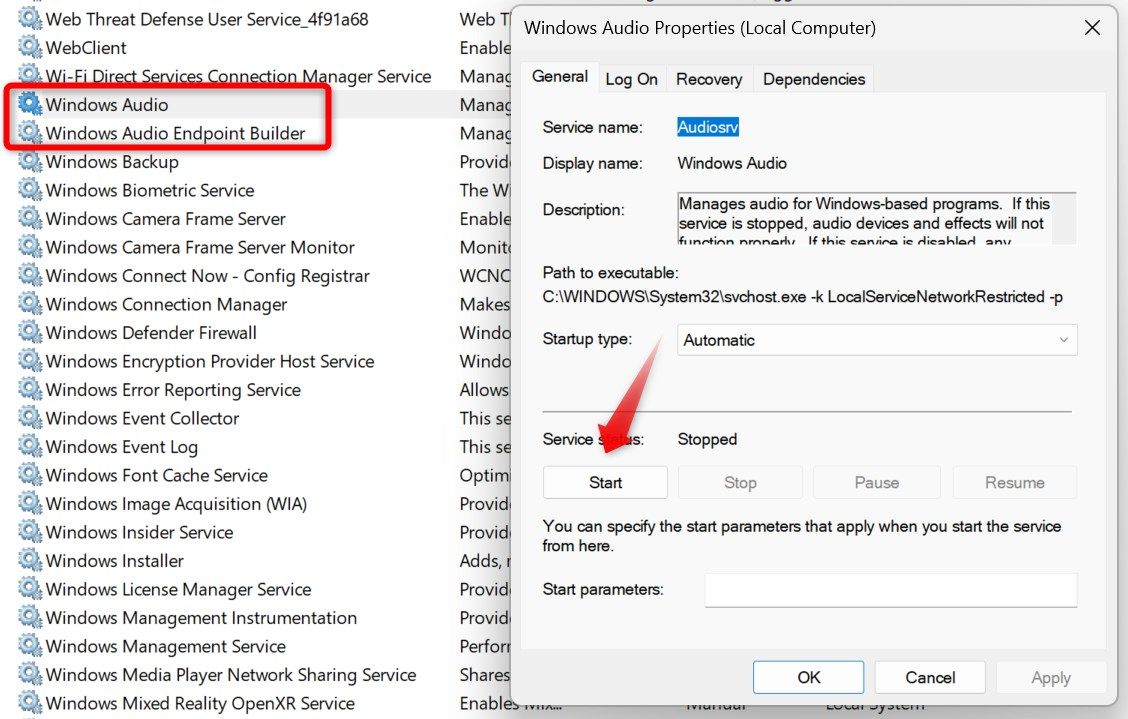
To rule out this possibility, typeServicesin Windows Search and kick off the “Services” app.
Locate the “Windows Audio” and “Windows Audio Endpoint Builder” services.
Double-choose each service, one after the other.
So, you should probably enable it in BIOS or UEFI tweaks.
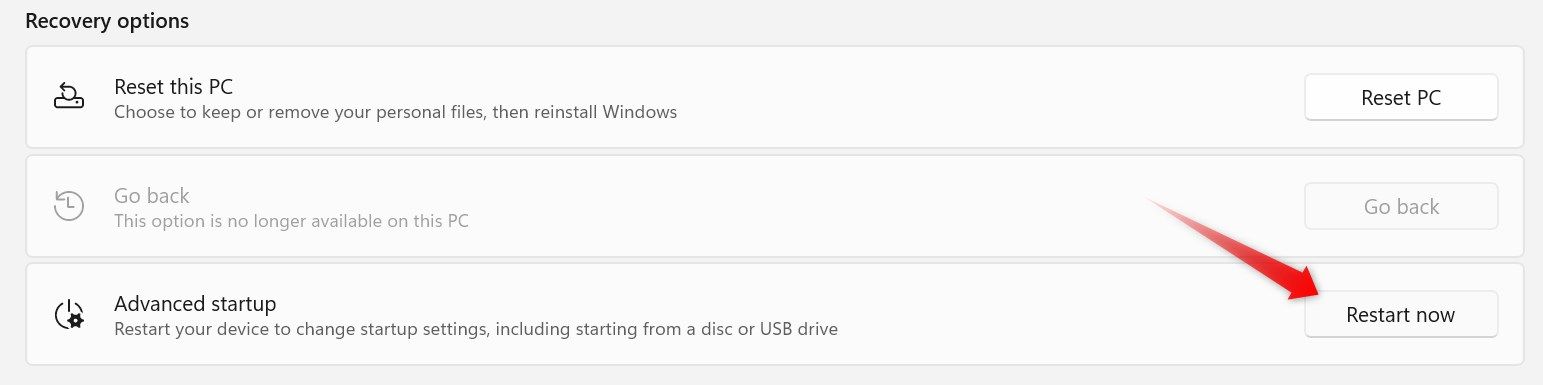
Before restarting your rig, you’ll be prompted to preserve your work.
Save it, then poke the “Restart Now” button in the confirmation popup.
Your unit will boot directly into the “Choose an Option” screen.
From here, go to Troubleshoot > Advanced Options > UEFI Firmware controls, and click “Restart.”
If you’re unable to find it, refer to the manufacturer’s documentation.
Using that information, locate the onboard audio option; if it’s disabled, turn it back on.
Reinstall the Default Audio Drivers
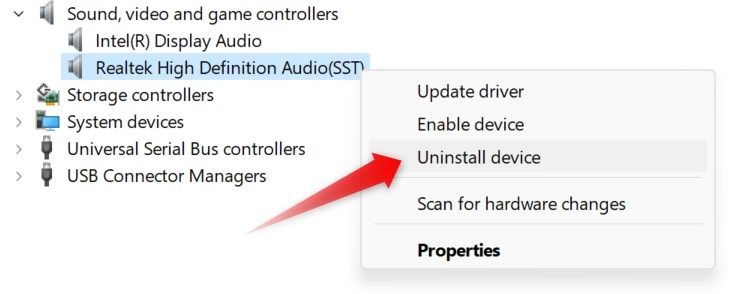
Having corrupted or outdated audio drivers is another common cause of this error.
To ensure that’s not the case, you should uninstall and reinstall them.
After uninstalling the drivers, reboot your rig.
Windows will automatically reinstall them from scratch, which may help fix the problem.
To rule out this possibility, go to the manufacturer’s website and download the latest audio drivers available.
Check for System Updates
If none of the above fixes work, ensure yoursystem is fully up-to-date.
Right-choose the Start button and open “controls.”
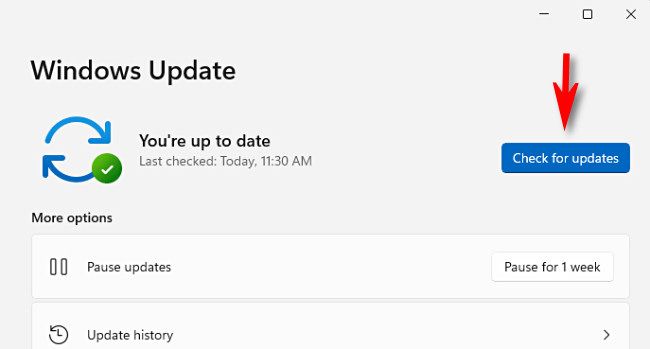
Navigate to the “Windows Update” tab on the left.
you’re free to also hit the “Check for Updates” button to search for available updates.
Windows will then search for any available updates, download them, and proceed to install them.
Consider seeking professional help to rule out this possibility.
