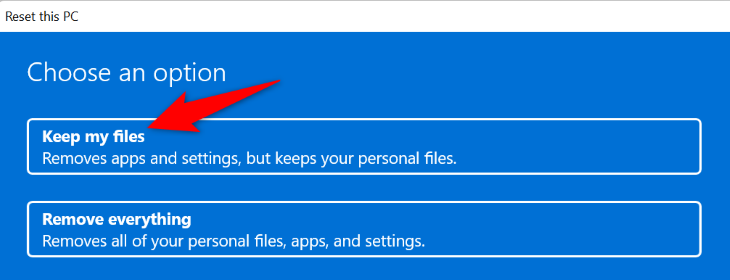
If these fixes don’t work, reset the PC.
Is the “Something Didn’t Go As Planned” error preventing you from installing your Windows 11 updates?
Why Do You Get a “Something Didn’t Go As Planned” Error?

Hannah Stryker / How-To Geek
This system partition ID may have been altered or erased, causing yourupdates to fail to install.
One or more of these fixes will likely resolve your problem, allowing you to install your updates successfully.
In this case,remove the app from your PC, and your issue will be resolved.
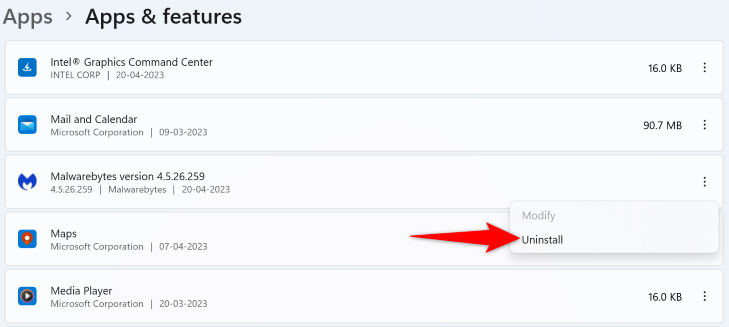
To remove the app, head into options > Apps > Apps & Features.
Next to “Malwarebytes,” snag the three dots and choose “Uninstall.”
Then, in the open prompt, select “Uninstall.”
Once the app is gone, retryinstalling your Windows update.
If it works, reinstall Malwarebytes, and if it didn’t, proceed to the next step.
you could fix this by re-assigning the correct ID to the partition.
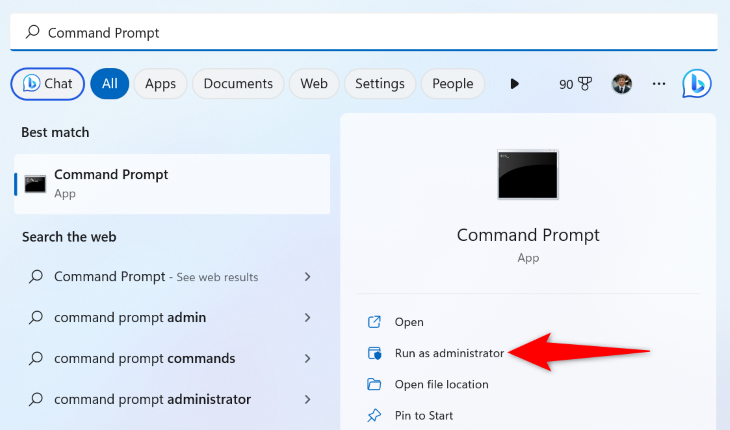
In the “User Account Control” prompt, choose “Yes.”
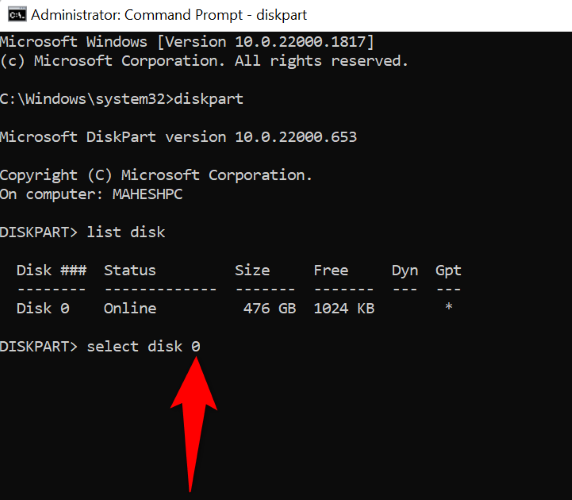
In Command Prompt, key in the following command and press Enter.
The first command here opens the “diskpart” utility and the second command lists all your available disks.

list disk
Find the disk where you’ve installed Windows 11.
Note the number displayed in the “Disk ###” column for that disk.
Then, enter the following command replacing “0” with your noted number.
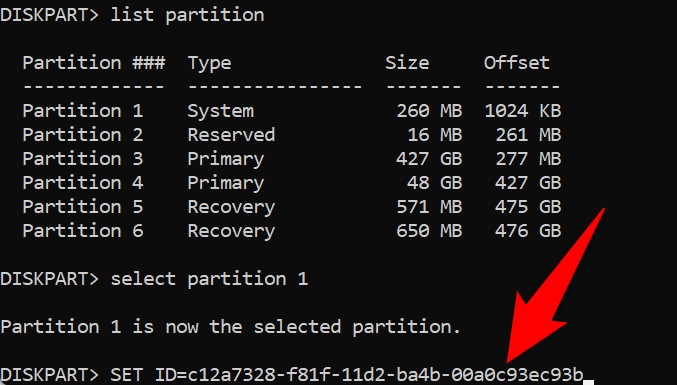
Now that your Windows 11 disk is selected, initiate the following command to view your disk partitions.
In the partition list, find the partition whose “key in” column says “System.”
Then, launch the following command replacing “1” with the number of your system partition.
In this case,free up your storage space, and your issue will be resolved.
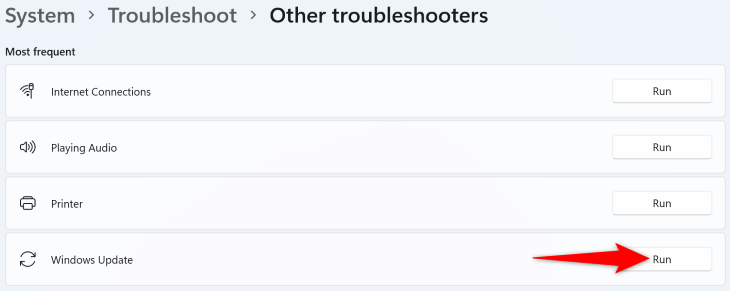
To use it, head into configs > System > Troubleshoot > Other Troubleshooters.
Then, next to “Windows Update,” click “Run.”
it’s possible for you to fix that byclearing all your update cache files.
Doing so doesn’t delete any of your personal files or affect other Windows functionalities.
To start, open “Run” using Windows+R.
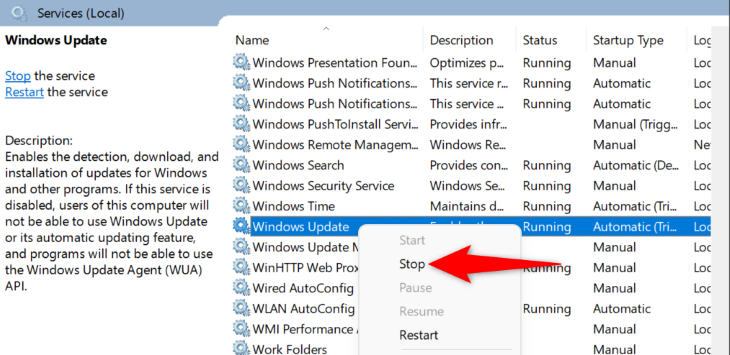
You’re stopping the “Windows Update” service before you delete the update files.
Keep the “Services” window open, and launch “Run” using Windows+R.
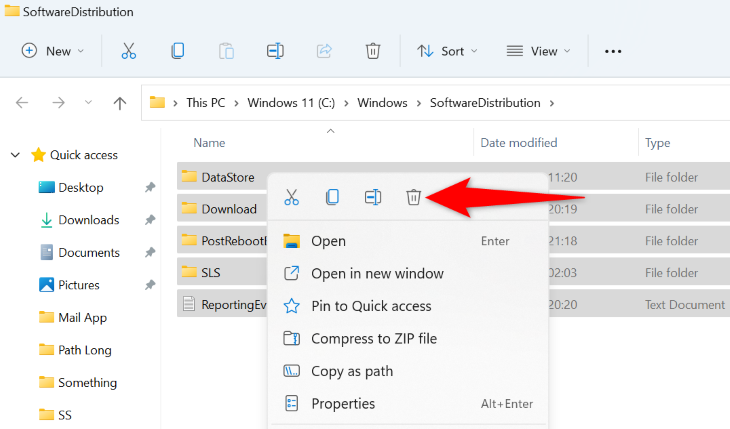
Select all files in this folder by pressing Ctrl+A.
Then, right-click a chosen file and select “Delete” (a trash can icon).
Once your files are deleted, come back to the “Services” window.
Here, right-poke the “Windows Update” service and choose “Start.”
you’ve got the option to retry installing your Windows updates.
Viruses or other malicious items may have impacted these files, making them unusable.
In the “User Account Control” prompt, select “Yes.”
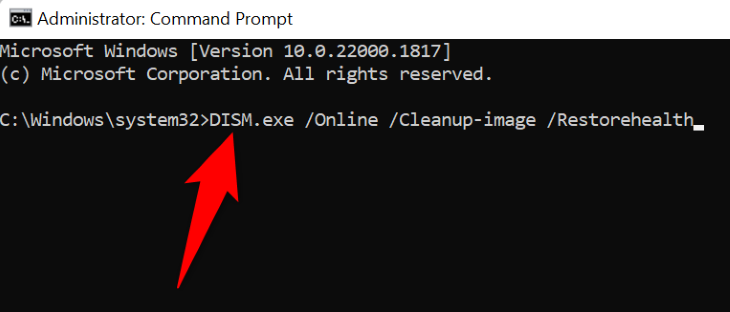
In Command Prompt, jot down the following command and press Enter.
This command asks Windows Update to download the files required to fix your system’s broken files.
When it’s done, reboot your PC and retry installing your Windows updates.
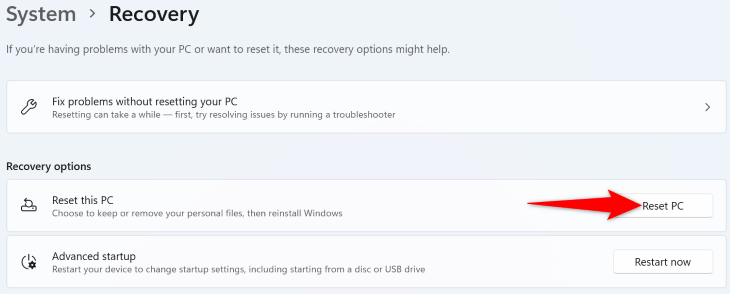
To start, access tweaks > System > Recovery.
Next to “Reset This PC,” click “Reset PC.”
Enjoy using your updated computer!
