Quick Links
Are you comfortable with Linux/Unix and want SSH access to your Windows 7 machine?
Cygwin provides this functionality and gives you a familiar environment to work with in a few simple steps.
We’re assuming you’ve got Cygwin installed and configured.
If not, check out our article,How To Use Linux Commands in Windows with Cygwinto get started.
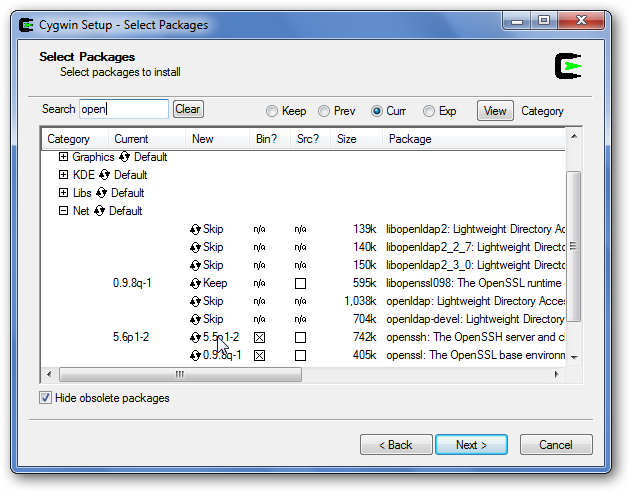
it’s possible for you to keep all of the same defaults as when you originally set up Cygwin.
On the package selection screen, search for “open” and look under the “Net” menu.

You’ll see a package called “openssh”.
Look at the previous screenshot for where to click if you’re confused.
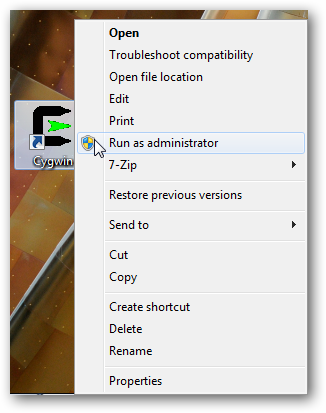
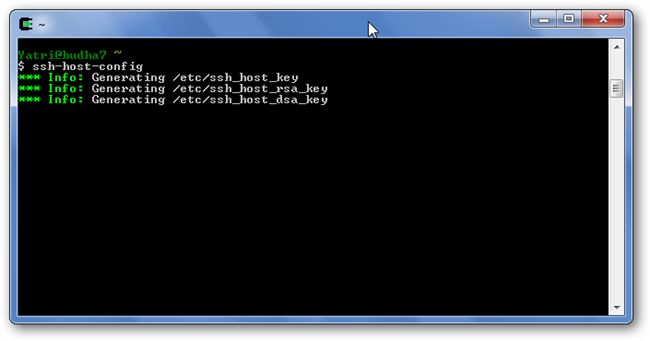
We need to perform a few easy steps.
You’ll see an empty Cygwin window come up.
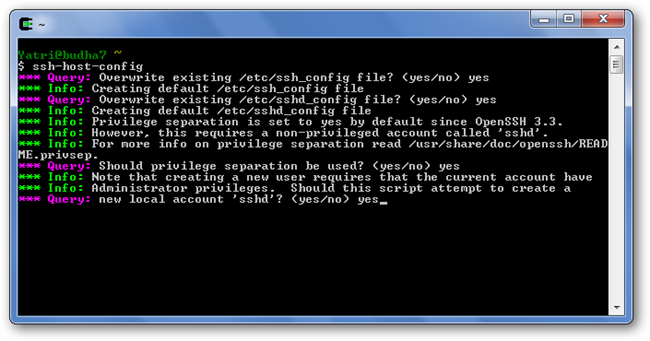
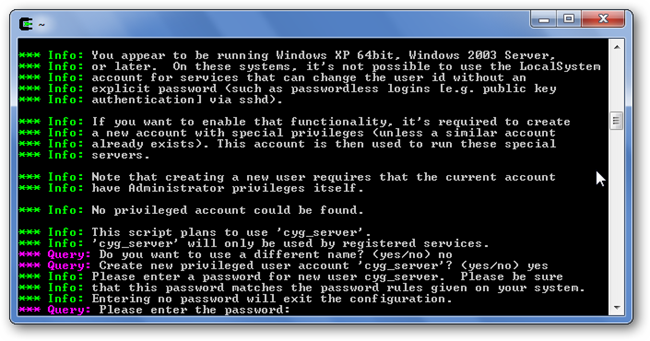
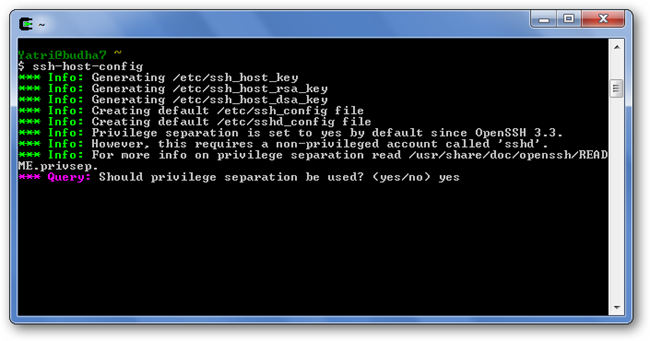
You’ll be prompted to create a new account with special privileges.
Select “yes” and the script will continue.
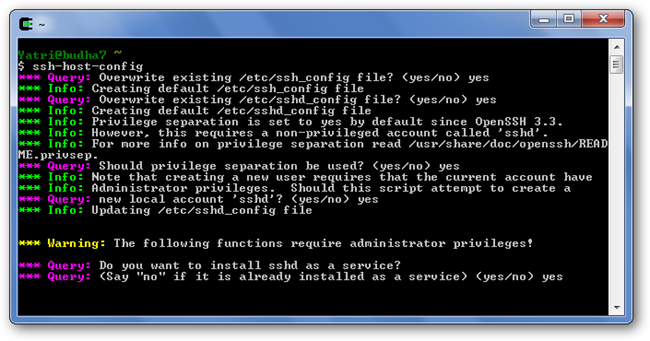
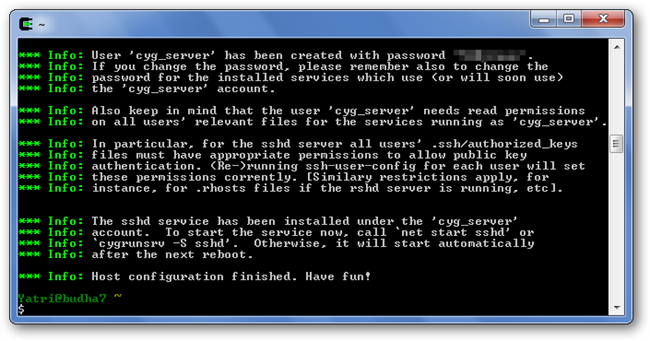
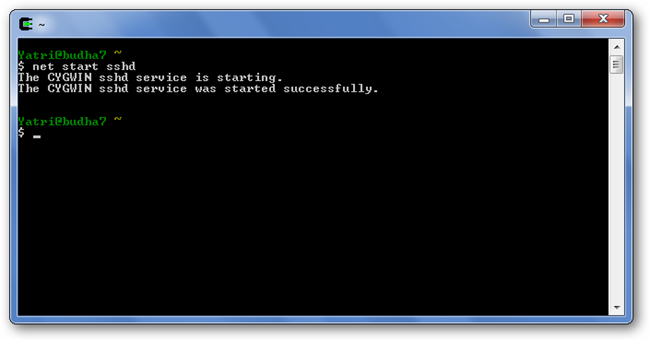
Next, you’ll be asked if you want sshd to run as a service.
Go ahead and hit “yes” to continue.
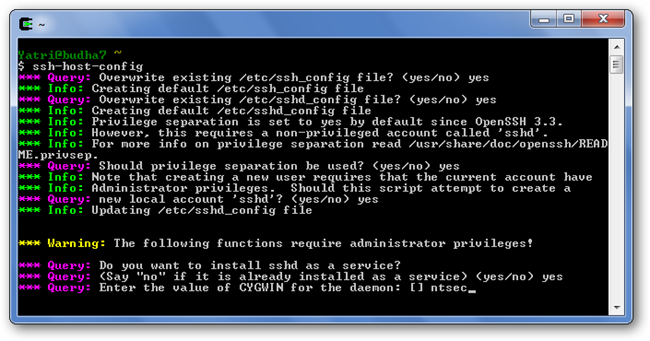
Next, you’ll be asked to enter a value for the daemon.
Of course, you’ll have to enter a password for this account as well.
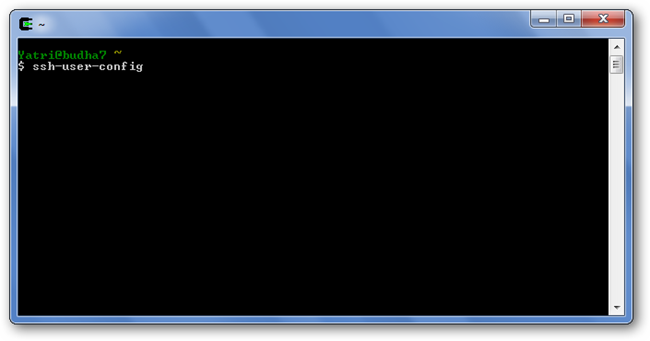
User Configuration of SSH
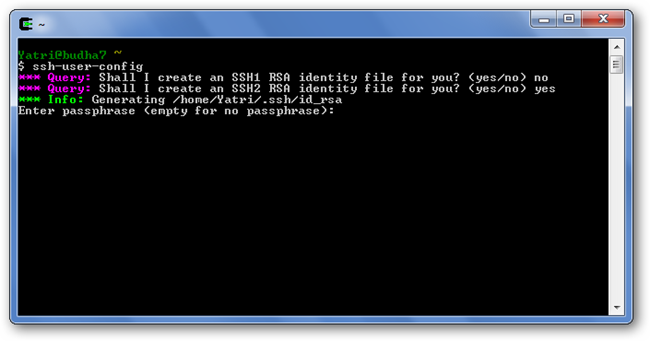
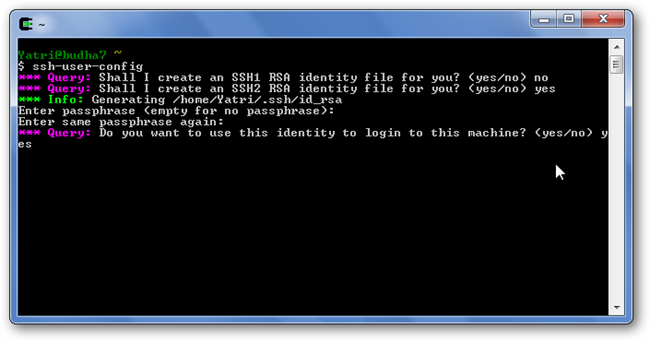
Next, we’ll create the appropriate SSH keys for your user account.
SSH2 is more secure, so that’s what I recommend to you.
jot down “yes”.
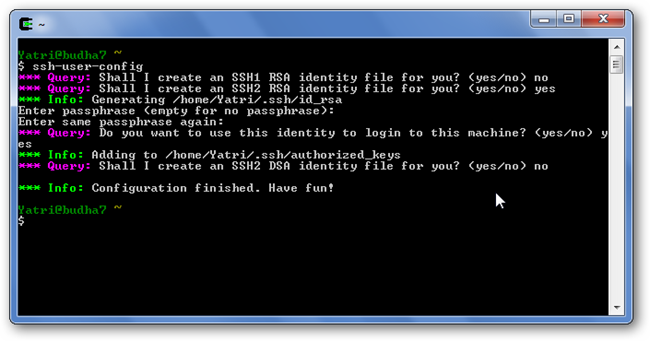
I declined at this step.
You’re all configured.
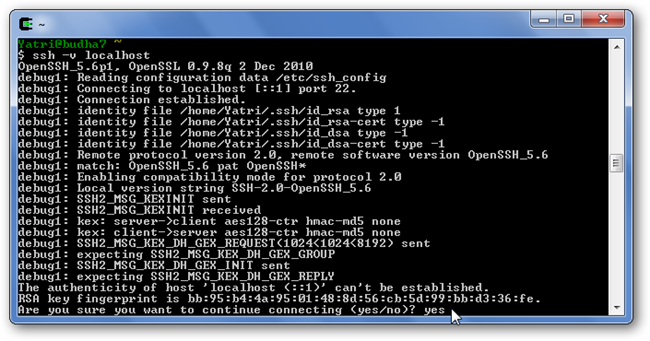
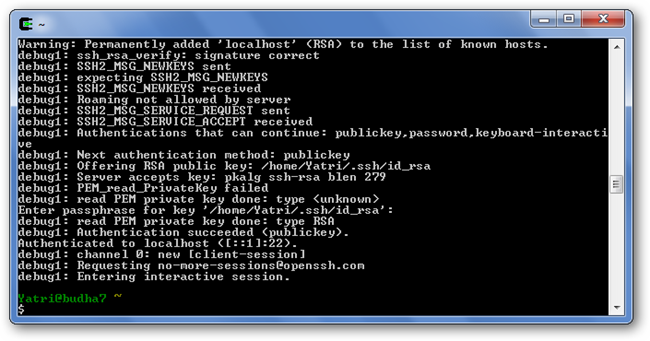
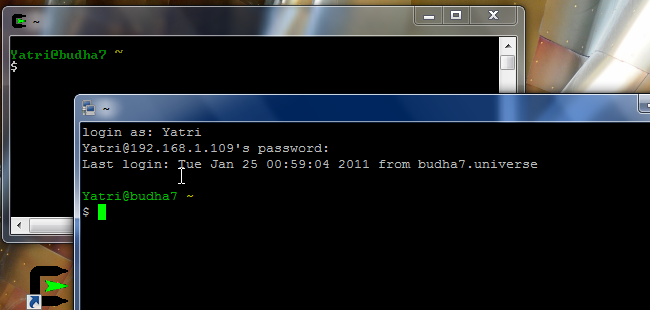
Remember that when you key in your username, it is case-sensitive!
If everything worked out well, you’ll see a normal bash prompt.
Cygwin mounts Windows drives to “/cygdrive/driveletter” in case you were wondering.