Quick Links
Summary
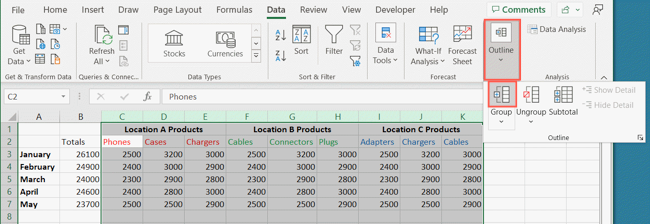
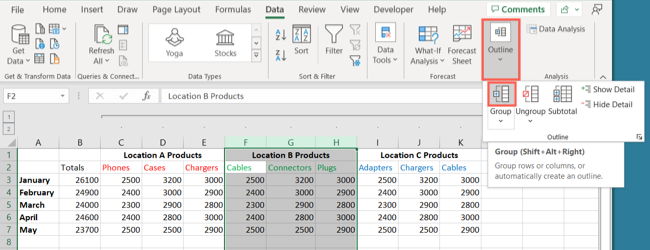
In Excel, opt for columns you want to group.
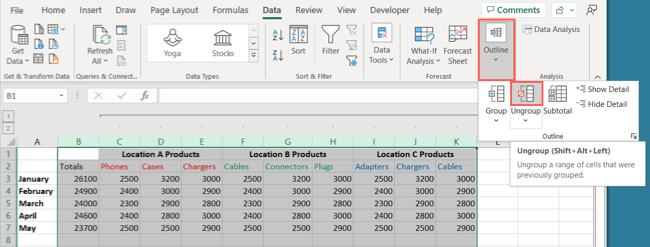
Go to the Data tab.
fire up the Outline drop-down menu and pick “Group.”
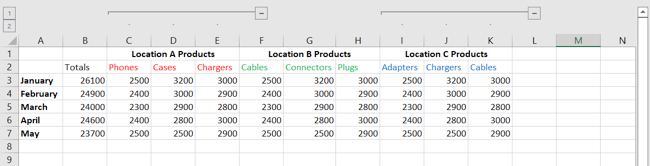
In Microsoft Excel, you might group columns and expand and collapse them as you work.
We’ll show you how to do just that.
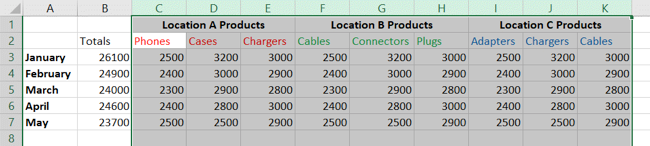
This allows you tosee only those columns you needwhile hiding or collapsing the others.
it’s possible for you to’t group nonadjacent columns.
Head to the Data tab and fire up the Outline drop-down menu on the right side of the ribbon.
Click “Group” in the menu or opt for Group drop-down arrow and pick “Group” there.
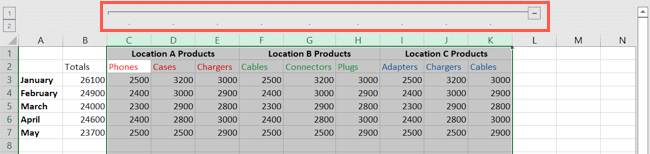
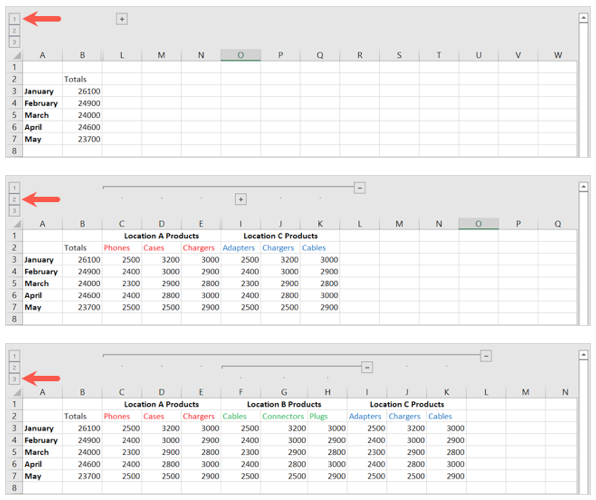
What changes when you create a subgroup is the way the number buttons work.
After you create a subgroup, you’ll see another button labeled 3.
This is because there is now another level.
However, these groups can’t be right next to each other.
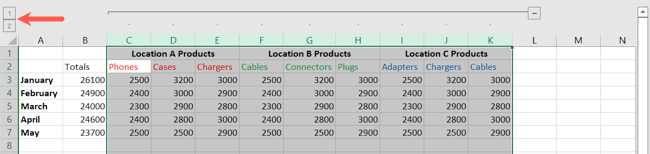
Also, when you have more than one group, the number buttons affect all groups on that level.
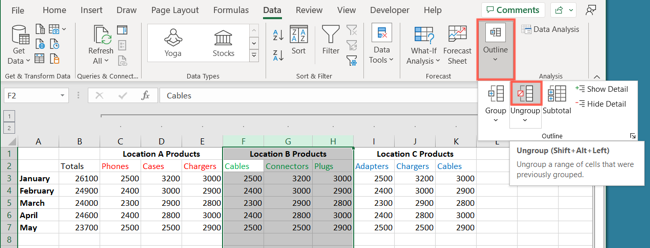
Click “Ungroup” or select “Ungroup” in the Ungroup drop-down box.
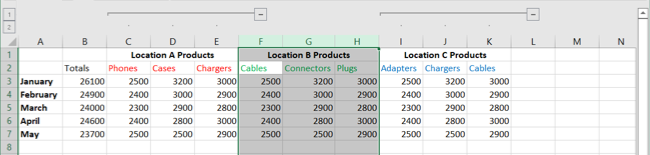
You’ll then see your columns ungrouped.
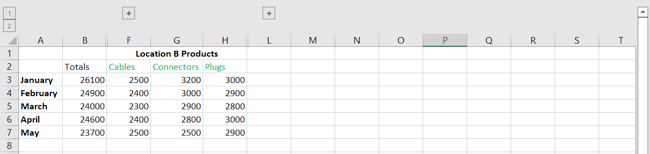
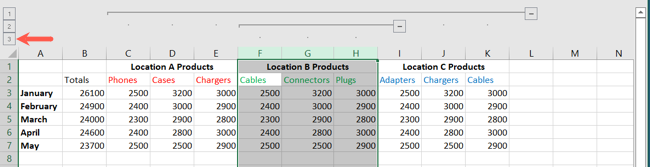
you’re free to alsoremove just certain columnsfrom a group.
To do this, we select columns F through H and click “Ungroup” on the data tab.
By grouping columns in Excel, you’re able to reduce large amounts of data into workable sections.
Keep this feature in mind with your next spreadsheet.
For more ways to organize in Excel, check outhow to group worksheets.