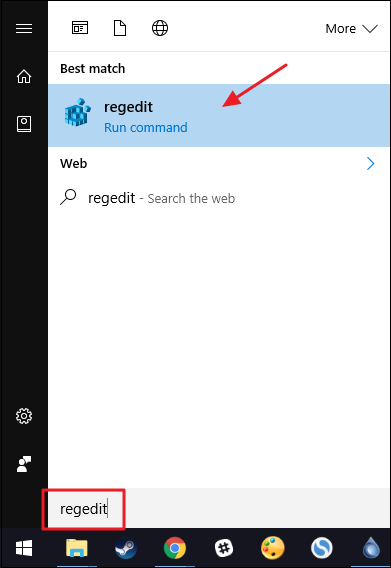
Here’s how to hide specific Control Panel apps in Windows 7, 8, and 10.
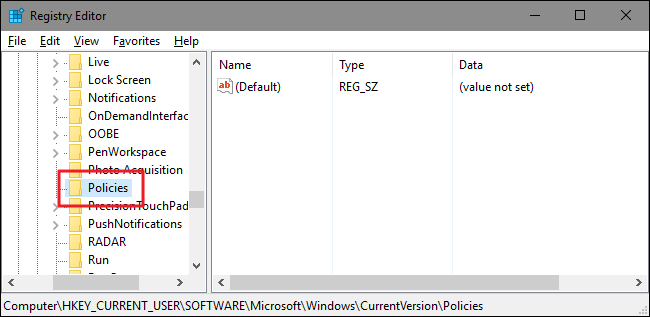
Next, you’ll need to see to it that a subkey namedExplorerexists inside the Policies key.
If you already see the Explorer key, you’re good to go on to the next step.
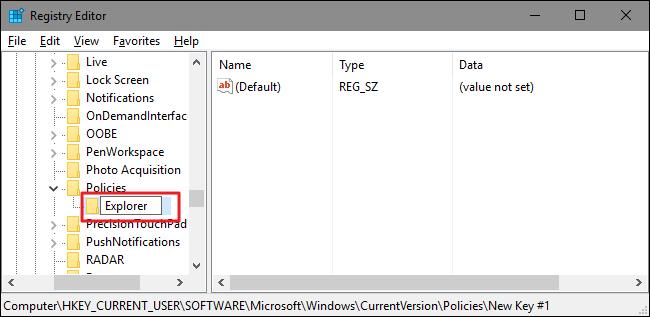
Name the new key “Explorer.”
From this point, you’re able to go one of two ways.
Technically, you could create both a disallow and a restricted list, but that gets complicated fast.
The disallow list would always take precedence and the two lists would always be competing.
So, we recommend choosing just one.
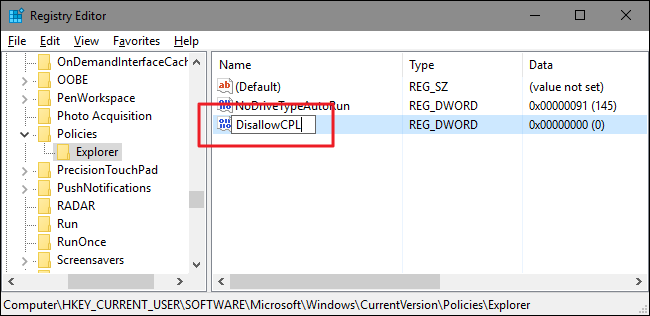
Next, you’re going to create a new value inside theExplorerkey.
Right-click theExplorerkey and choose New > DWORD (32-bit) Value.
If you’re hiding specific items by creating a disallow list, name the new keyDisallowCPL.
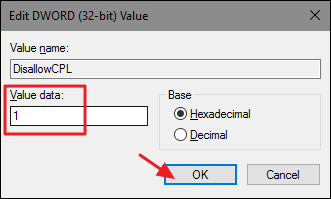
Double-pick the new value you created to open its properties window.
Right-click theExplorerkey again and this time choose New > Key.
If you’re restricting items, you’d add it to theRestrictCPLkey you created instead.
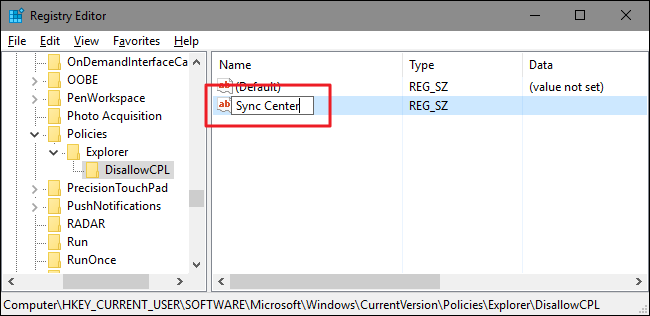
Right-click theDisallowCPLkey and choose New > String Value.
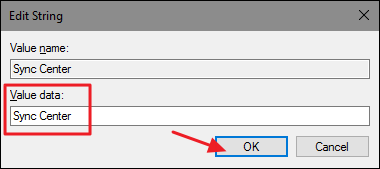
Name the new string value with the full name of the Control Panel item.
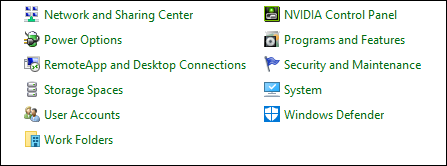
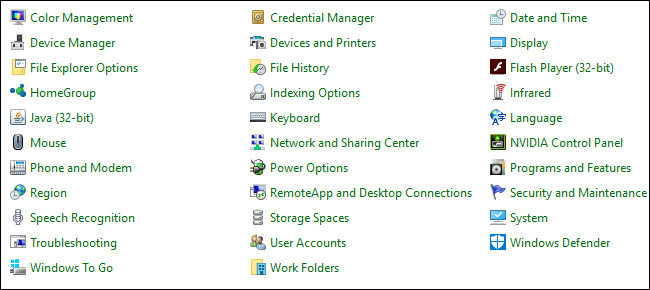
That’s all you have to do to disallow or restrict a Control Panel item.
In our example below, the Sync Center item is now hidden.
Start by finding the MSC file you created for controlling policies for those particular users.
Double-click to open it and allow it to make changes to your PC.
In this example, we’re using one we created for applying policy to all non-administrative user accounts.

Again, you could approach this two ways from here.
This will turn the setting off entirely.