But, if you’ve never installed any doorbell before, the actual installation can feel a little daunting.
It’s a pretty easy installation process—we’ll walk you through it.
The Basics
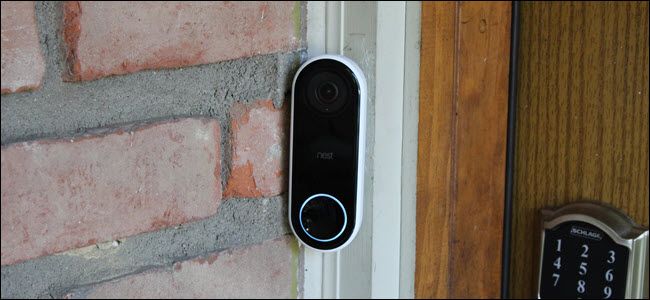
For this guide, we’ll be installing a Nest Hello.
![]()
Every video doorbell is different, but they share most of the same basic similarities.
After you flip a breaker, make a run at ring your doorbell.
When it’s not working, you go the right one.
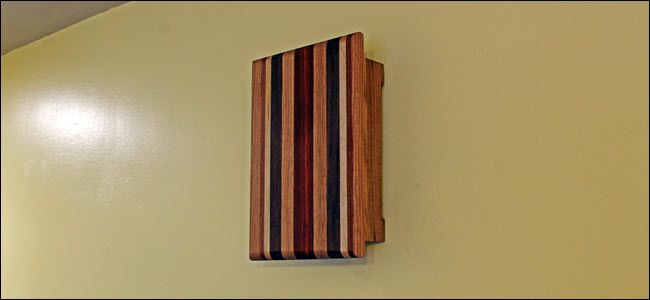
First, find the chime box and remove it.
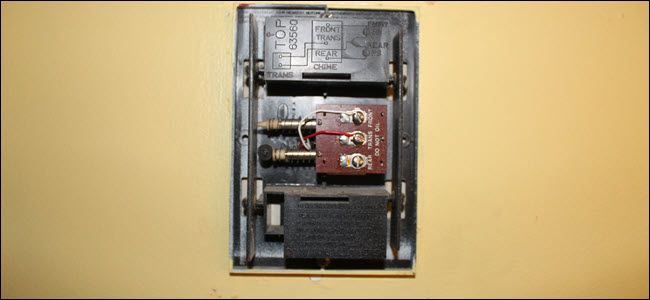
Depending on your hardware, you’ll do one of two things.
But confirm you don’t interfere with the strikes that hit the metal bars to chime.
Josh Hendrickson / How-To Geek
Replace your chime box cover and move to your doorbell.
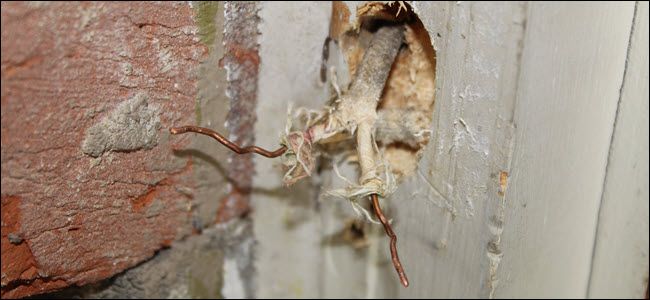
Typically, two screws hold a standard doorbell in place.
Gently pull on the wiring.
Josh Hendrickson / How-To Geek
Extra slack can be helpful in the upcoming steps.
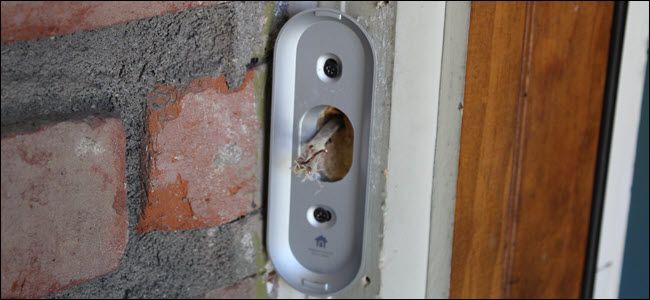
The next step is to attach a mounting bracket to your home over the doorbell wiring.
Attach it to the mounting bracket.

Josh Hendrickson / How-To Geek
Next, the mounting bracket against the wall with the exposed doorbell wires running through it.
Find the screw holes in the mounting bracket and mark them with a pencil.
Remove the bracket anddrill pilot holesin the spots you marked.
Josh Hendrickson / How-To Geek
Then put the mounting bracket back and screw it to your wall.
Then tuck them into the wall as tightly as it’s possible for you to.
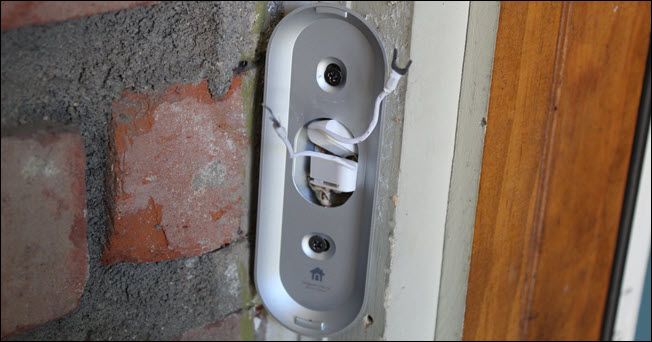
In the case of Nest Hello, these are clamps similar to the Chime box.
Josh Hendrickson / How-To Geek
Those slip onto the home’s wires until you feel a click.
Then tuck the extra wire into the space behind the mounting bracket.
Next, attach the bridge wiring to the video doorbell.
Josh Hendrickson / How-To Geek
For most doorbells, that’s two terminals on the back.
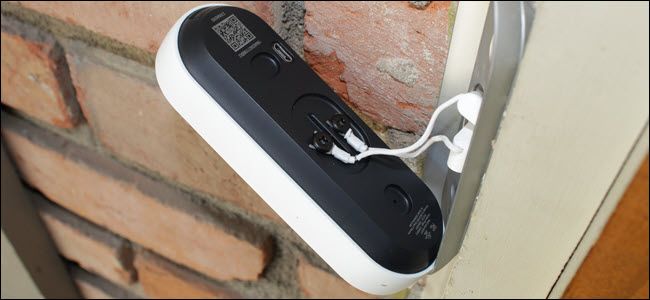
when you land everything connected, it’s time to mount the doorbell into the mounting bracket.
Other doorbells may require screws to connect them to the bracket.
Josh Hendrickson / How-To Geek
That will typically call for a security screw, and your doorbell likely came with the necessary screw.
Now turn the power back on and check on the doorbell.
Typically it should light up right away to signify that it’s ready to pair with the associated app.
If that doesn’t help, contact your doorbell manufacturer for additional troubleshooting steps.
