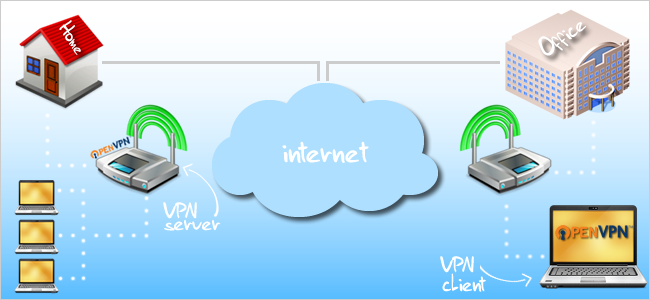
What is OpenVPN?
Think of your router as the middle man between the networks that you’re connecting to.
Typically, VPN software and hardware cost a lot of money to implement.
![]()
Of course, OpenVPN won’t work right out of the box.
It takes a little bit of tweaking and configuring to get it just right.
For more information about OpenVPN, visit the officialWhat Is OpenVPN?page.

This guide also assumes that you own a Linksys WRT54GL and have a general understanding of VPN technology.
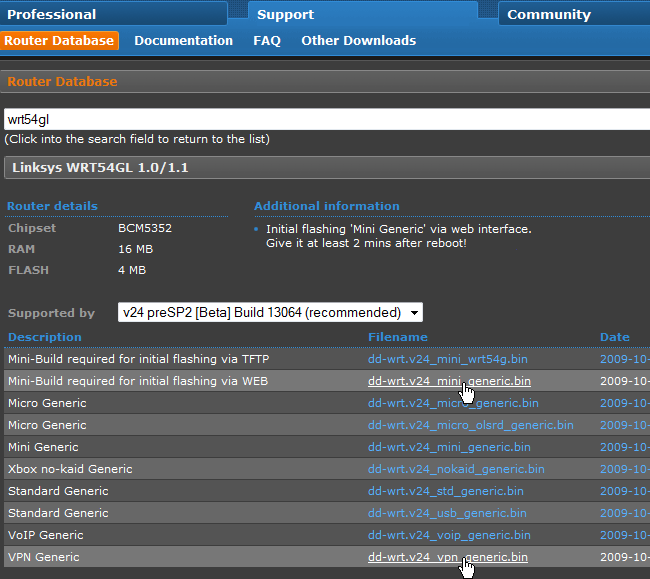
Click your router once it’s found.
Download both the Mini-Generic build and VPN Generic build of DD-WRT (dd-wrt.v24_mini_generic.bin and dd-wrt.v24_vpn_generic.bin).
Save these files to your system.
This page will explain exactly what you better do before and after installing DD-WRT.
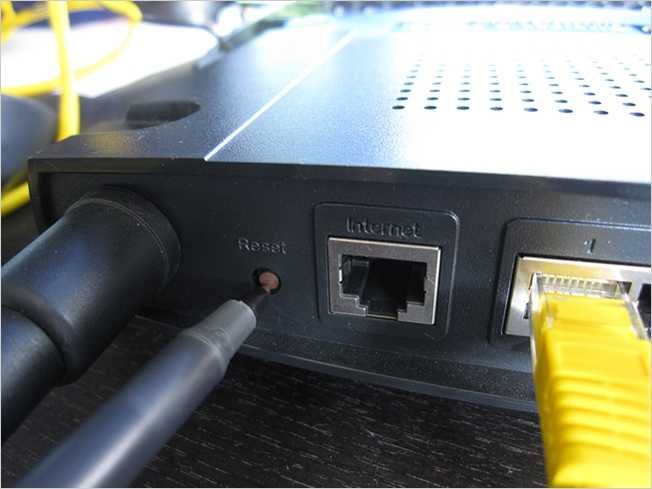
Also, be sure to do a hard reset (AKA a 30/30/30) before installing DD-WRT.
Press the reset button on the back of your router for 30 seconds.
Finally, plug the power cable back in while still holding down the reset button for another 30 seconds.
You should have held the power button for 90 seconds straight.
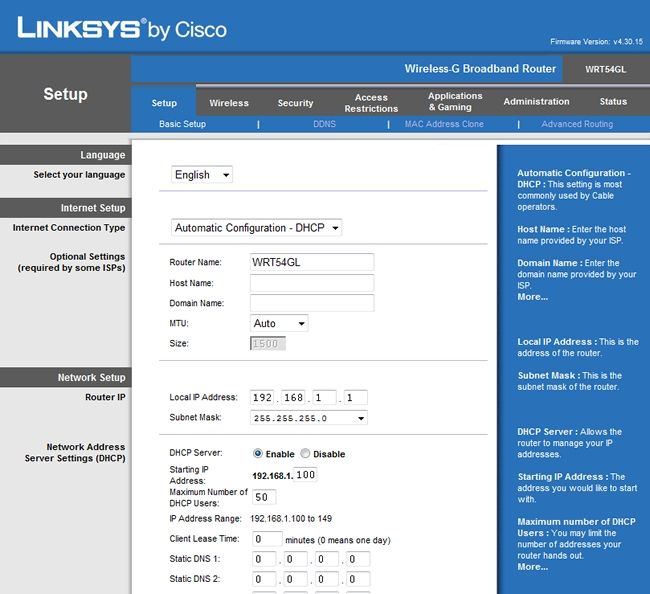
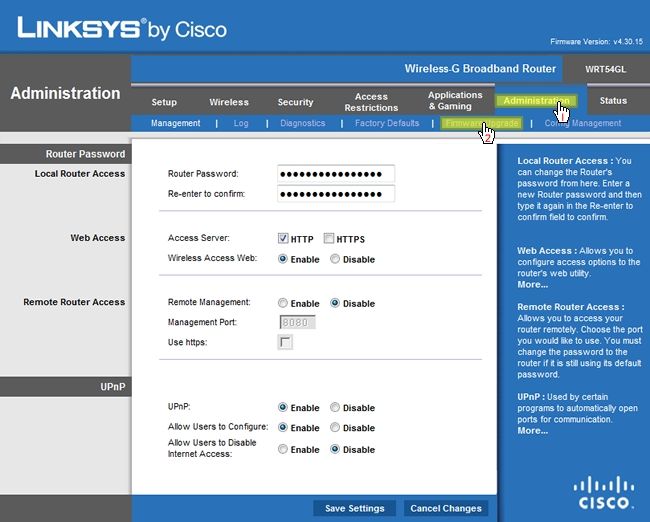
Now open up your online window and enter in your router’s IP address (default is 192.168.1.1).
You’ll be prompted for a username and password.
The defaults for a Linksys WRT54GL are “admin” and “admin”.
smack the Administration tab at the top.
Next, click Firmware Upgrade as seen below.
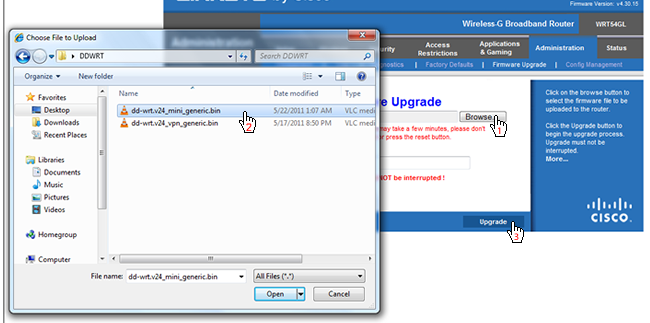
hit the Browse button and navigate to the DD-WRT Mini Generic .bin file we downloaded earlier.
Donotupload the DD-WRT VPN .bin file yet.
choose the Upgrade button in the web interface.
Your router will start installing DD-WRT Mini Generic, and should take less than a minute to complete.
Your first sighting of DD-WRT.
Once again, do another 30/30/30 reset as we did above.
Then poke the Administration tab at the top.
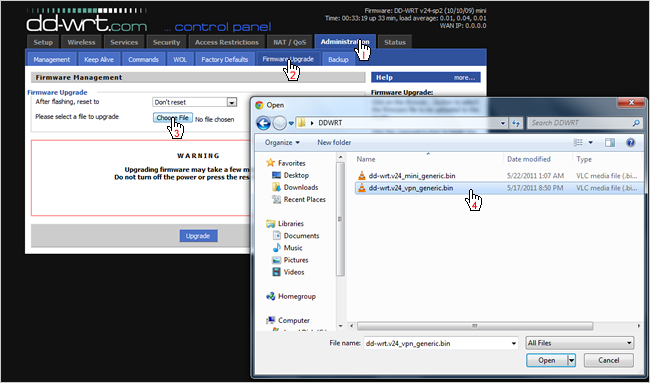
You will be prompted with a username and password.
The default username and password is “root” and “admin” respectively.
After you’ve logged in, tap the Firmware Upgrade sub-tab and click Choose File.
Browse for the DD-WRT VPN file we downloaded earlier and click Open.
The VPN version of DD-WRT will now begin to upload; be patient as it could take 2-3 minutes.
Installing OpenVPN
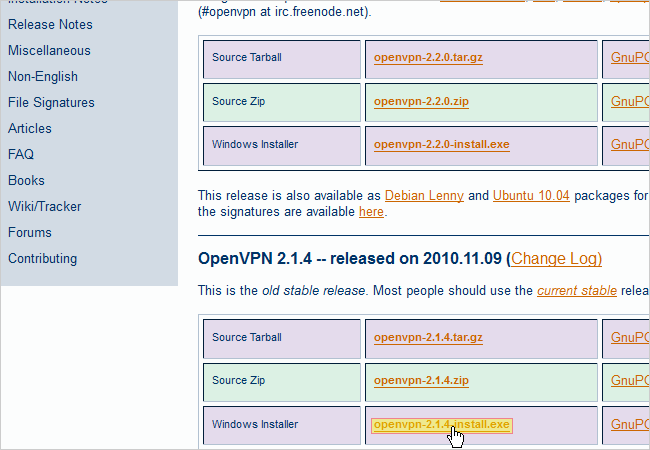
Now let’s head over to OpenVPN’sDownloadspage and download the OpenVPN Windows Installer.
In this guide, we’ll be using the second latest version of OpenVPN called 2.1.4.
The latest version (2.2.0) has abugin it that would make this process even more complicated.
Save the openvpn-2.1.4-install .exe file to your gear.
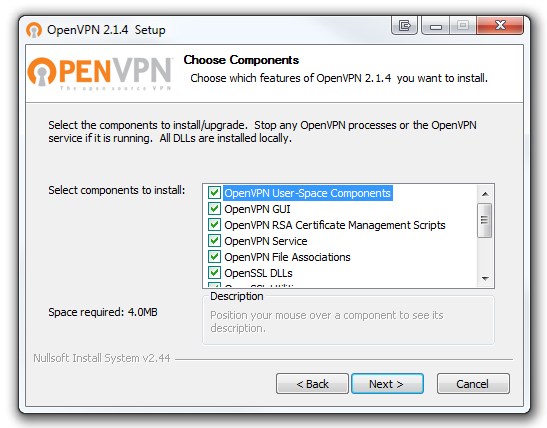
Navigate to the OpenVPN file we just downloaded and double click it.
This will begin the installation of OpenVPN on your machine.
Run through the installer with all the defaults checked.
poke the Install button.
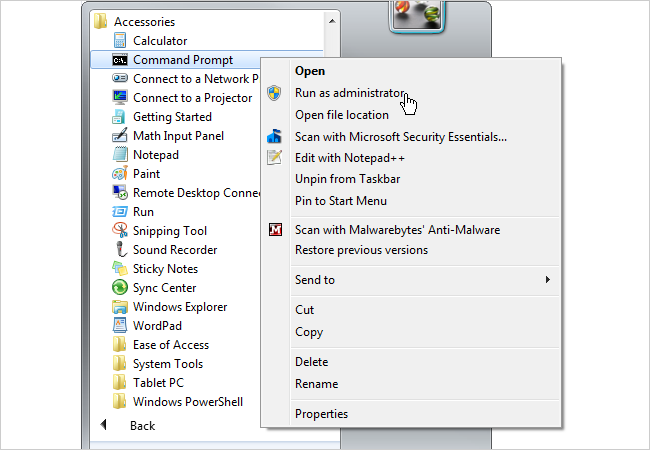
snag the Windows Start button and navigate under Accessories.
You’ll see the Command Prompt program.
Right press it and click Run as administrator.
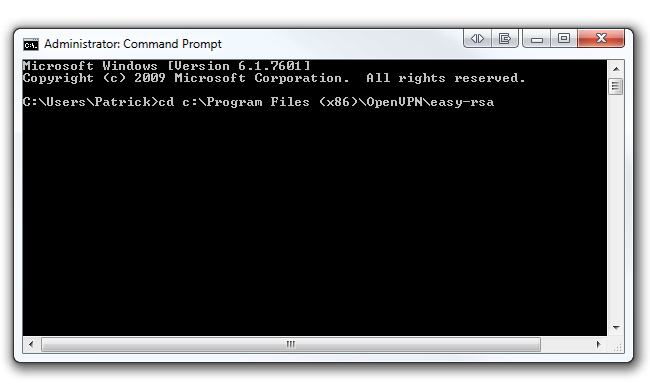
key in cd c:\Program Files\OpenVPN\easy-rsa if you’re running 32-bit Windows 7.
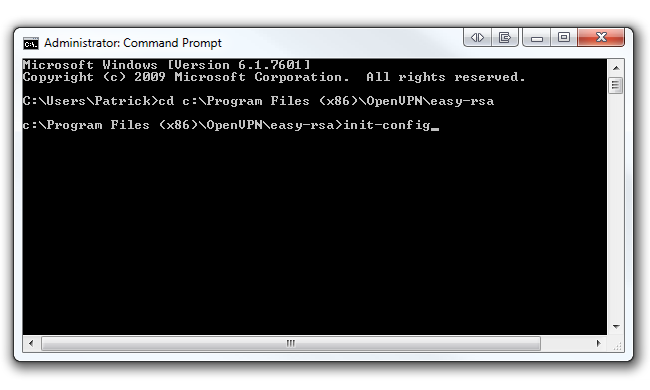
Now pop in init-config and hit Enter to copy two files called vars.bat and openssl.cnf into the easy-rsa folder.
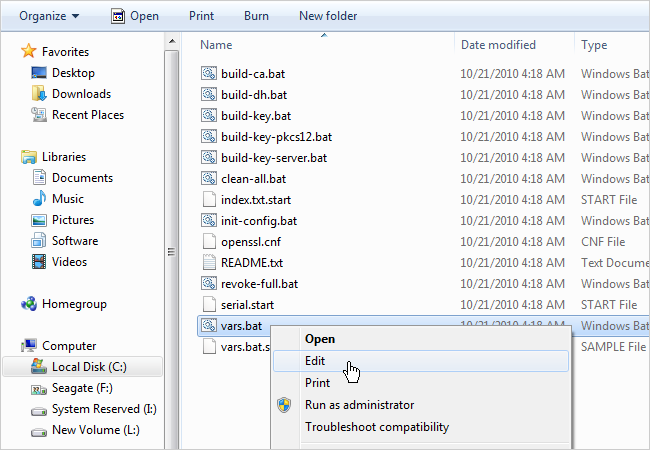
Keep your command prompt up as we’ll be coming back to it shortly.
Click Edit to open it up in Notepad.
Alternatively, we recommend opening this file with Notepad++ as it formats the text in the file much better.
you’re free to download Notepad++ from theirhomepage.
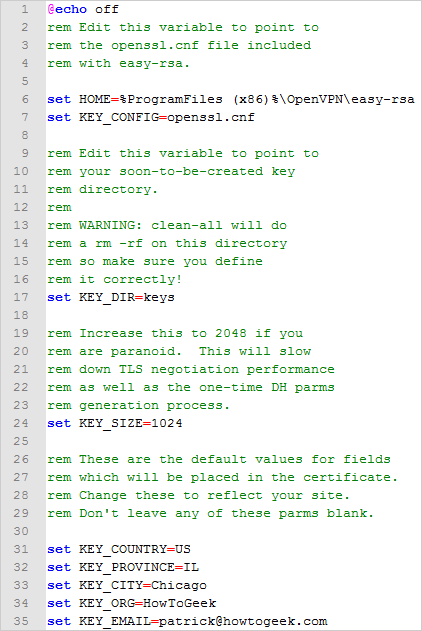
The bottom portion of the file is what we are concerned with.
Starting at line 31, change the KEY_COUNTRY value, KEY_PROVINCE value, etc.
to your country, province, etc.
Do not change this value if you’re running 32-bit Windows 7.
Your file should look similar to ours below (with your respective values, of course).
Save the file by overwriting it once you’re done editing.
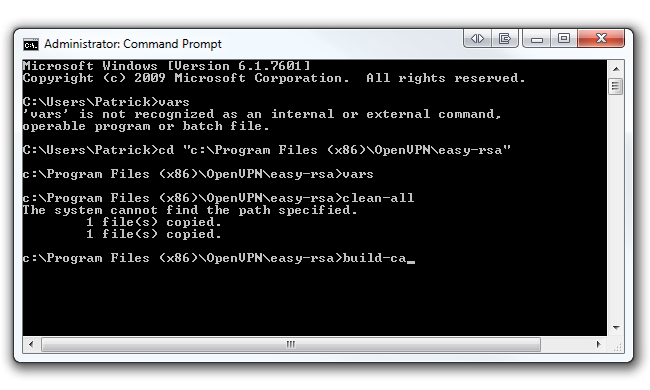
Go back to your command prompt and pop in vars and hit Enter.
Then bang out clean-all and hit Enter.

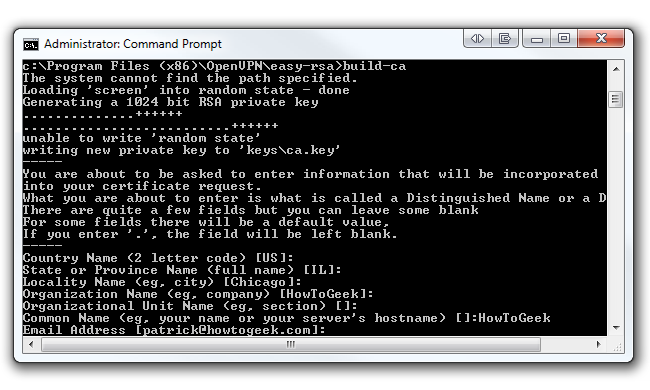
Finally, punch in build-ca and hit Enter.
you’ve got the option to enter anything in this parameter (i.e.
Just see to it you enter something.
Now we’re going to build a key for a client.
In the same command prompt pop in build-key client1.
you’re free to change “client1” to anything you’d like (i.e.
Just be sure to enter the same name as the Common Name when prompted.
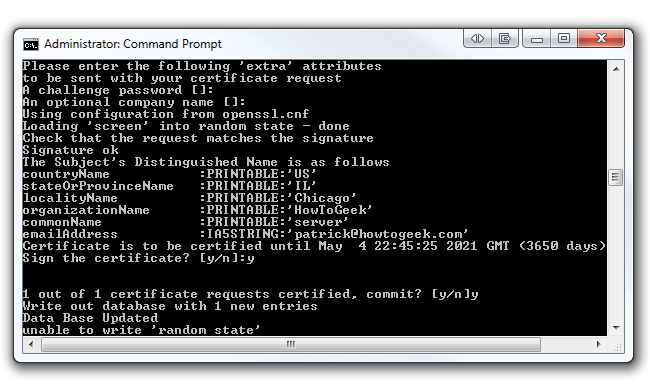
However, at the end you will be asked to sign the certificate and to commit.
jot down “y” for both and click Enter.
Also, don’t worry if you received the “unable to write ‘random state’” error.
We’ve noticed that your certificates still get made without a problem.
This command will output two files (a Client1 Key and a Client1 Certificate) in the easy-rsa/keys folder.

The last certificate we’ll be generating is the server key.
In the same command prompt, pop in build-key-server server.
As always, be sure to enter the same name as the Common Name when prompted.
Hit Enter and run through all the defaults except Common Name.
At the end, jot down “y” to sign the certificate and commit.
This command will output two files (a Server Key and a Server Certificate) in the easy-rsa/keys folder.
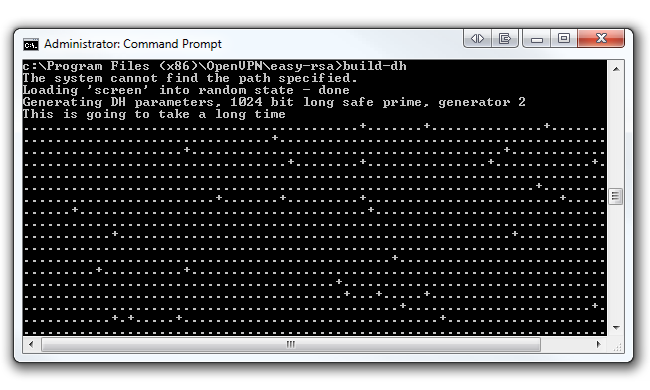
Now we have to generate the Diffie Hellman parameters.
you might read more about Diffie Hellman on RSA’swebsite.
In the same command prompt key in build-dh.
This command will output one file (dh1024.pem) in the easy-rsa/keys folder.
Use this service if your ISP issues you a dynamic external IP address every so often.
If you have a static external IP address, skip down to the next step.
We suggest usingDynDNS.com, a service that allows you to point a hostname (i.e.
howtogeek.dyndns.org) to a dynamic IP address.
Sign up for a freehostnameand point it to your publicIP address.
Now back to configuring OpenVPN.
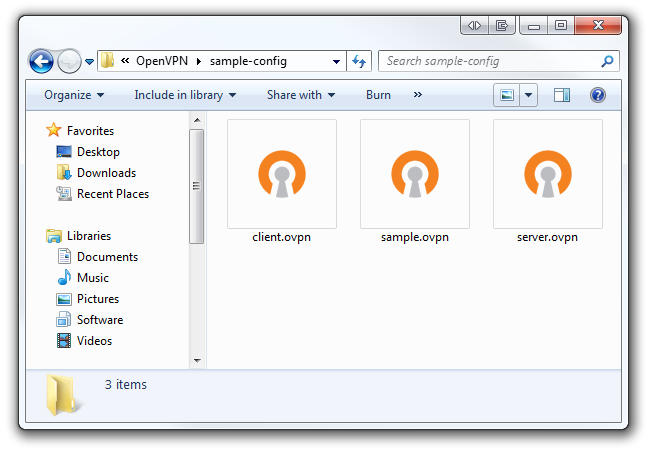
In this folder you will find three sample configuration files; we’re only concerned with the client.ovpn file.
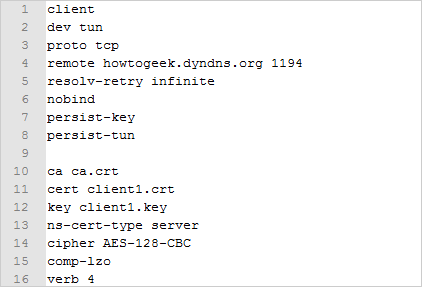
Right select client.ovpn and open it with Notepad or Notepad++.
Leave the port number to 1194 as it is the standard OpenVPN port.
Save this as new file .ovpn file in the OpenVPN/config folder.
Open up your net surf tool again and navigate to your router.
You should now have the DD-WRT VPN edition installed on your router.
You will notice a new sub-tab under the Services tab called VPN.
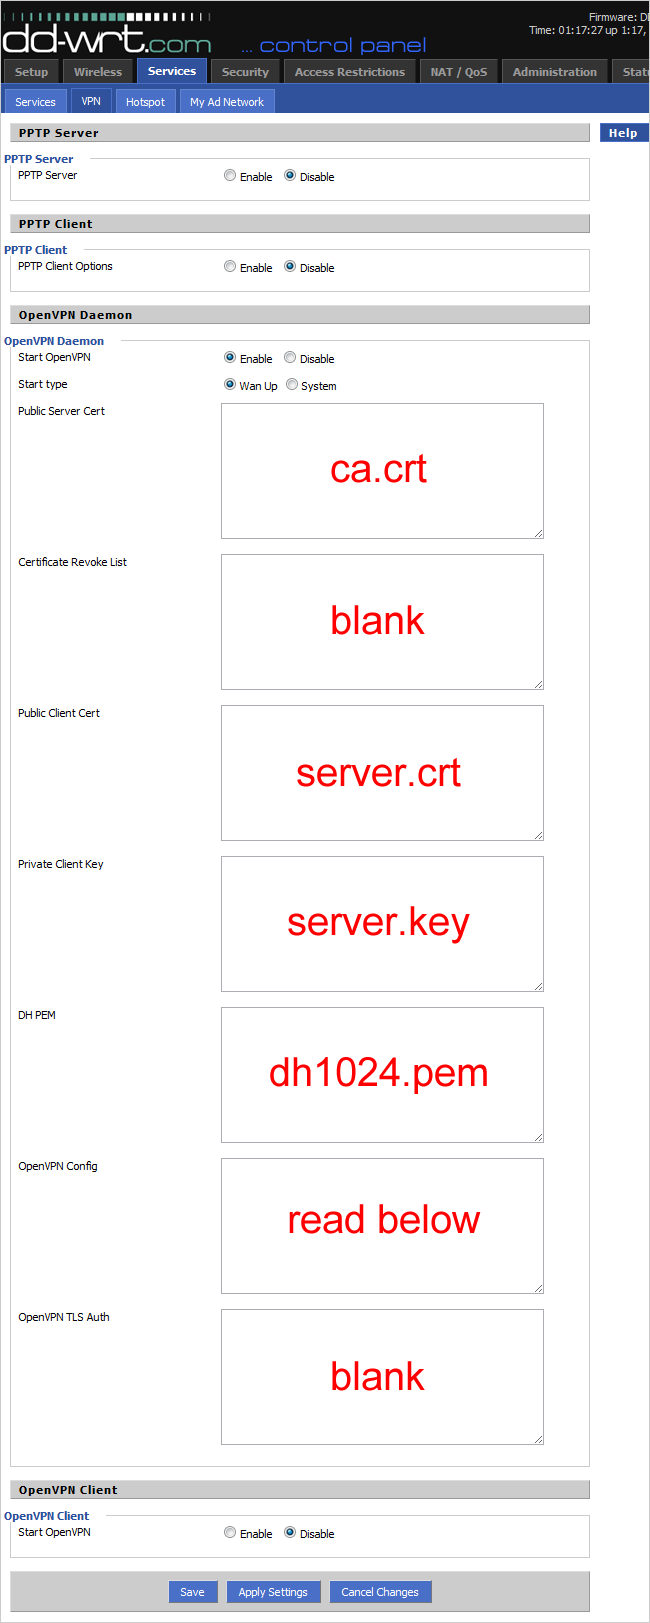
hit the Enable radio button under OpenVPN Daemon.
Now we’re going to need our server keys and certificates we created earlier.
Paste the contents in the corresponding boxes as seen below.
For the OpenVPN Config field, we will need to create a custom file.
These prefs will differ depending on how your LAN is set up.
Open a separate online window window and punch in in your router’s IP address.
The default, which is what we are using in this example, is 192.168.1.1.
Paste this subnet right after “route” in the first line to reflect your LAN setup.
Copy this into the OpenVPN Config box and click Save.
Go to the Administration tab and poke the Commands sub-tab.
Then go for the Save Firewall button below.
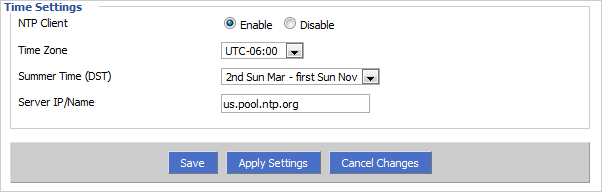
We suggest going toTimeAndDate.comand searching for your city under Current Time.
Also, check out the NTP Pool Project’swebsitefor public NTP servers to use.
Then navigate to C:\Program Files\OpenVPN\config which is where we’ll be pasting our files.
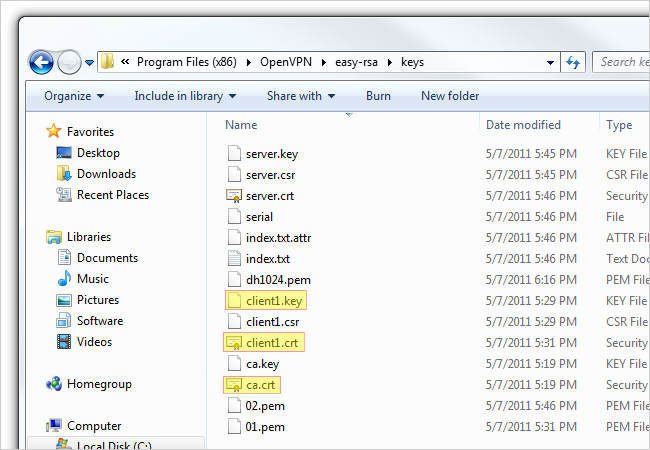
Navigate to C:\Program Files (x86)\OpenVPN\easy-rsa\keys again and copy ca.crt, client1.crt, and client1.key.
Paste these files in the client’s config folder.
Finally, we need to copy one more file over.
Paste this file in the client’s config folder also.
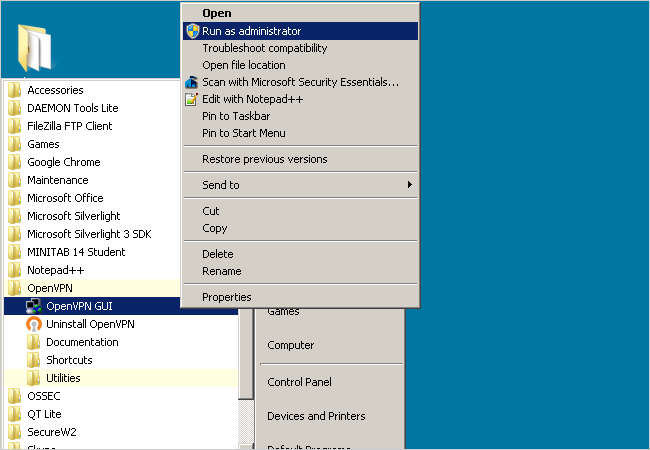
Right snag the OpenVPN GUI file and click Run as administrator.
Note that you must always run OpenVPN as an administrator in order for it to work properly.
To permanently set the file to always run as administrator, right smack the file and click Properties.
Under the Compatibility tab check Run this program as an administrator.
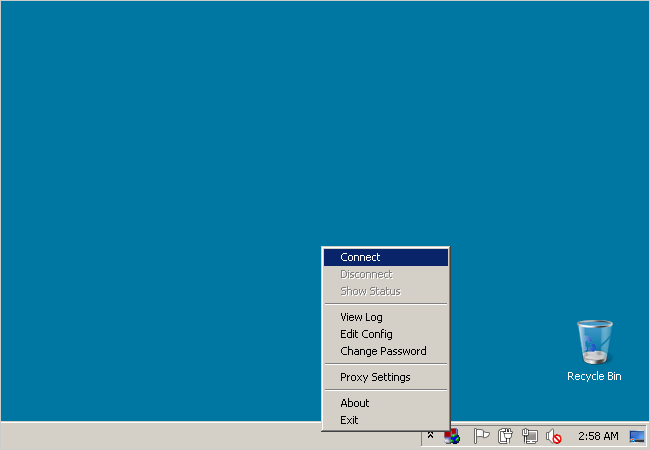
The OpenVPN GUI icon will appear next to the clock in the taskbar.
Right nudge the icon and click Connect.
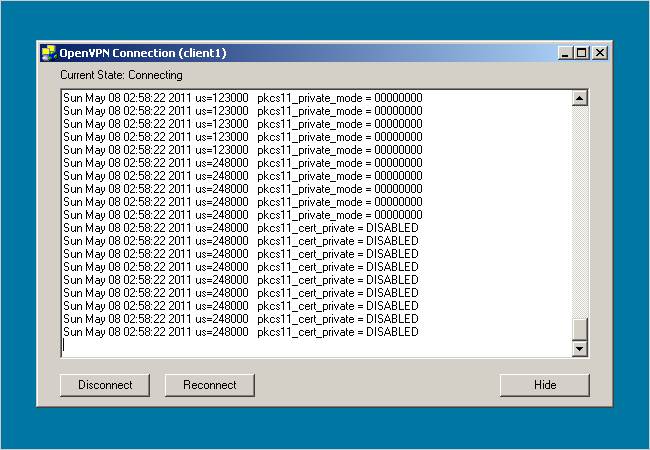
A dialog box will pop up displaying a connection log.
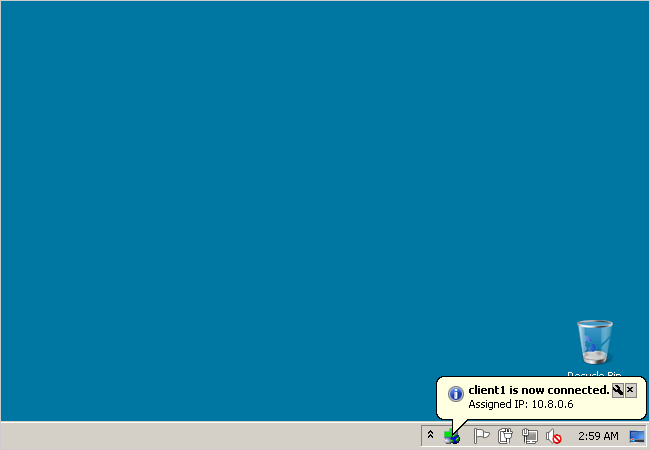
And that’s it!
You now have a secured connection between your server and client’s online grid using OpenVPN and DD-WRT.
