So if you want to start using Plex on your Ubuntu system, then this guide is for you.
What Is Plex?
you’re free to access and manage your multimedia libraries across multiple devices and platforms with Plex.
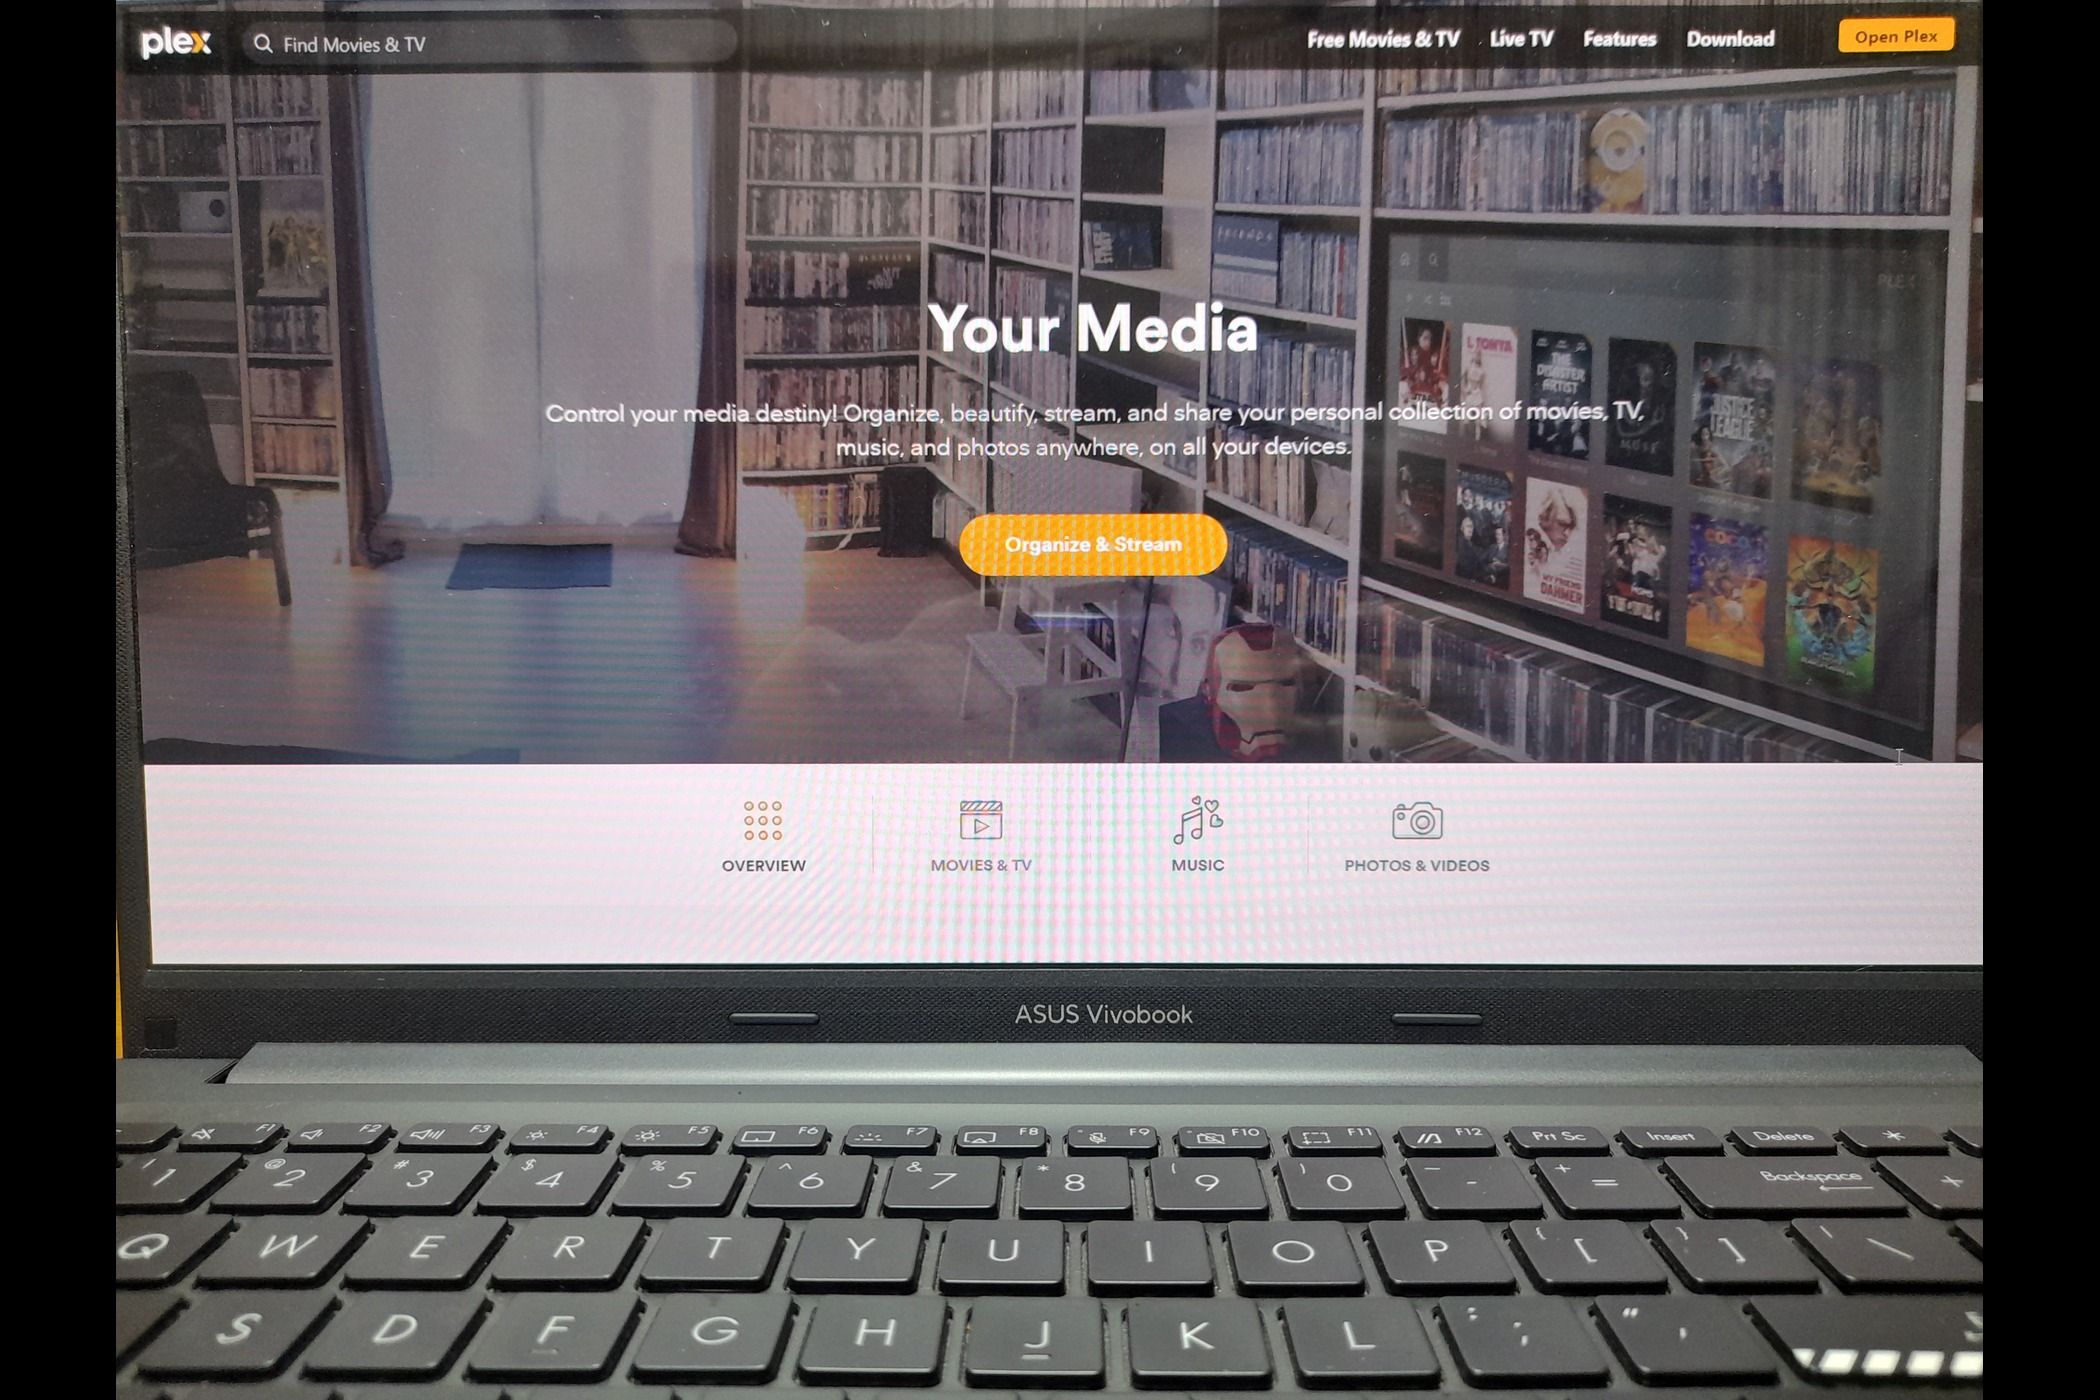
Zunaid Ali / How-To Geek
And you could get started for free, no credit card required.
So you’ll need to launch your terminal.
After opening the terminal, enter the below command:
Now press the “Enter” button.
You should be prompted to drop your user password.
type your password and press the “Authenticate” button.
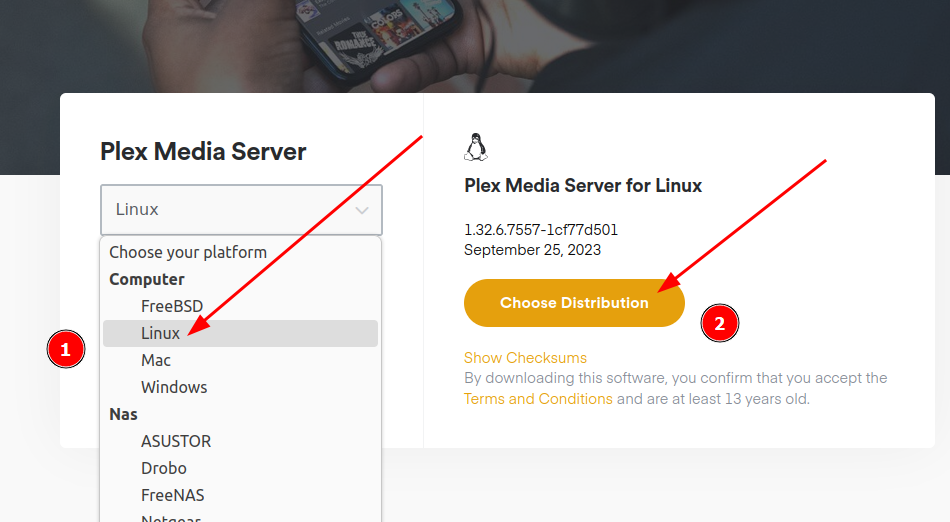
Once the update is over, head over to thePlex downloadspage.
From the “Choose your platform” dropdown menu, select “Linux.”
Then press the “Choose Distribution” button.
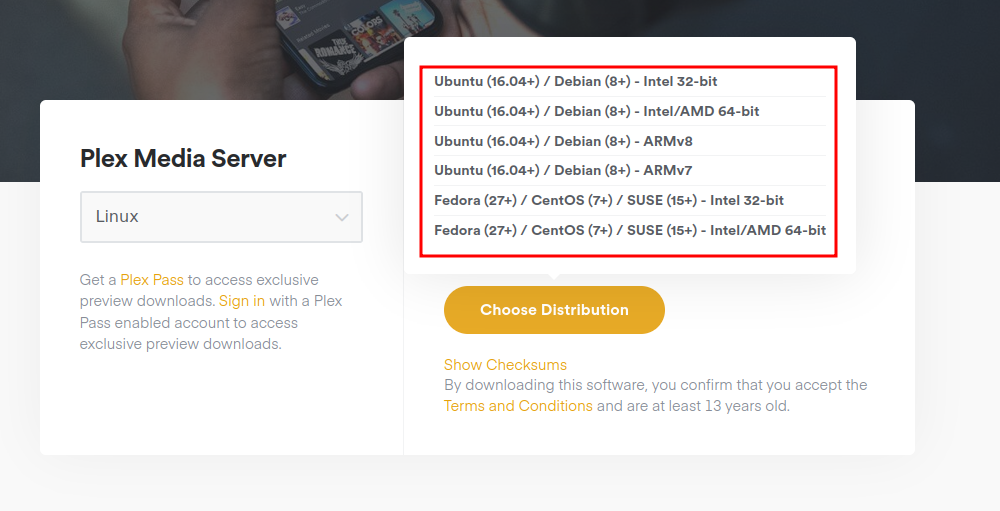
From the list, opt for version most suited for you.
We’ll go with the 64-bit version.
Download the provided DEB package.
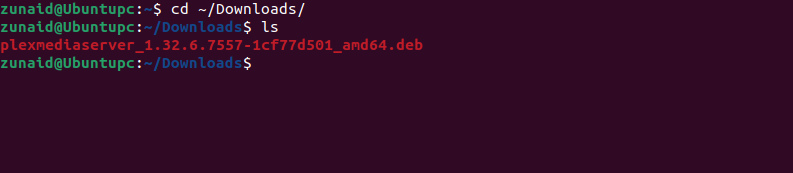
Once the download is over, navigate to the directory where you downloaded it.
By default, it’s the ~/Downloads directory.
Go to that directory with this command:
Now you will load the package.
):
That should start installing the Plex media server on your equipment.

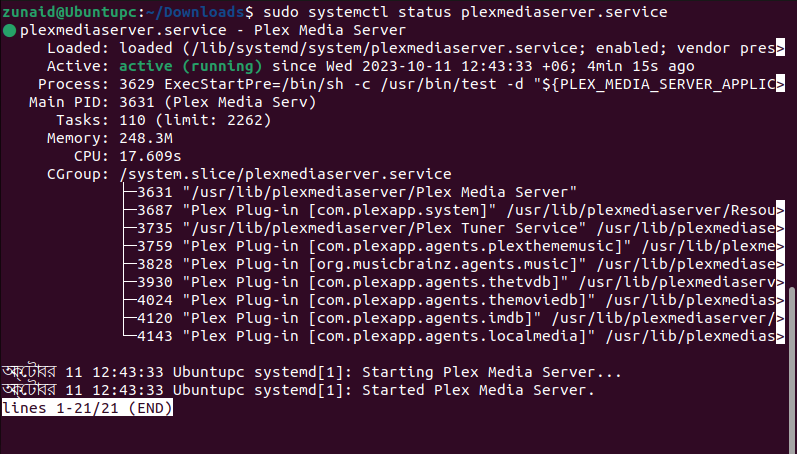
If the installation is done, you might check whether it was installed correctly.
Press “q” to exit from the buffer.
That means if you shut down your system, it will become inactive.
By enabling it, it will become active every time you boot your machine.
That’s because of not having the proper folder permission set up.
So it’s best to do that prior to the configuration.
The first thing you should do is prepare your media files.
We’ll use those media to build our libraries.
Otherwise, it may fail to locate the content you’re searching for.

Movies should be named in a[Movie_Name (Release_Year)]format.
it’s possible for you to use thechowncommand to change the file and directory ownership.
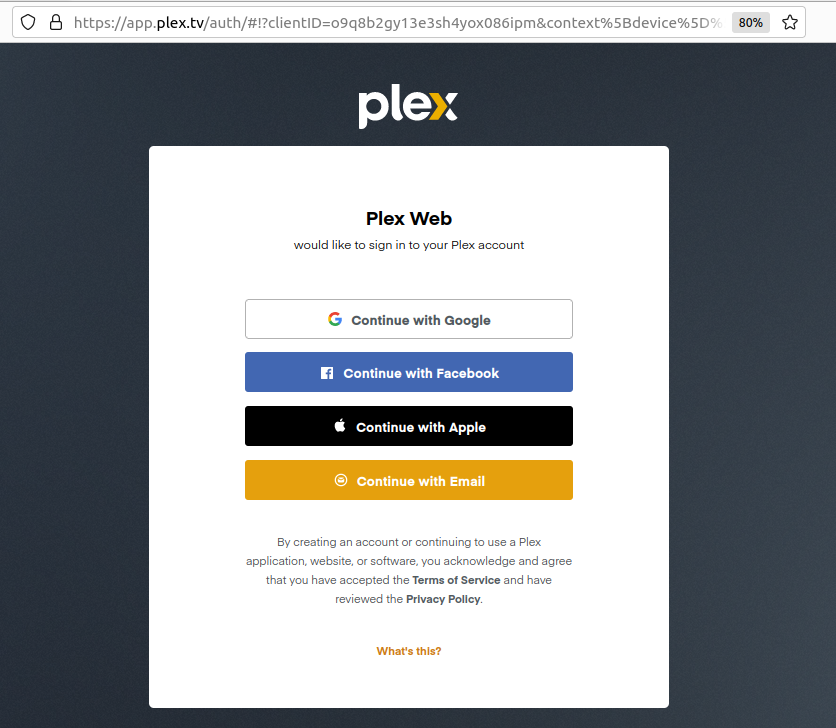
So, fire up any online window of your choice.
We’ll use Firefox.
We’re going to use Google to jump in.
That’s because it’s faster since we already had Google credentials set up on the internet tool.
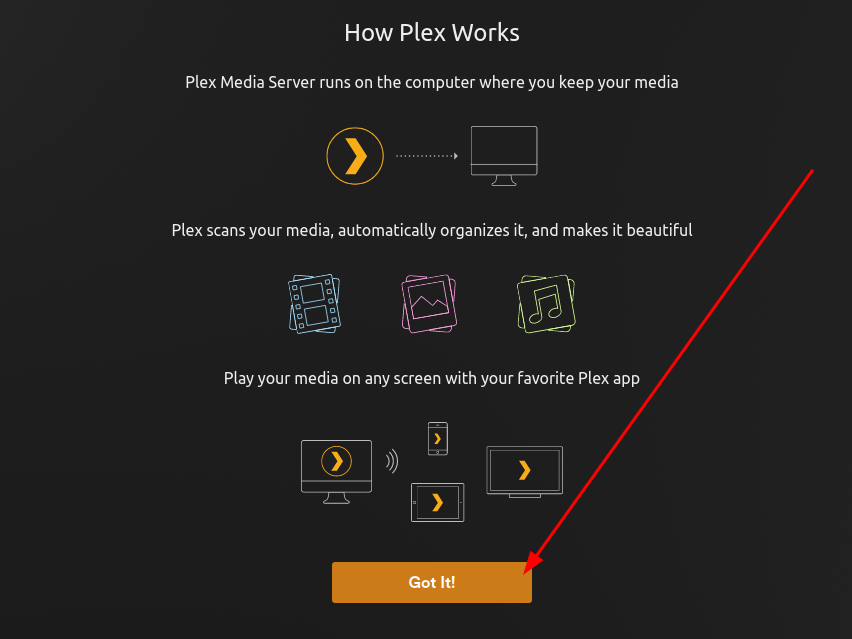
After logging in, you should see a “How Plex Works” page that summarizes its working process.
Press the “Got it” button.
You should see a popup aboutPlex Pass.
It’s a subscription that allows some extra features.
you might choose any of the given monthly plans.
We’re going to skip it by pressing the cross button in the top right corner.
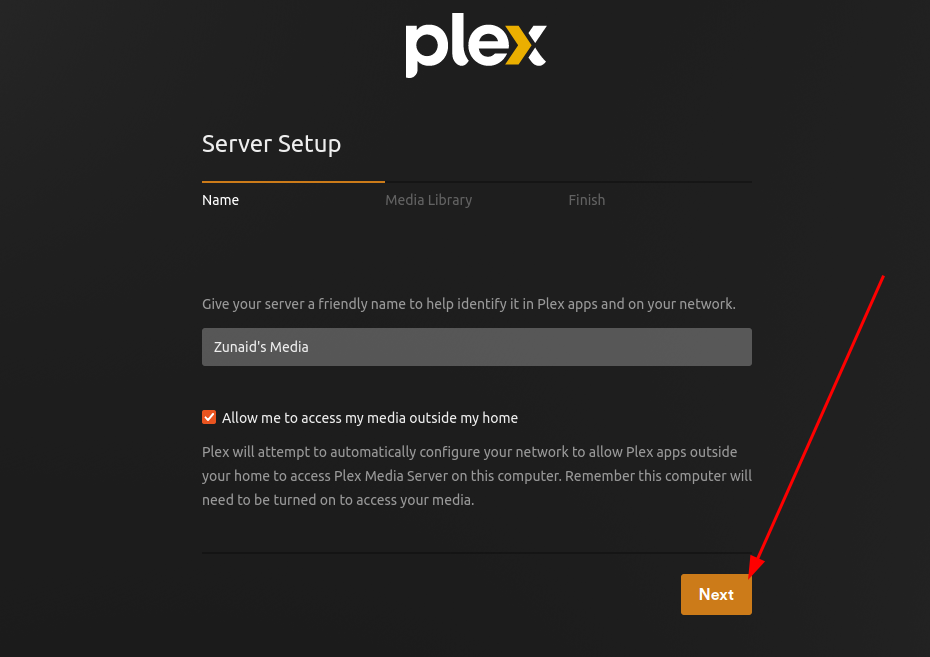
In the next window, we will start setting up the server.
The first tab is about the name of our server.
Enter a name for your server so that you’re able to easily identify it on your internet.

Then you have the option to enable remote access.
If you want to access your media outside your home, tick the box.
Else, remove the tick mark.
When you’re done, press the “Next” button.
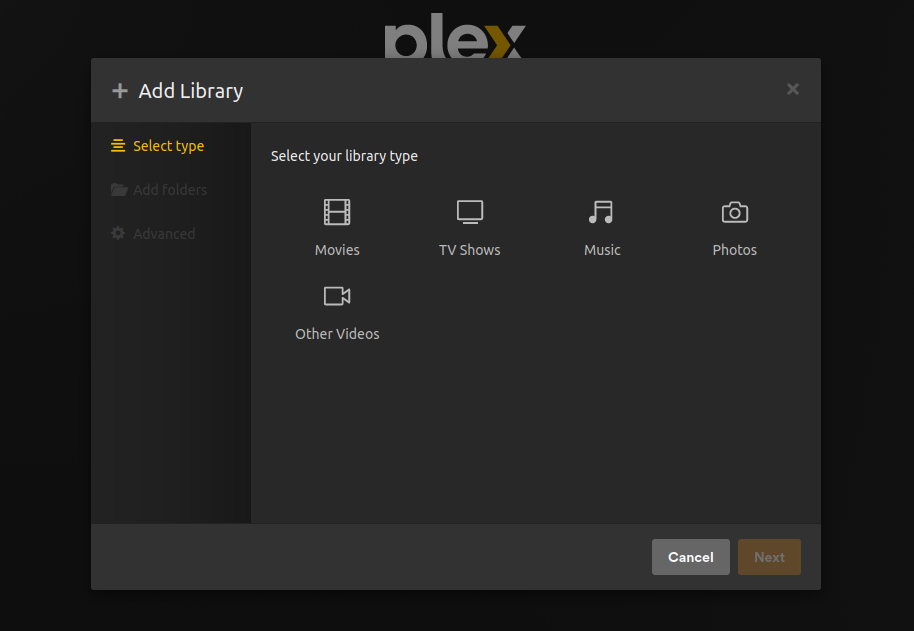
Then comes the media organization step.
To do that, press the “Add Library” button.
Then snag the bang out of library you want to make.
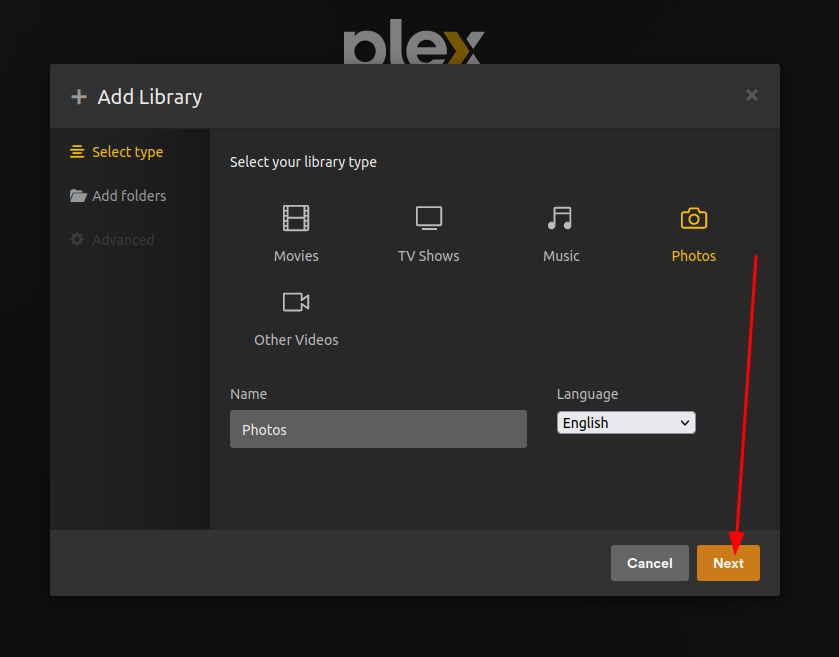
After choosing a pop in, you’re able to change the library name and language.
Let’s set up a photo library.
Press the “Next” button.
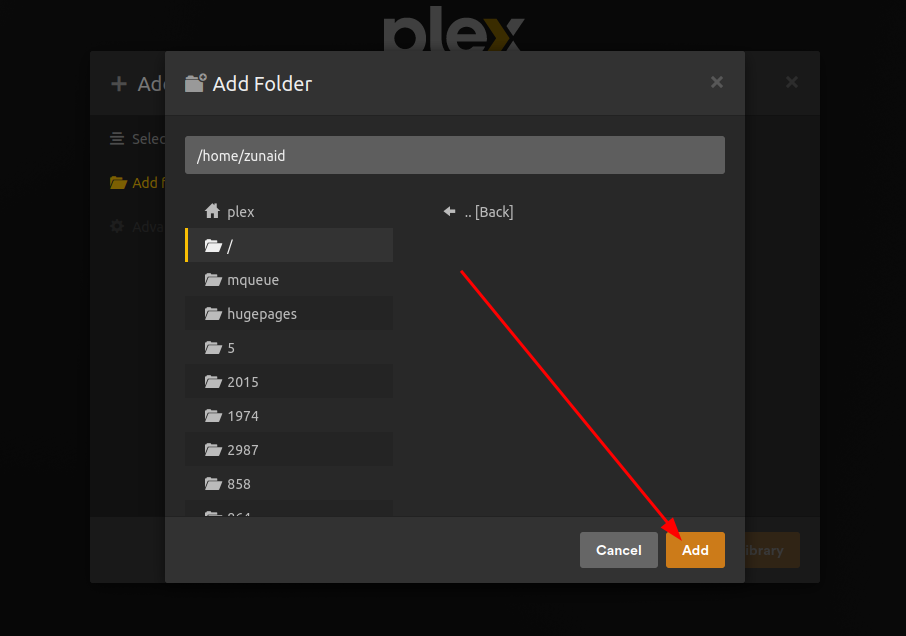
Next, you have to add a folder to your library.
Press the “Browse For Media Folder” button.
Now navigate through the directories to find the folder you’d like to add to your library.
Then press the “Add” button.
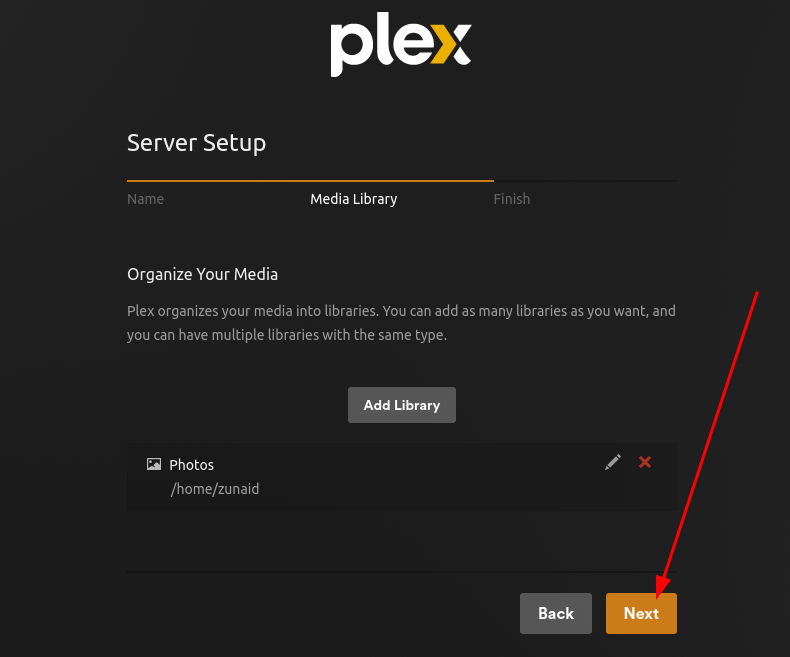
Then finally, press the “Add Library” button.

If you want to create more libraries, follow the same steps.
When finished, press the “Next” button.
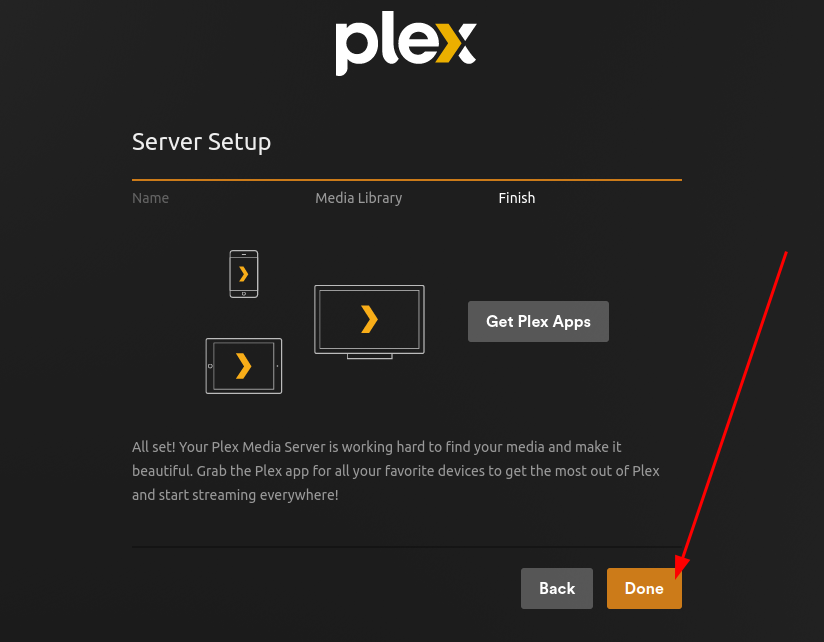
The last tab is the “Finish” tab which asks you to download thePlex app.
Press the “Done” button.
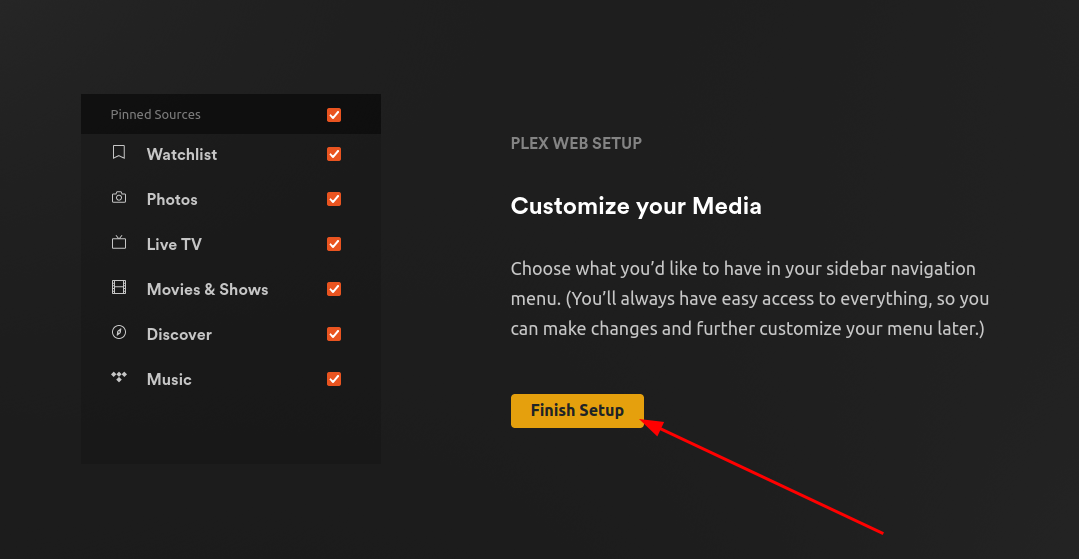
By default, everything is selected.
you could unselect any of the options if you want.
Then press the “Finish Setup” button.
So if there’s a new update available on that repository, we won’t receive that.
For that reason, we need toadd its repository.
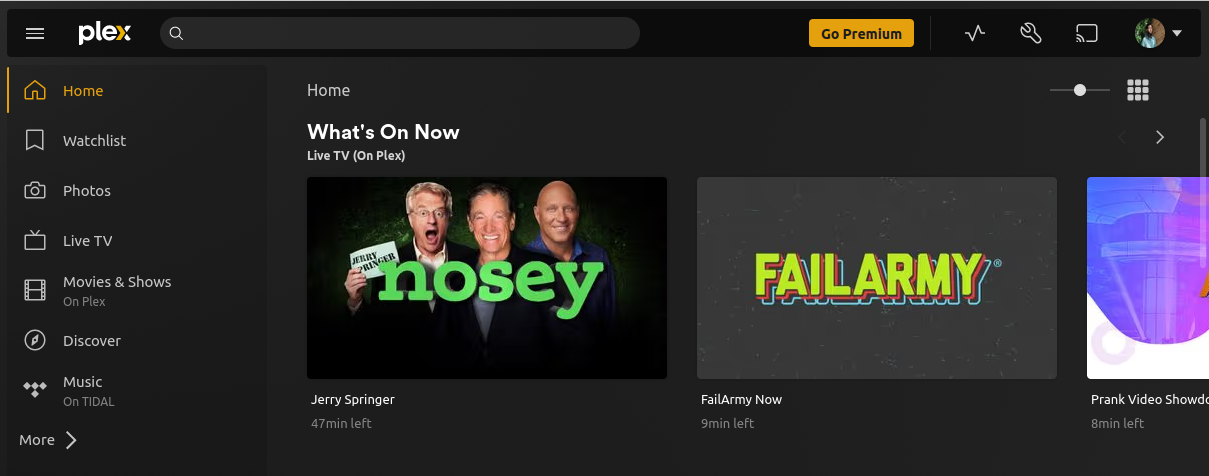
you might start enjoying your favorite multimedia from the comfort of your Ubuntu desktop.
