Related
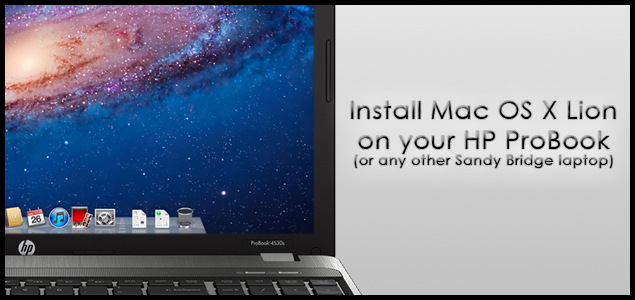
Theres nothing more satisfying than building a hackintosh, i.e.
installing Mac OS X on a non-Apple machine.
Although it isnt as easy as it sounds, but the end result is worth the effort.
And now, its time to step into the portable world.
Why should (or shouldnt) you do it?
Lets clarify whether or not it should be done.
Firstly, we all know Apple makes awesome laptops.
Digital artists, musicians, video editors, they all prefer Mac for a reason.
But remember, it may not perform as good as a real Mac does.
The results vary, so hope for the best, and proceed with caution.
Apart from that, it has to be a Sandy Bridge processor.
So if you are an existing ProBook owner, see if your machine is compatible or not.
Finally, theres one more thing that you should probably check.
If you want to use Wi-Fi in OS X, your laptop should have an Atheros Wi-Fi module.
Then just take the old one out, and replace it with the new one.
Now that youve got all the required items, were ready to go.
The procedure
There may be two situations now.
Backup your data before you proceed.

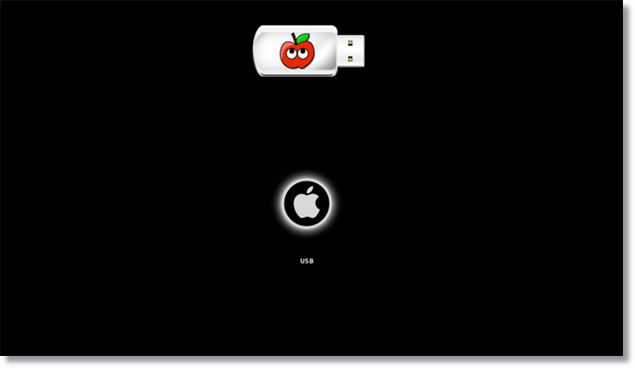
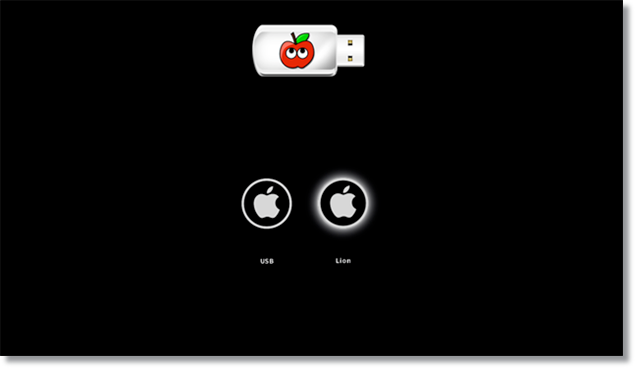
We will use the UniBeast method.
Start off by preparing the UniBeast USB drive.
We have a detailed guide on that, so you definitely need tocheck it out.
Explaining the whole thing will take time.
Once the USB is ready, attach it to your ProBook, and turn it on.
Also note down the BIOS version, since we will need that later.
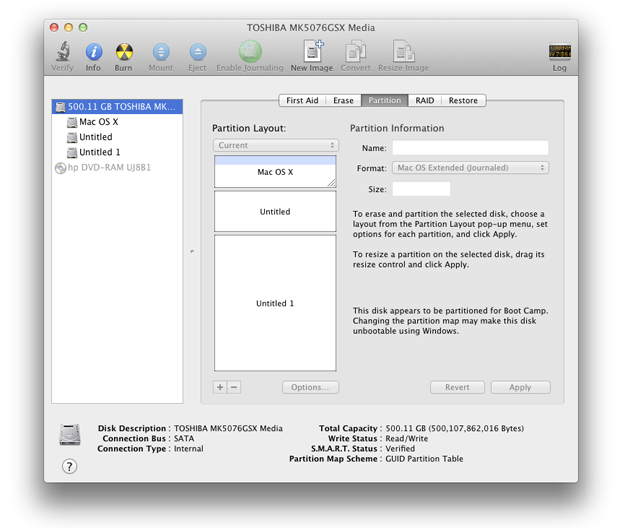
Then on the menu bar, click Utilities> Disk Utility.
you might make even more (or lesser) partitions if you want to.
In Disk Utility, snag the Partitions tab.
Click Apply, and then click Partition to partition the drive.
This screenshot is just for reference, actual results may vary.
This one is just to give you an idea of how it would look like.
Once you’ve done partitioning, quit disk utility.
Continue with the installer.
It takes about 15-30 minutes, depending on your configuration.
Do so by clicking the restart button.
When it restarts, you’ll need to boot from the installer USB again.
This time, you’ll have 2 choices.
You’ll be on the desktop in a few seconds.
But in this case, the specially designed HP ProBook installer is what you need.
After registering, downloadthe installerattached at the end ofTHIS post.
And if you’re installing on a different laptop, use MultiBeast.
The next step is the simplest.
Download the installer and run it.
There are a couple of selections you’re gonna wanna make.
Select your BIOS version (you probably wouldve noted it down earlier, so refer to that).
Then select what to install.
Finally, the most essential thing, choose the appropriate DSDT.
poke the arrow besides the name to expand the items under that category.
Then snag the BIOS version that you noted down earlier.
Also check out the Extra Tools and see if you want to install any of them.
The following screenshot shows how the selections looked like on my ProBook.
When that’s done, you’ve got the option to test if everything is working.
Remember, you could fire off the installer any time again, if it’s crucial that you.
It means if something stops working, you’re free to execute the installer again to re-enable it.
Now if you’re happy with how your ProBook is running OS X, you might continue using it.
This is normal because Windows has replaced the chimera bootloader.
spin up the ProBook installer and install chimera (select chimera from the list of items to install).
If you have any questions after installing, check out theFAQ.
Also, you could head over to tonymacx86 forums and ask your question there, youll definitely get answered.
There’s adedicated forum sectionfor the HP ProBook, so go ahead and check it out.
Also, avoid using the default software update on your hackintosh laptop, or it may break your installation.
