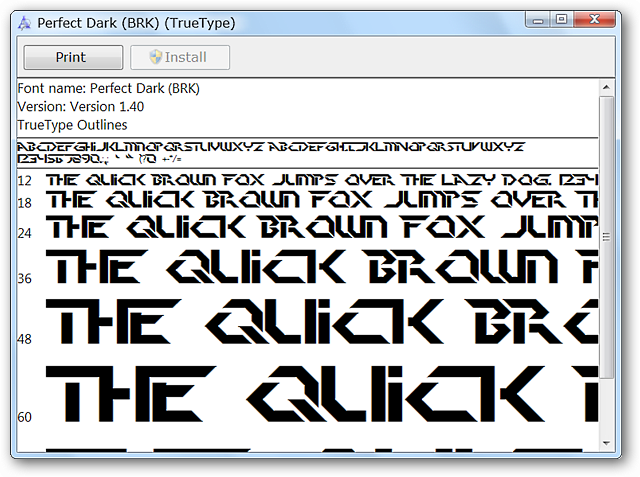
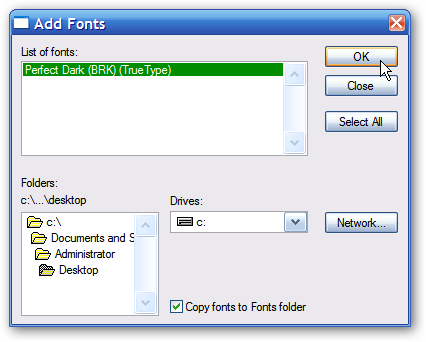
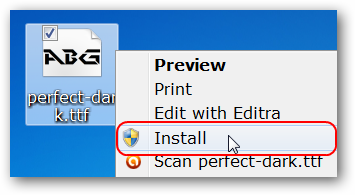
Just right choose the font files and select Install.
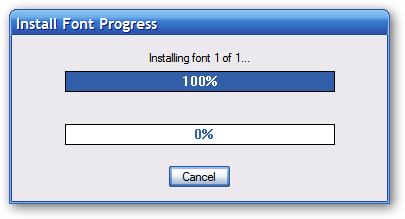
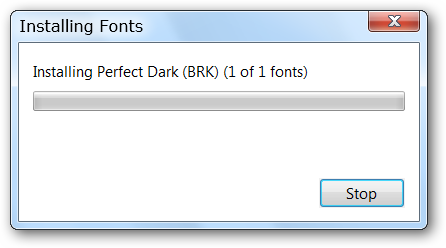
A small window will appear showing the progress on adding the new fonts to your system.
Your new fonts will be ready to use as soon as this window auto-closes.
While similar there are small differences between 7 and Vista.
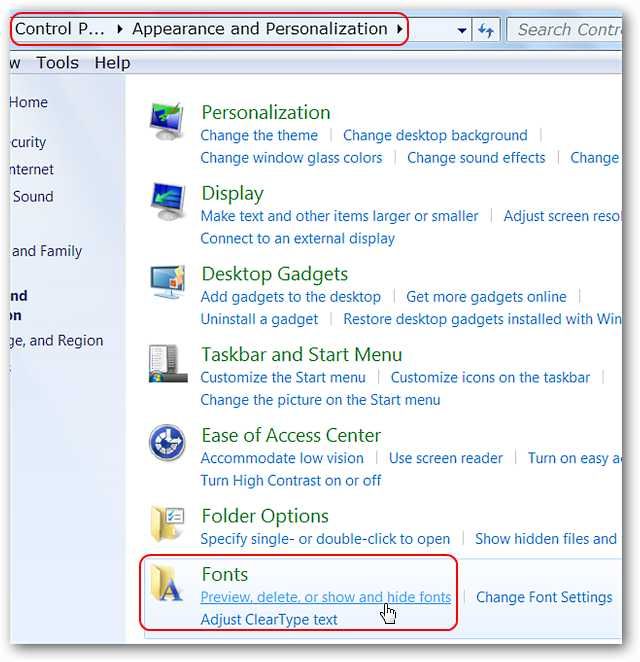
In Windows 7 the Fonts Folder will open in the same Control Panel window.
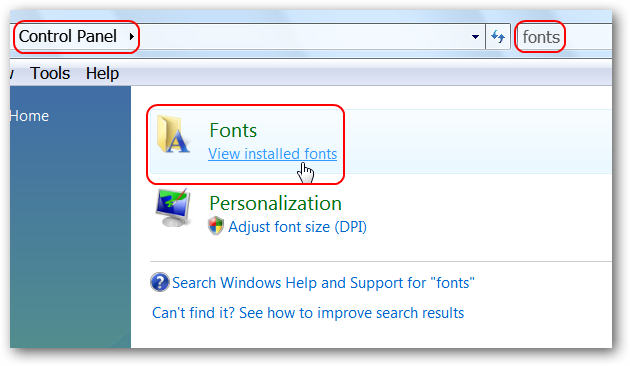
Once the Fonts listing appears punch View installed fonts.
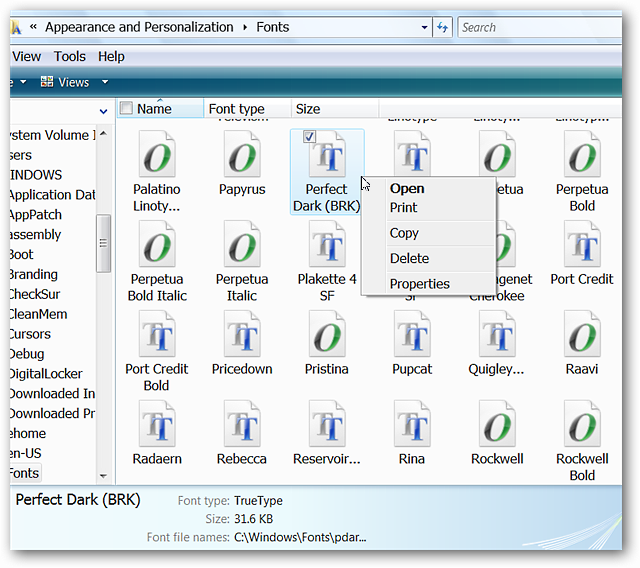
The Fonts Folder will open in a new window.
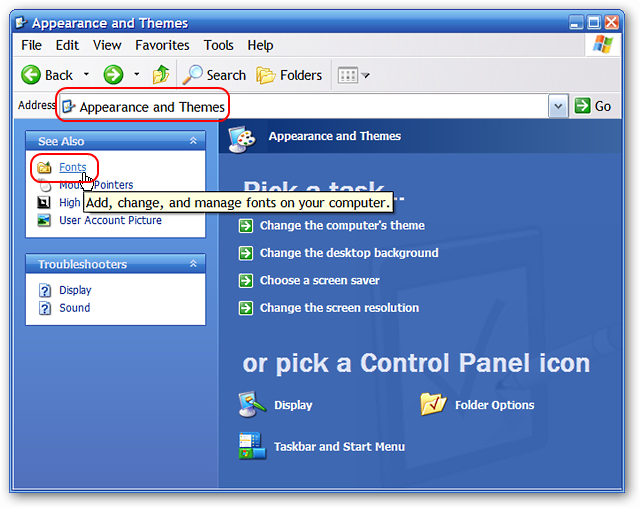
choose the Fonts Links to reach the Fonts Folder on your system.
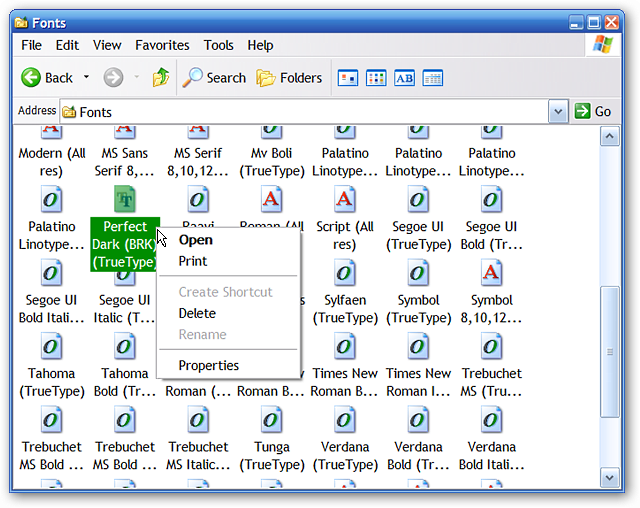
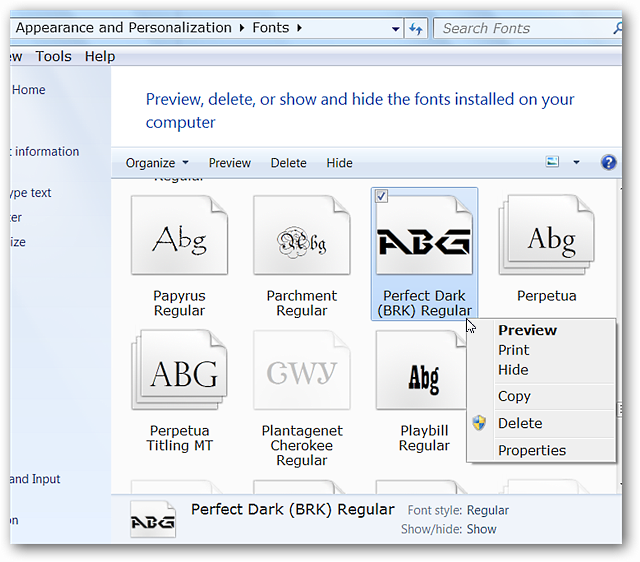
You will do all of the installing, viewing, deleting, or other font functions from this window.
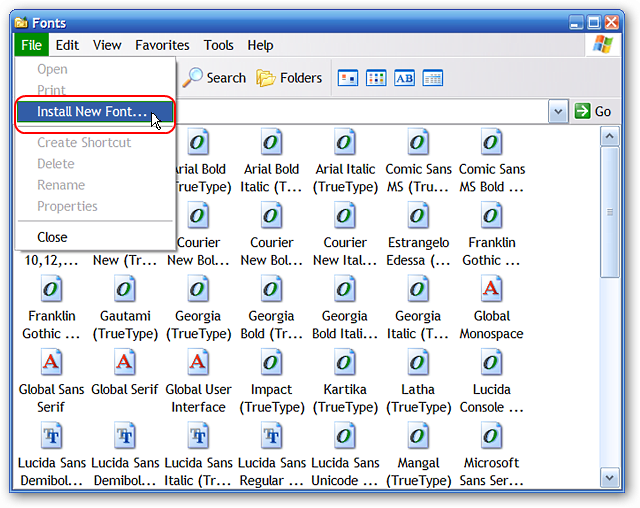
To install a new font in XP go to the File Menu and select Install New Font.
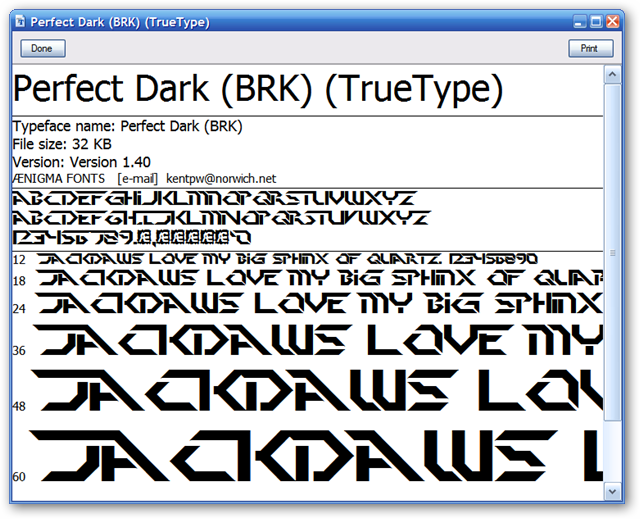
Viewing fonts is very similar to 7 and Vista except for the top portion of the window.
Notice that there is an extra line of information provided for the font (i.e.
“font brand” & e-mail address).
Managing the fonts on your system is quick and easy to do once you get started.
If you are on Ubuntu check out our article onhow to add Microsoft core fonts to Ubuntu.