Here’s how to use Stable Diffusion to make textures for Minecraft.
They’re all free (or have free alternatives), except for Minecraft itself.
Every program listed has all of the necessary functionality.
double-check you run Minecraft at least once after you download and install it.
The launcher downloads more files the first time the game is run.
Once you’ve done all that, we’re ready to start producing textures.
Just right-press the Desktop, mouse over “new,” then click “Folder.”
We named ours “HTGExampleTextures” since it is easy to remember.
We’ll show you what that means.
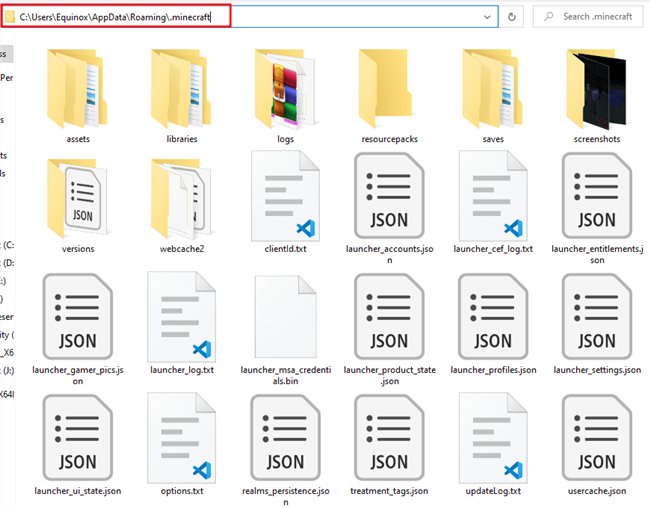
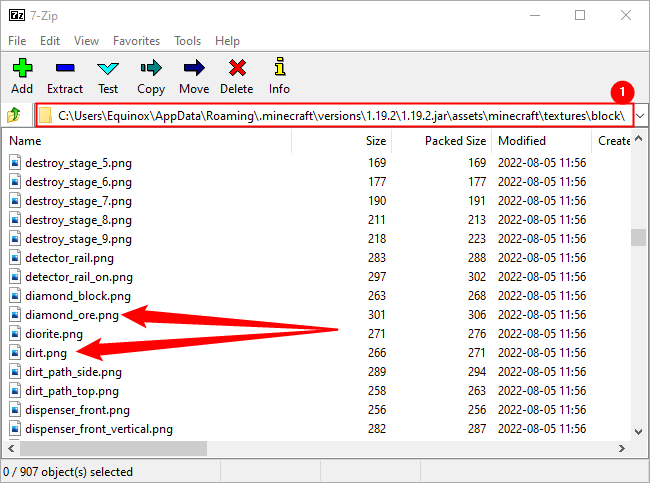
Navigate to where you installed Minecraft.
It is in “C:\Users(YourUserName)\AppData\Roaming.Minecraft” by default.
You’ll see something like this:
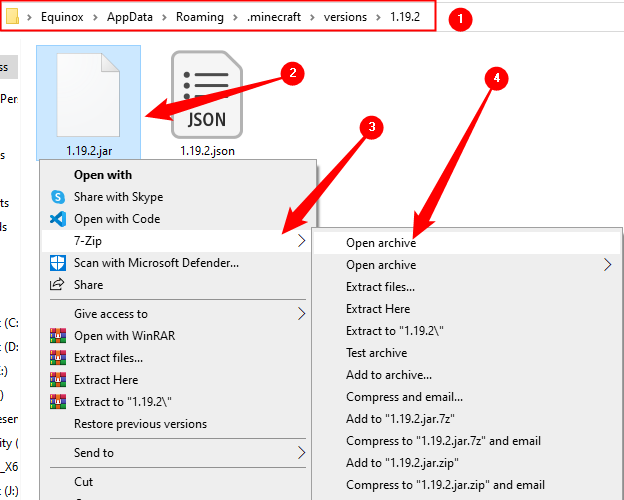
Open “assets\Minecraft\Textures\Block.”
Note the file path at the top, marked “1.”
Minecraft will look for certain textures, like “diamond_ore.png,” at this location.
Head back over to the texture pack folder on the Desktop and open it.
Create a new folder named “assets” in the texture pack folder.
Then create another folder named “minecraft” within the Assets folder.
Repeat that process for the “textures” and “block” folders.

Start Generating Textures With Stable Diffusion
Stable Diffusion is good for generating all sorts of imagery.
Ours is aimed at being fairly realistic looking.
We aren’t building a comprehensive texture pack that’ll replace every texture.
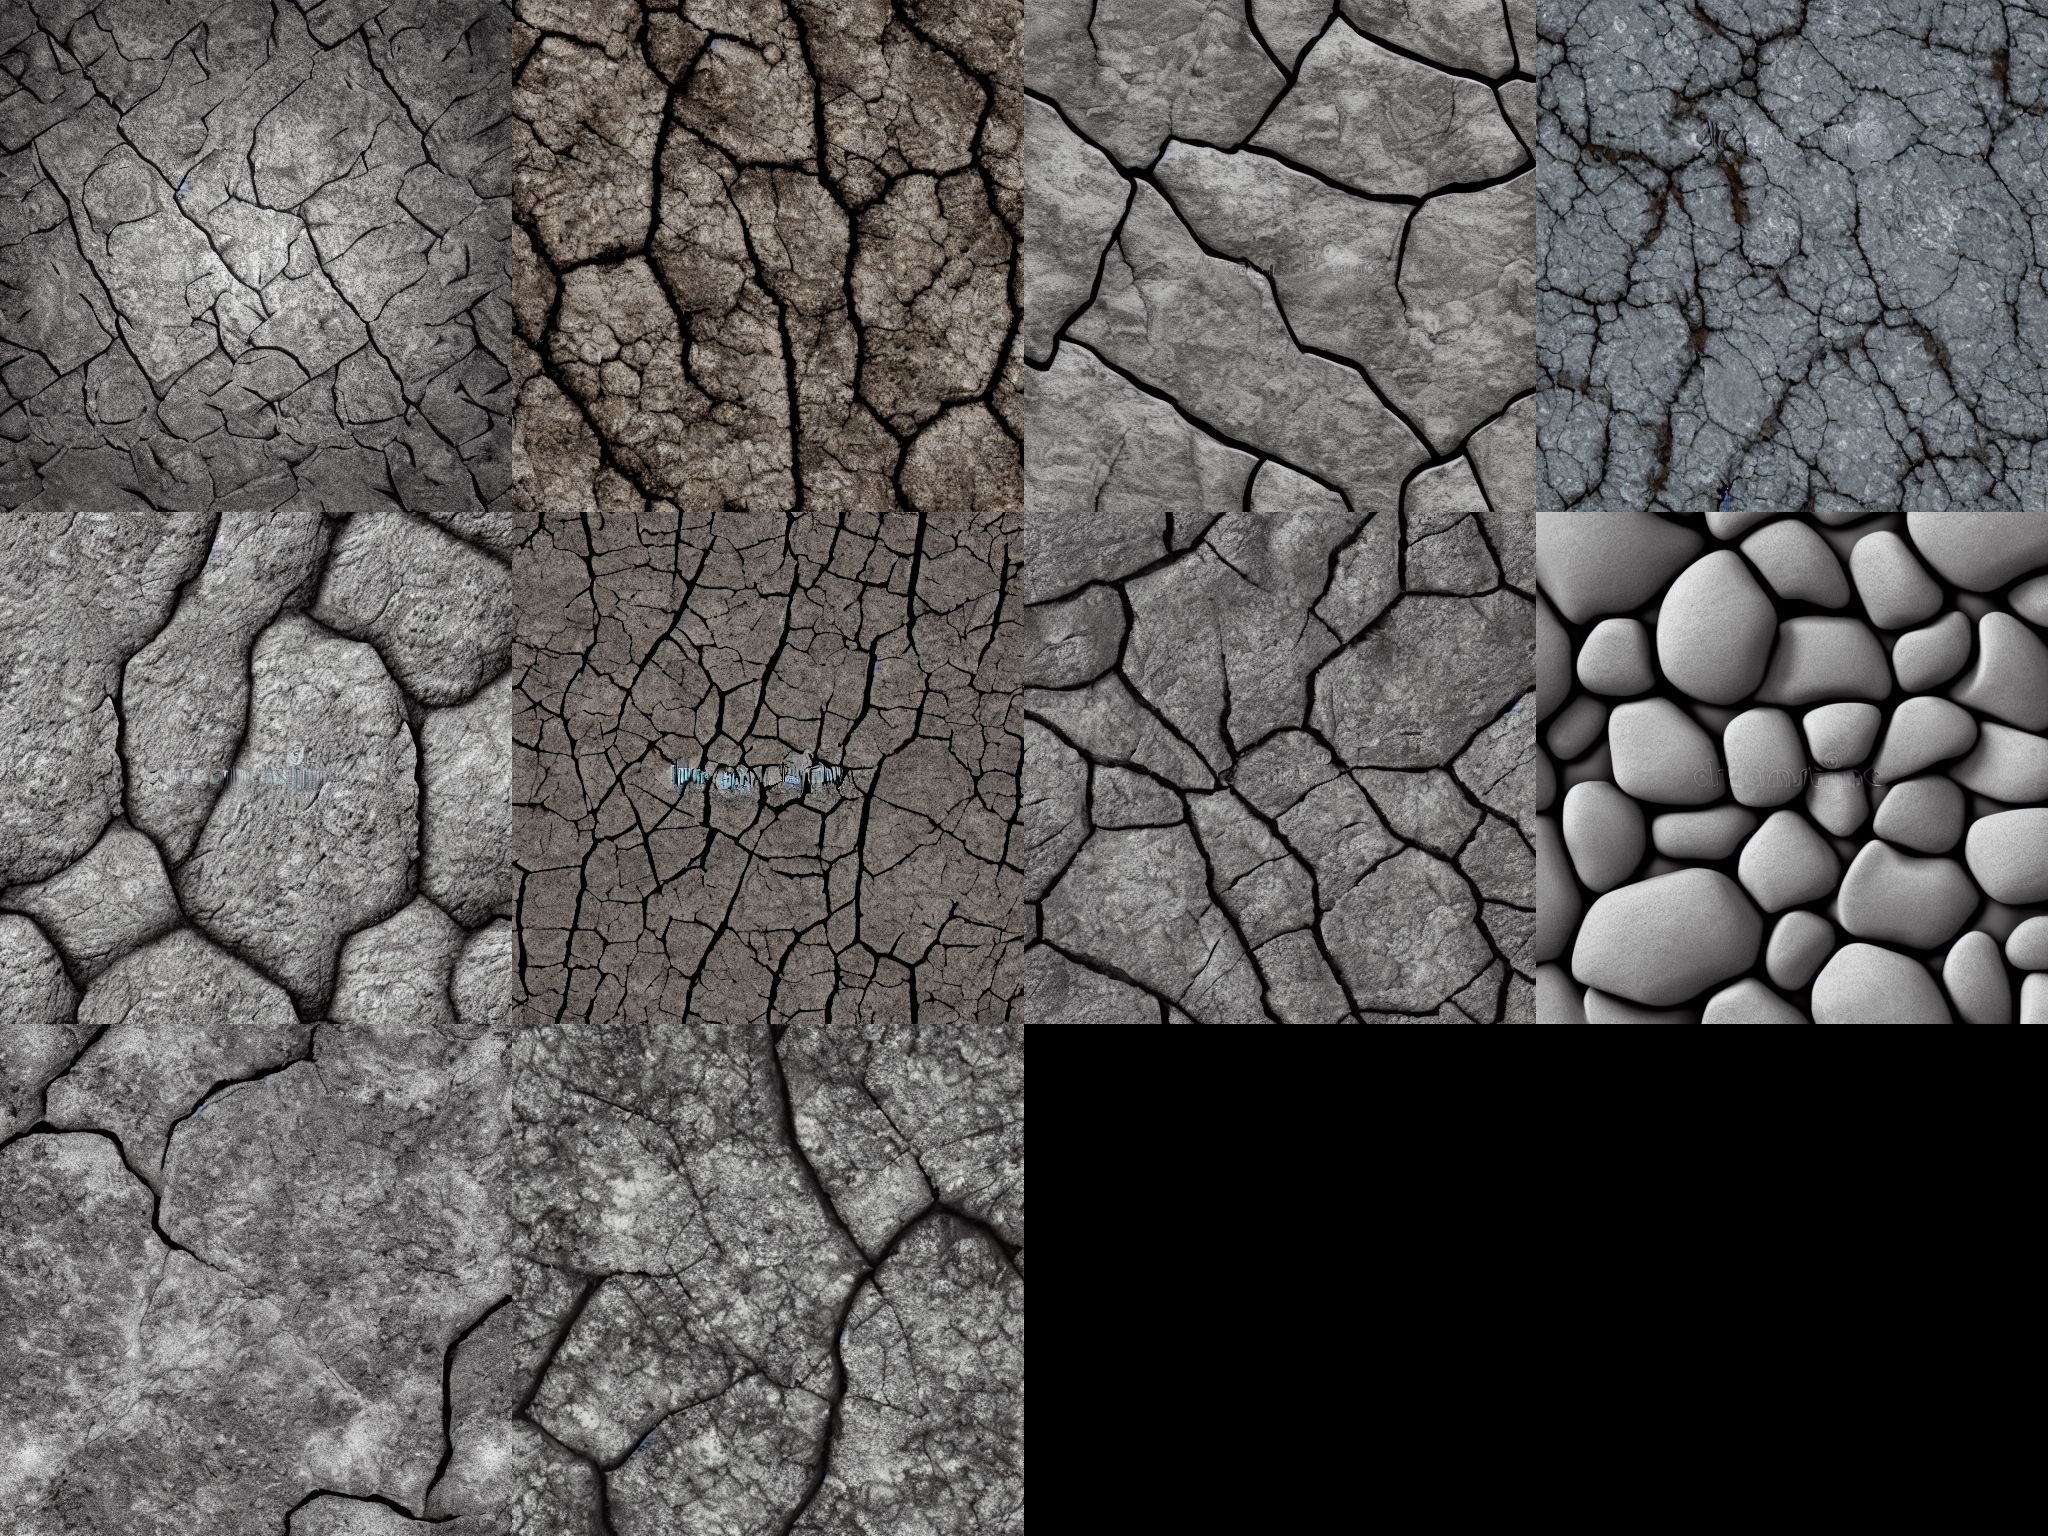
You should probably do the same — Stable Diffusion is good, but it isn’t perfect.
You’ll want multiple images so it’s possible for you to pick one you like.
We got decent results on our first run.
Minecraft uses textures that are 16x16 but can readily take textures that are 128x128.
The images we generated were 512x512, but not to worry.
We’ll deal with the size issue later.

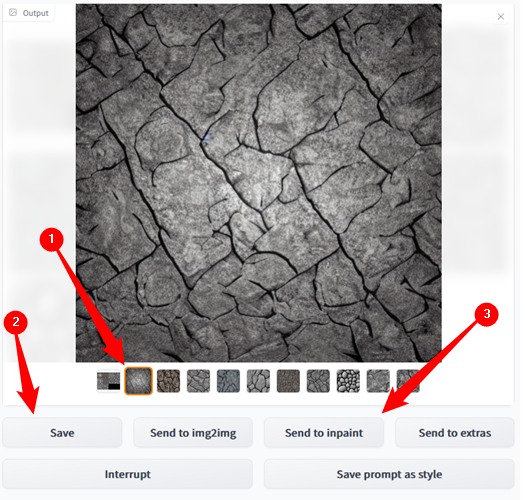
Select it from the displayed textures and then click “Save.”
The save function records all of the variables needed to recreate this specific lot of images again.
Click “Send to Inpaint” last.
Inpainting allows you to selectively re-generate certain parts of an image based on a new prompt.
We’ll use it to generate the ore variants of our base stone texture.
Send to Inpaint can sometimes be a little buggy.

If you followedour guidethe output folder will be “C:\stable-diffusion-webui-master\outputs\txt2img-images”.
Inpaint has many of the same prefs as txt2img does.
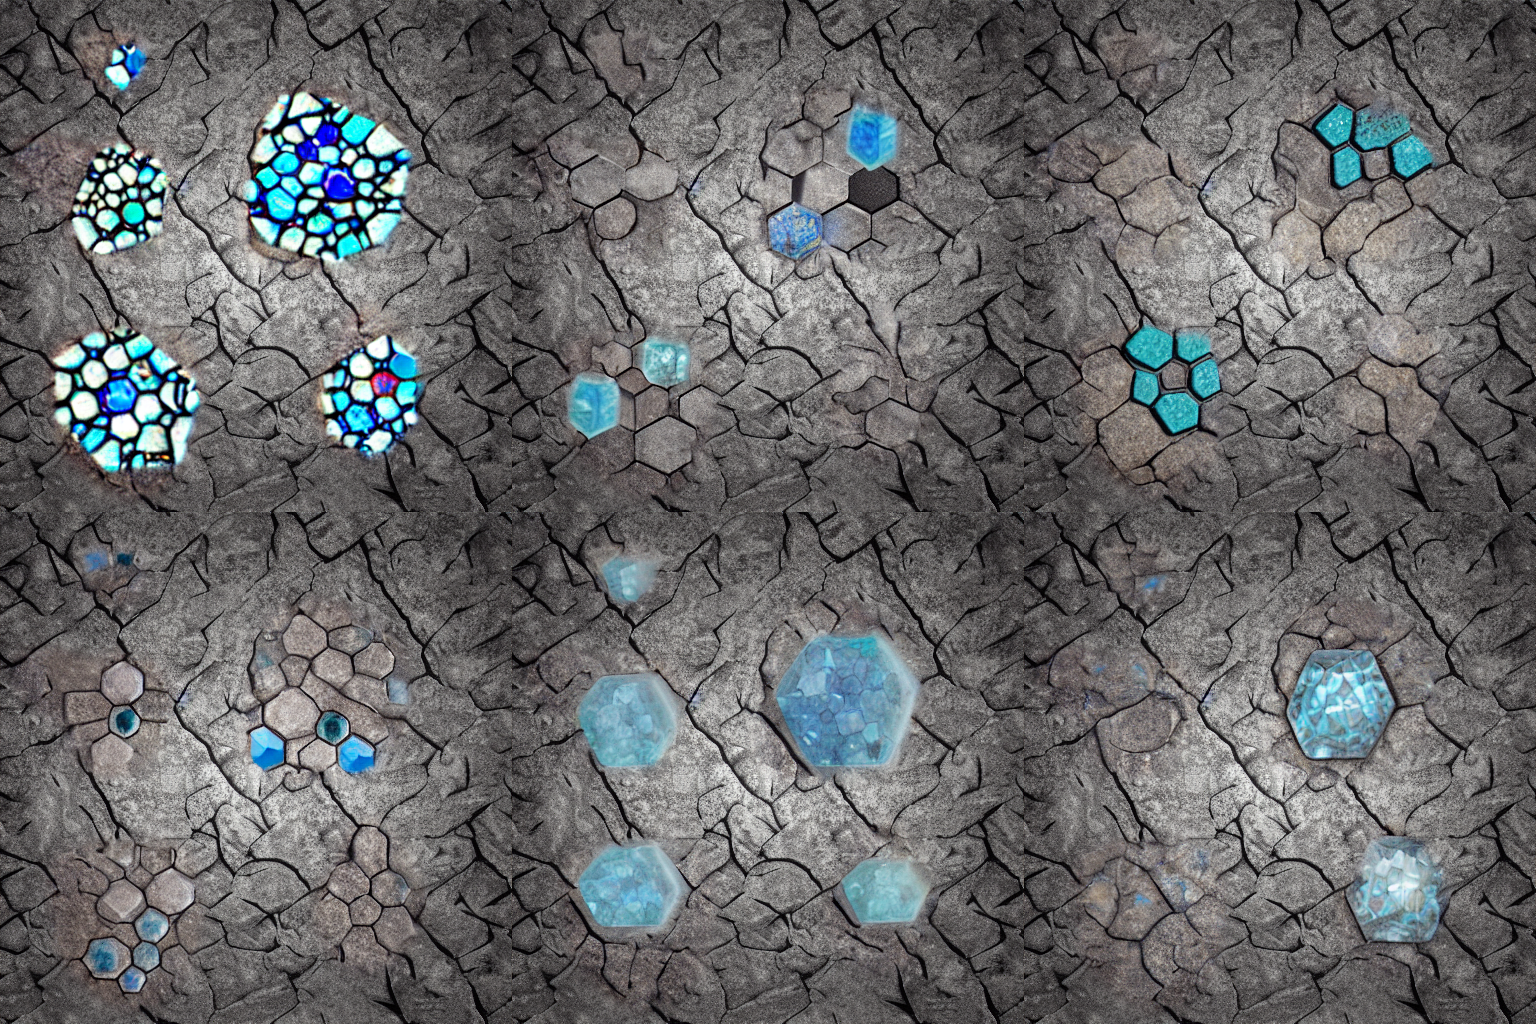
Then just take your cursor, draw where you want the diamonds to appear on the stone surface.

The area you’ve selected will be masked out in all black.
After you’re done masking, click “Generate.”
We’re going to go with the middle-bottom result.
Notice the square grid that is visible?
That occurs because we picked a texture that was dimmer along the outside edges and brighter towards the center.
you oughta make a run at avoid that, as it will look strange in-game.
Click “Save” again to check that that you don’t lose any results you like.
Repeat this process for as many ores or blocks as you want to replace.
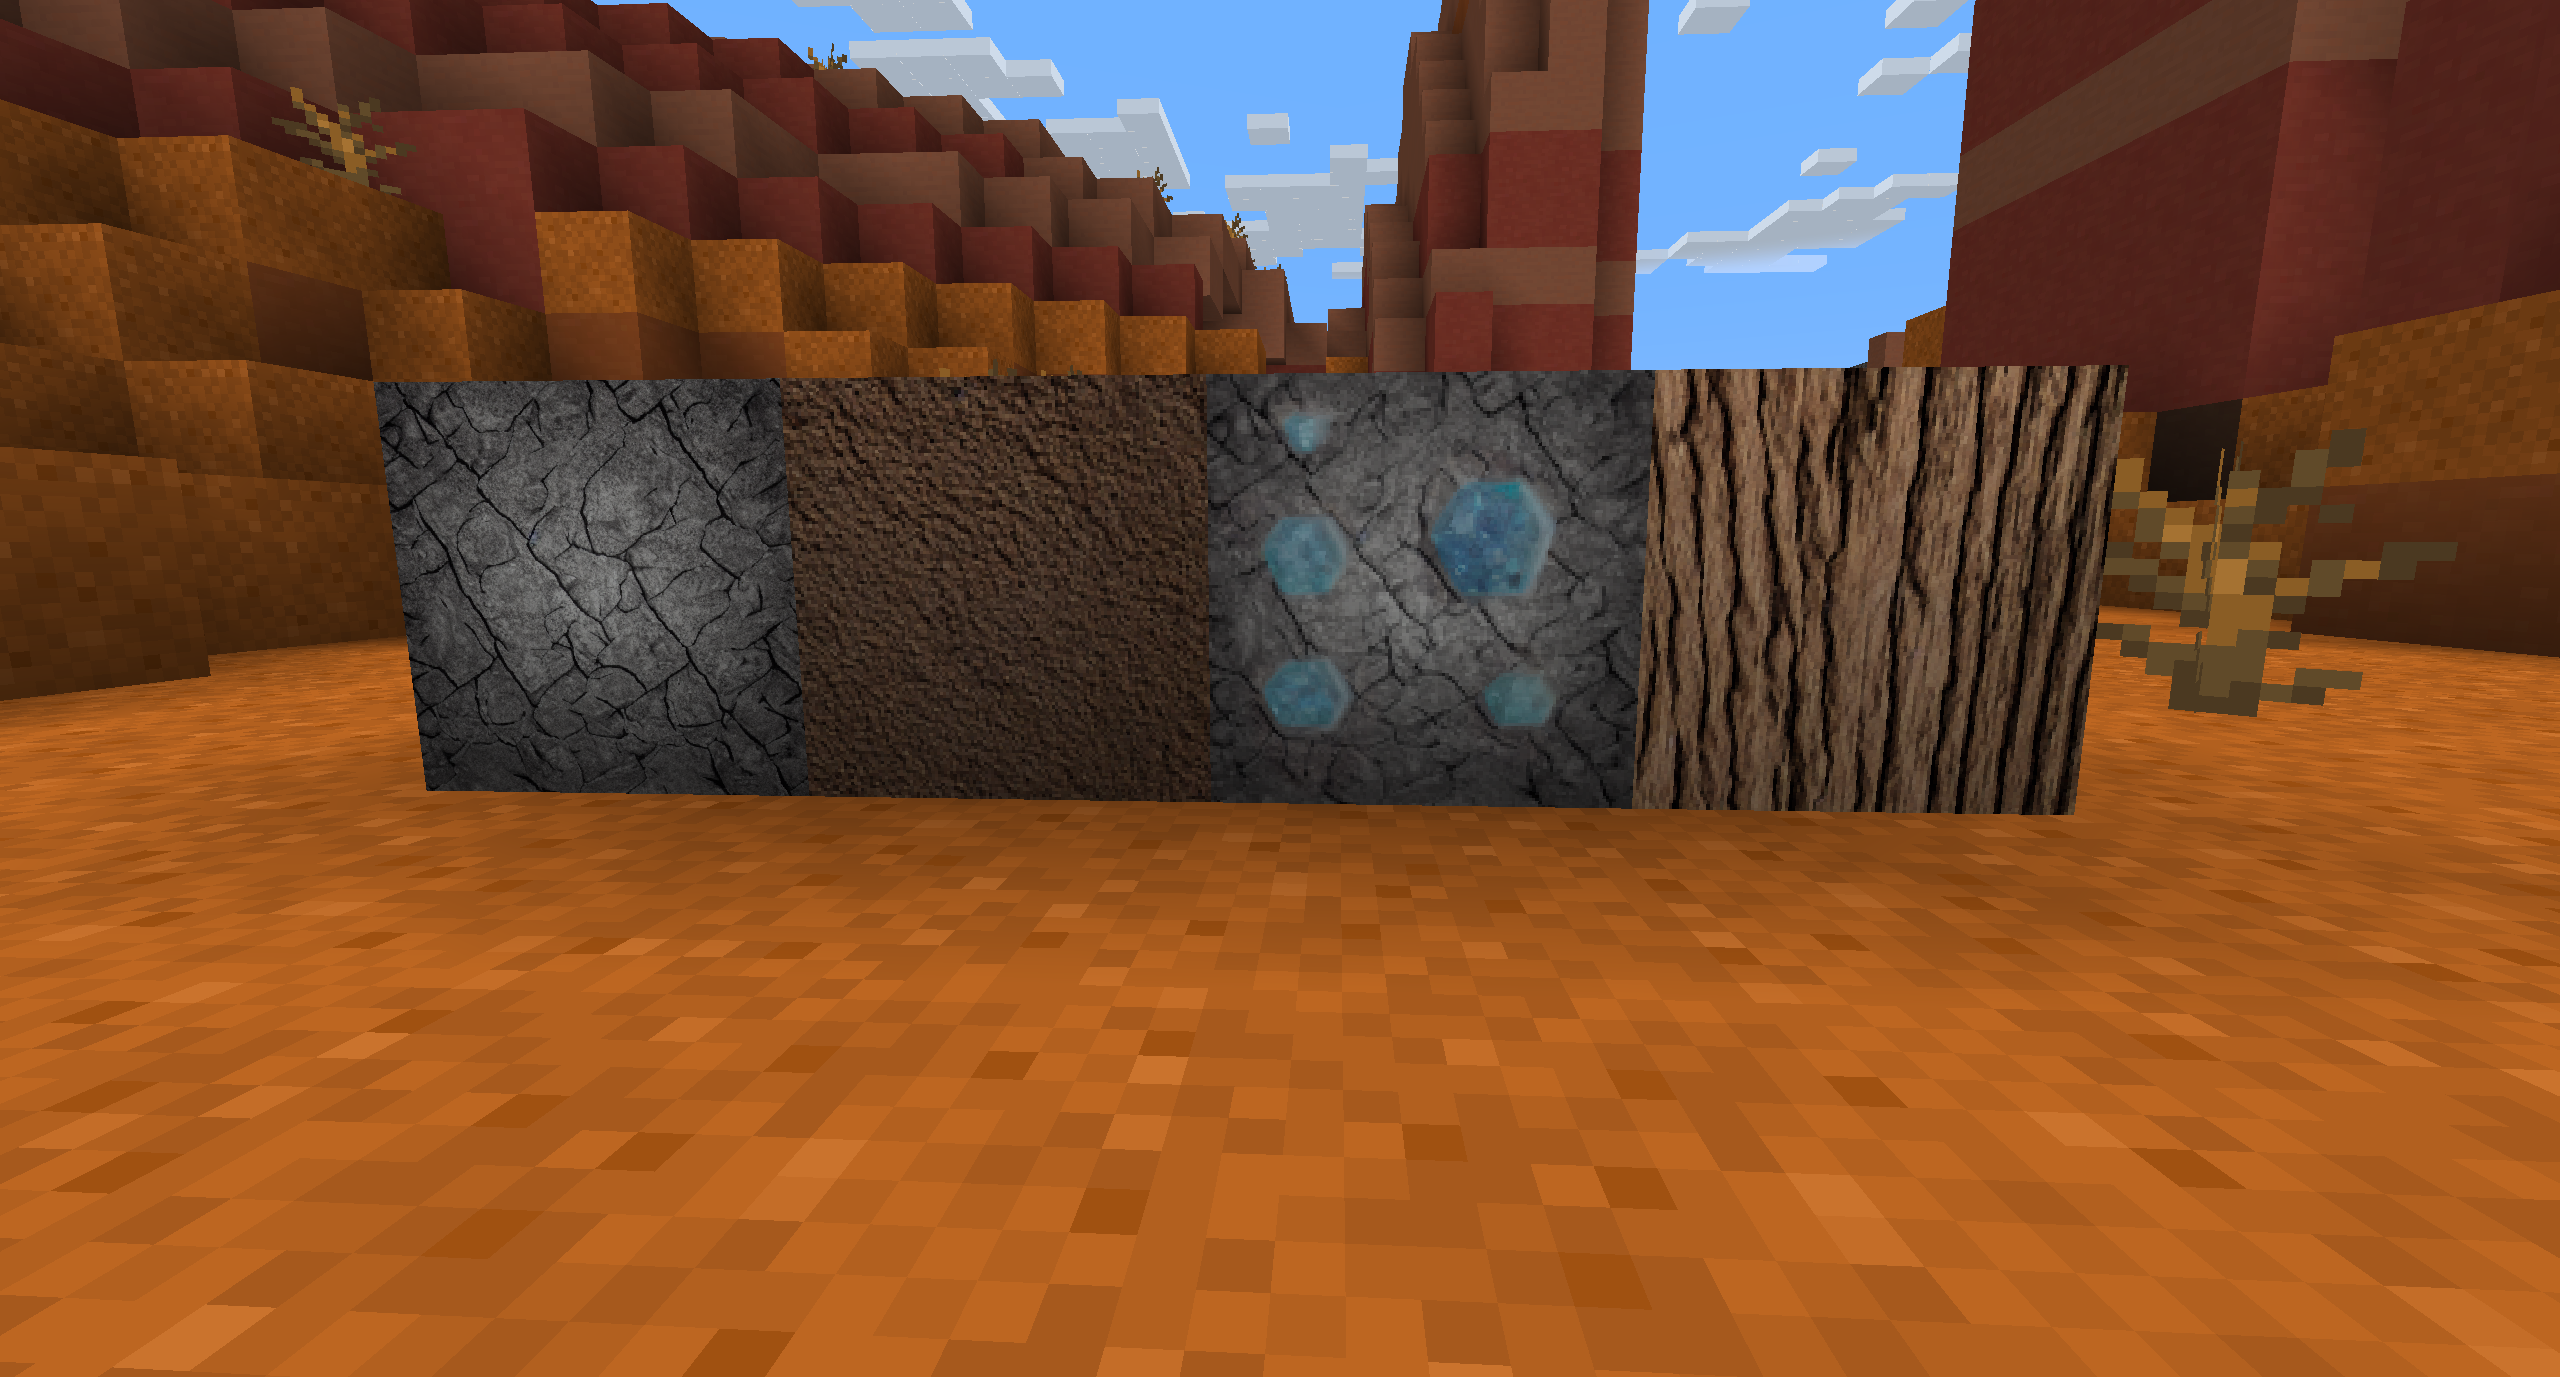
We’re replacing oak trees, stone, diamond ore, and dirt.
The default Stable Diffusion output folder is located at “C:\stable-diffusion-webui-master\outputs" on your box.
There are two folders that are important: txt2img and img2img.
Each texture you move needs to be renamed corresponding to the texture you want to replace.
For example, the stone texture gets renamed “stone.png”.
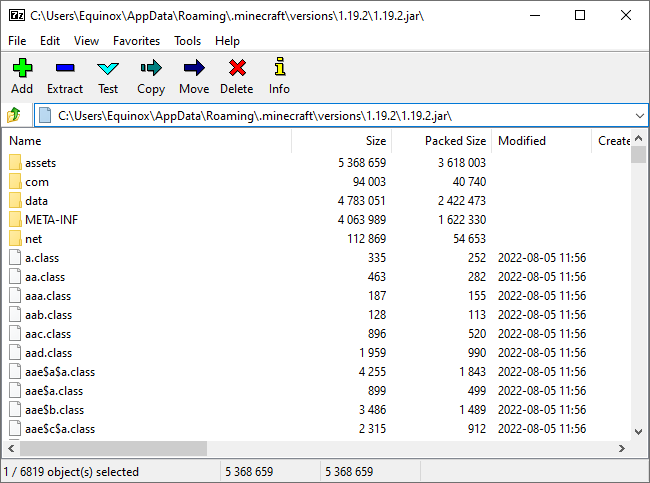
you’re free to always check 1.19.2.jar to figure out what each texture is named.
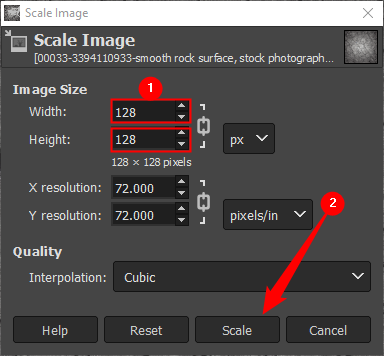
We also need to scale these images down a bit since they’re currently a bit large.

Right-click your texture, mouse over “Open With,” and select GIMP.
Enter the dimensions you want and click “Scale.”
Keep your image square.
16x16, 32x32, 64x64, 128x128, and so on.
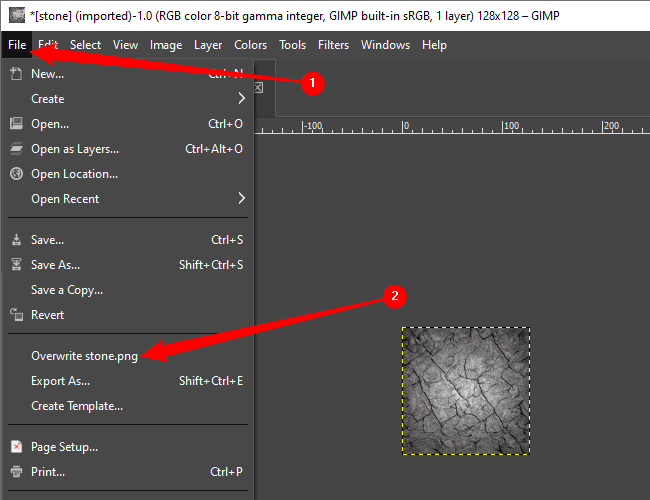
You’ll immediately notice that your image is way smaller than it was before.
select “File” in the top-left corner, then click “Overwrite stone.png.”
Repeat the process for all of the textures you want to replace.
The hard part is over.
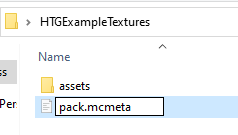
Right-click empty space, mouse over “New,” then click “Text Document.”
You’ll immediately be able to key in in a name.
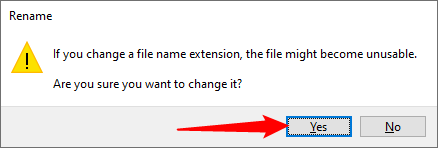
You’ll get a warning about doing that.
Normally the warning is correct; renaming file extensions at random is bad practice.
In this case, however, it doesn’t matter at all.
Just click “Yes.”
Notepad will work in a pinch, but there are better programs.
It lets Minecraft know which version of the game your resource pack is designed for.
You’re done editing the file, so close out your text editor.
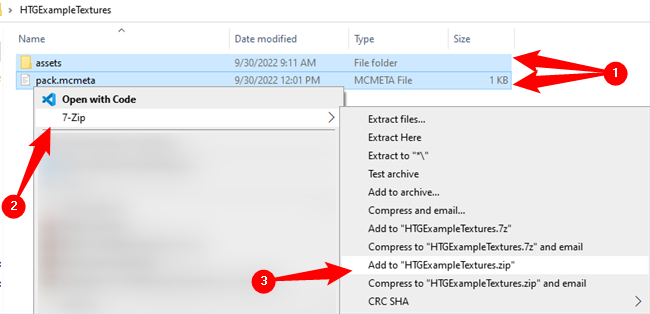
Don’t accidentally add it to a “.7z” file.
Hold Ctrl while clicking to select multiple items.
You’re good to go.
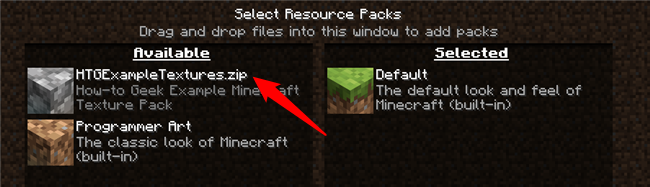
Launch Minecraft, then go to Options > Resource Packs and grab the pack you just made.
When you load into any world, your textures will replace the corresponding vanilla textures.
For example, our stone base texture is a bit dark.
Entities are harder to retexture due to their more complex geometries.
The added difficulty is UV unwrapping the textures, so they are applied correctly to the models.
And this is only the beginning.
Related:How to Use Stable Diffusion to Make AI GIFs and Videos
