What is Appy Pie?
For this tutorial, we’ll be using the 7-day gold plan free trial to customize our software.
We’re also showing you how to cancel if you decide it’s not worth it.
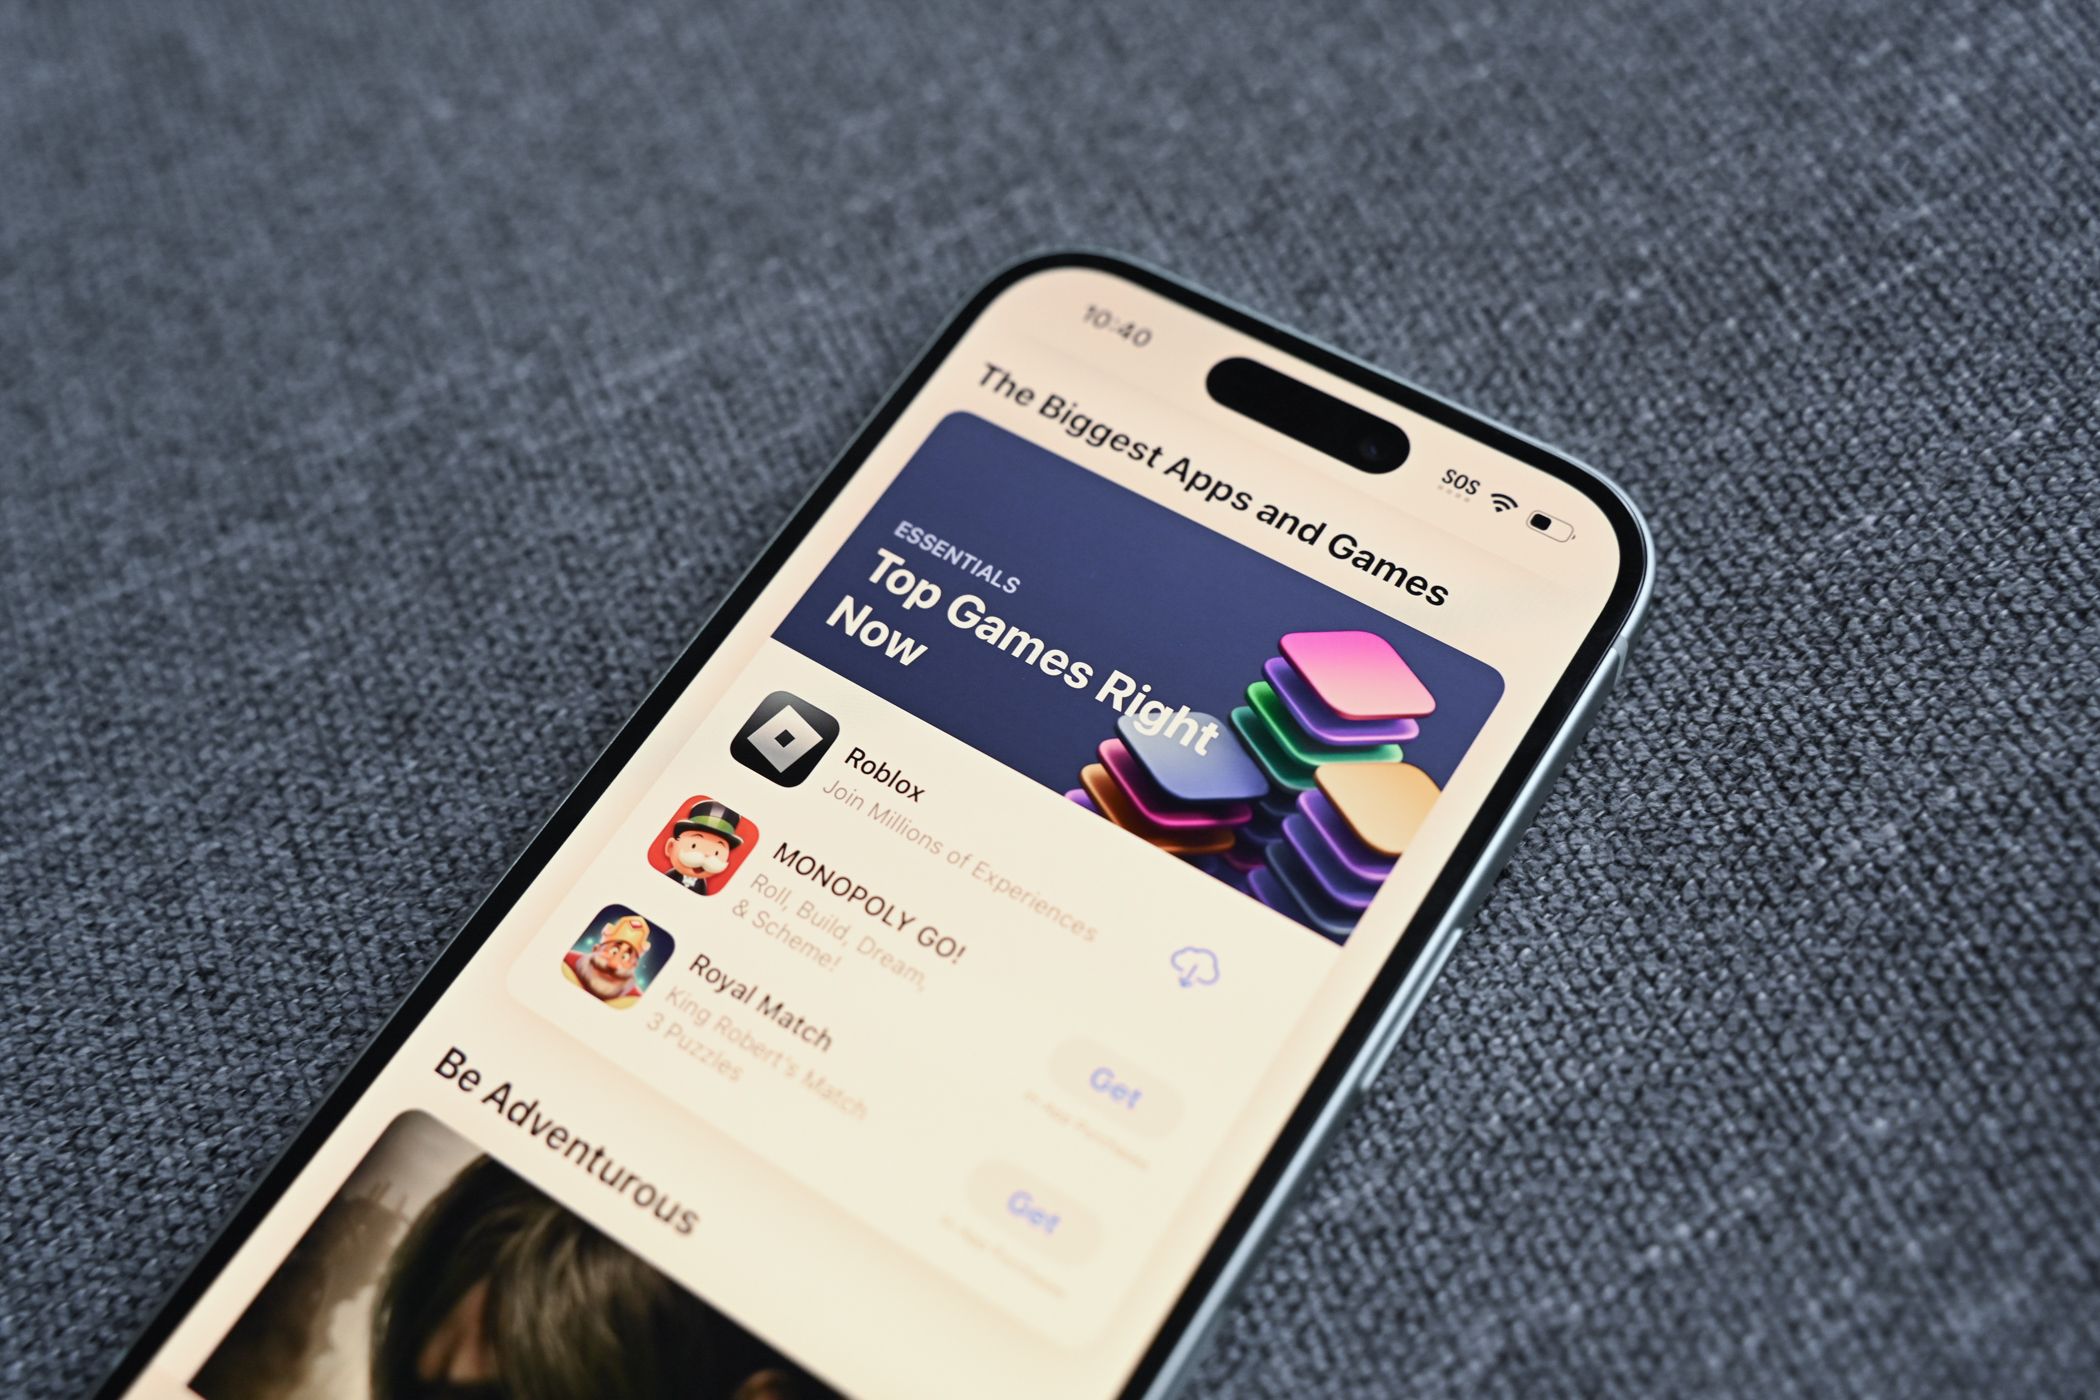
Hannah Stryker / How-To Geek
Why Appy Pie?
you could create your account by signing in with Google or your email address.
Go through the terms and conditions, then select “I Accept”.
If you already have an account, you’re free to sign in to your account.
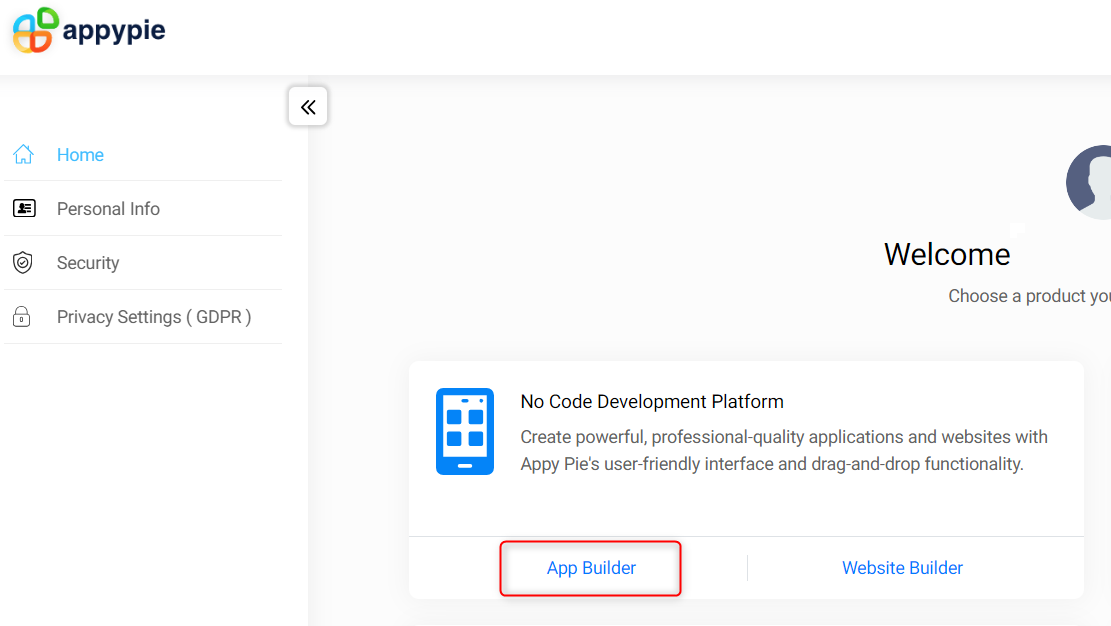
In the “No Code Development Platform” section, select “App Builder”.
Under “Native Mobile App”, select “Create New App”.
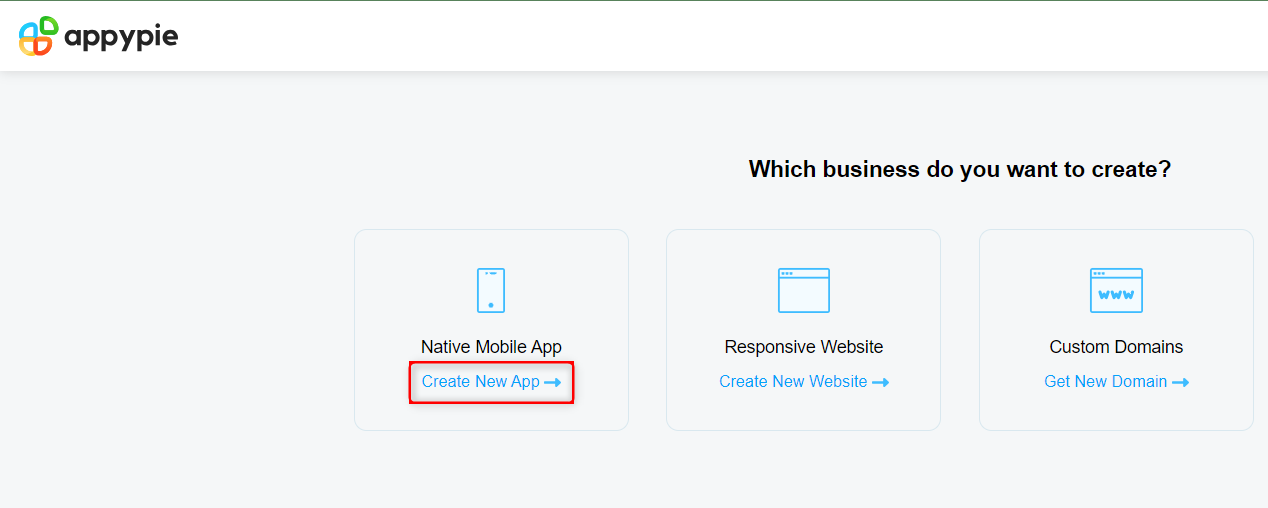
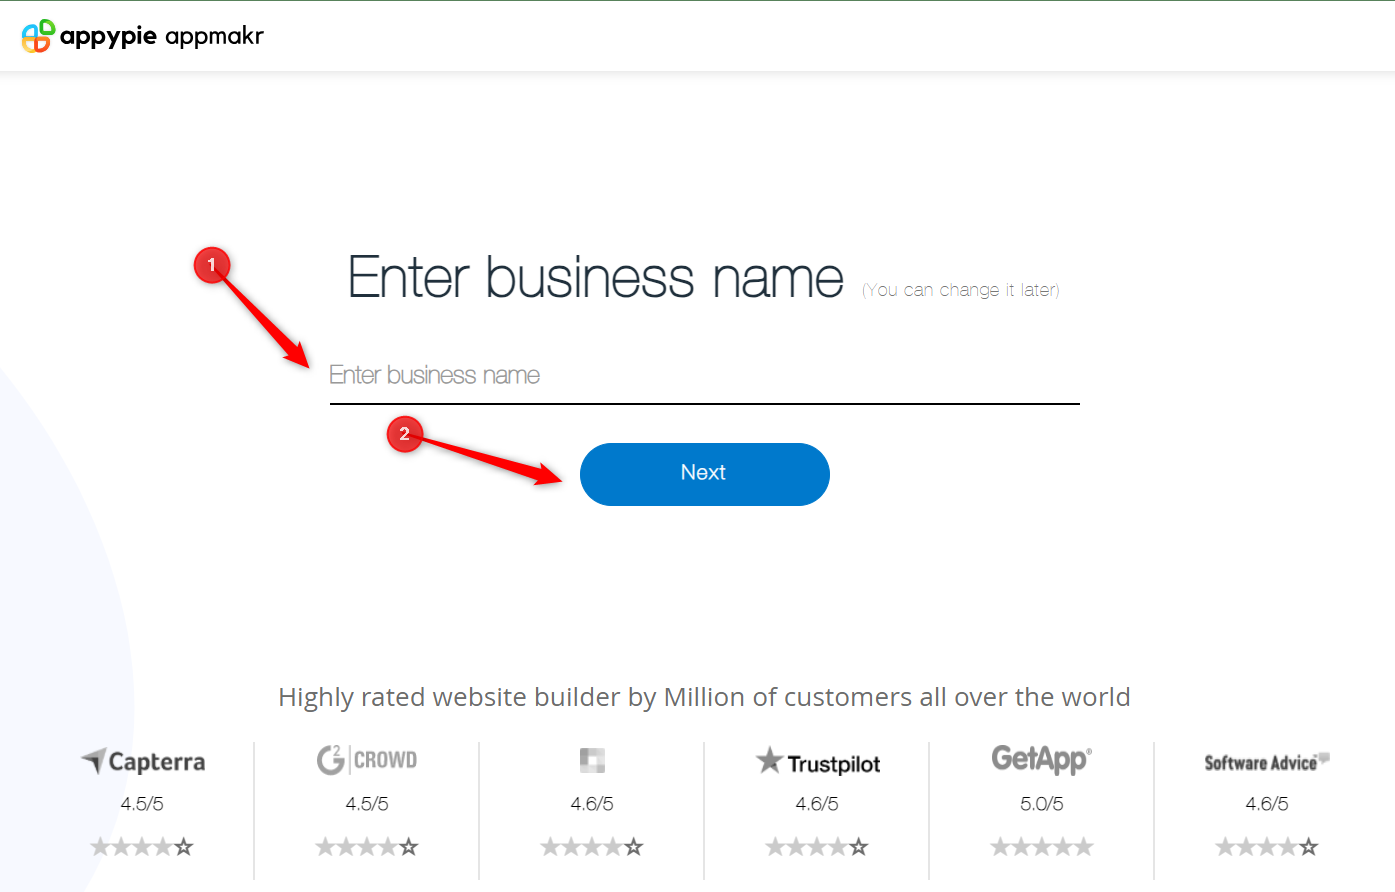
Appy Pie will direct you to its app builder page.
Note that the business name that you enter will be the name of your system.
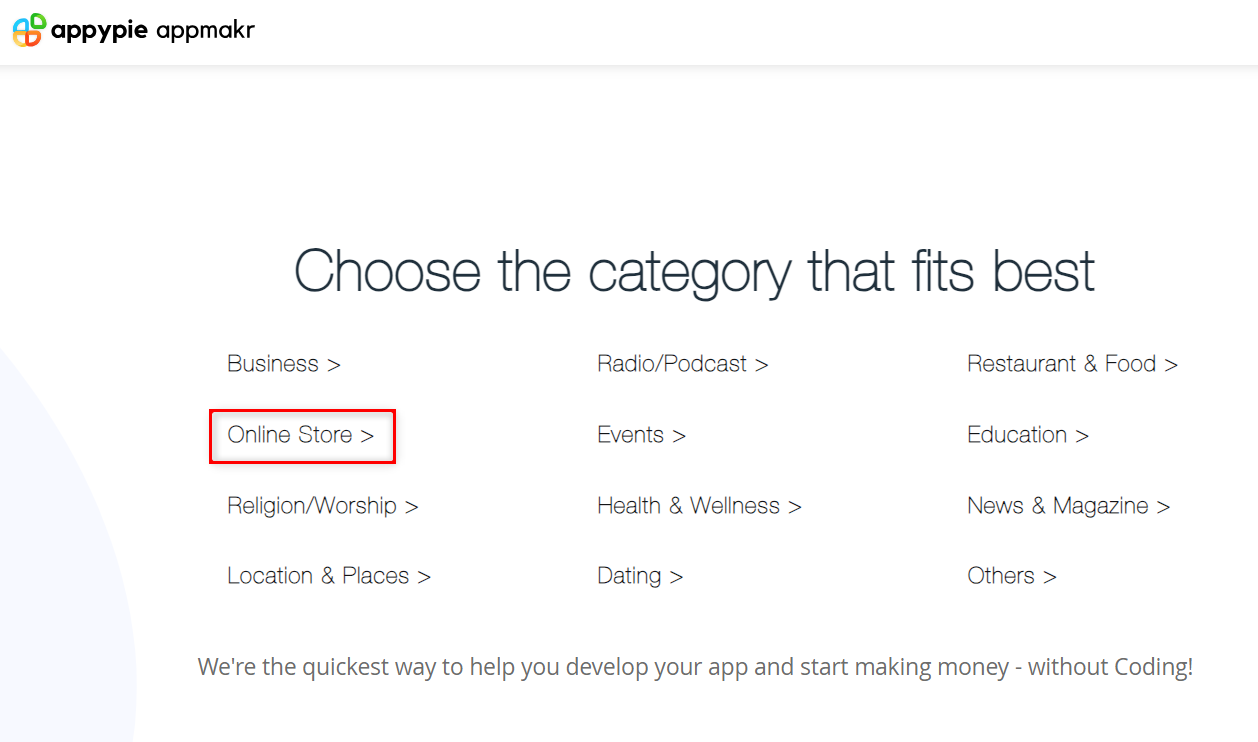
opt for jot down of app that you want to develop.
We will be creating an online store program, so tap on “Online Store”.
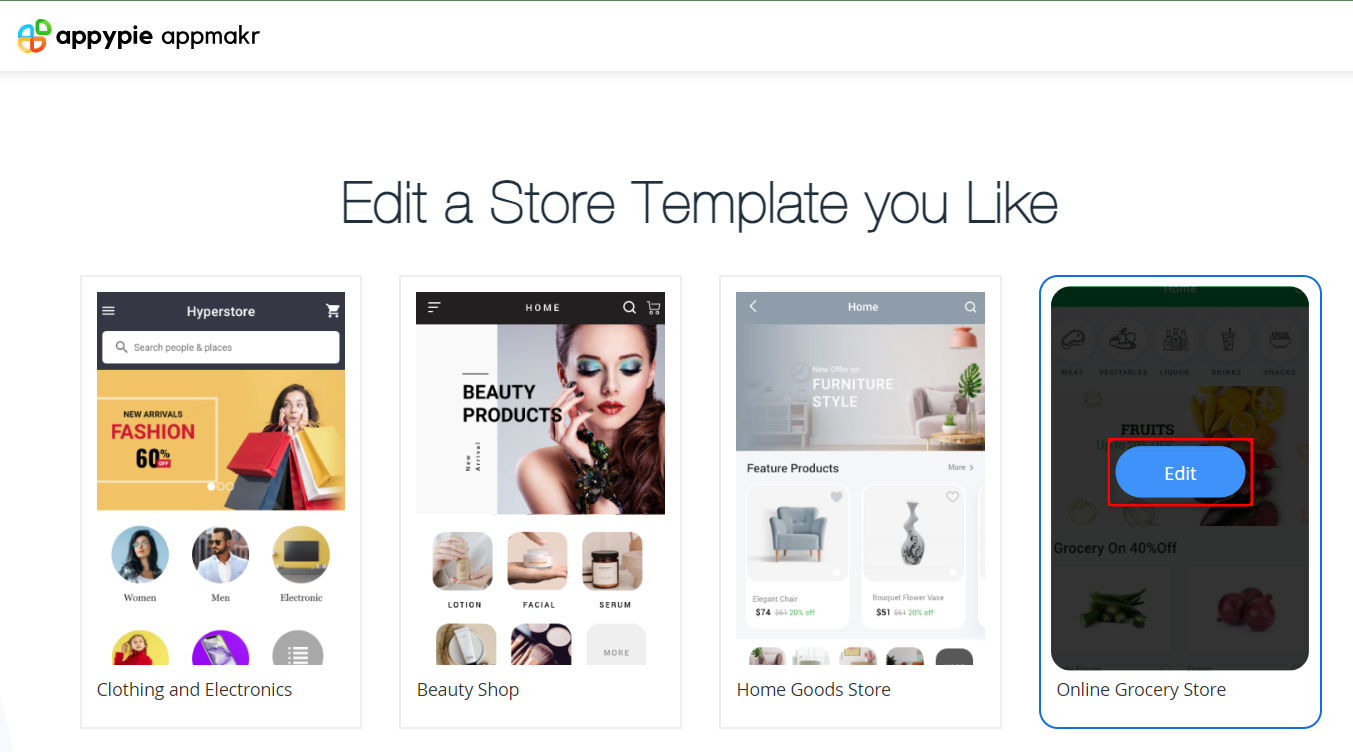
Appy Pie will display different online store templates for you to choose from.
Choose An software Template
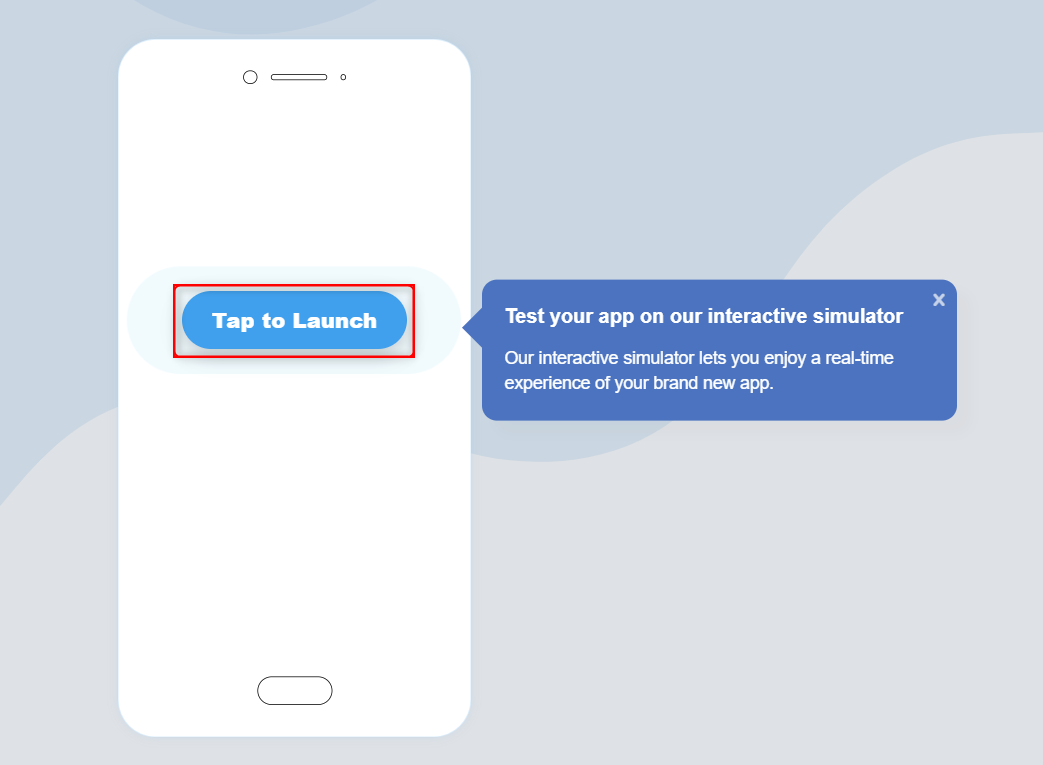
Choose a template that you like and give it some time to load.
Next, click “Tap to Launch” to create and test your tool in a real-time simulator.
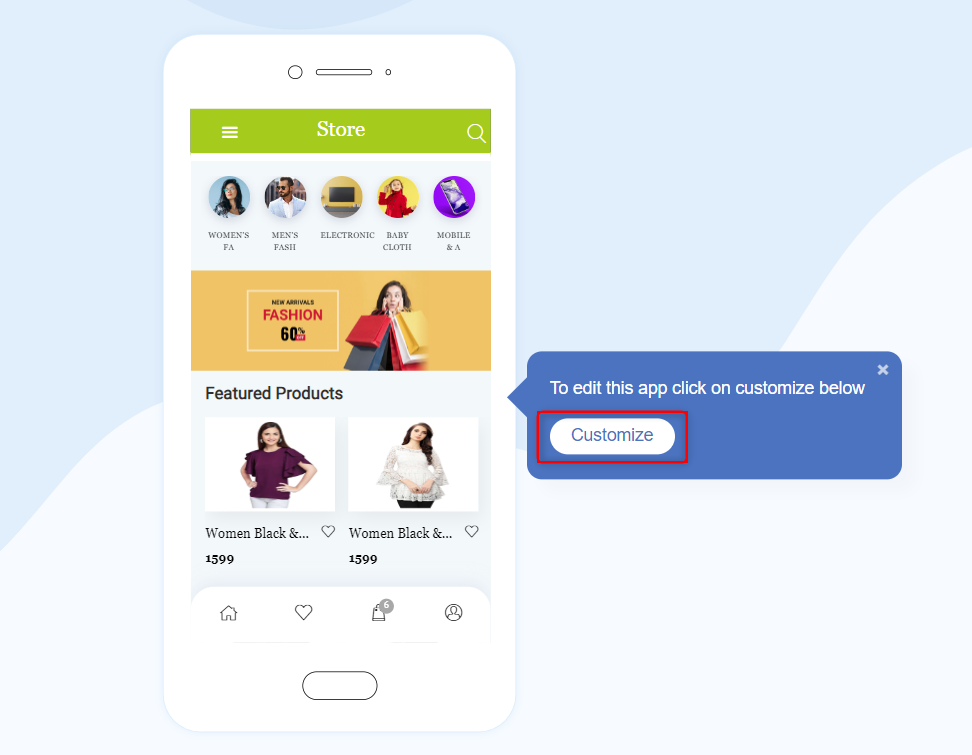
Then choose “Customize” to add a personal touch to the template.
Customize Your software
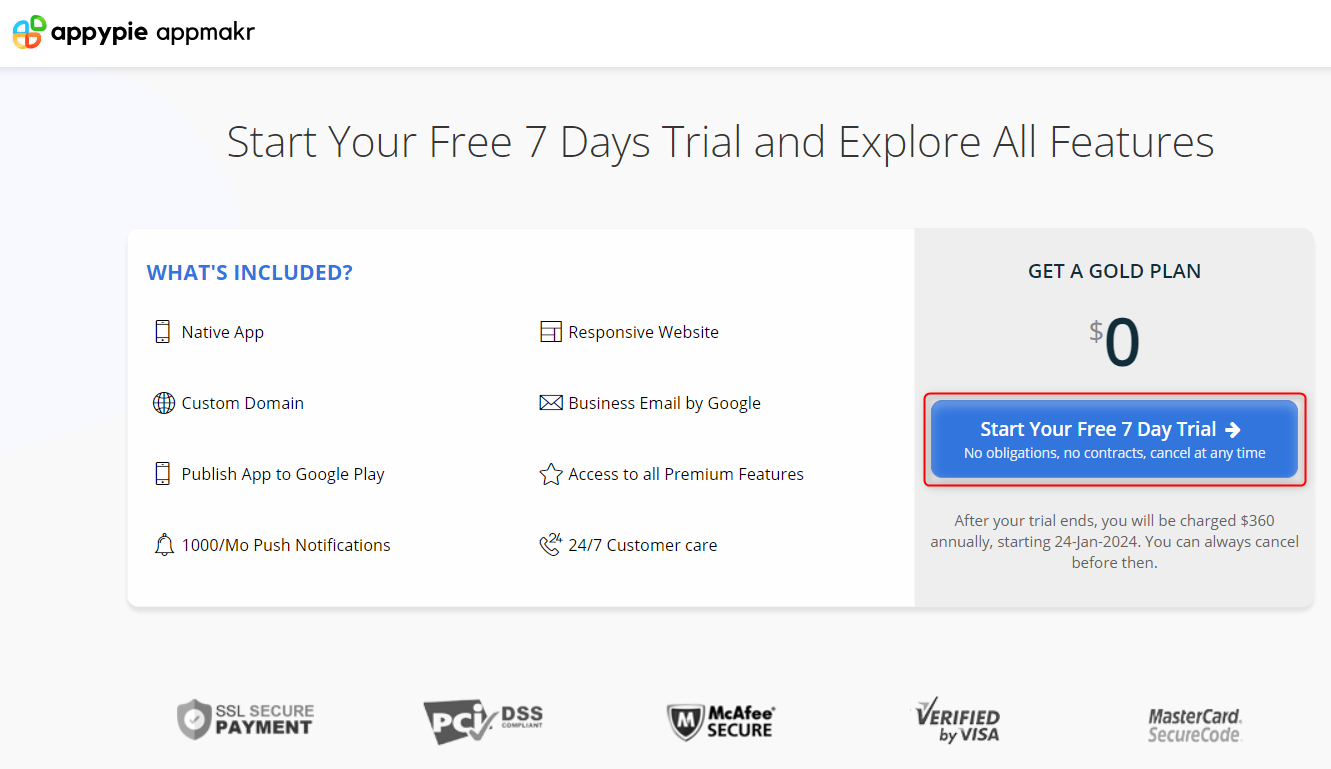
To customize your software, you will use the 7-day Gold plan free trial.
To start the free trial, press “Start Your Free 7 Day Trial”.
For this next step, you will need aPayPalaccount.
put in your PayPal details that will be used to renew your subscription.
When you do, submit the form and you will receive an email to claim your free trial.
From the email, punch “Claim Your Free Trial Now”.
This will direct you to Appy Pies checkout page.
Input your details and select “Start Trial”.
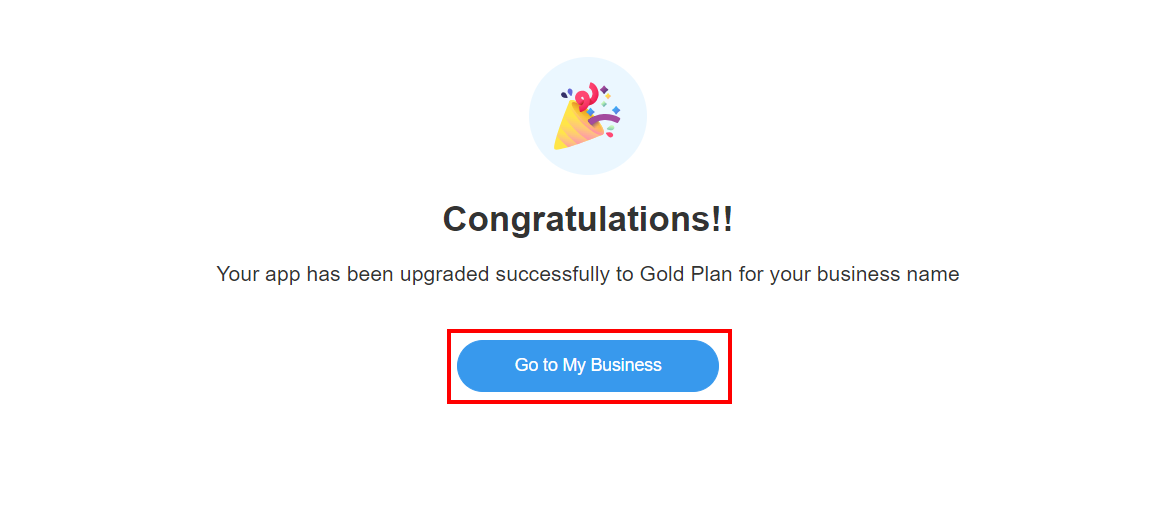
You will get a congratulatory message stating that your account has been upgraded to the gold plan.
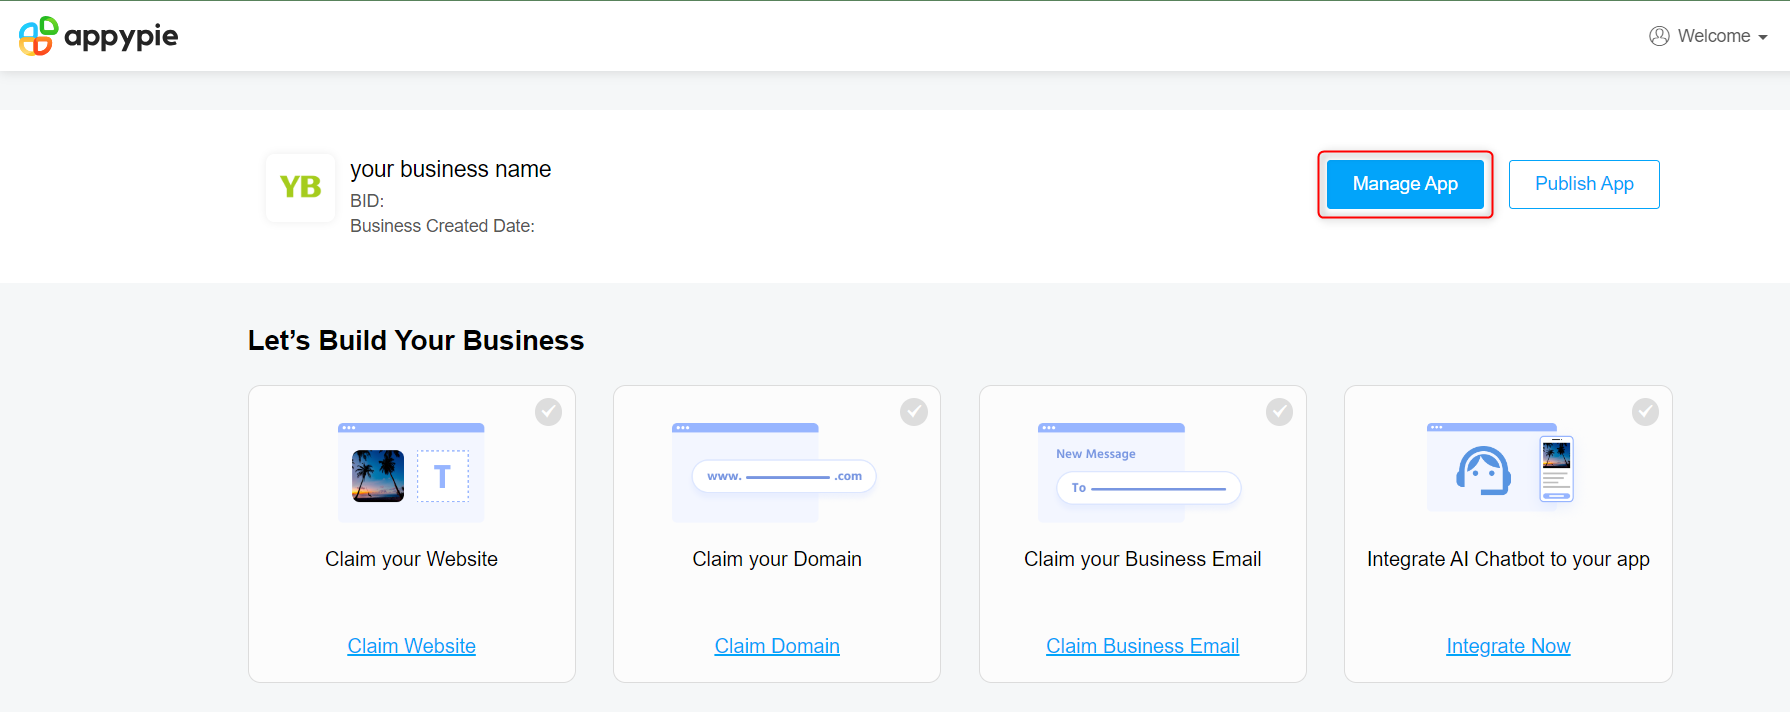
tap on “Go to My Business” to go to your business dashboard.
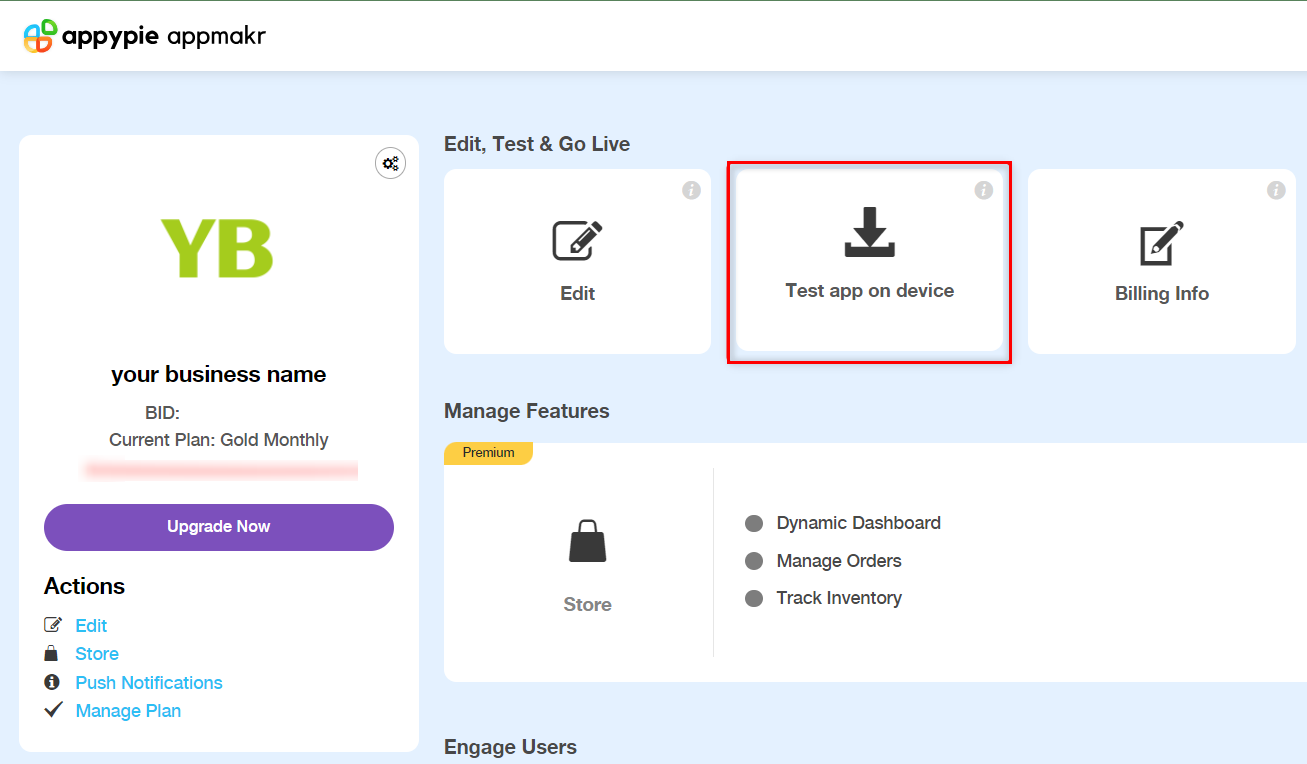
On your dashboard, press “Manage App”.
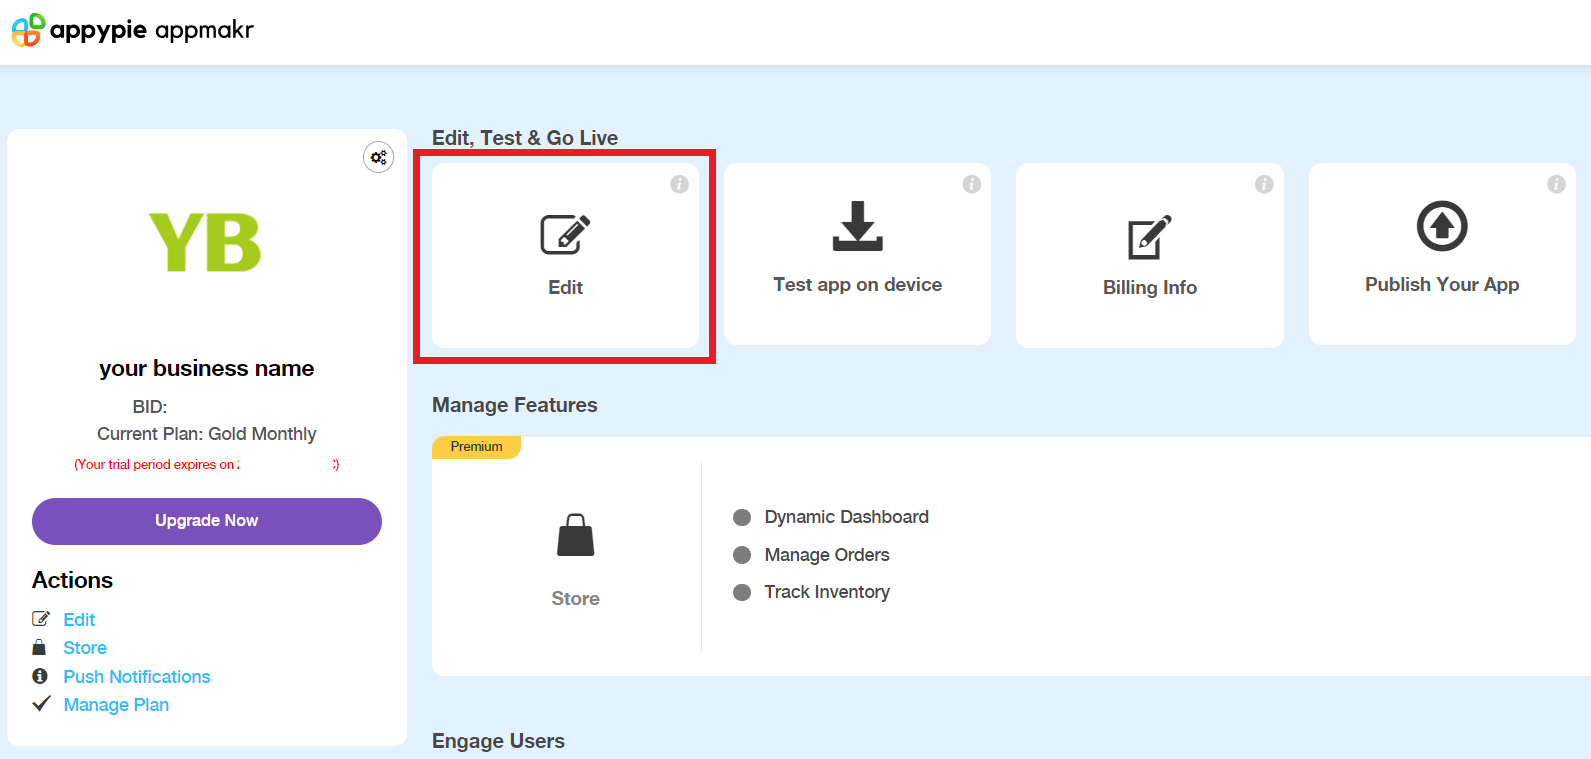
This is your applications homepage.
select “Edit” to start editing your app.
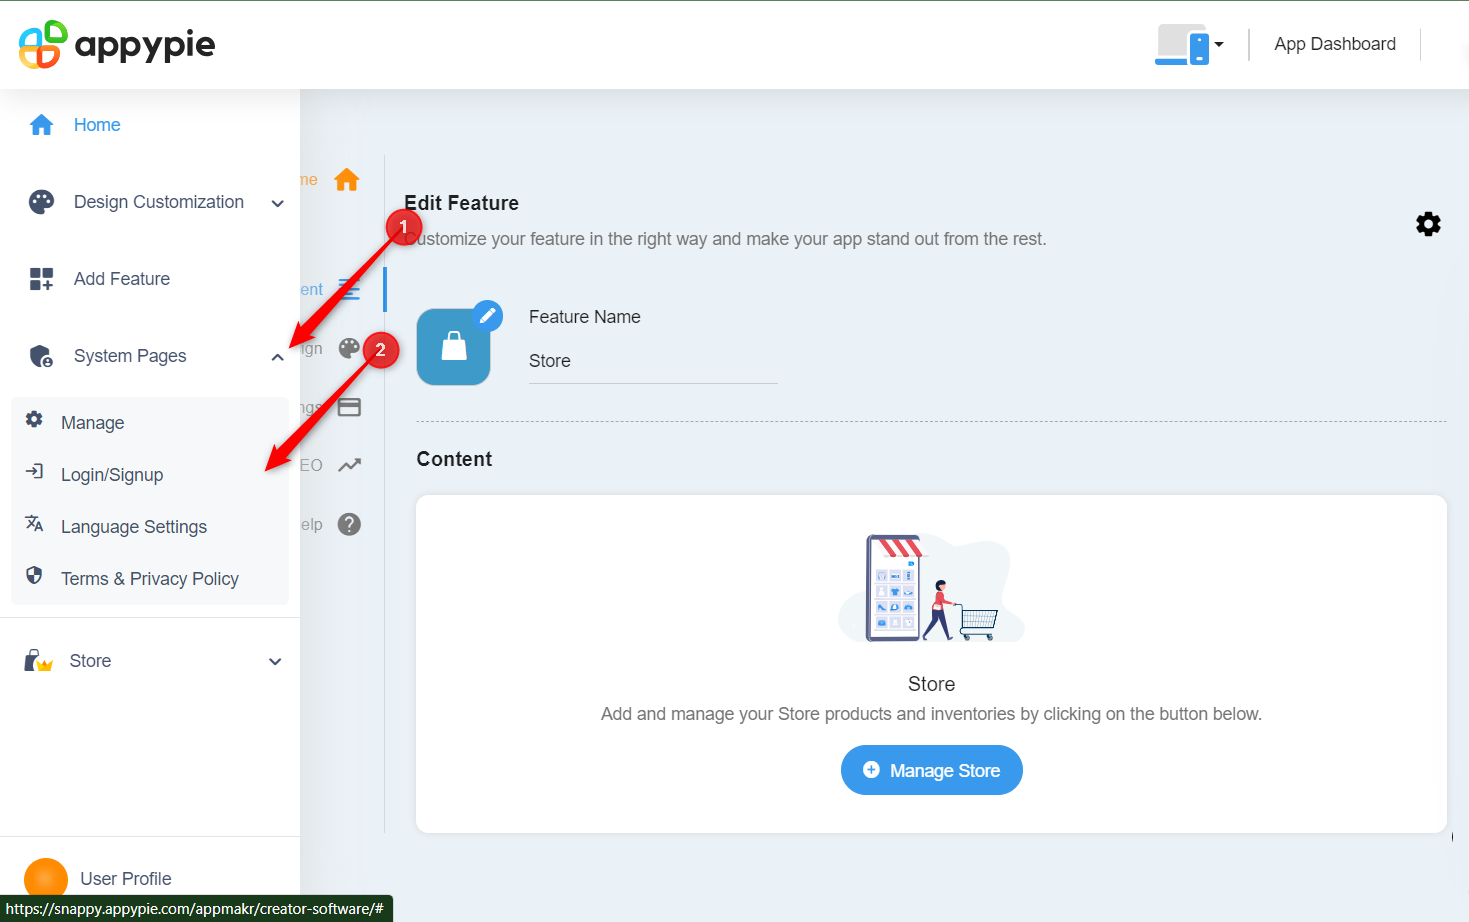
Do this by selecting “System Pages” from the top left corner of the edit page.
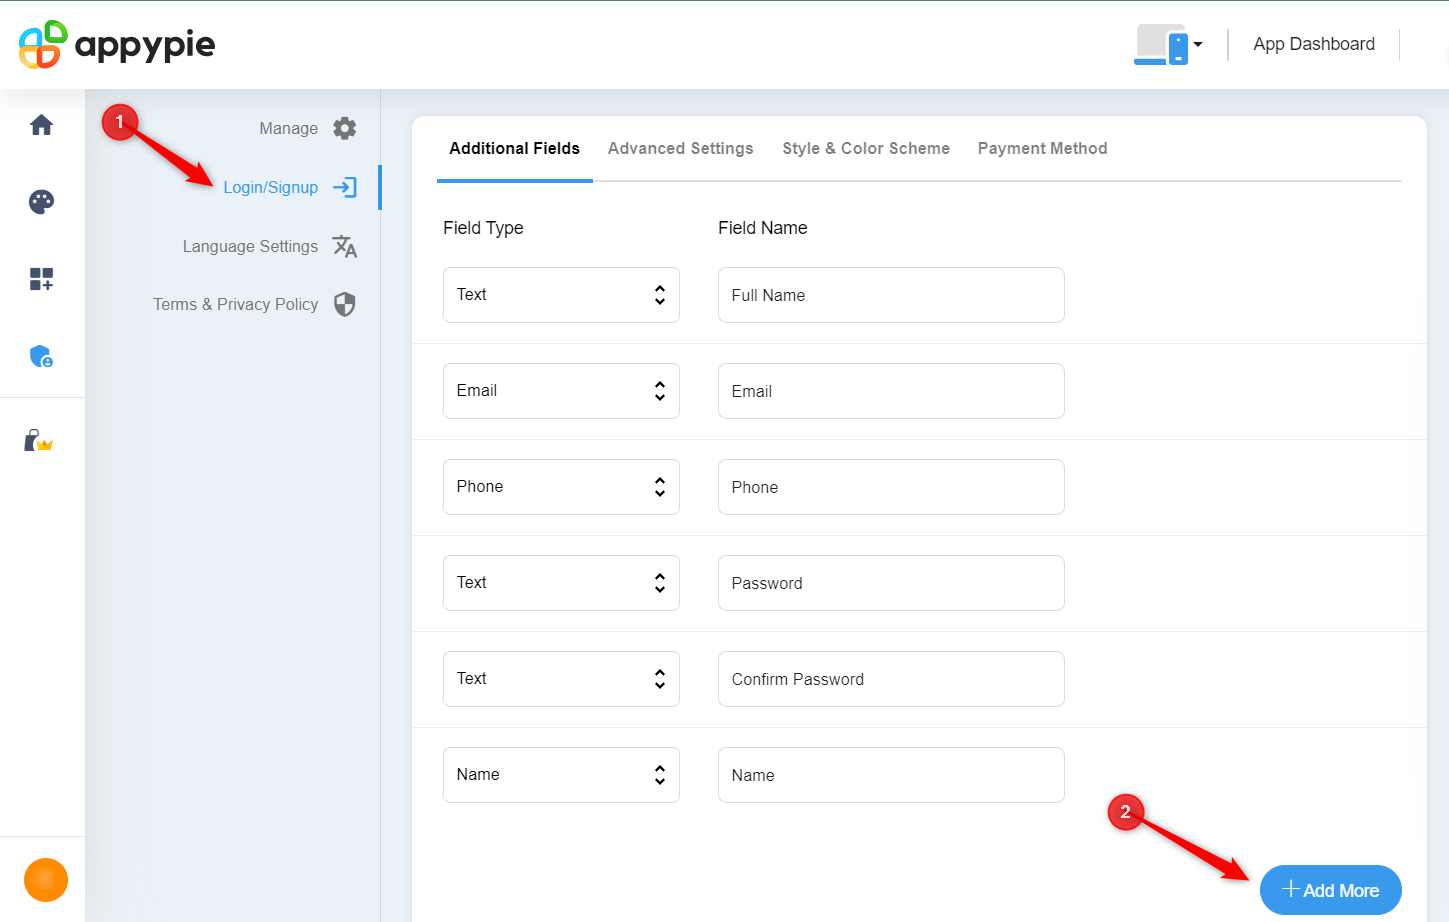
Then select “Login/ SignUp”.
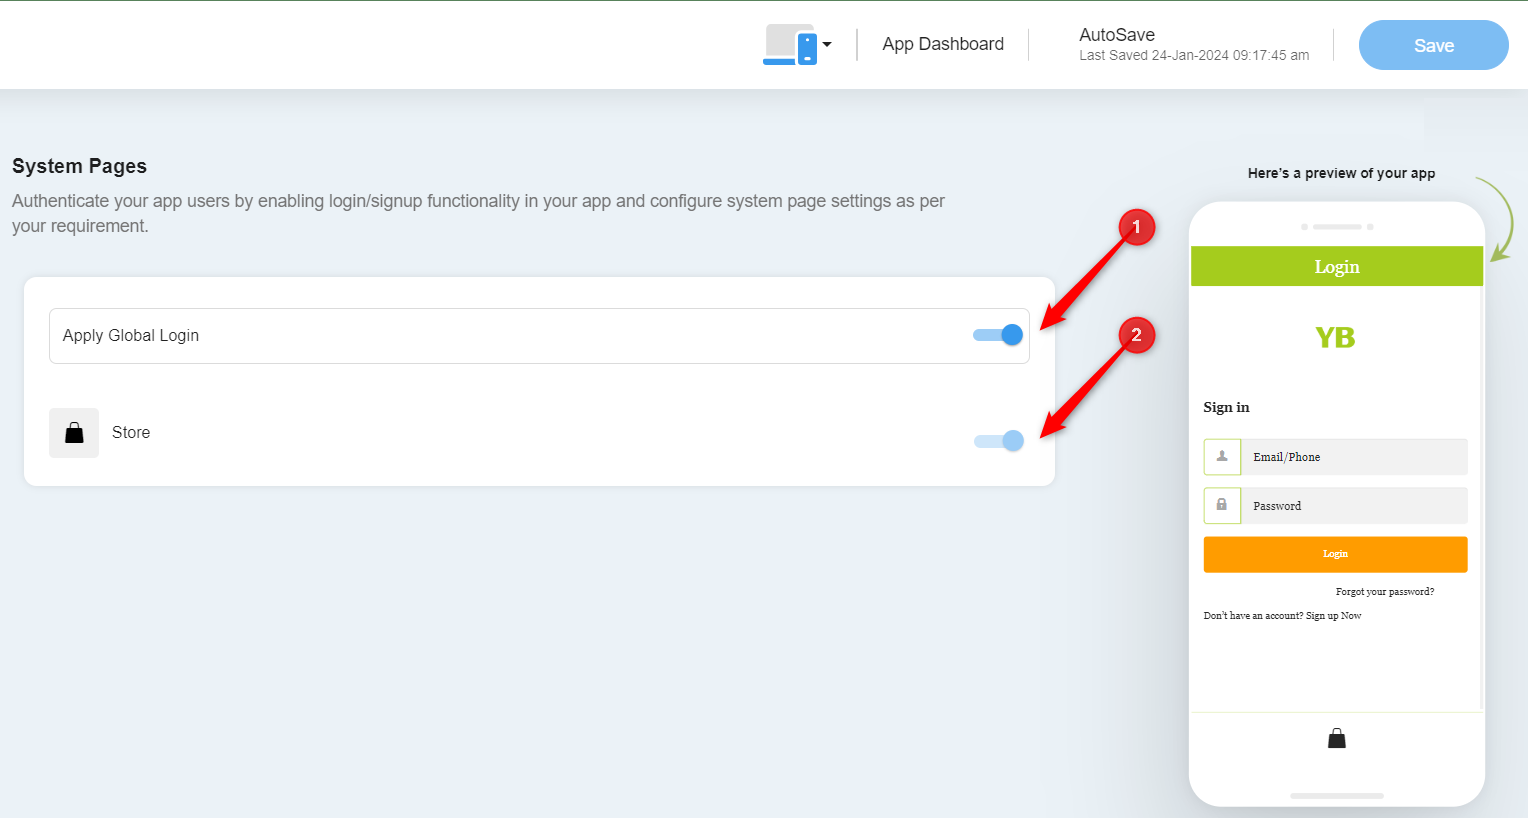
Next, press the toggle buttons beside “Apply Global Login” and “Store”.
you’ve got the option to also change the style and color theme from this section.
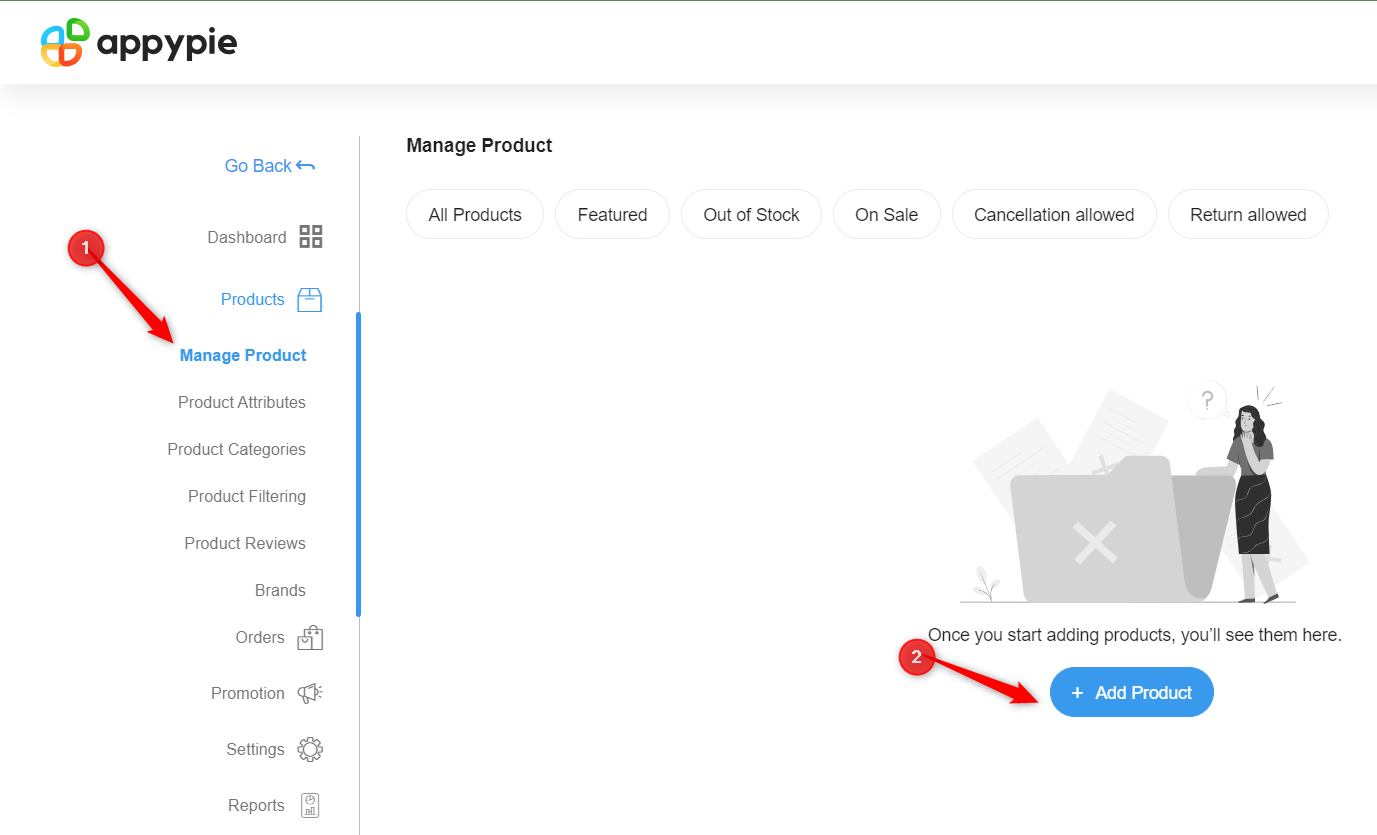
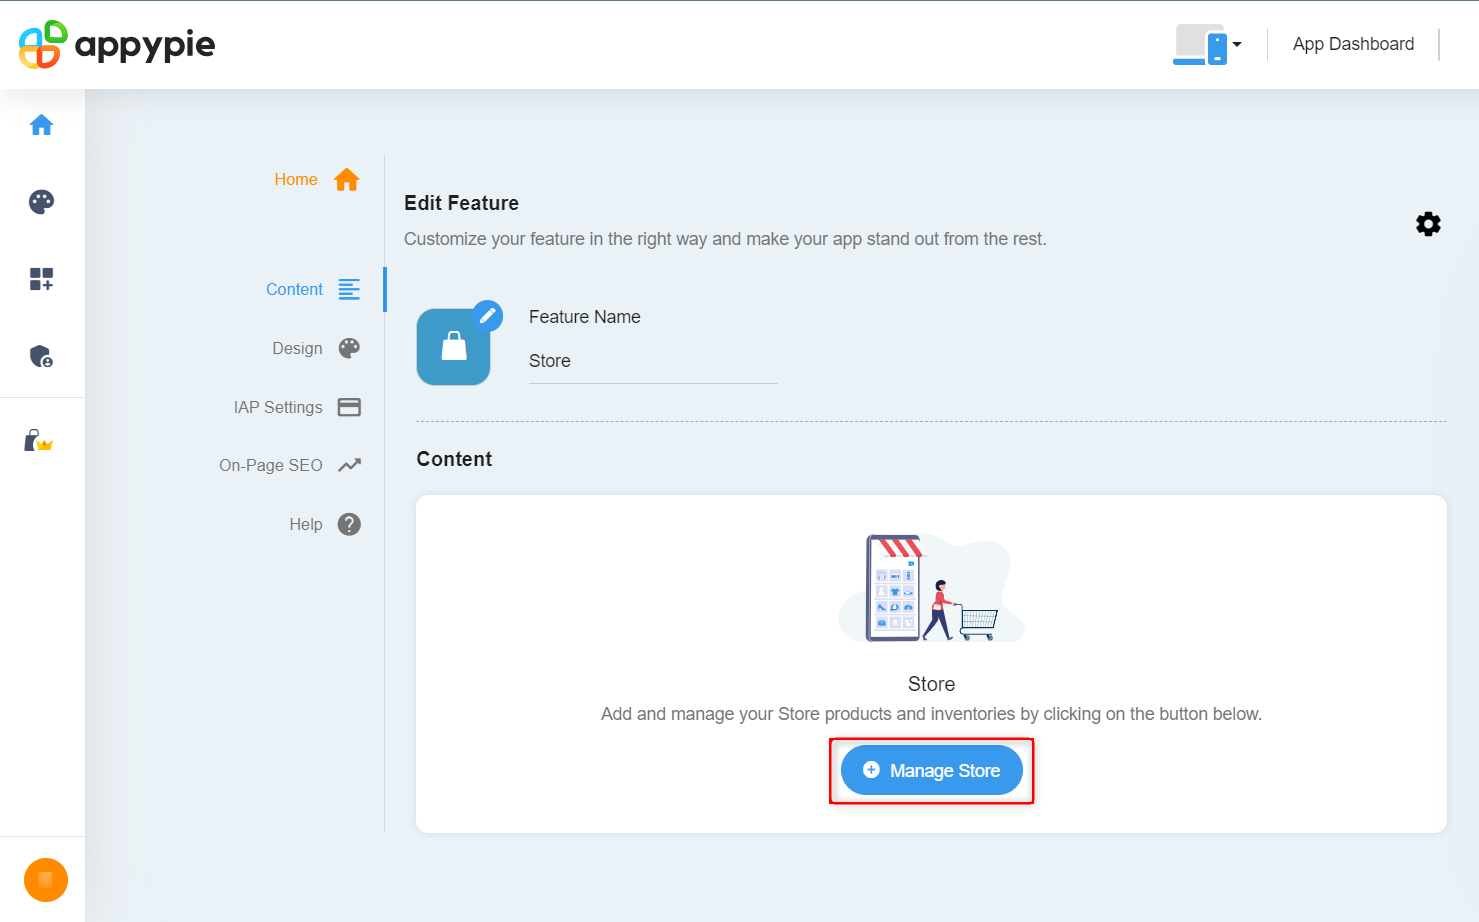
To manage your store, select “Manage Store” from the edit feature page.
This allows you to enter the details of your product.
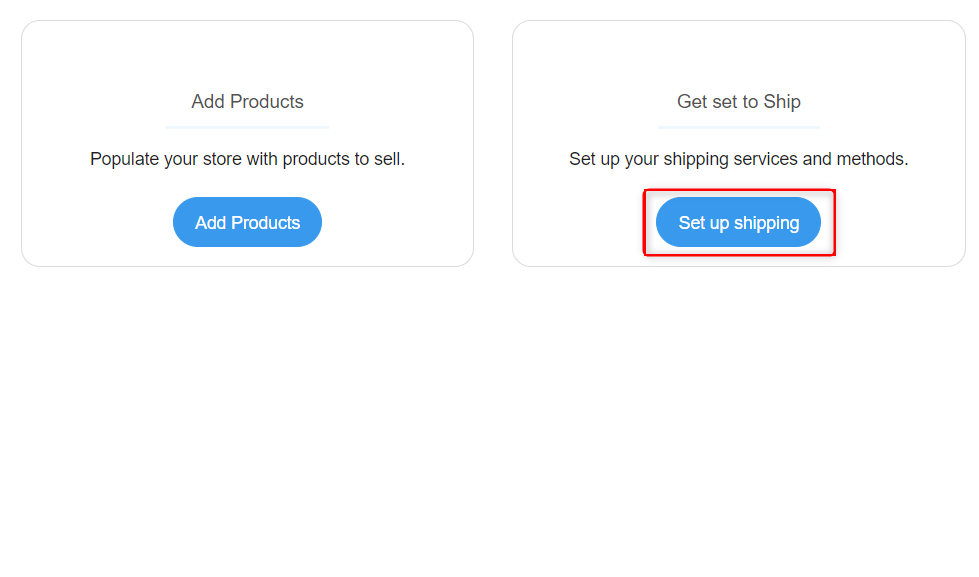
Appy Pie has an option that lets you integrate shipping stores like FedEx into your app.
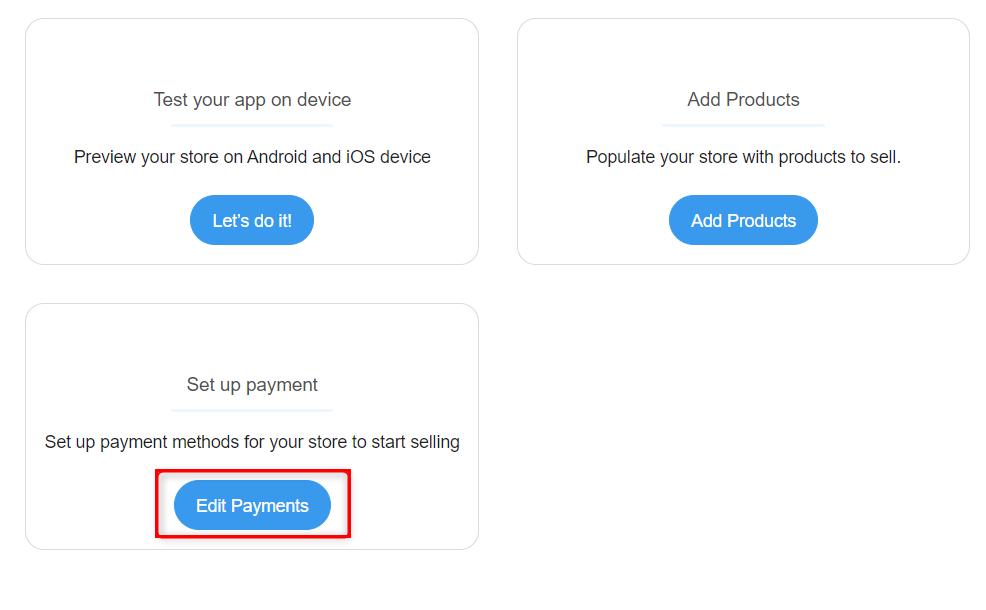
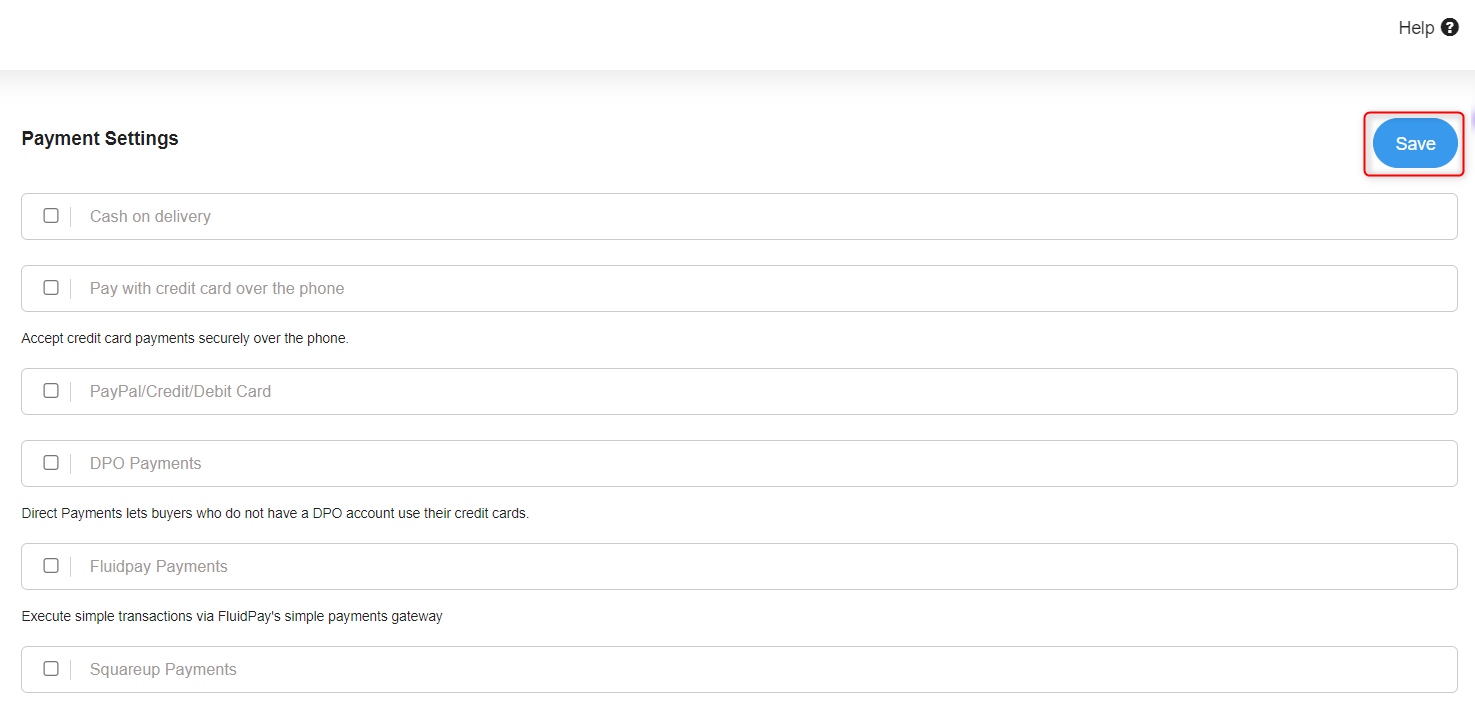
After selecting your preferred payment method, tap on “Save”.
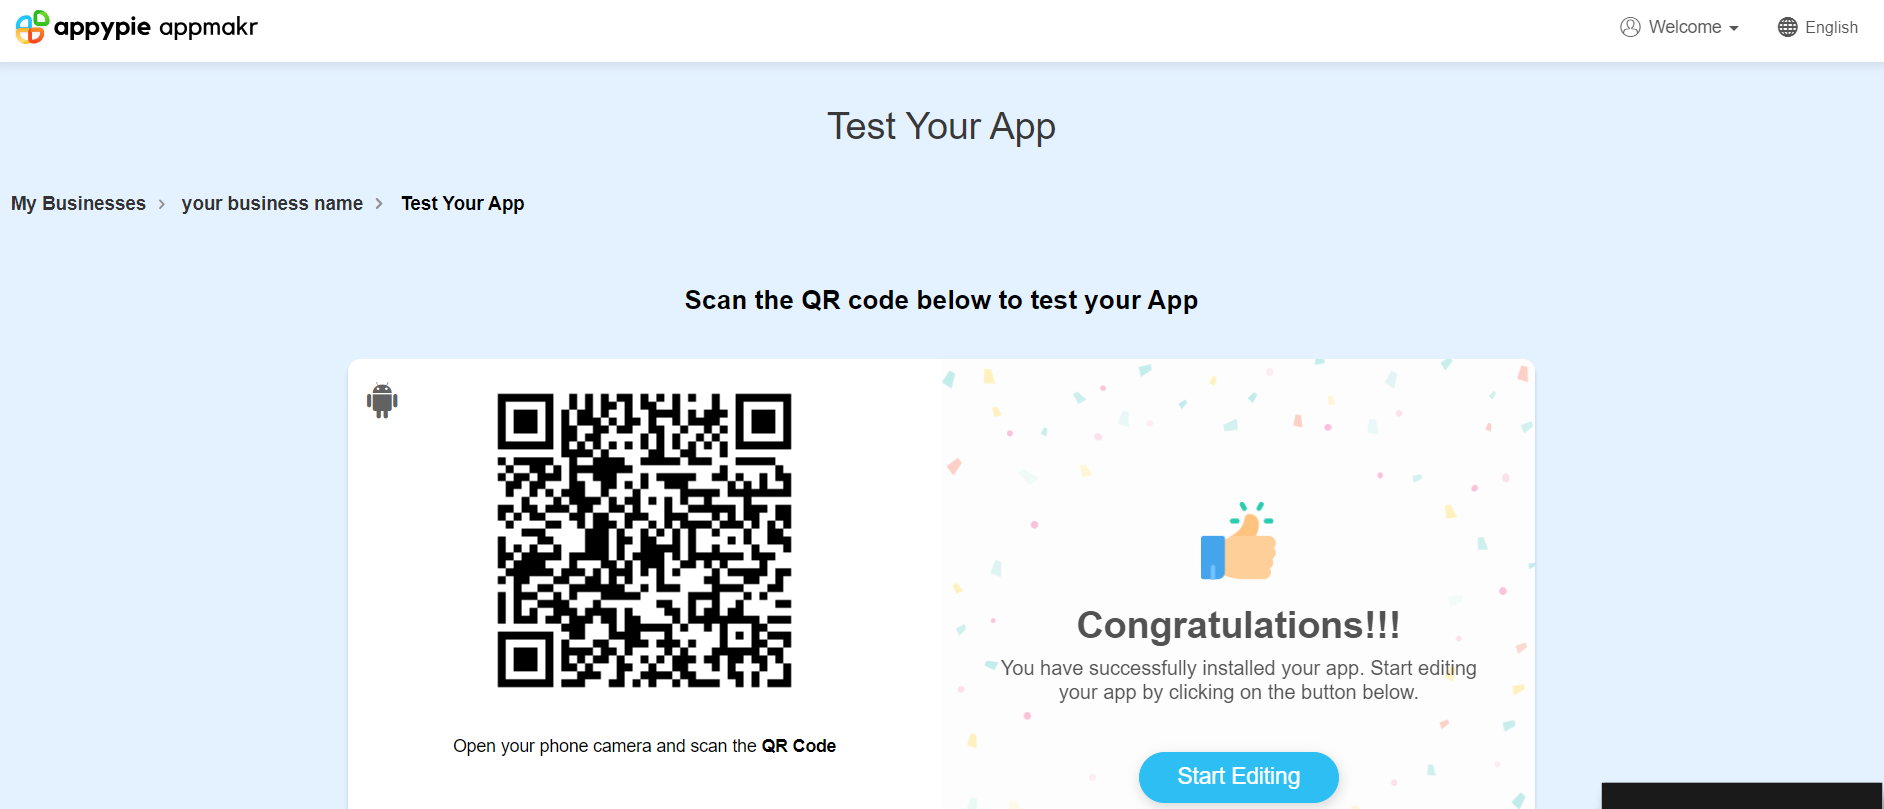
Next, open your phone camera and scan theQR code.
Appy Pie will direct you toinstallan program called “Test Lab App”.
After installation, enter the email address that you used to create your Appy Pie account.
You should be able to view your app on your mobile gadget.
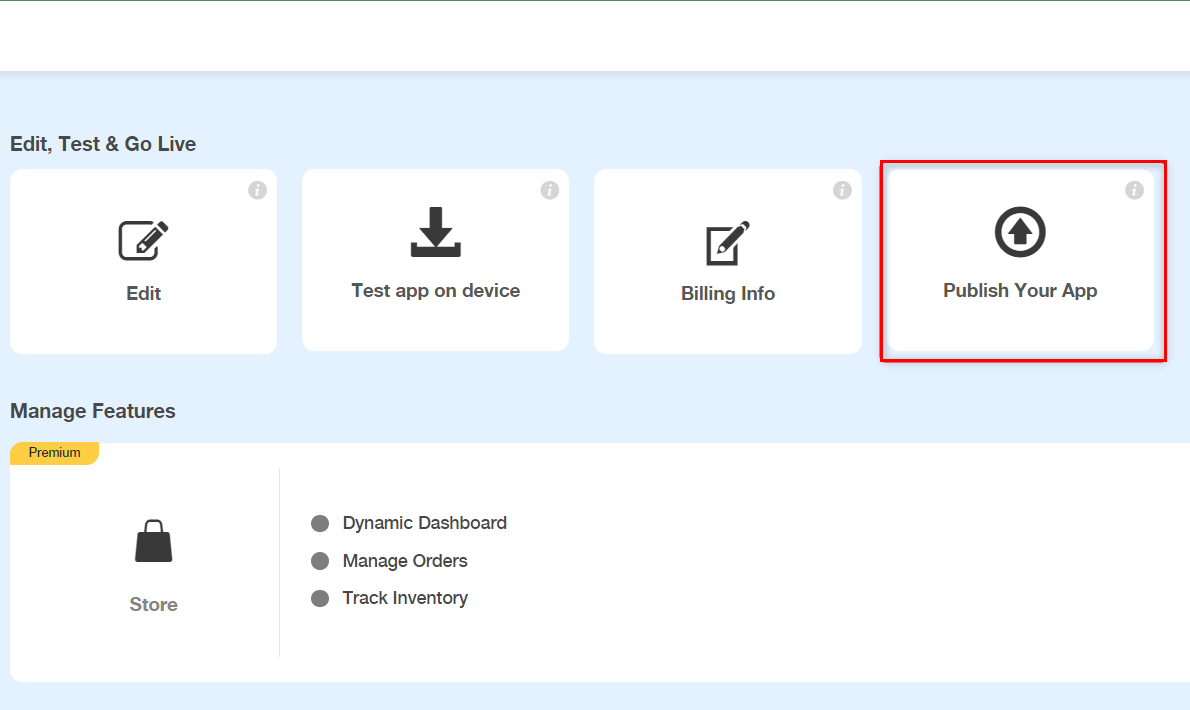
From your applications homepage, press “Publish Your App”.
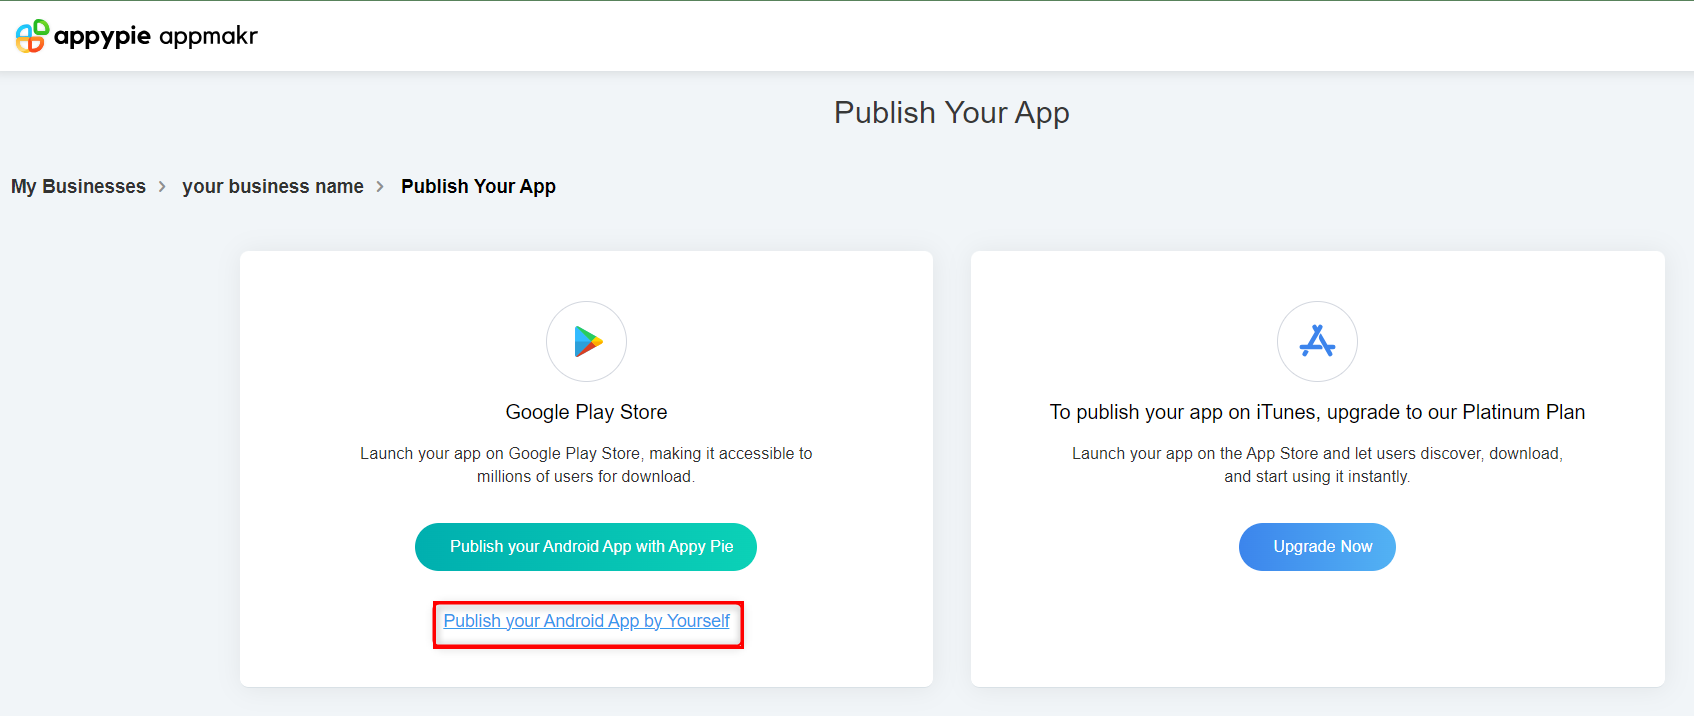
Using the free trial, you could only publish your system to the Google Play Store.
To publish to the App Store, you’re gonna wanna upgrade to the premium plan.
Ensure that you have aGoogle Developer accountto be able to submit your mobile software to the Google Play Store.
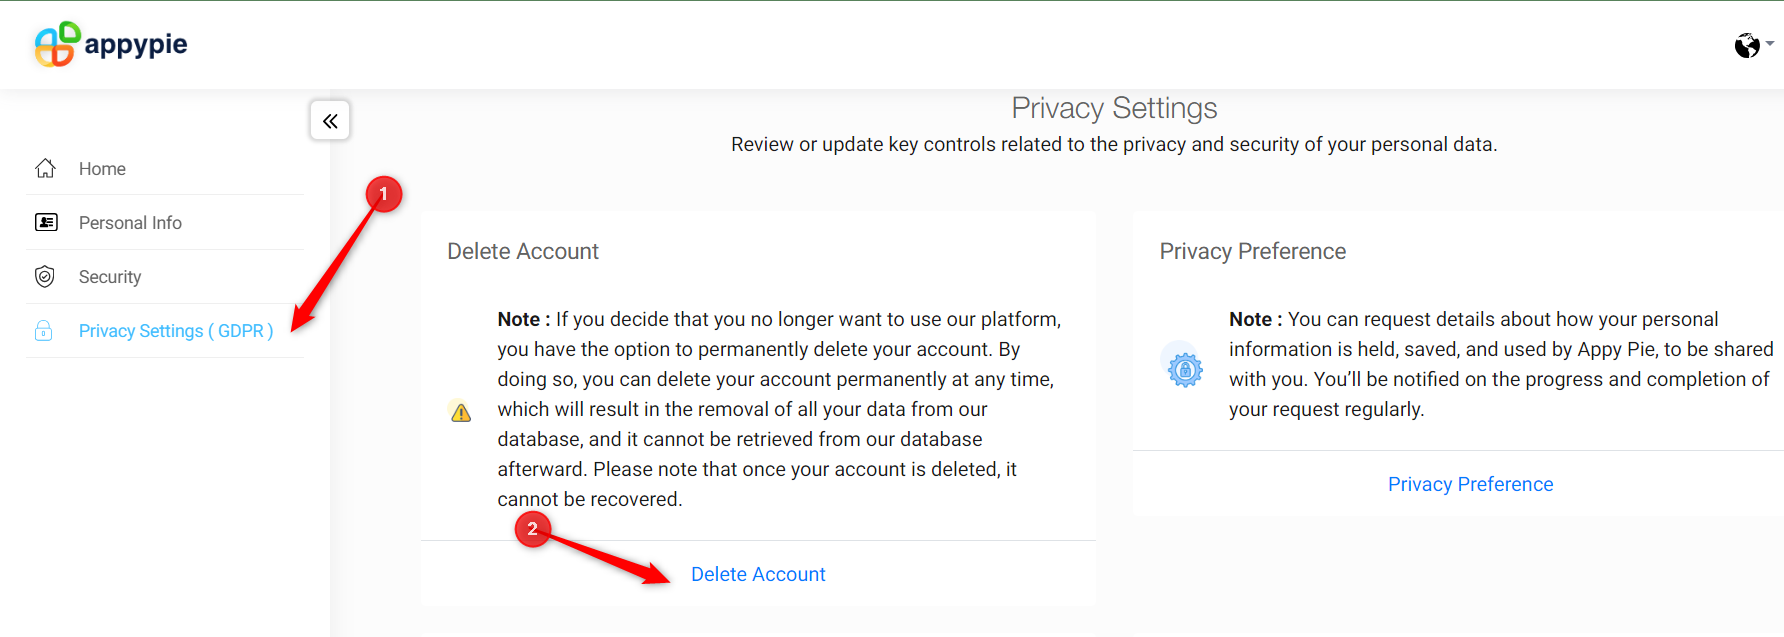
Then choose “Delete Account”.
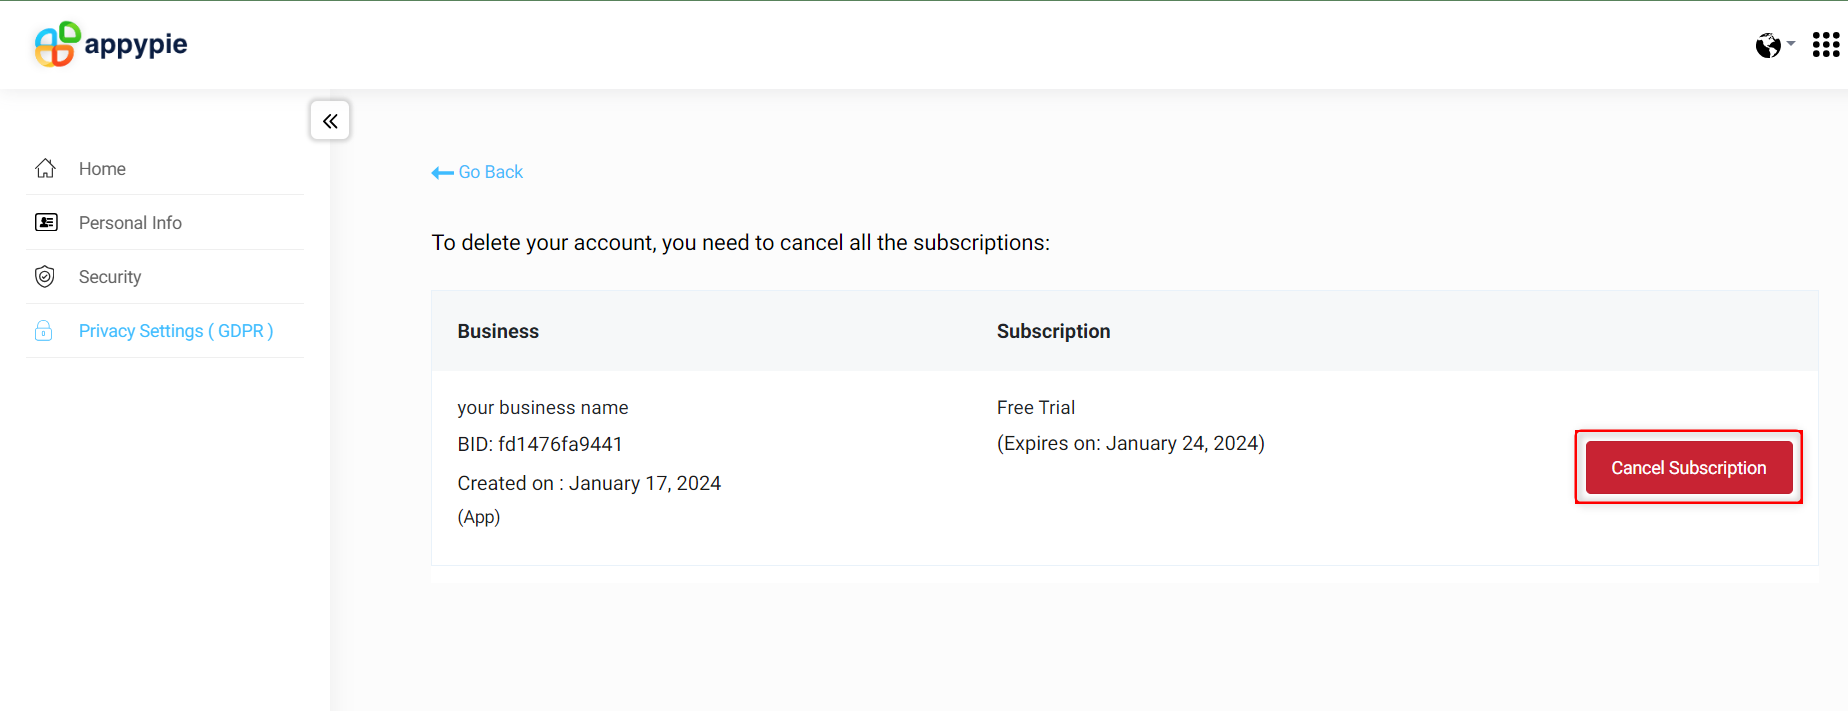
Next, press “Cancel Subscription”, follow the instructions, and Appy Pie will cancel your subscription.
Congratulations on developing your mobile utility!