Next, select Insert > Chart in the menu or hit the Insert Chart button in the toolbar.
In the sidebar that displays, pick the Timeline chart from the drop-down box.
When you want to display an easy-to-read visual for items in chronological order,consider a Timelinechart.
Add dates or dates with times in the first column and the numeric data in the second column.
If you have additional data, you might enter it in the third and fourth columns.
These then display as secondary lines on the chart.
Each row is a point on the chart.
If you have column headers that you want to include, be sure to select those as well.
You’ll see a default chart display, likely a column orbar chart.
To change this to a Timeline chart, go to the sidebar that displays when you insert the chart.
When you finish the initial setup for the chart, you have a few customization options.
Customize the Timeline Chart
Expand the Timeline section on the Customize tab.
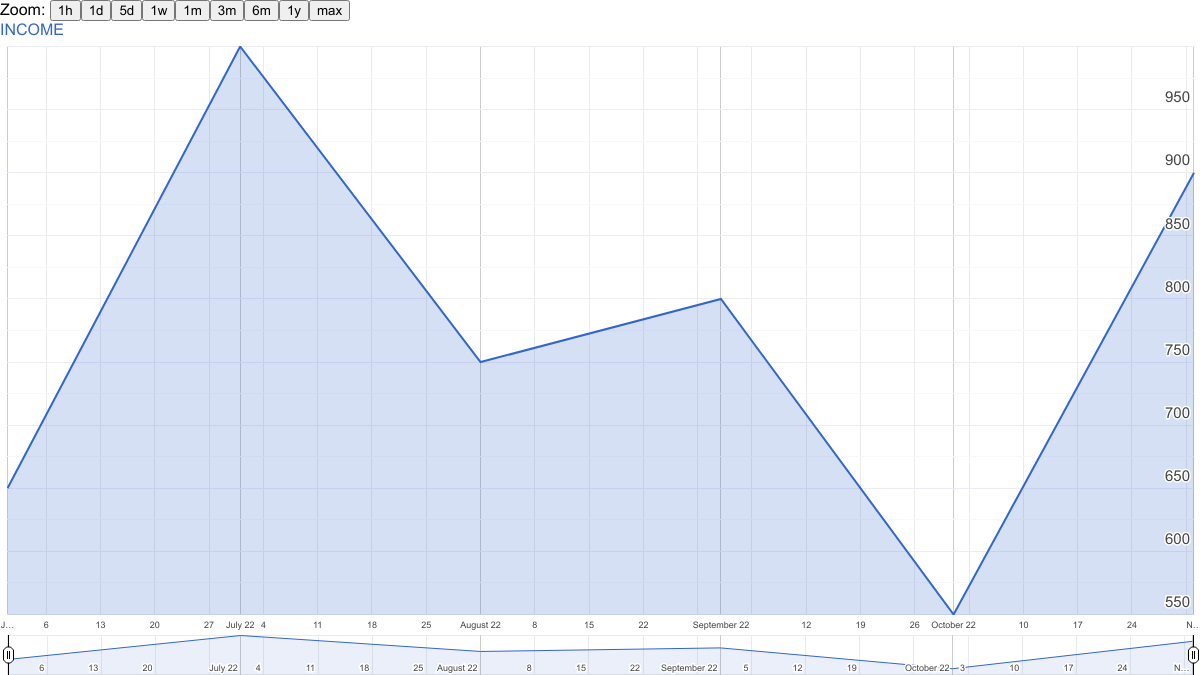
Select a button to zoom in on that timeframe.
The Date Range Selector displays at the bottom of the chart.
You’ll see the data displayed in the top right corner of the chart.
When you want to show data in chronological order, the Timelinechart in Google Sheetsis ideal.
For more, check out how tocreate a geographical map chartandhow to make a pie chartin Google Sheets.
