Create multiple overlapping “Oval” shapes with the shapes tool to draw your Venn diagram.
Use the “Textbox” tool to add text to it.
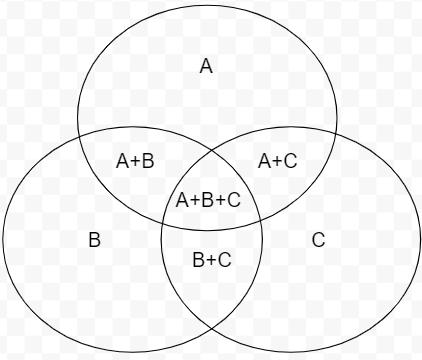
A Venn diagram pictorially represents the relationship between two or more things.
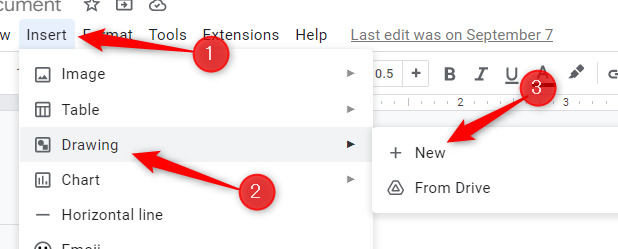
you’re free to quickly create your own Venn diagram inGoogle Docsby using thebuilt-in drawing tool.
The Drawing window will appear.
nudge the “Shapes” tool (a circle in front of a square).
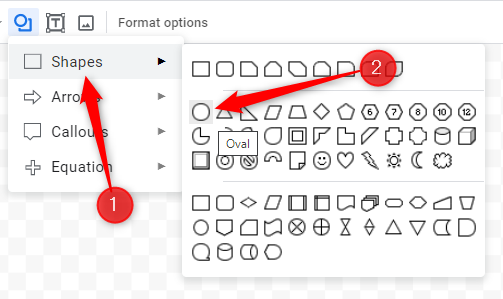
Hover your cursor over the “Shapes” option.
Then, grab the “Oval” shape from the sub-menu.
Your cursor will now change to a plus sign.
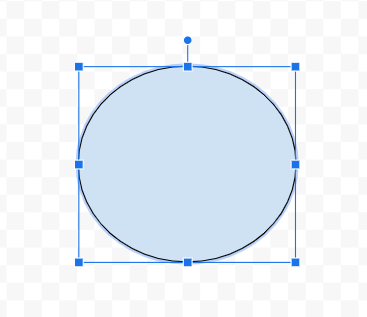
Draw an oval by clicking and dragging your cursor.
Next, make your circle transparent.
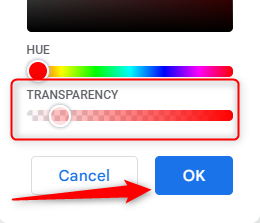
If you want to use color, adjust the transparency to see the intersection of the shapes.
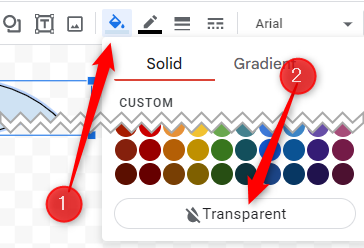
To do this, choose the “Fill Color” tool.
Then, snag the plus (+) sign under “Custom.”
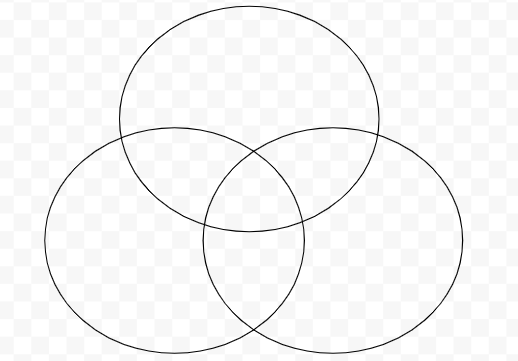
Repeat this until you have the number of shapes you require for your Venn diagram.
Position the shapes so there’s an overlap between them.
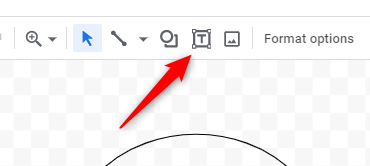
Now it’s time to insert the text.
grab the “Textbox” tool (square with a ‘T’ in it).
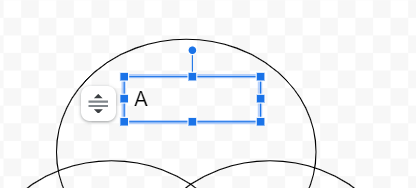
Your cursor will again turn into a plus sign.
Click and drag your cursor to draw the text box.
Then, insert your desired text.
Repeat this step for each part of the Venn diagram.
The Venn diagram is now inserted in your document.
That’s all there is to it.
you’re free to alsomake a Venn diagram in Google Slides.
Related:How to Create a Venn Diagram in Microsoft PowerPoint