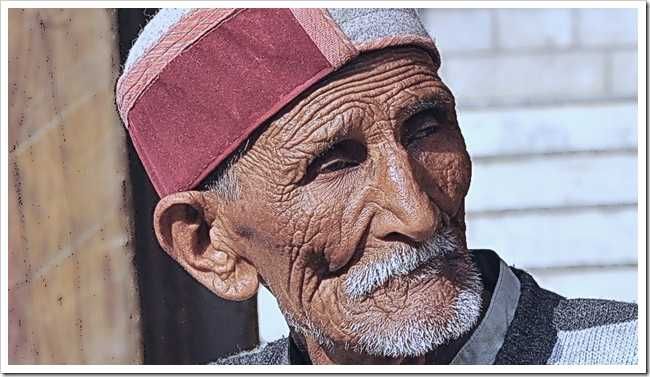
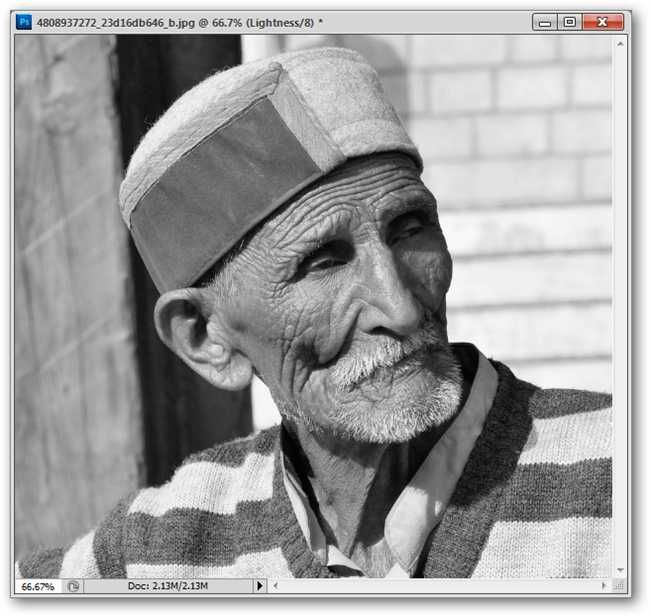
Blurry photos or images lacking detail are reasonably okay for this technique, but are not ideal.
Pick one with good detail and a good value range for best results.
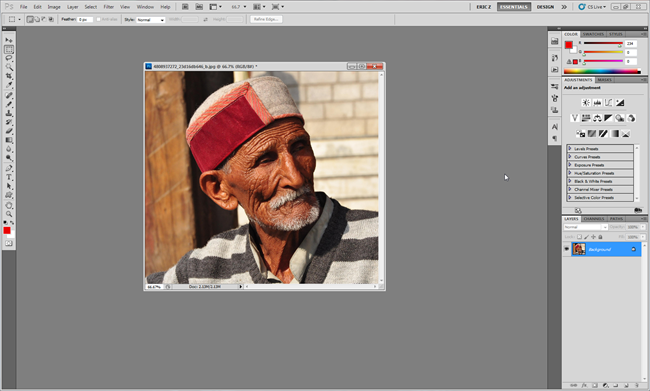
Your image should be flattened (no layers) to begin with.
The next step is simple as well.
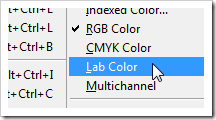
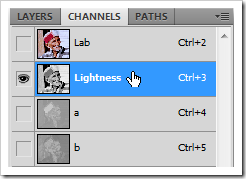
We have to go to our channels panel and pick the “Lightness” channel.
This is how your Channels panel should look with this channel selected.
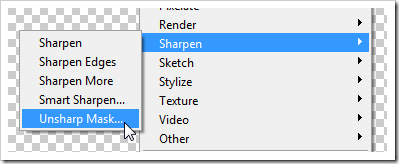
With your Lightness channel still selected, navigate to Filters > Sharpen > Unsharp Mask.
While this is an acceptable setting for Unsharp Mask, this is a very obvious and overdone setting.
you might use different, more subtle options if you prefer.
When you’re satisfied with your preview, press OK.
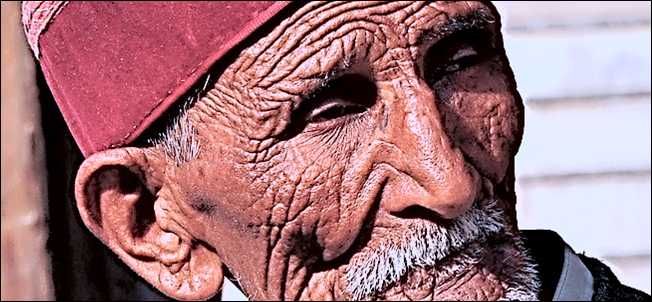
Your lightness channel should now be transformed.
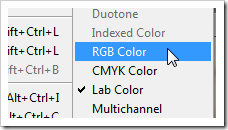
We’ll flip our color mode back to RGB by navigating to Image > Mode > RGB Color.
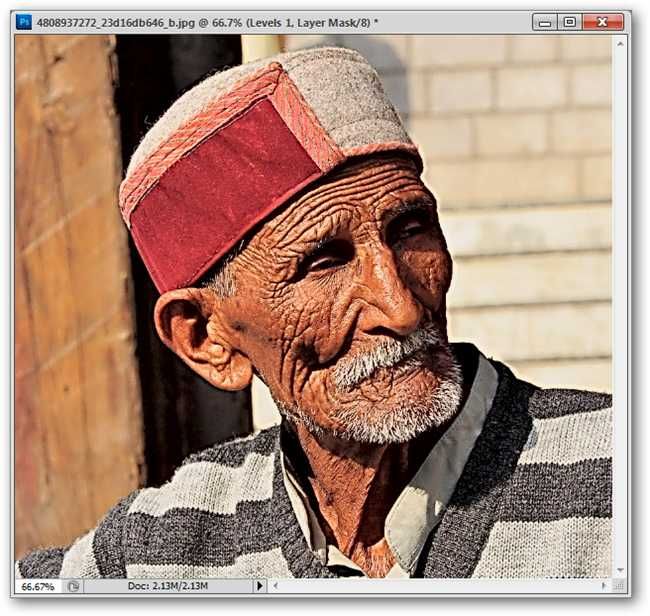
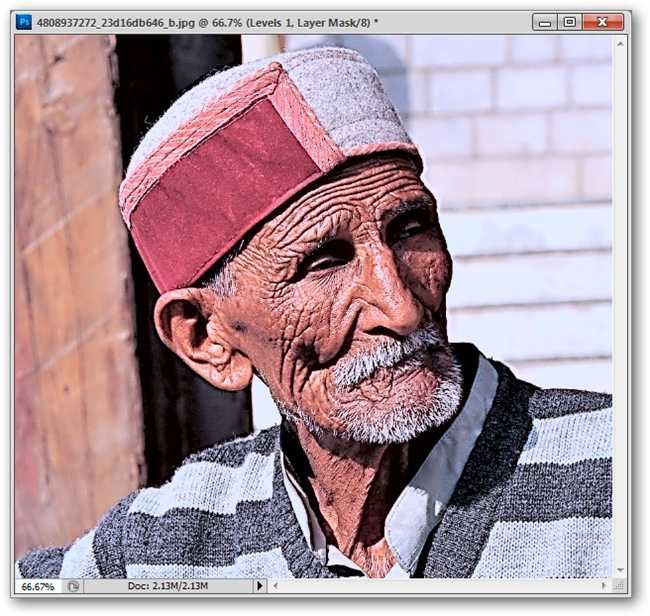
Your image should jump back to color.
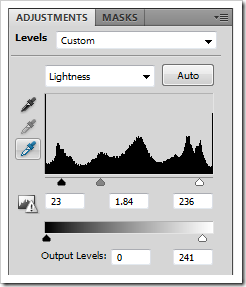
You’ll want to adjust your levels to suit your image specifically.
you’ve got the option to simply copy the five values above, if you prefer.
This is an optional step, if you’re already happy with your image.
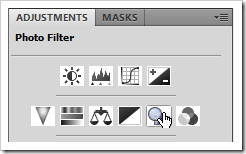
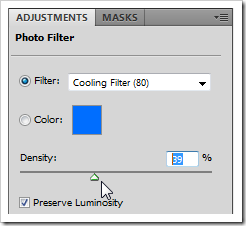
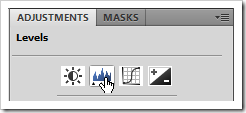
Create one as shown above left in the Adjustment Panel, or poke the
in your Layers Panel.
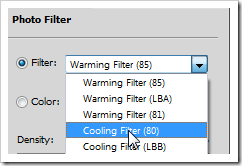
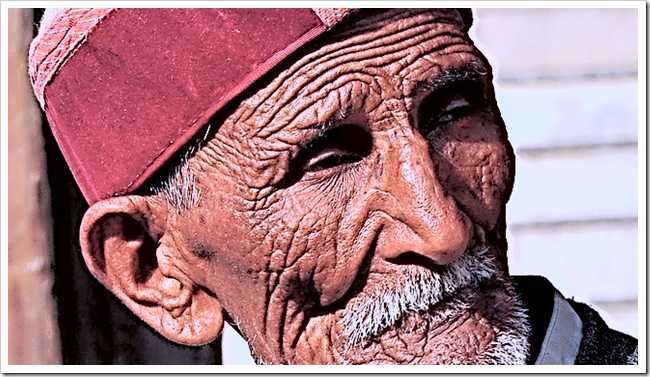
With our photo filter simulating a white balance shift, our stylization is complete.
But what about those of us that want to replicate this with a freeware graphics solution?
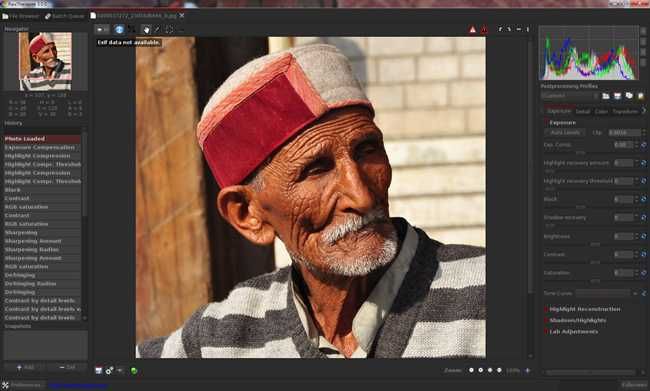
Simply open your image in Raw Therapee to start stylizing it.
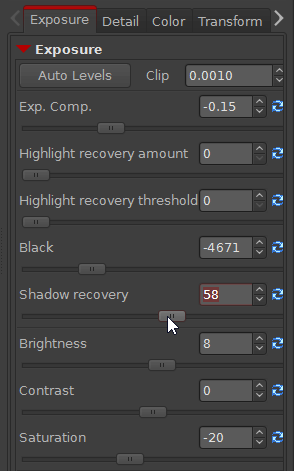
Raw Therapee starts you with the “Exposure” sidebar.

For our example below, we’ve used these configs.
“Exposure” controls the bulk of your tones, simulating adding and subtracting light to your photo.
To stylize our image, we’ve also shifted the saturation to appear more muted.

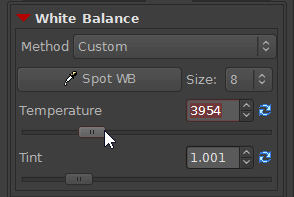
White balance can be adjusted on the “Color” tab on the right sidebar.
This will allow you to adjust the yellow/blue cast light, like we did in our photoshop how-to.
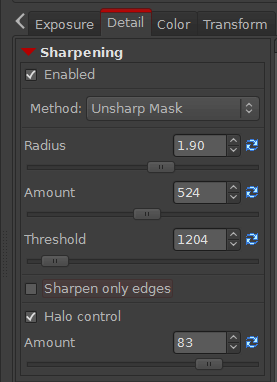
You may find that “Halo” control looks best turned on.
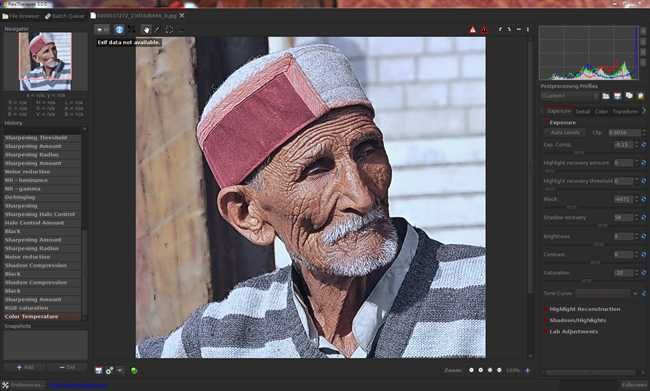
Our final result is slightly different from our Photoshop image.
It does give us a pretty good idea of the program’s ability to stylize an image.
If you’ve not downloaded it already, give Raw Therapee a shot.
It’s cross platform and free, apart from being excellent.
Image Credit: Old Man at Manali byNanda Kishore, available underCreative Commons.