Quick Links
ISO files, sometimes called ISO images, are a bang out of archival file.
Windows didn’t offer any native support for ISOs for years — you had to use third-party tools.
Luckily, Microsoft added support for ISOs starting in Windows 8.

Here’s what you oughta know about ISOs on Windows 11.
They’re still used for that purpose decades after their invention.
Related:What Is An ISO File (And How Do I Use Them)?
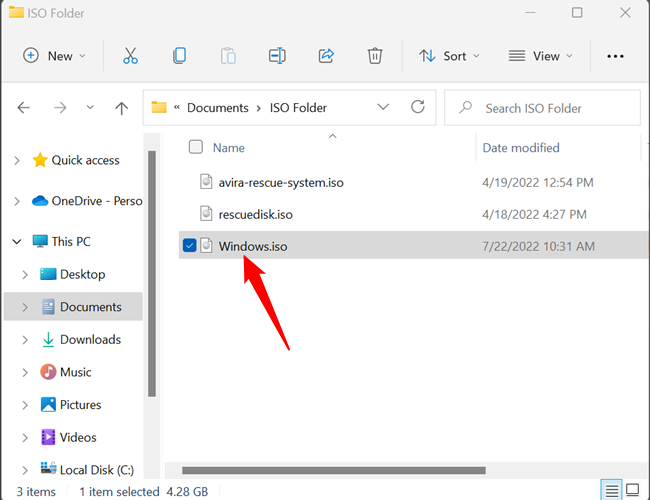
There are a handful of ways tomount an ISOusing the tools built into Windows 11.
None of them are better than any other, as they accomplish exactly the same thing.
It is just a matter of personal preference.
That is completely normal and doesn’t necessarily mean it contains malware.
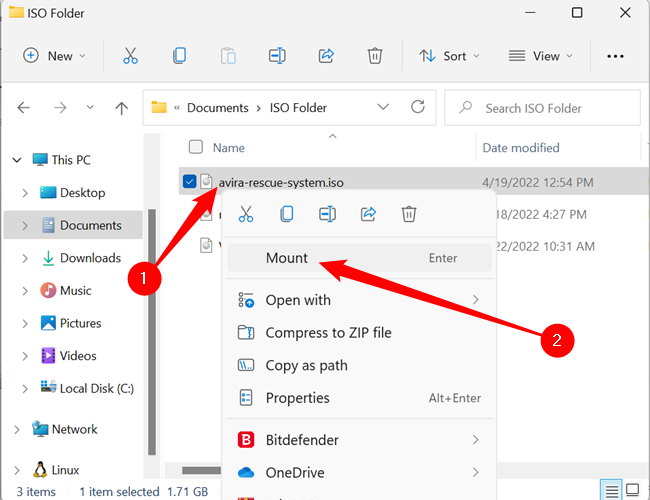
The Right-Click Context Menu
you might also mount an ISO file via the right-click context menu.
Right-smack the ISO file you want to mount, then click “Mount” in the listed options.
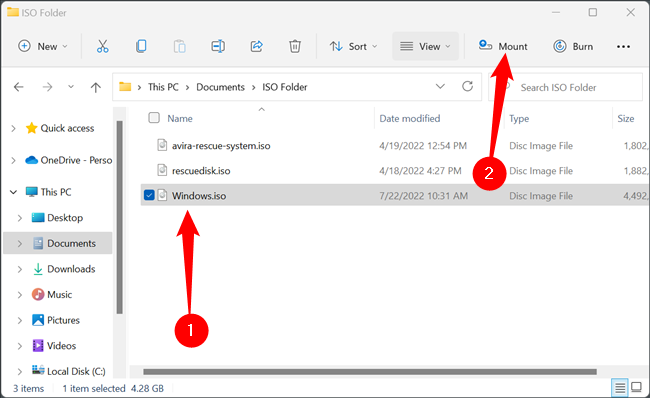
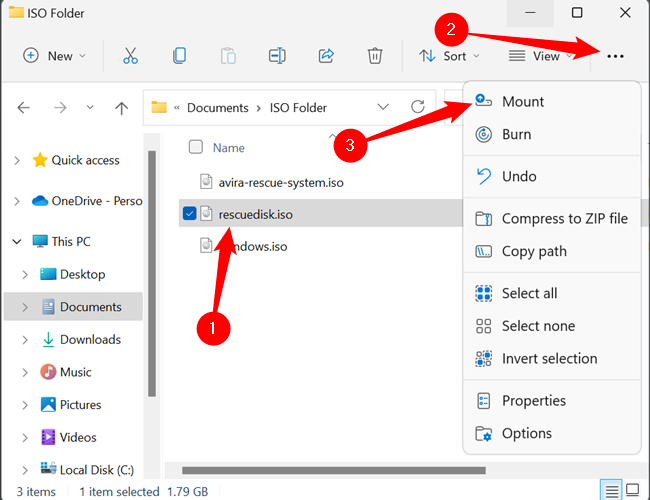
The Ribbon in File Explorer
File Explorer has some controls for manipulating ISO files, too.
choose the ISO file, then click “Mount” near the top.
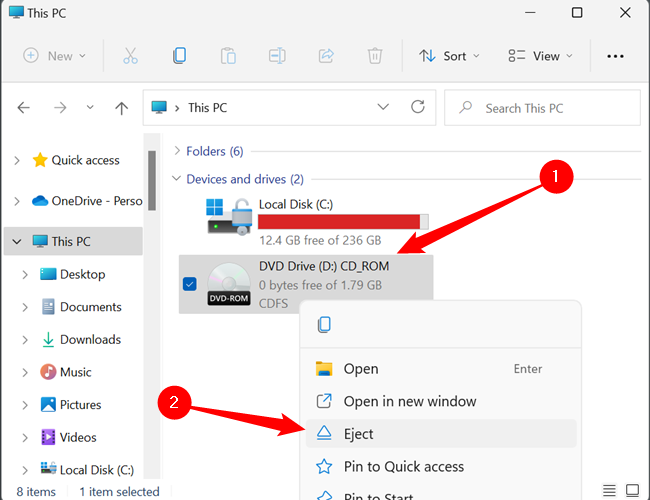
Once you’re doing, open up File Explorer and go to “This PC.”
Then right-tap the DVD drive and click “Eject.”
Restarting your system will also unmount any ISOs you had previously mounted.