If you create documents in Word with complex layouts, tables are a useful method of arranging your content.
First, we insert the main table that will contain the steps of the procedure.
We write the first step and press “Enter”.
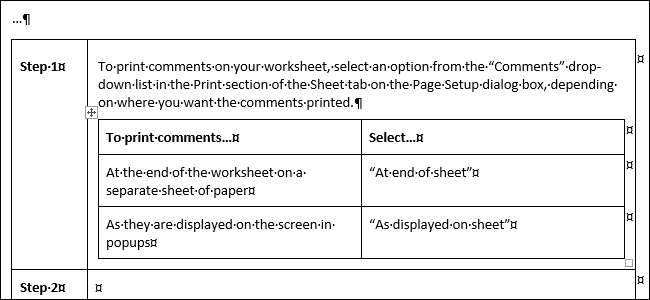
We’re going to insert a nested table that describes the situations in which you would choose each option.
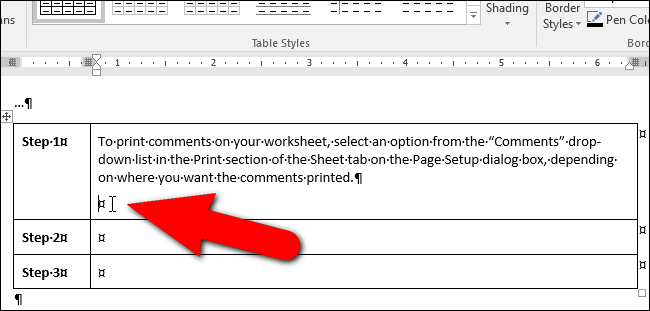
Before inserting the nested table, we ensure the cursor is placed where we want to insert it.
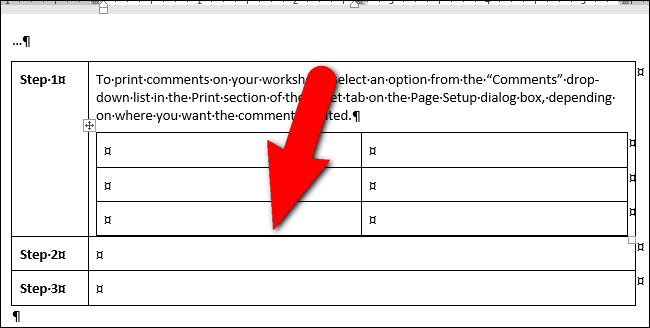
We need to expand the margins within the cell.
We will insert the nested table again after expanding the margins within the cell.
For this example, however, we’re only going to change the margins for one cell.
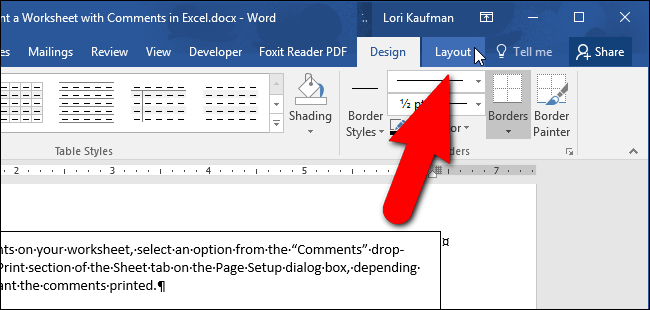
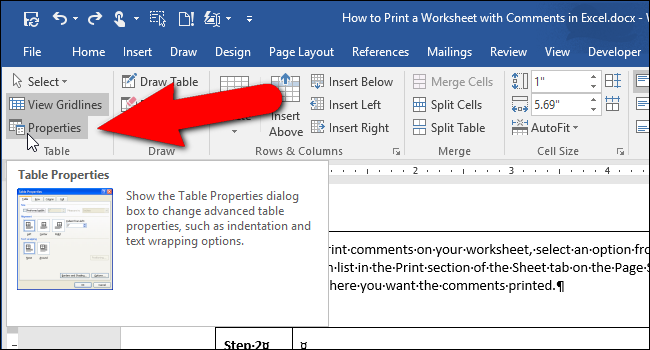
hit the “Layout” tab.
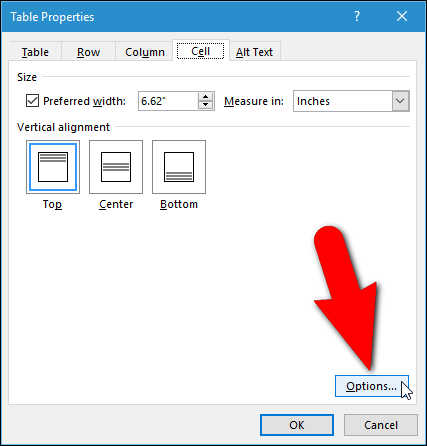
In the Table section, click “Properties”.
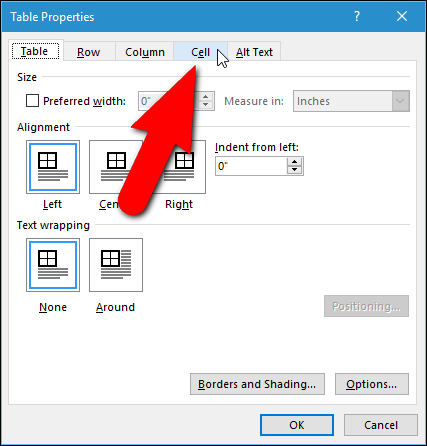
Click “Options” at the bottom of the Cell tab.
These values might differ in earlier versions of Word.
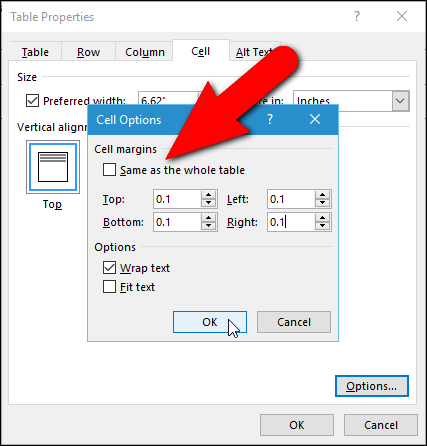
Enter new values for the margins, especially the Top and Bottom margins.
We used “0.1” for all the margins in our cell.
Click “OK”.
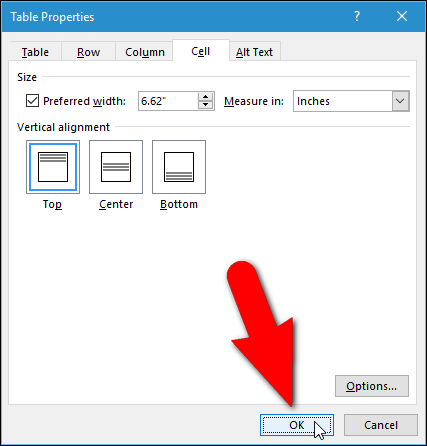
You are returned to the Table Properties dialog box.
Click “OK” to close it.
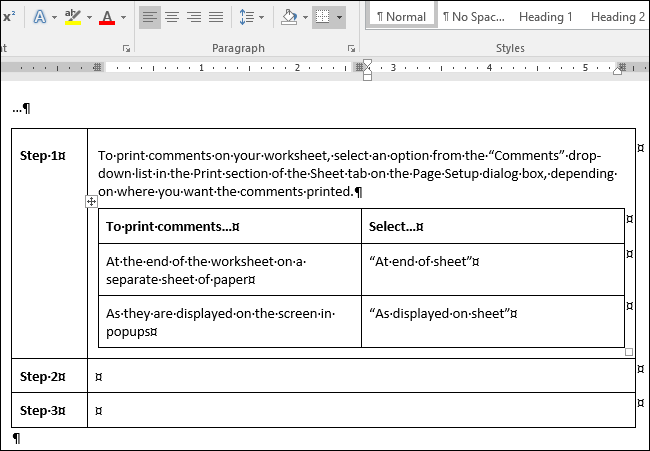
Now, you caninsert a tablein that cell and slide in your content.
The nested table sits nicely in the cell in your main table.
you could also have multiple layers of nested tables, but be careful.
Too many layers of nested tables can make for a confusing layout.