Here we show you a workaround that will allow you to pin it to Taskbar.
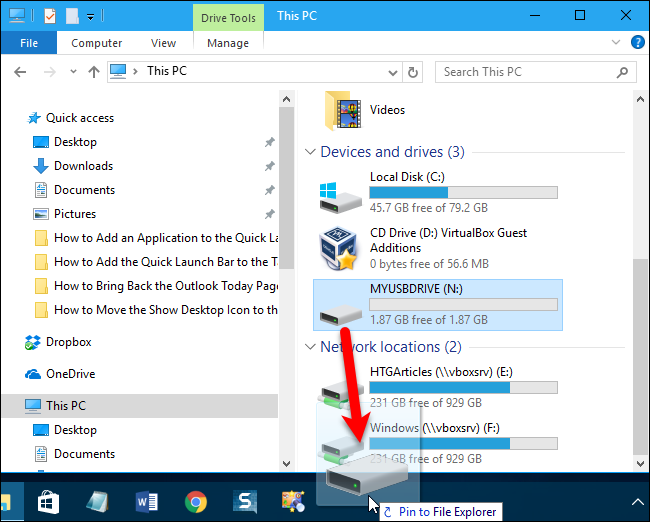
You would think the process would be as easy as dragging the external drive icon to the Taskbar.
Unfortunately, that isn’t the case.
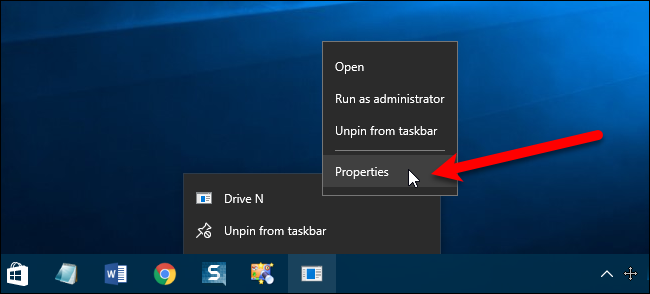
Then, if you right-hit the File Explorer icon, you’ll be able to access it from there.
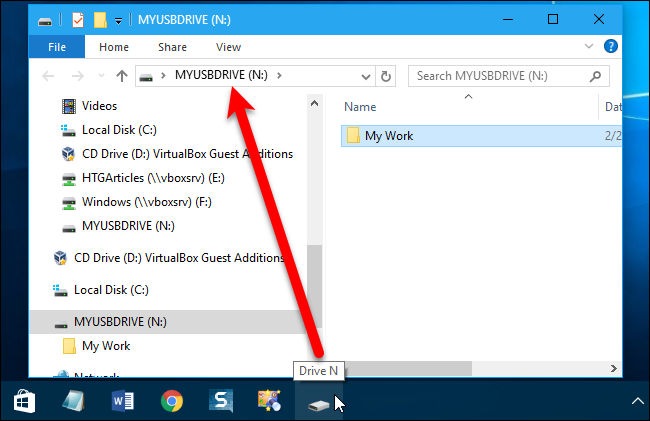
However, before doing this, we need toassign a persistent drive letter to our external drive.
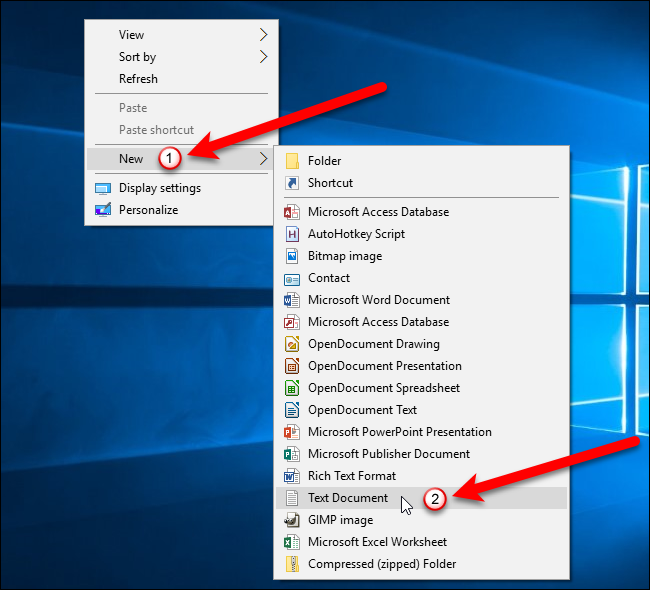
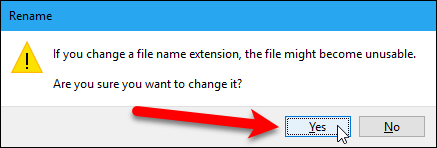
Then, name the text file whatever you want and change the
extension to
.
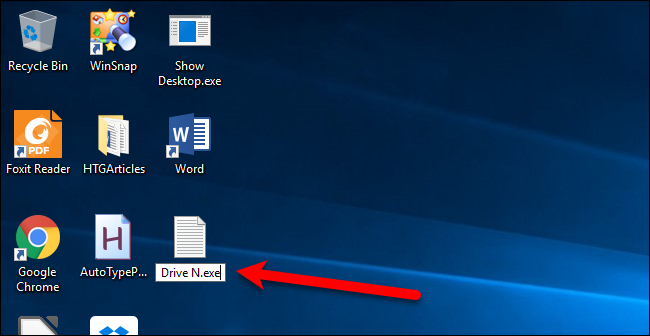
In our example, we’re adding the external N:\ drive, so we named it
.
nudge the “Yes” button to finish changing the name on the file.
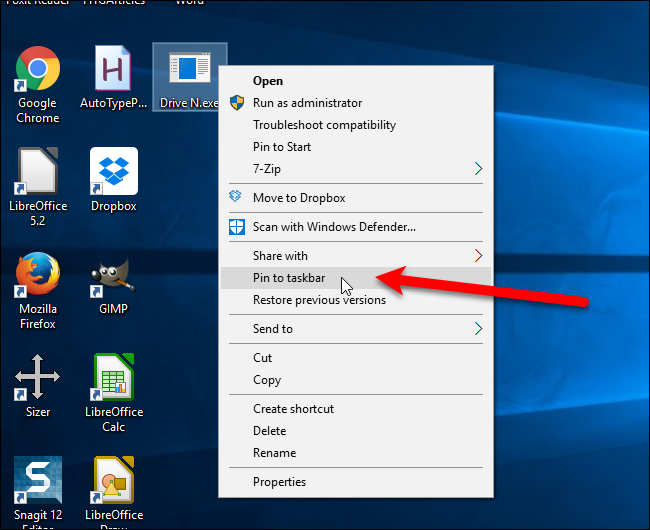
Now we have a “dummy” executable (.exe) file on the desktop.
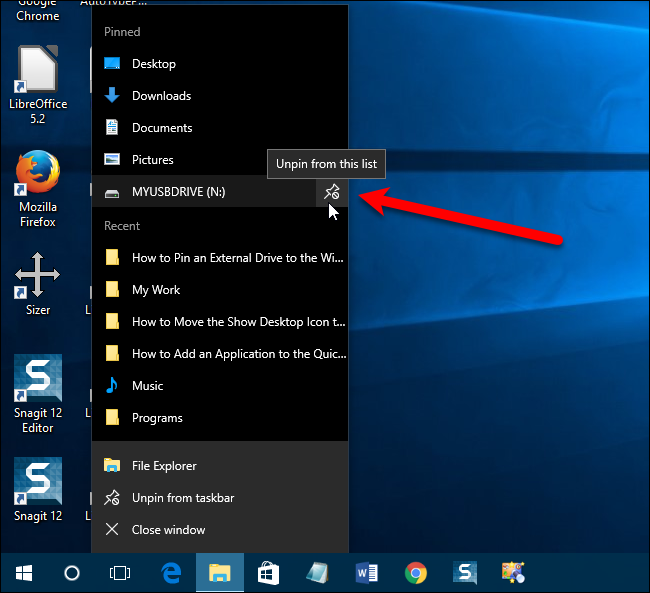
Right-tap on the file and select “Pin to taskbar” from the popup menu.
The file’s icon is added to the Taskbar.
you might actually use this technique to add any folder to the Taskbar too.
The main thing to remember is changing the Target and Start in to the correct path.
Don’t kill the Properties dialog box quite yet.
poke the “OK” button to close that dialog box.
press an icon in the “Select an icon from the list below” box and click OK.
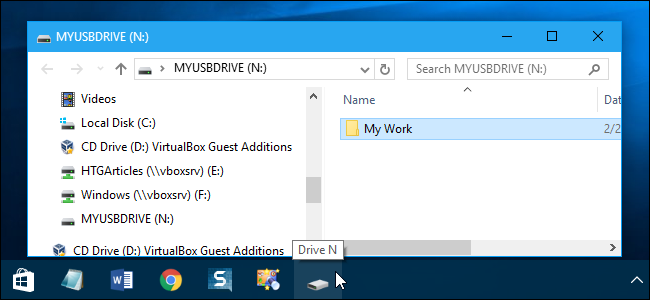
The icon on the Taskbar does not change immediately.
You need torestart explorer.exefor the selected icon to display.
Now we have a more appropriate looking hard drive icon and a quick method of accessing our external drive.