Fortunately there is freeware that can help you achieve professional results without professional costs.
Read on to see a great Freeware option, with a simple How-To describing how to properly use it.
This is a good thing—because shooting in JPG makes decisions for you that can’t be changed.
Processing Camera RAW Images
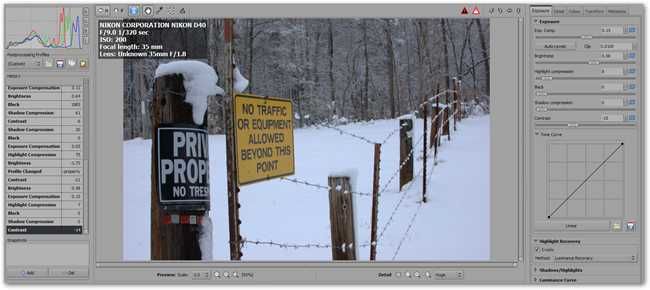
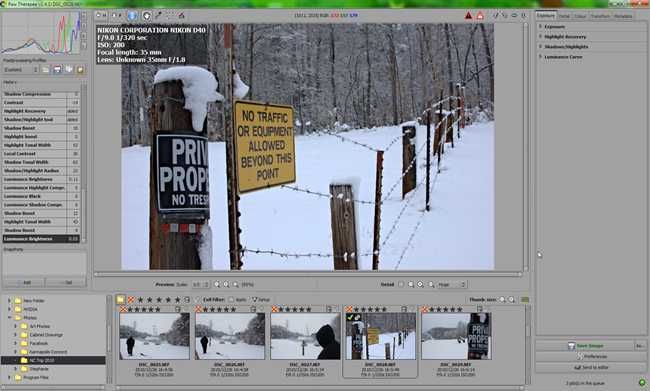
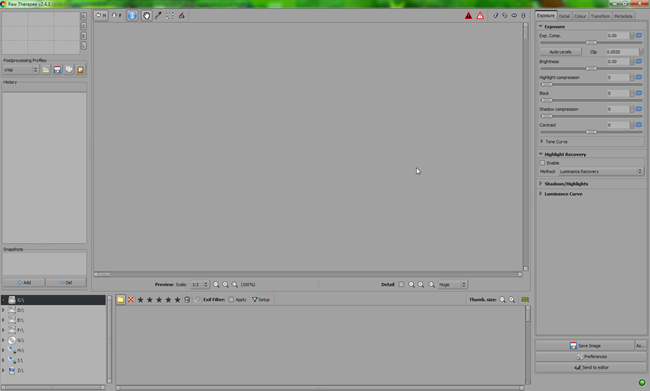
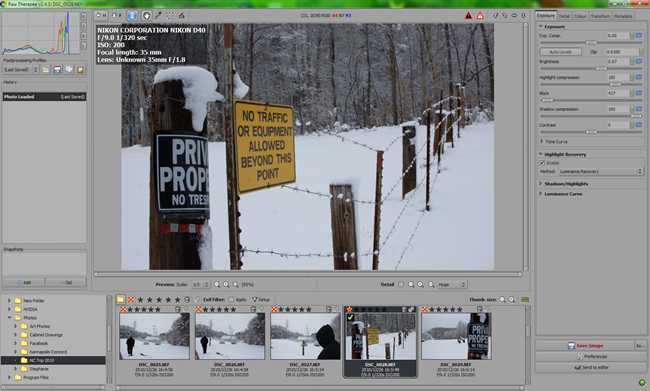
Raw Therapee looks like this upon opening.
This is simple enough.
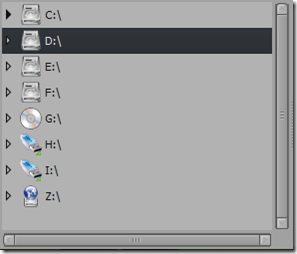
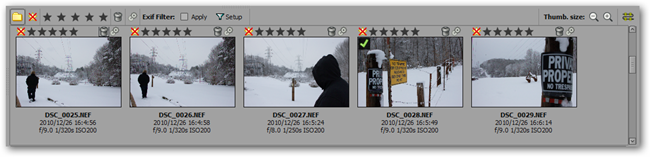
Find this area on the bottom left and navigate to where which drive your RAW photographs are kept on.
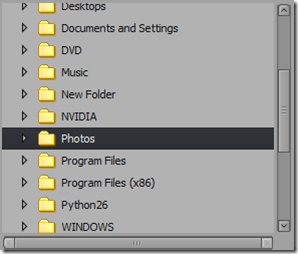
Double click your folder to bring up your images in the strip below.
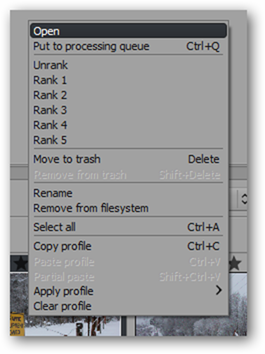
Right clicking your image will give you this contextual menu.
Click “open” to begin processing your RAW file.
Your image loads in the center preview window.
Let’s take a quick tour around this window to see what Raw Therapee offers us.
Locating the Tools of Raw Therapee
Scale:Zoom into your image here.
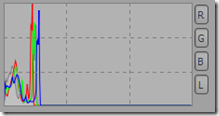
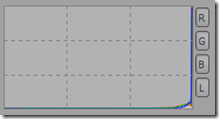
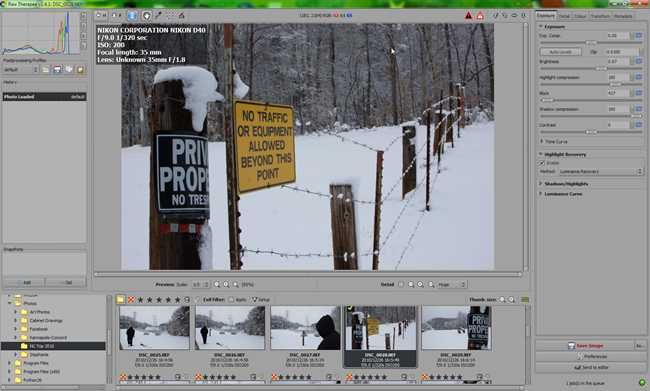
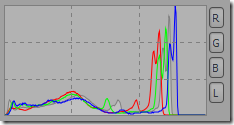
Histogram: A visual representation of the value distribution of your currently loaded image.
This histogram corresponds to the earlier image of the “Private Property” sign.
The vertical axis represents the concentration of the corresponding value.
Looking at the loaded image, we can see that is a fair representation of that image.
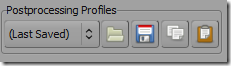
Postprocessing Profiles: Editing a RAW photograph can be difficult work.
RAW Processing Tools: This is the main event, with almost all of your important tools buried here.
Let’s dive in and tweak that photo.
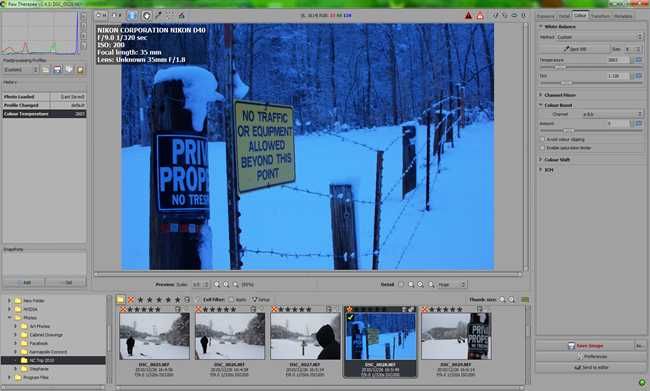
Some lights are cool, others are warm, and this is sensibly called Temperature.
Most likely your camera will choose an “Auto” white balance if you are shooting RAW.
Let’s adjust it to improve our image quality.
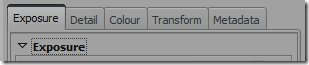
Locate the “Color” tab, temporarily ignoring “Exposure.”
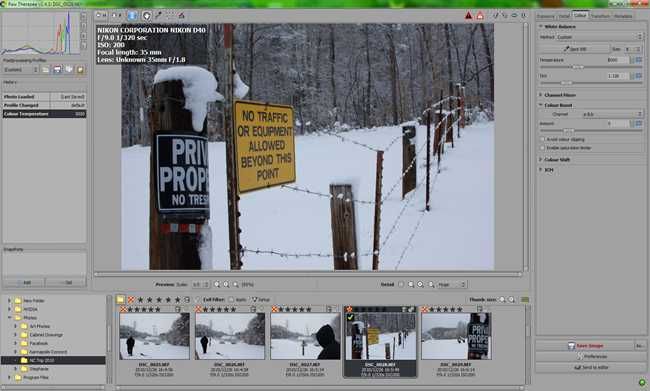
A temperature of 5000K is what is considered “Natural Daylight.”
As these shots were taken outdoors, 5000 is a decent setting to start with.
Less than 5000 will be cooler, over will be warmer.
Adjust this according to the environment you shot your photographs in.
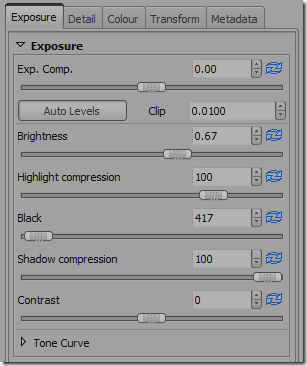
Adjusting Exposure in Raw Therapee
Return to your “Exposure” Tab in your right hand panel.
Adjust your values here as you see fit—each one will affect your image in drastically different ways.
The second is too dark, the third too light.

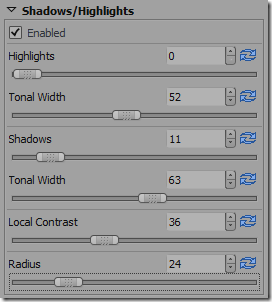
You’ll find them underneath “Shadows/Highlights” on your toolbar on the right.
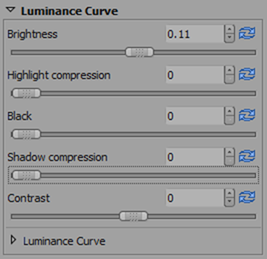
“Luminance Curve” is also available for an even further level of tweaking.
If you are satisfied with your image after any level of adjustment, you may stop.
It is possible to overdo your tweaks to images.
However, let’s apply our hard work to our image before closing up shop.
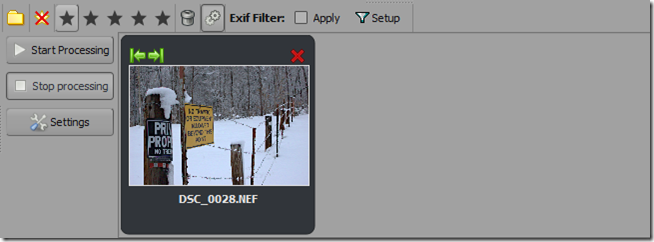
You’ll need to find the gear icon above to find the processing panel.
Click it to switch to the processing queue view.
Click “Start Processing” to render your image.
Image Credit: Negative byollycoffey, available underCreative Commons.
All Other Images copyright the author, Eric Z Goodnight and Brad Goodnight.