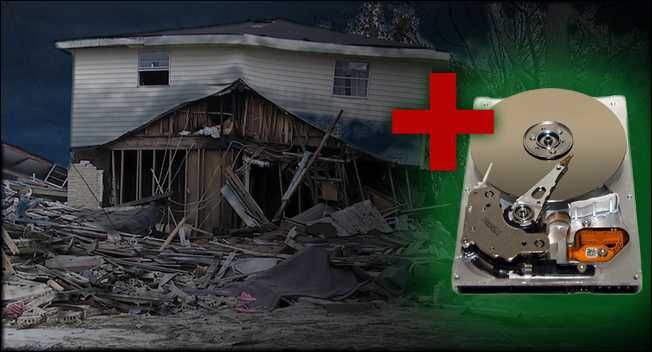
Here’s how to backup data and protect your hardware from the elements.
Here’s a short list of links to some of the information available.
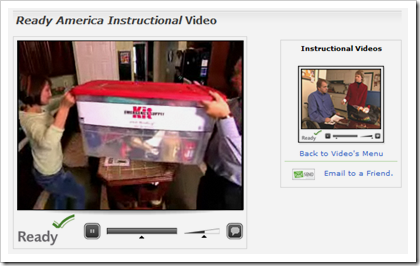
One of the most important things to prepare is an emergency supply kit.
Ready.gov has avery helpful checklist in PDF form, for printing or downloading.
What Data Is Most Important?
Prioritize what’s important to you, e.g.

Dry Bags (Google Shopping)
Worst Case Scenario: Take Out That Drive and RUN!
Here’s a quick photo how-to for those of you that have never done it before.
So be careful, and be warned, you it is possible to do more harm than good.
In general, though, removing hard drives is simple business.
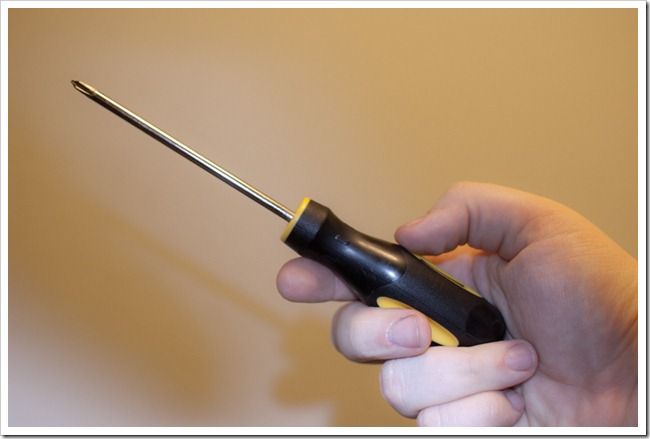
You will need only one tool to open your system tower—an ordinary Phillips head screwdriver.
Normally magnetized screwdrivers don’t cause any harm, but they still are not recommended for this task.

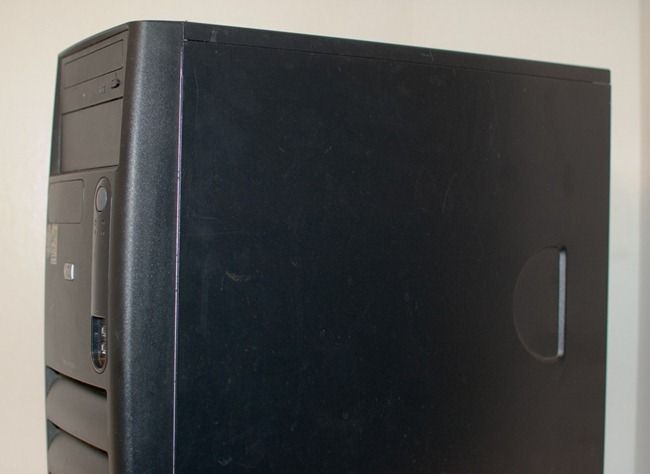
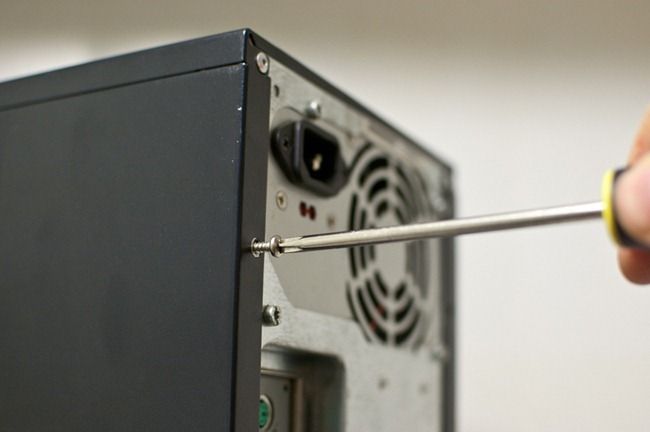
There are usually four on an ordinary computer case, and they hold the two sides in place.
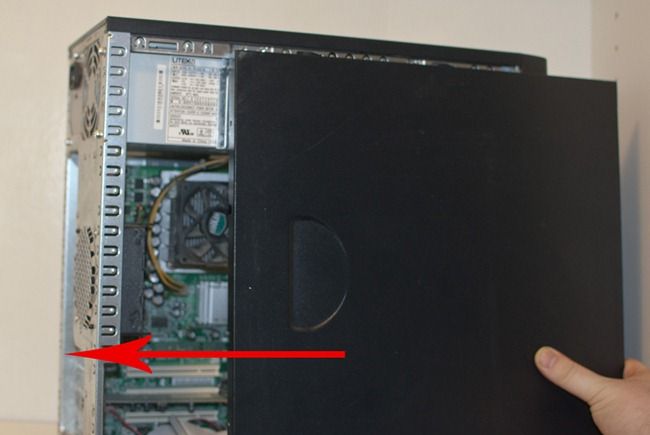
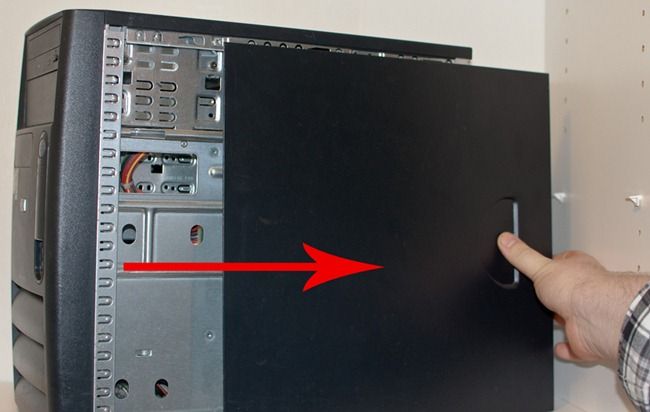
Remove the left side of the case by pushing it towards the back.
Like the left side, the right side removes by being pushed toward the back.

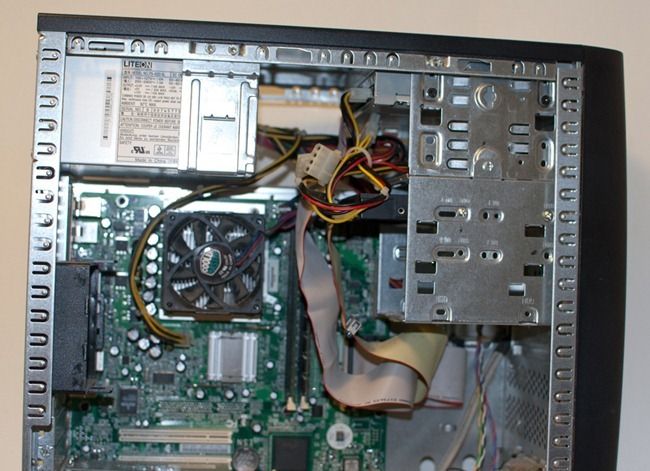
Isn’t it beautiful?
We need to remove those cables, then get the drive out.
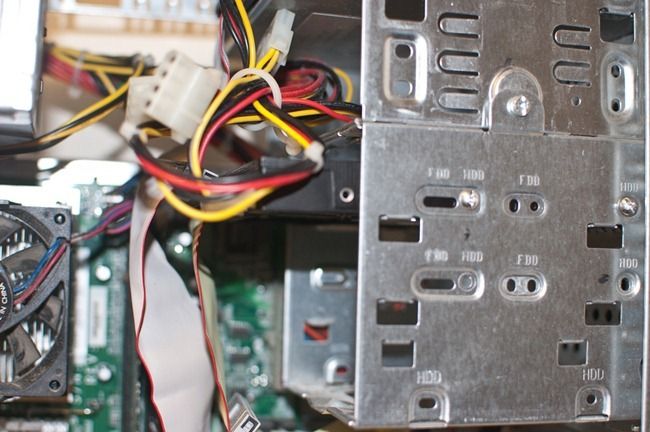
This closeup shows an older standard for hard drive power and data.

Yours may look different, and in fact, will likely be SATA power and data.
These are actually easier to remove than these old IDE/PATA standards.
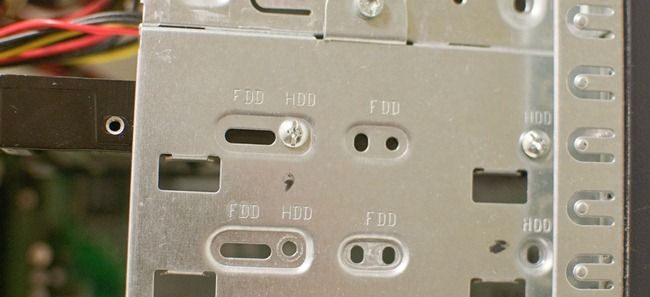
Regardless, you’ll be looking for this spot in your case, where your hard drive is installed.

Note the screws on the right.
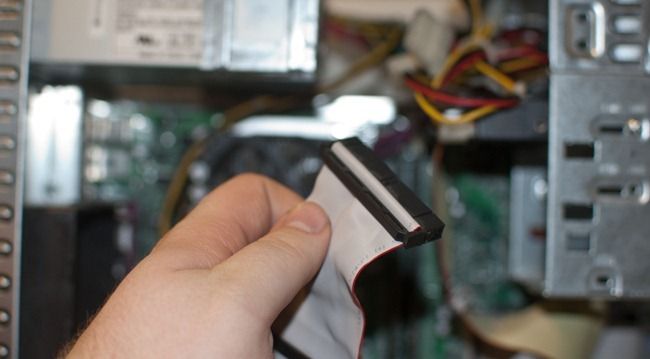
Remove the IDE/PATA data and power cables by gently rocking them back and forth.
If they’re the smaller SATA cables, they won’t take as much coaxing to remove.

IDE cables can be stubborn.
We’re going to simply unscrew these.
There’s not a lot to it, really.
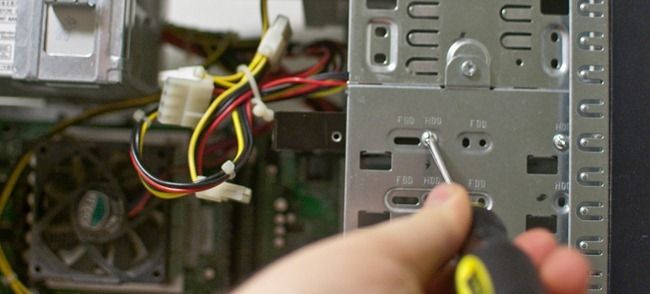
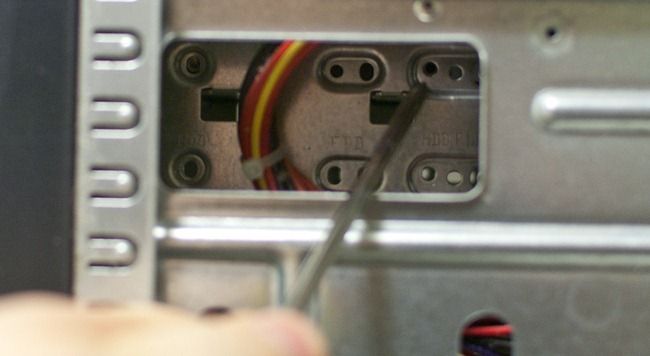
With your drive unplugged, take out all the screws holding the drive in place.
Check out the right side of the case before attempting to remove the hard drive.
It may have additional screws holding the drive in place.
They’ll be in a place like the one pointed to here.
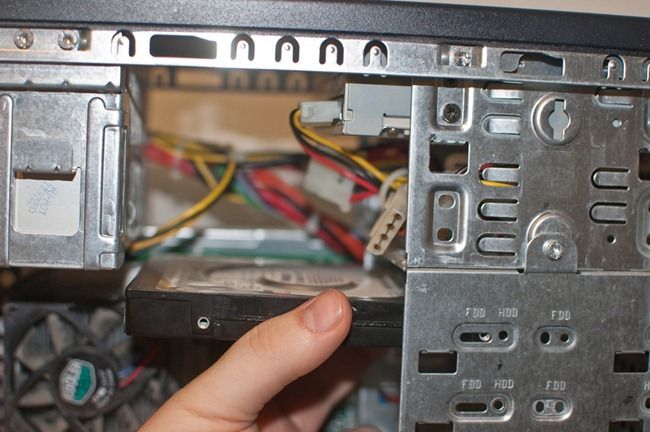
Handle the drive by the sides, and keep your fingers off of the circuit board.
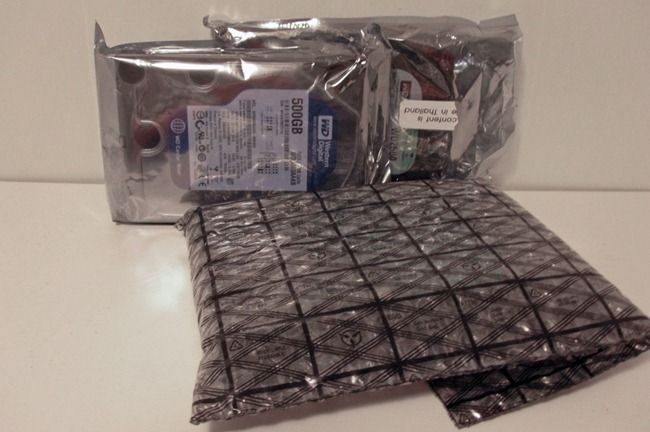
These are good for storing drives outside of actual computers, and protect them from static shock.
Stay safe out there, HTG Readers, and keep your data protected!
Image Credits: Katrina’s Fury bySue Cline, available underCreative Commons.
Hard Drive bywalknboston, available underCreative Commons.

Family History byalittlebirdy, available underCreative Commons.