Handily, Windows 11 lets you create custom keyboard shortcuts to quickly open your favorite programs.
Once pinned, you’ve got the option to use the Windows+AppNumber shortcut to launch it.
Here, “AppNumber” is the order in which the app appears on the taskbar.
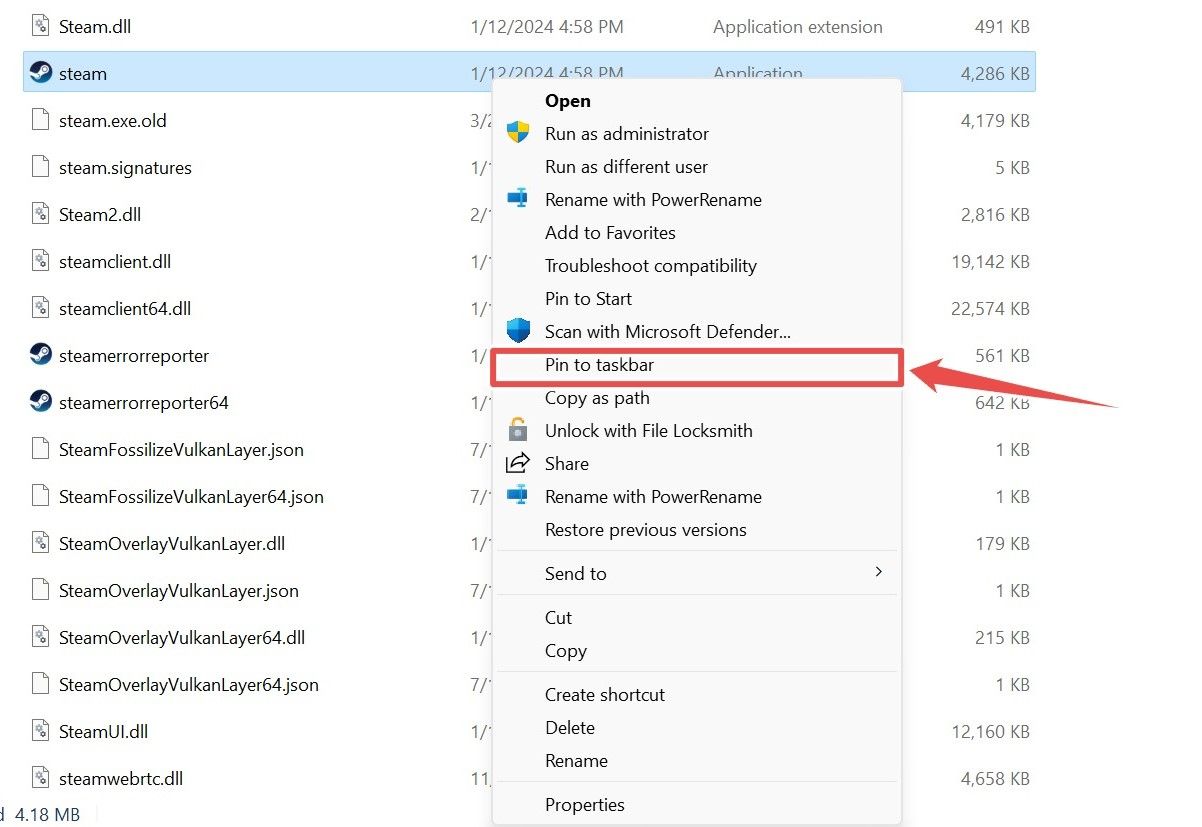
Once pinned to the taskbar, click and drag the icons to move them to a different position.
You may already haveFile Explorer pinned to your taskbar, as Windows 11 does this by default.
If so, this does support the Windows+AppNumber shortcut.
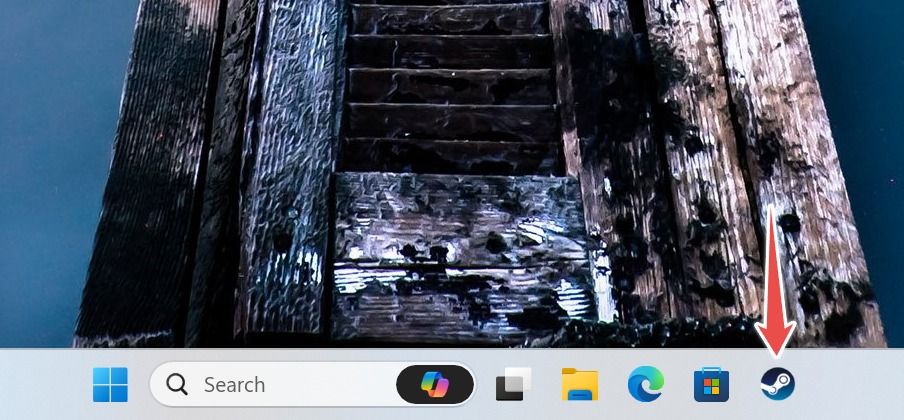
In the screenshot below, File Explorer is first and Steam (highlighted) is fourth.
Since Steam is fourth, I can launch it by pressing Windows+4.
To do so, you’re gonna wanna create a shortcut file for the tool.
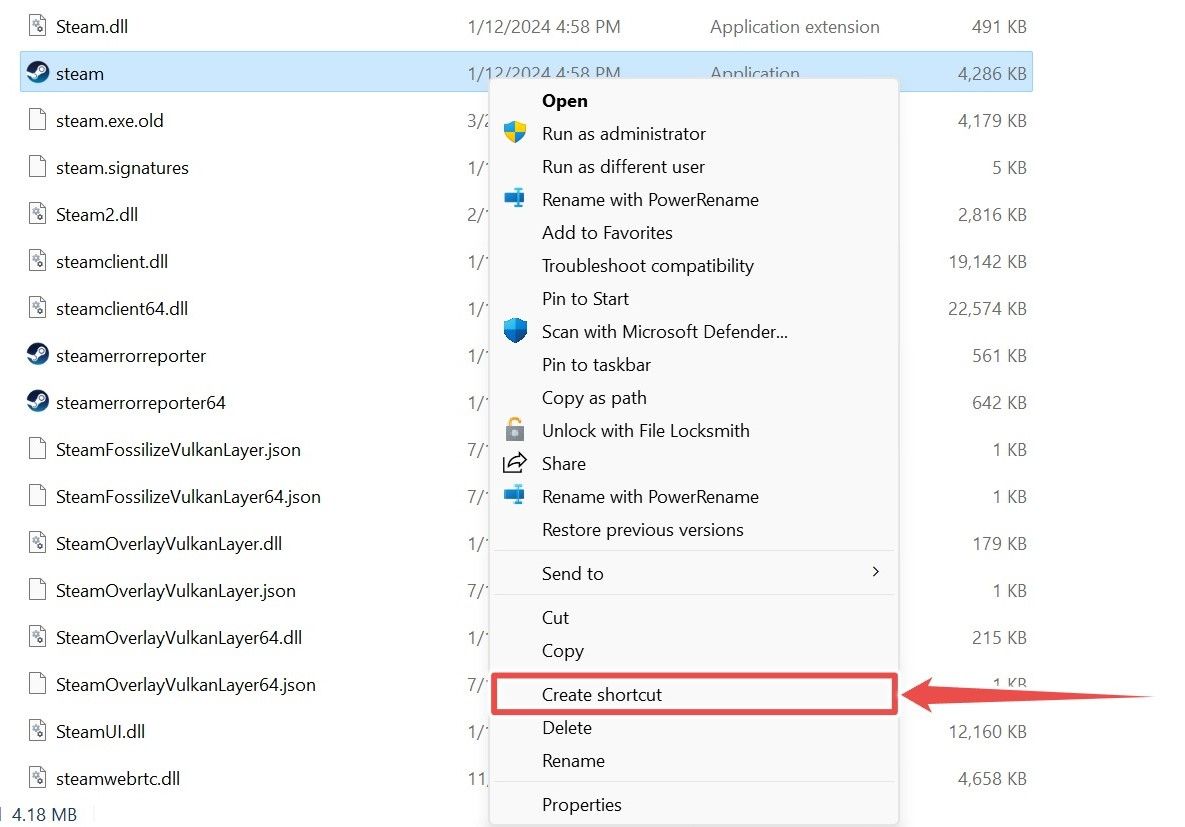
First, locate the program’s EXE file through File Explorer.
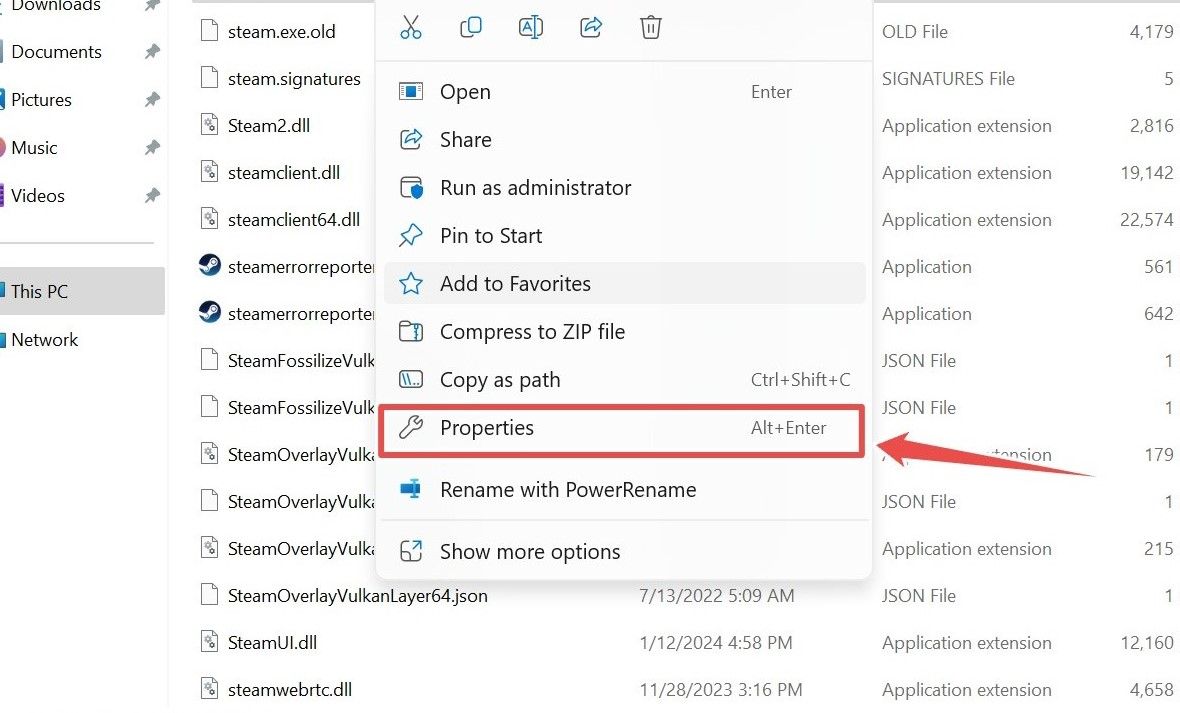
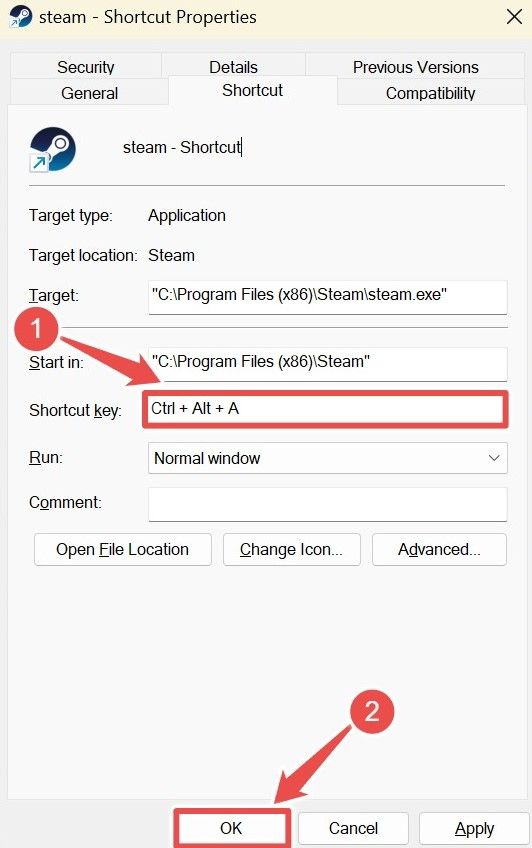
Right-punch the newly created shortcut and select “Properties” to open another window.
Within the “Shortcut Key” field, press a key.
This creates a shortcut using the Ctrl and Alt keys.
Once done, click “OK”.
To remove a shortcut, press the Delete key within the “Shortcut Key” field.
How to Use PowerToys to Open Apps
PowerToys adds lots of useful features to Windows.
It’s an official Microsoft utility, which you could download through theMicrosoft Store.
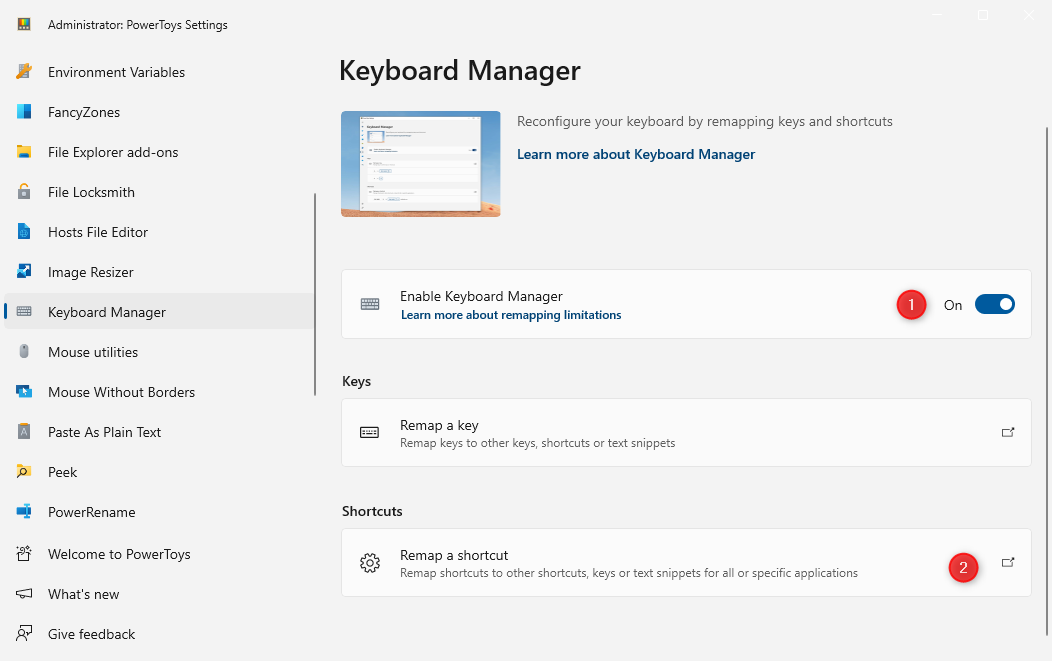
One component of PowerToys is the Keyboard Manager, which lets you remap keys and create your own shortcuts.
It offers more freedom compared to the previous methods.
To begin, open PowerToys and navigate to the Keyboard Manager.
To create your shortcut, first click “Add Shortcut Remapping.”

Optionally, change the other tweaks.
Finally, click “OK” in the top-right.
If you ever want to delete a shortcut, return to this screen and poke the trash can.
Go to theAutoHotkey website, then download and install it.
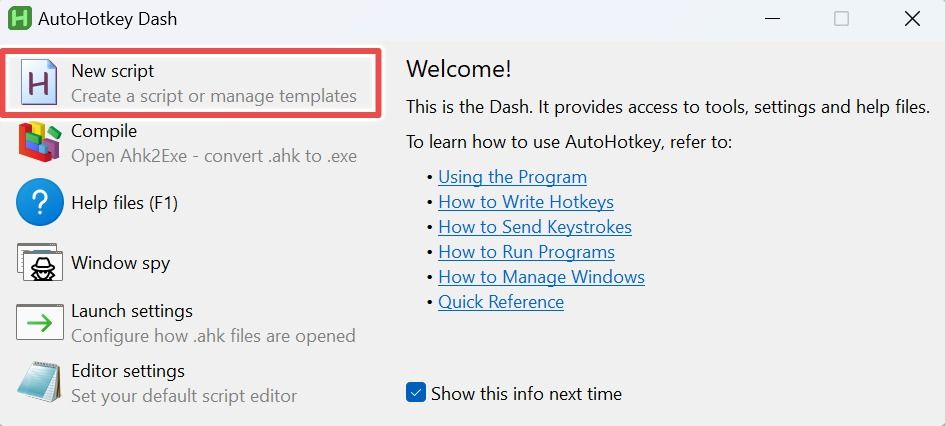
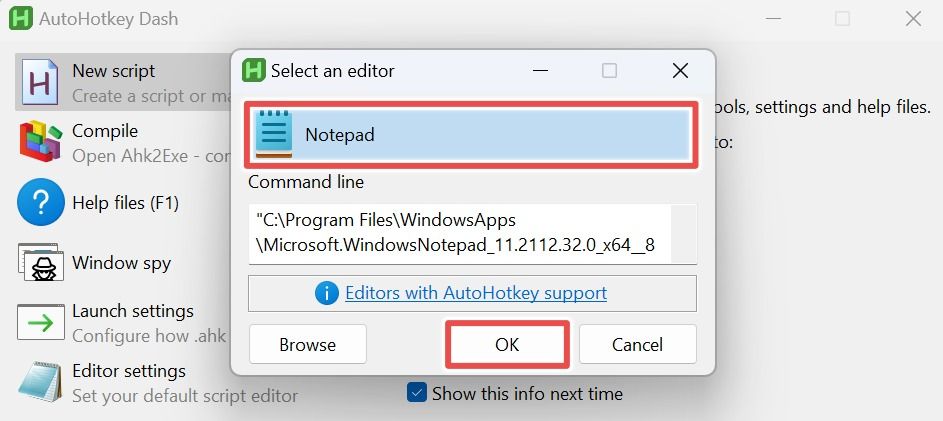
Once done, launch AutoHotkey and select “New Script.”
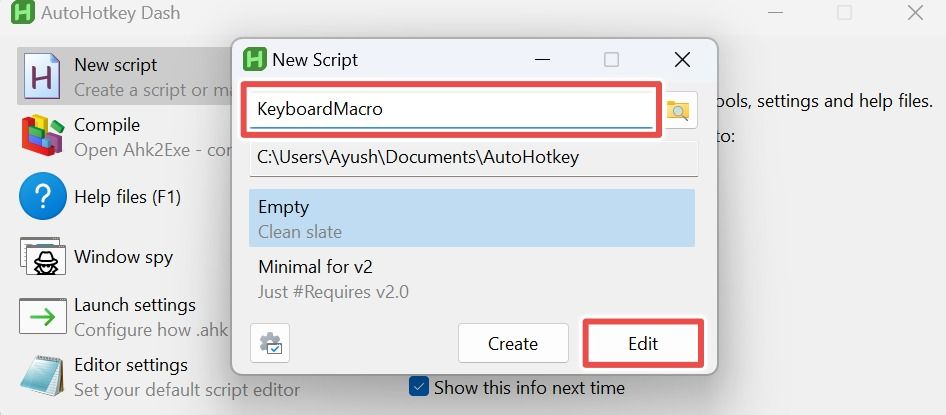
Next, give your script a name and choose the “Edit” button.
“app” is full path to the executable you wish to launch using the shortcut.
To get this, find the program’s EXE in File Explorer.
Then, hold Shift and right-click it, and select “Copy as Path.”
This copies the path to your clipboard.
Once you’ve written the script, save it, then launch the file to activate the keyboard shortcut.
Each of these methods has a different level of complexity, so choose whichever works best for you.
They’ll all save you time!
