Let’s take a look.
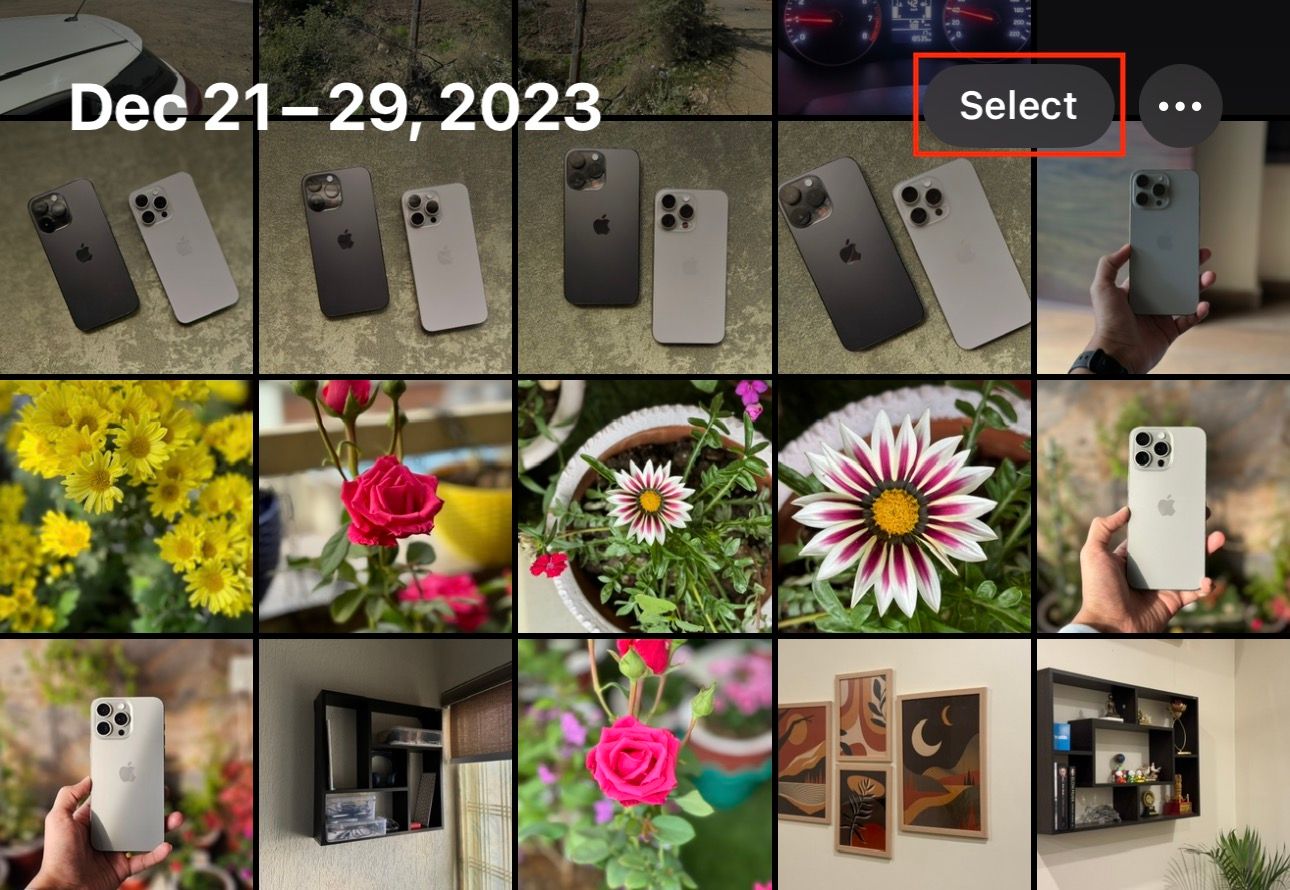
Start by opening the Photos app on your iPhone or iPad.
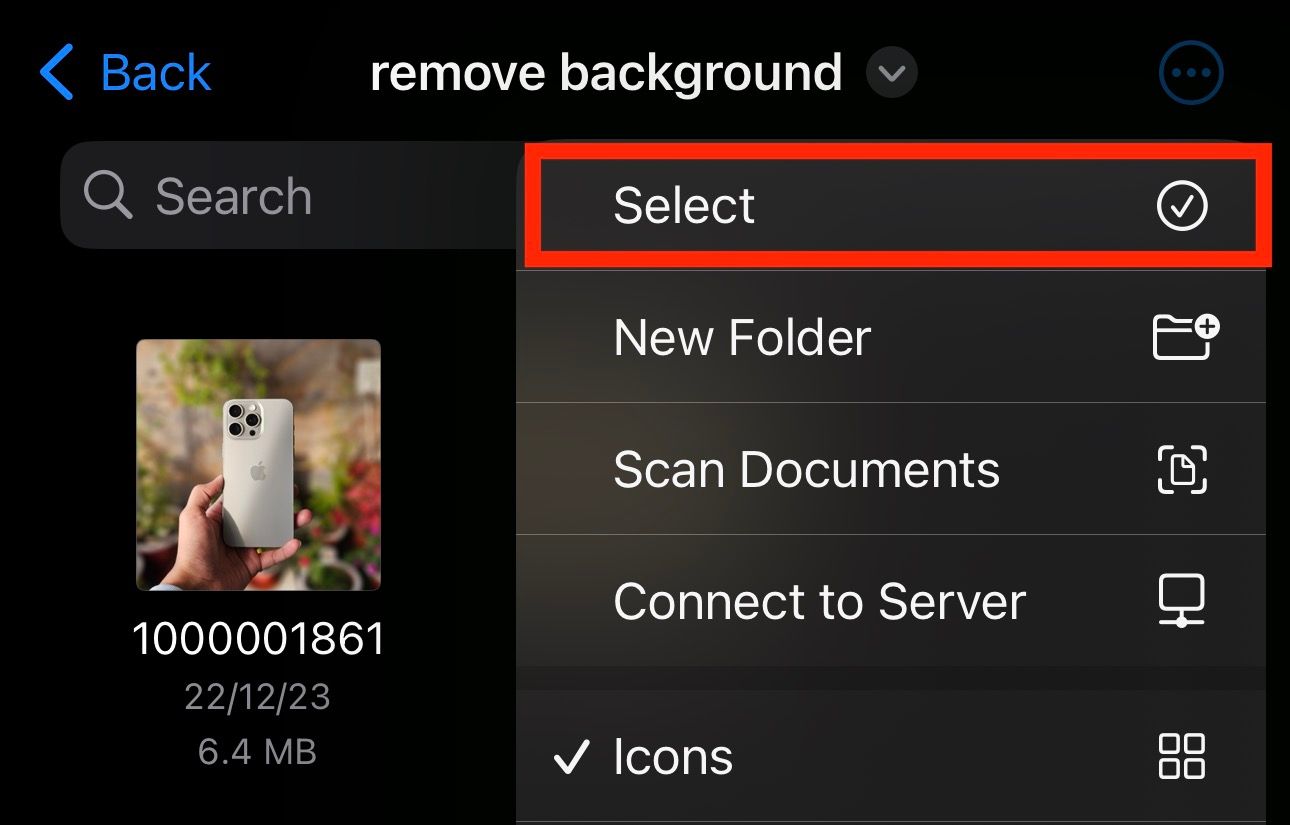
Hit “Select” in the top-right corner and mark the images you want to move to Files.
Yash Wate / How-To Geek
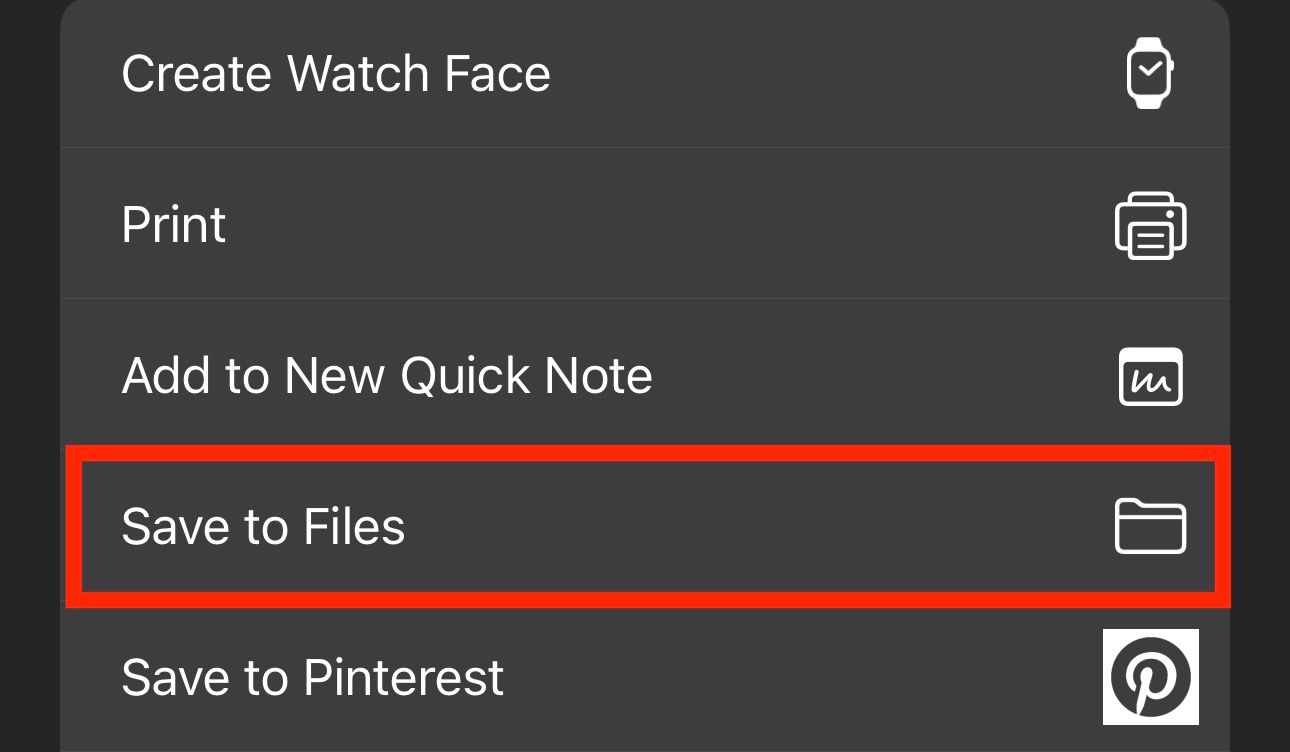
Tap the Share icon in the bottom-left corner and select “Save to Files” from the Share menu.
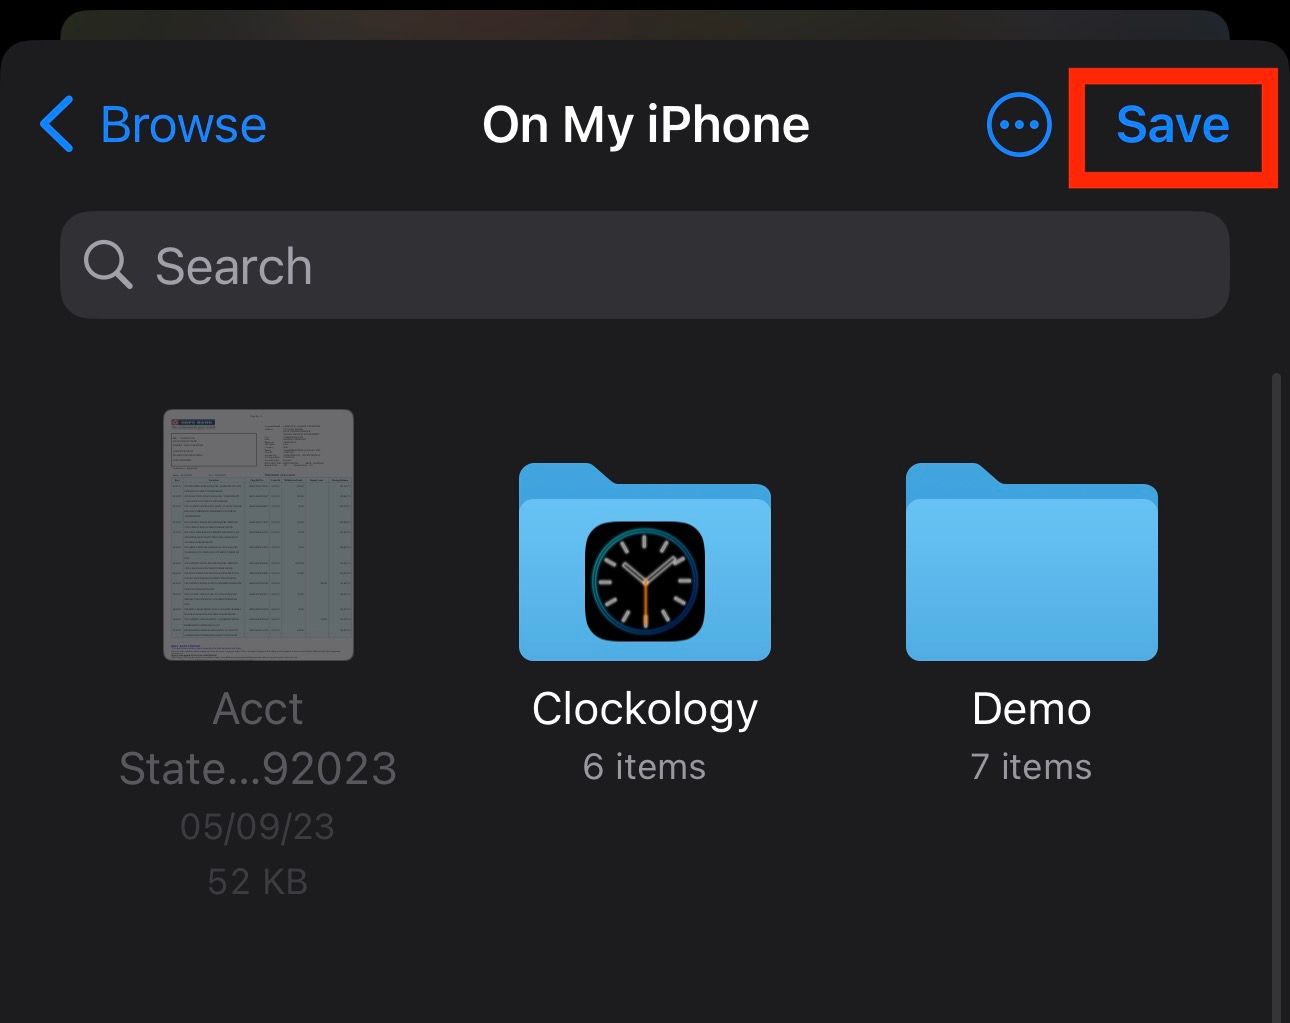
Finally, choose a folder to save the images and tap “Save.”
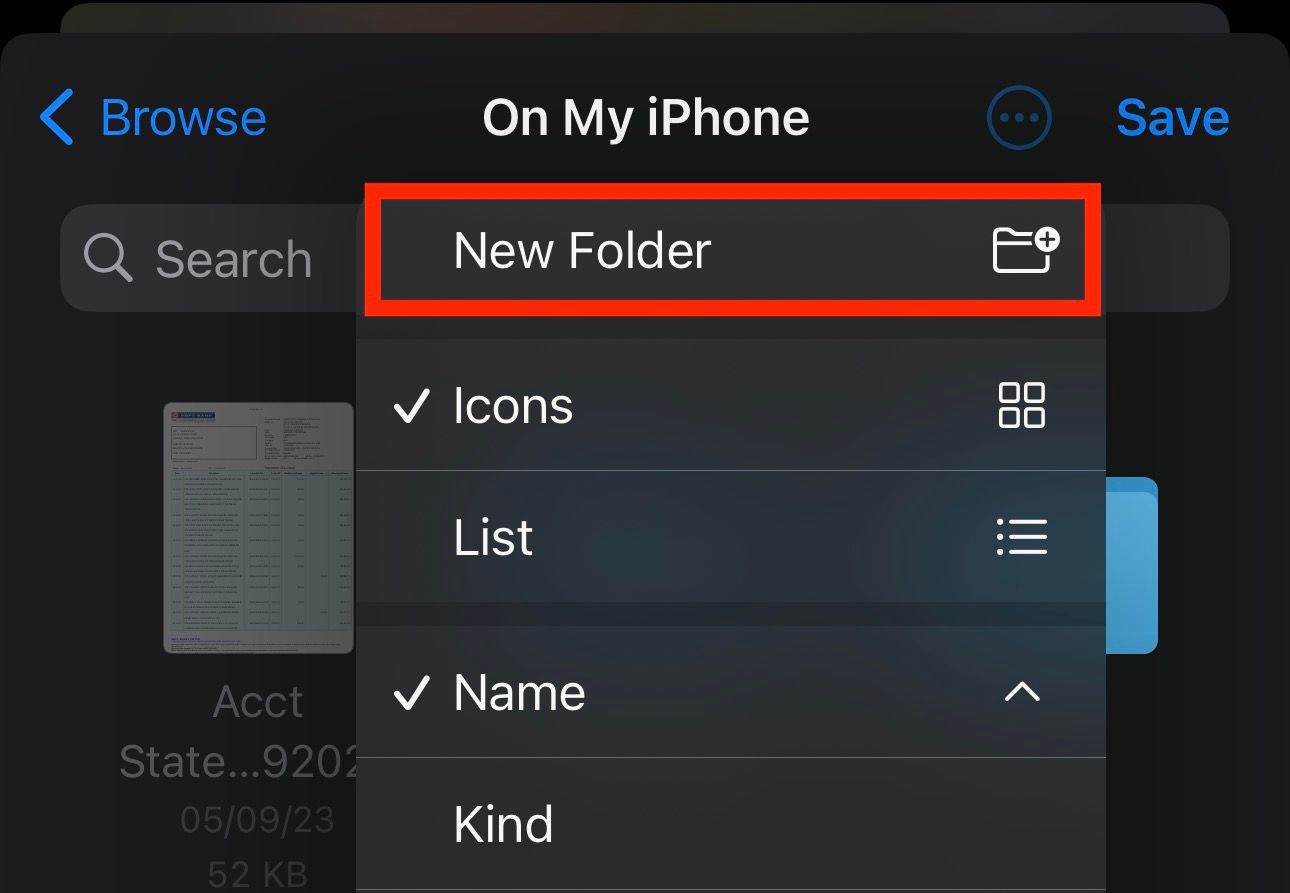
If you want to move the images to a separate folder, you’ll need to create one first.
Then, give the folder a name and hit “Save” to save the selected images.
With your images in the Files app, removing an image’s background is super easy.
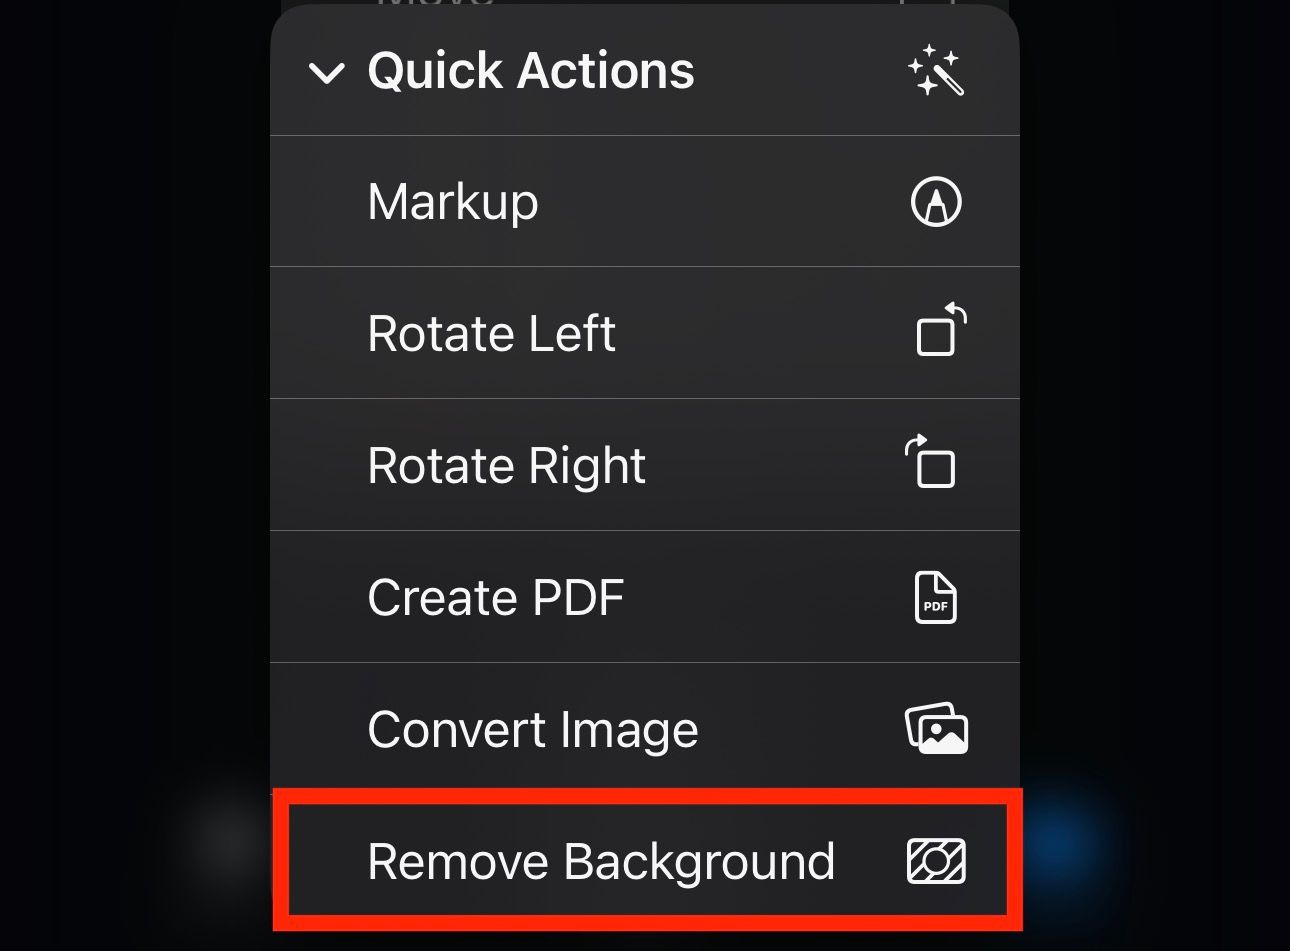
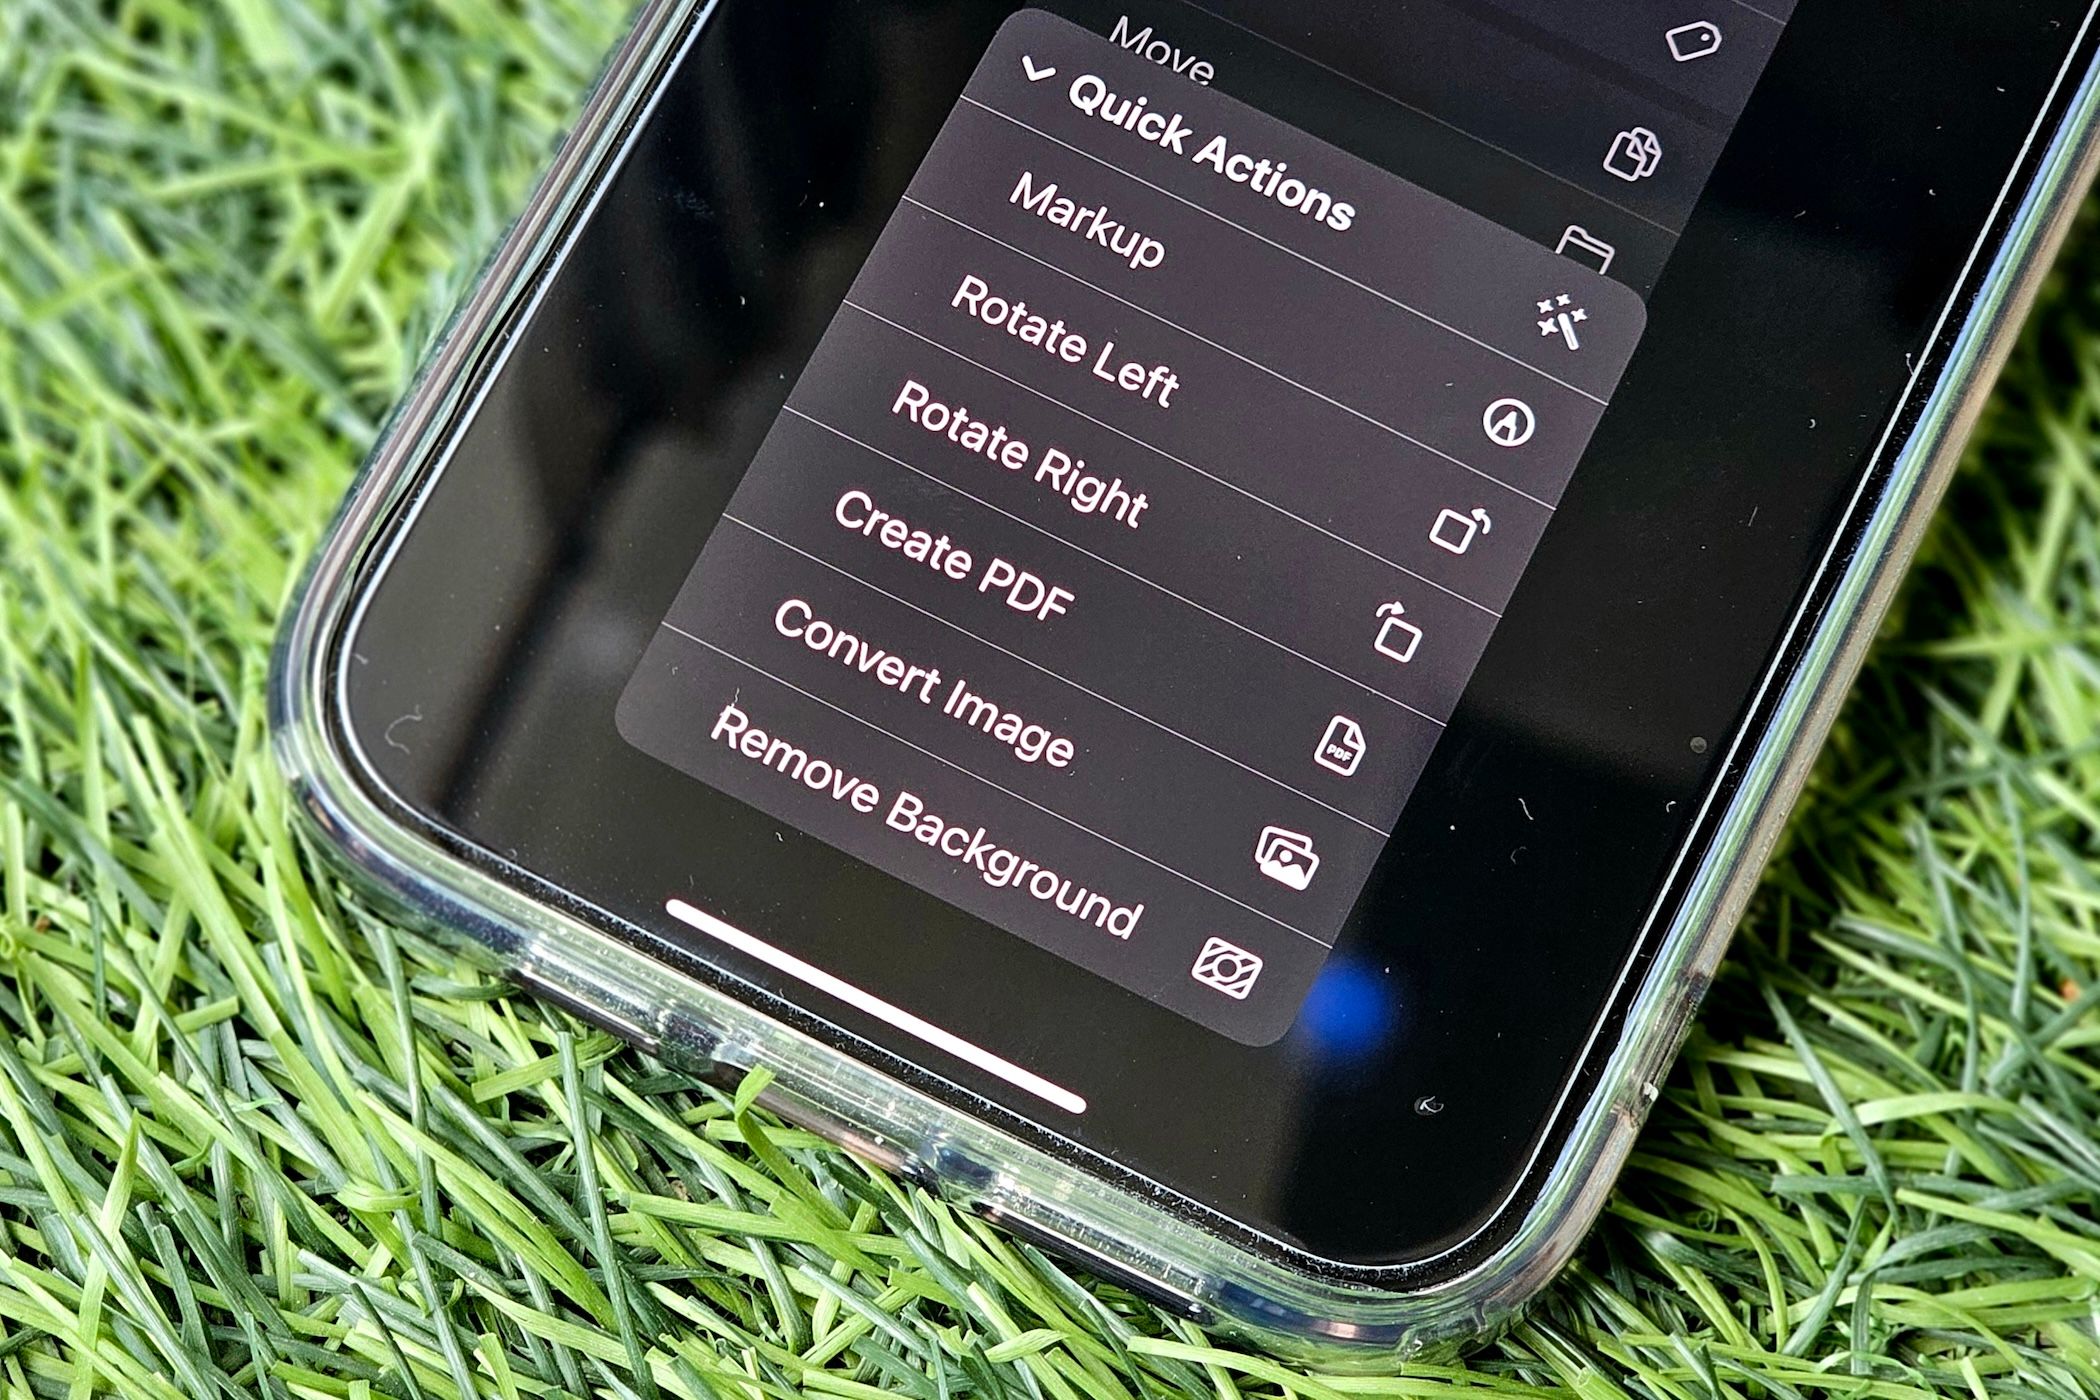
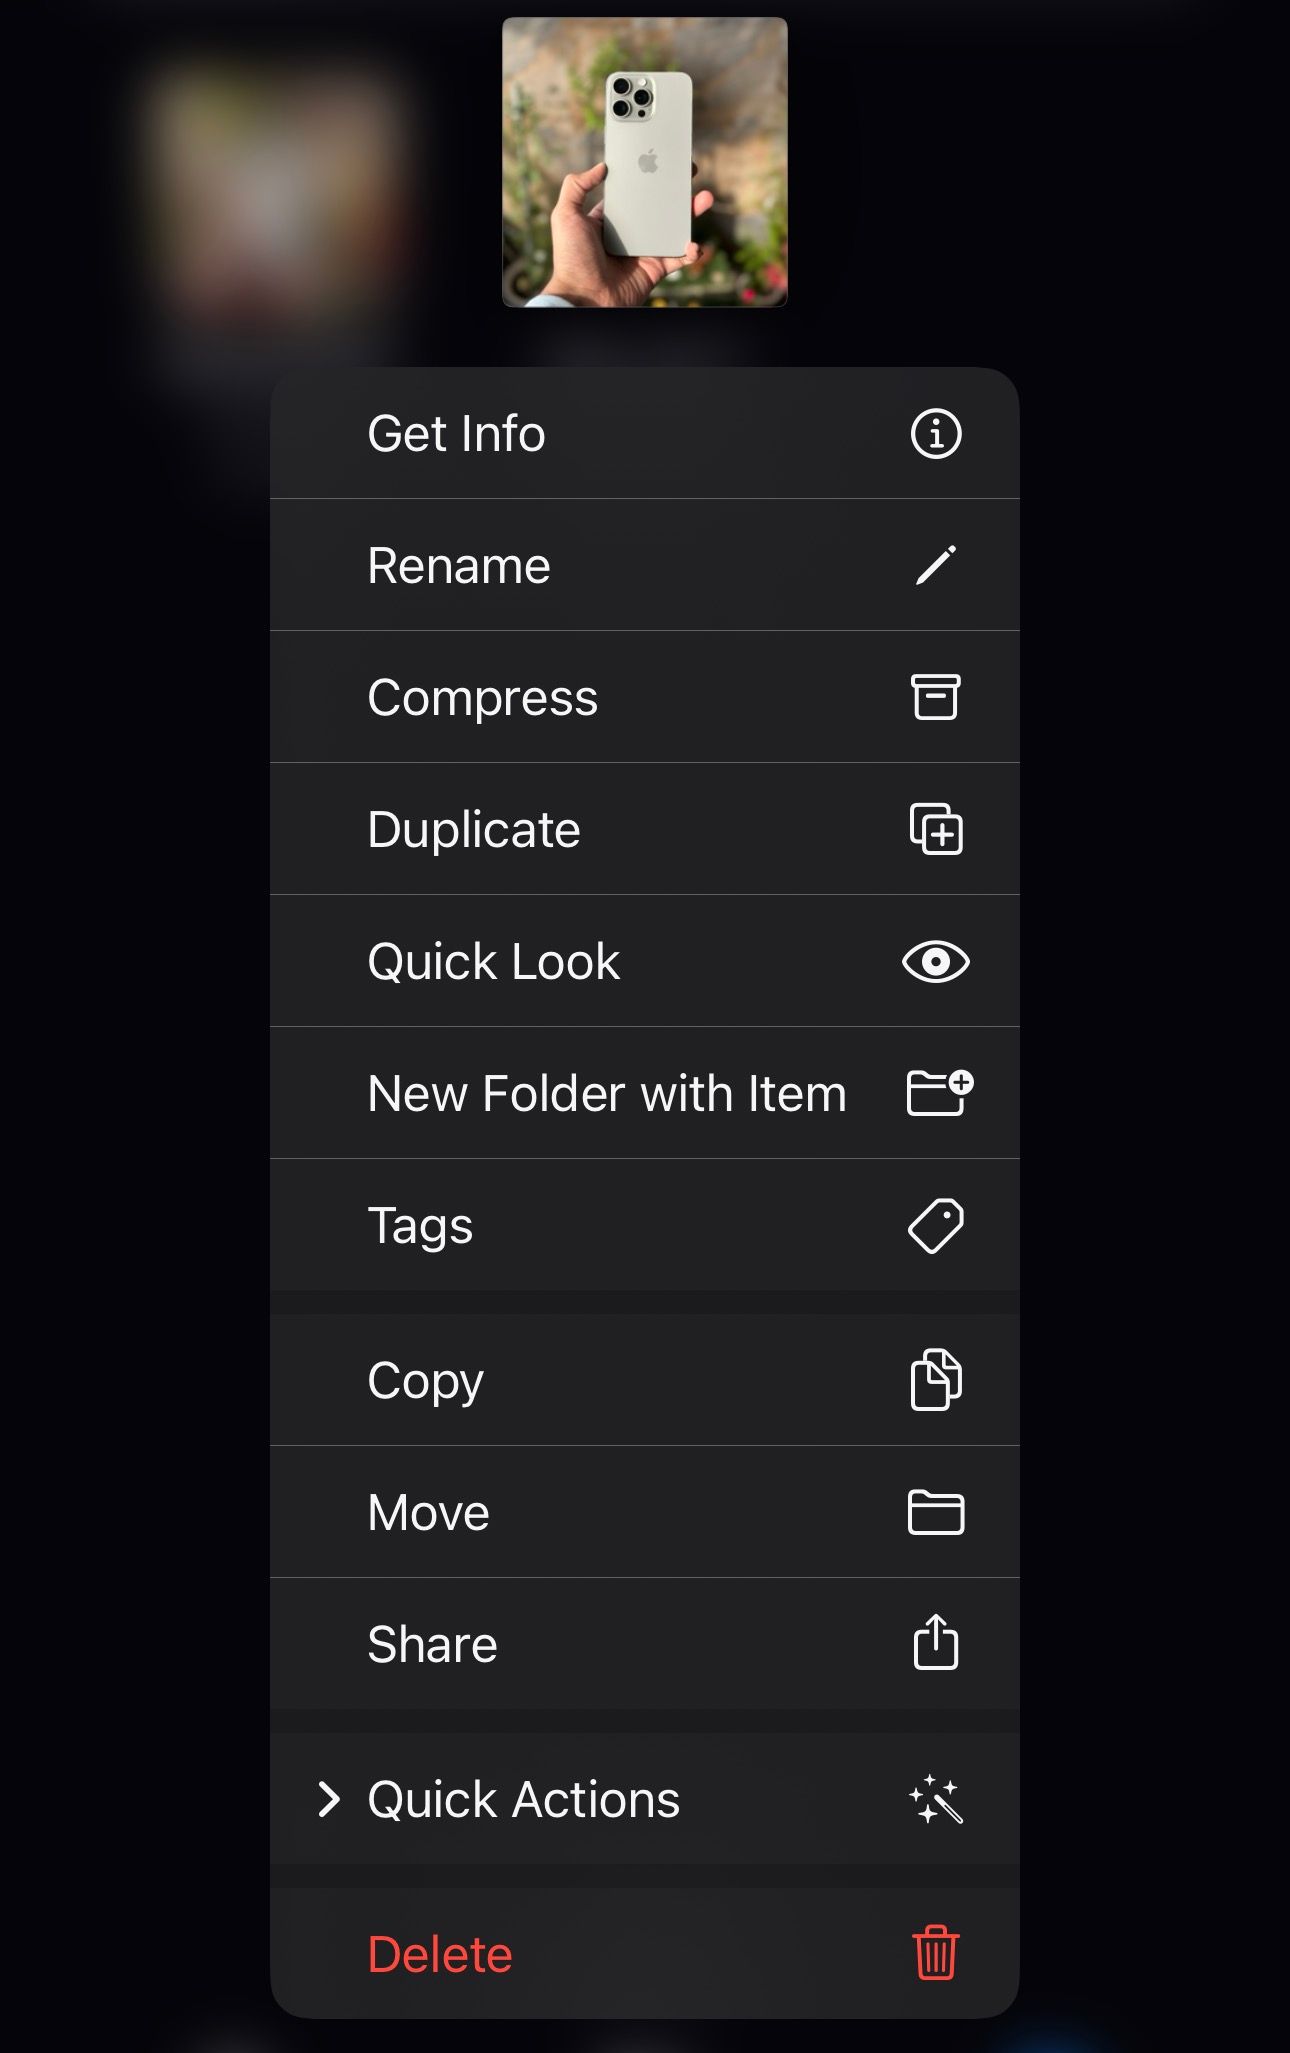
Inside the folder with all your images, tap and hold a photo to bring up the context menu.
Select “Quick Actions” and tap “Remove Background.”
you could now export the image to your favoritephoto editing appfor further editing.
Or save it back in the Photos app.
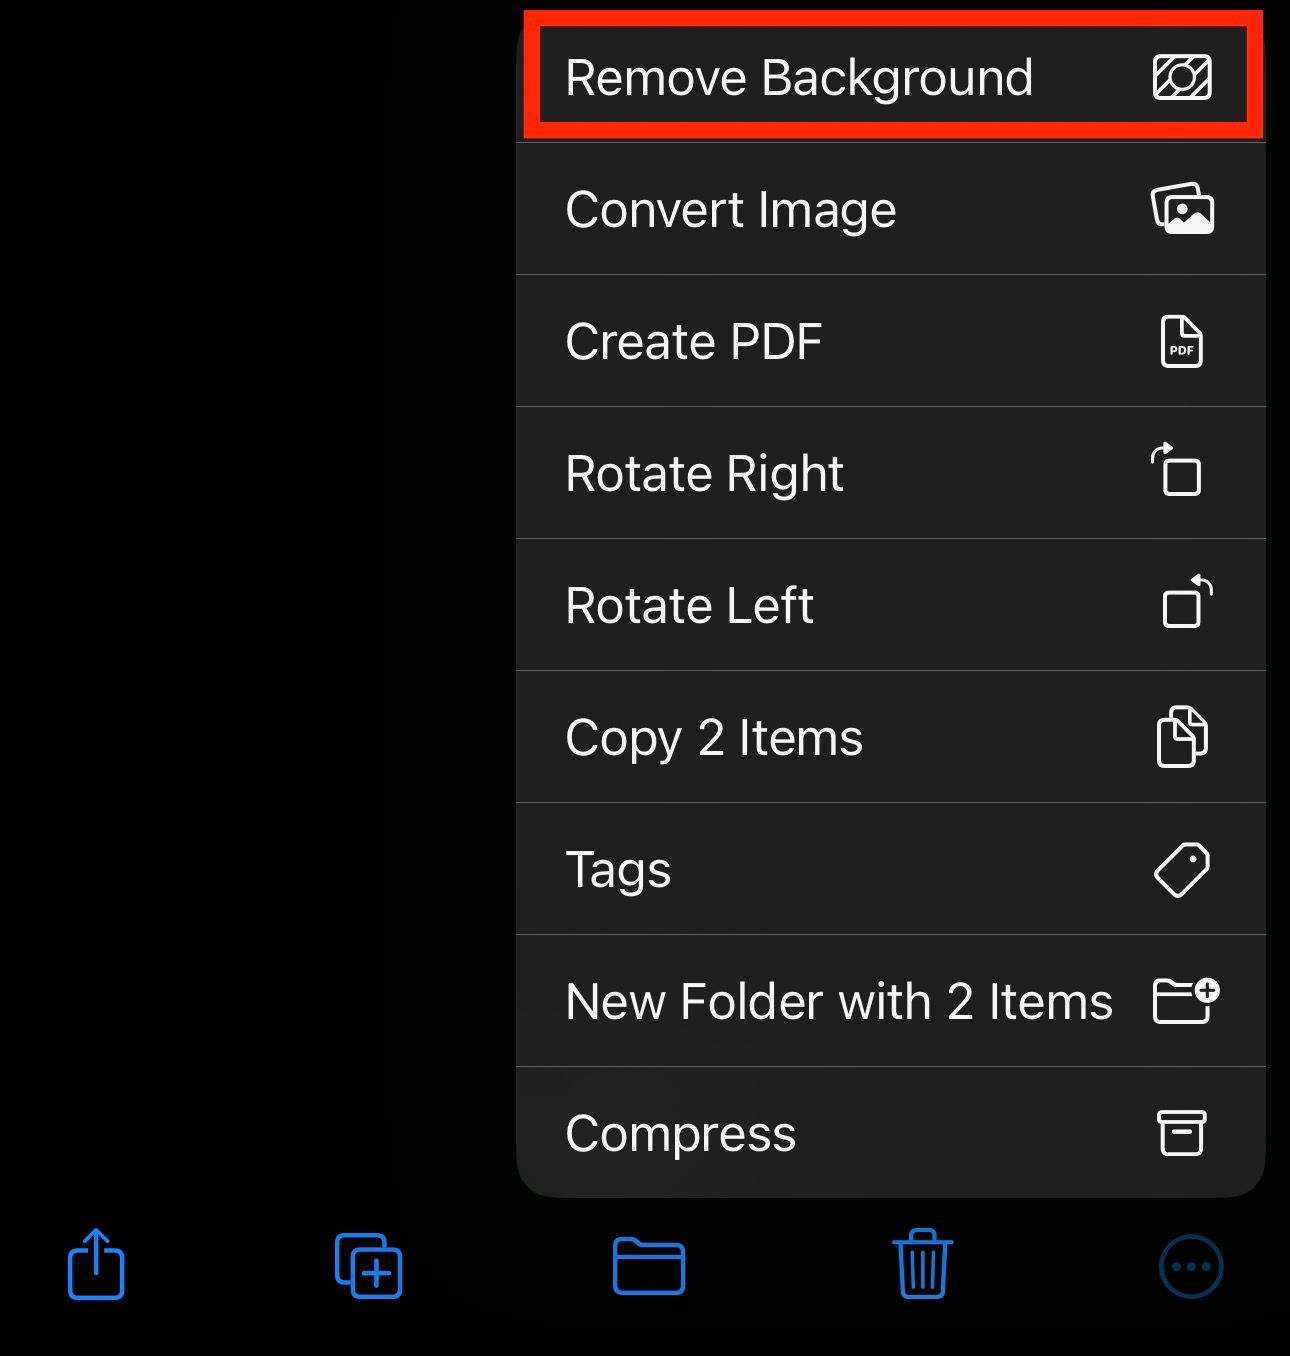
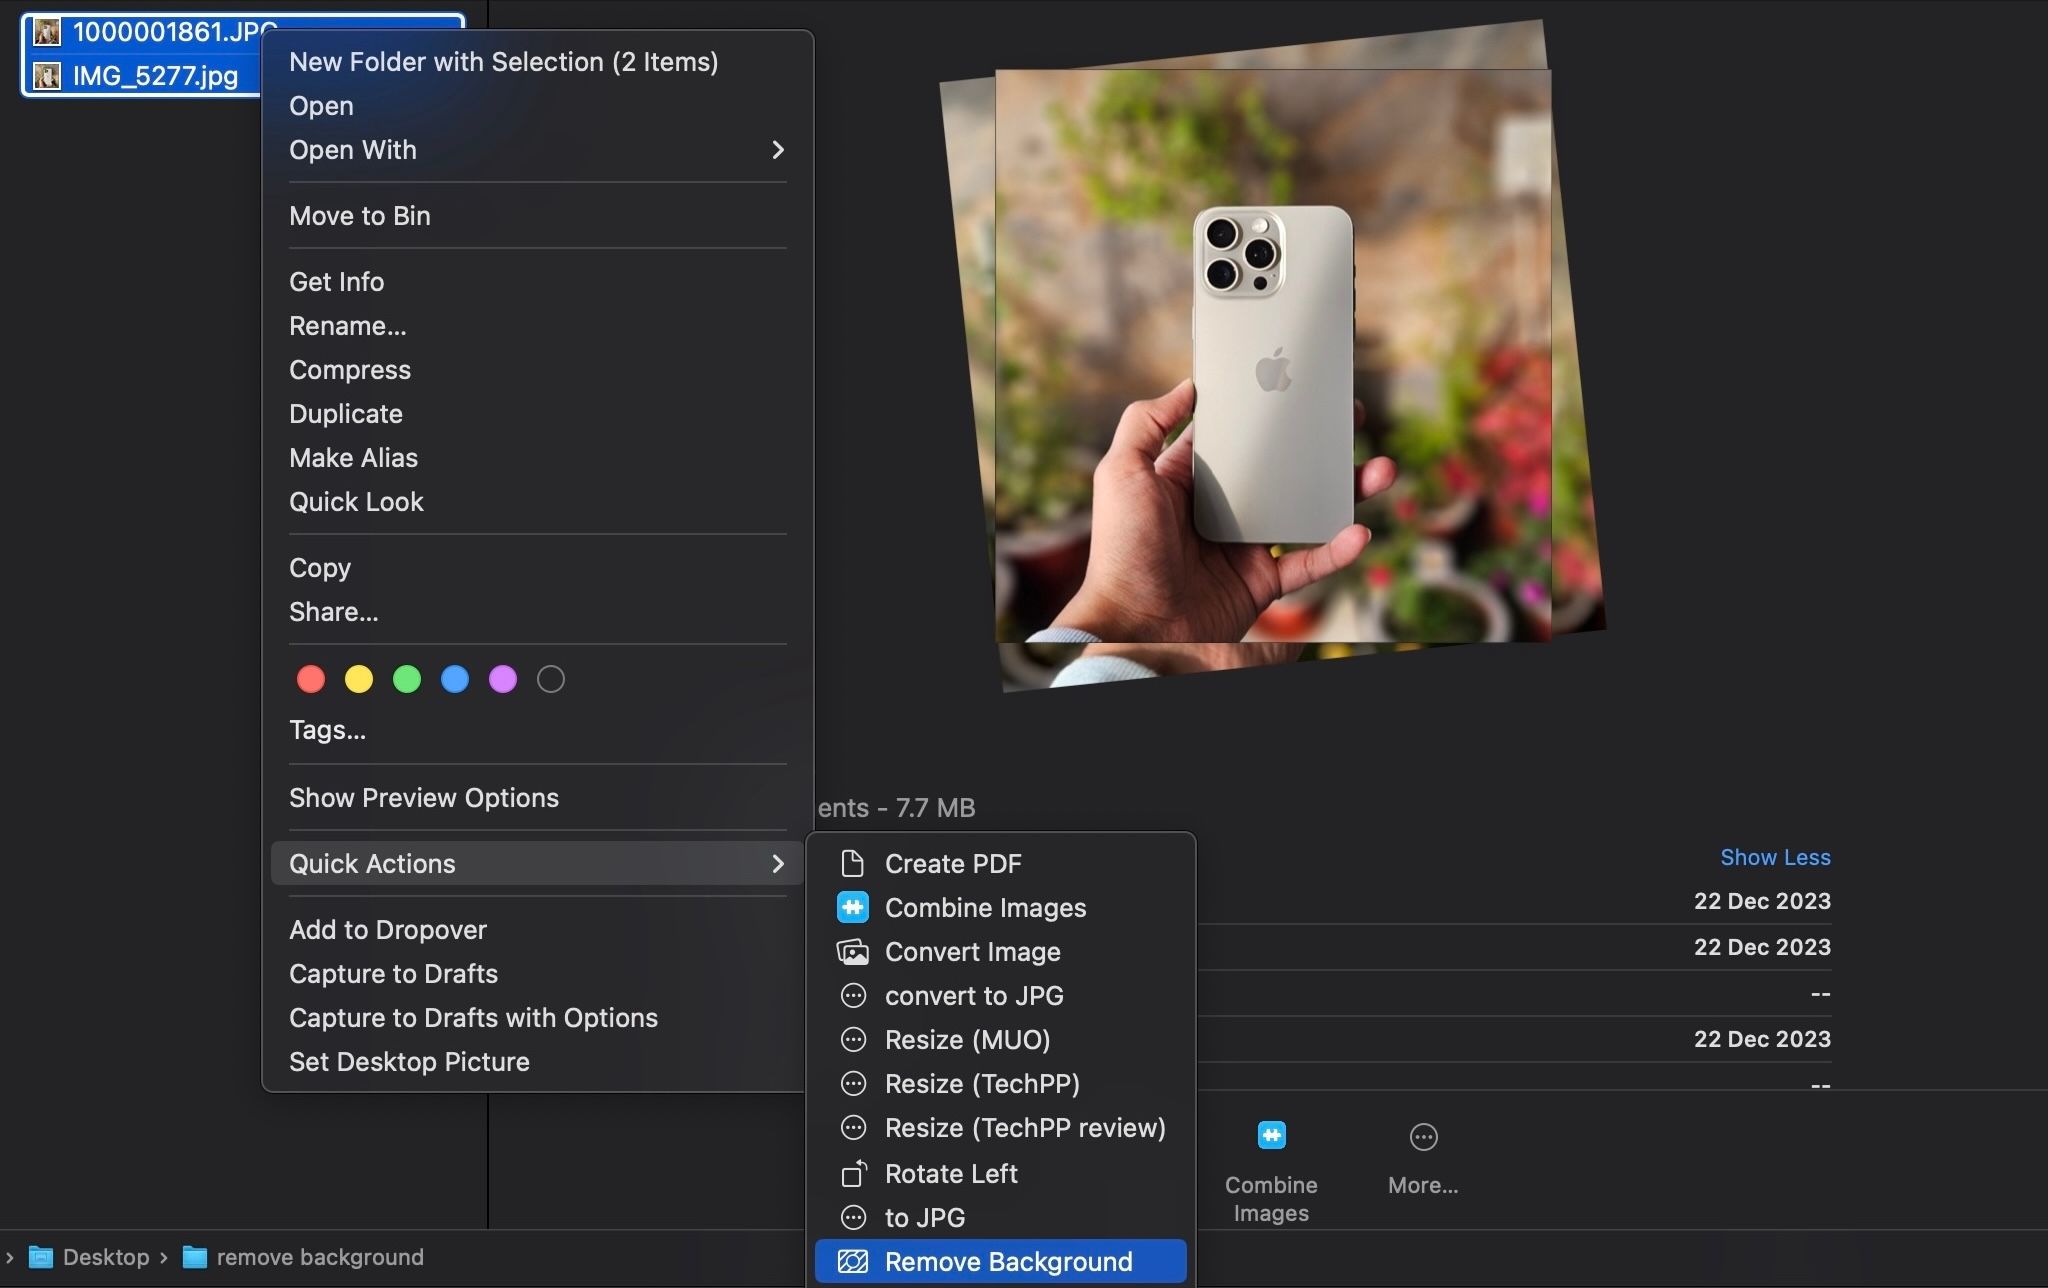
Now, select all the photos whose backgrounds you want to remove.
It’s available in theFinder app, and using it is pretty straightforward.
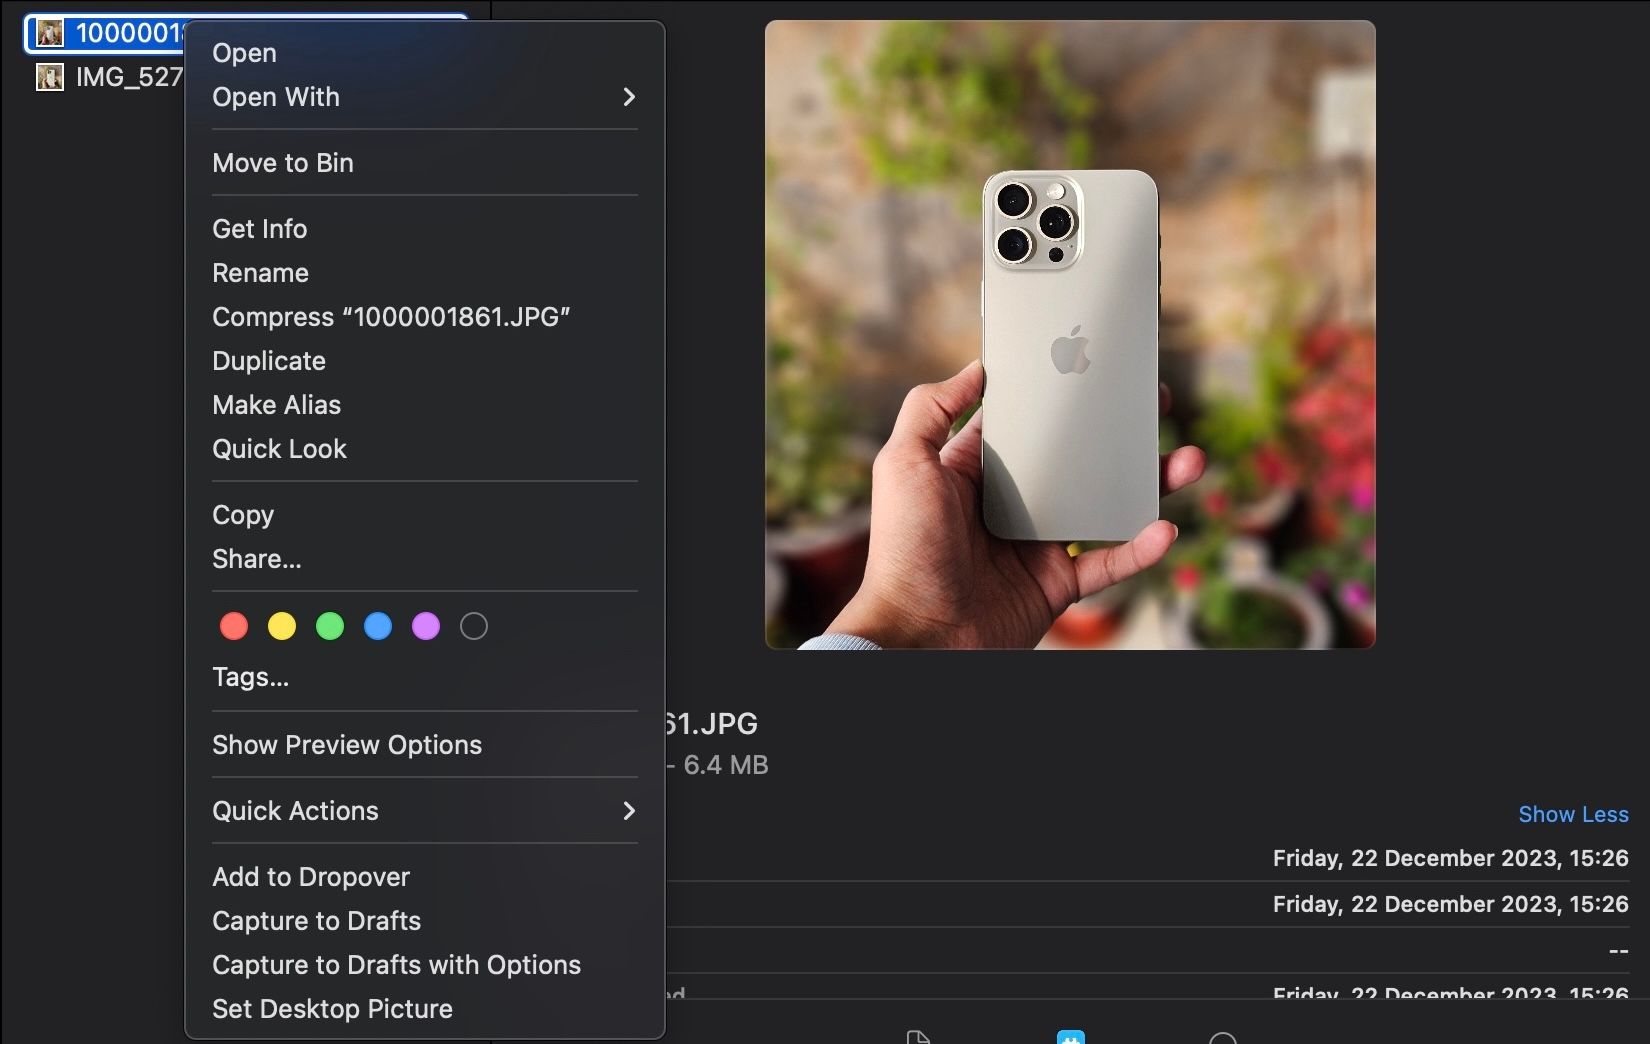
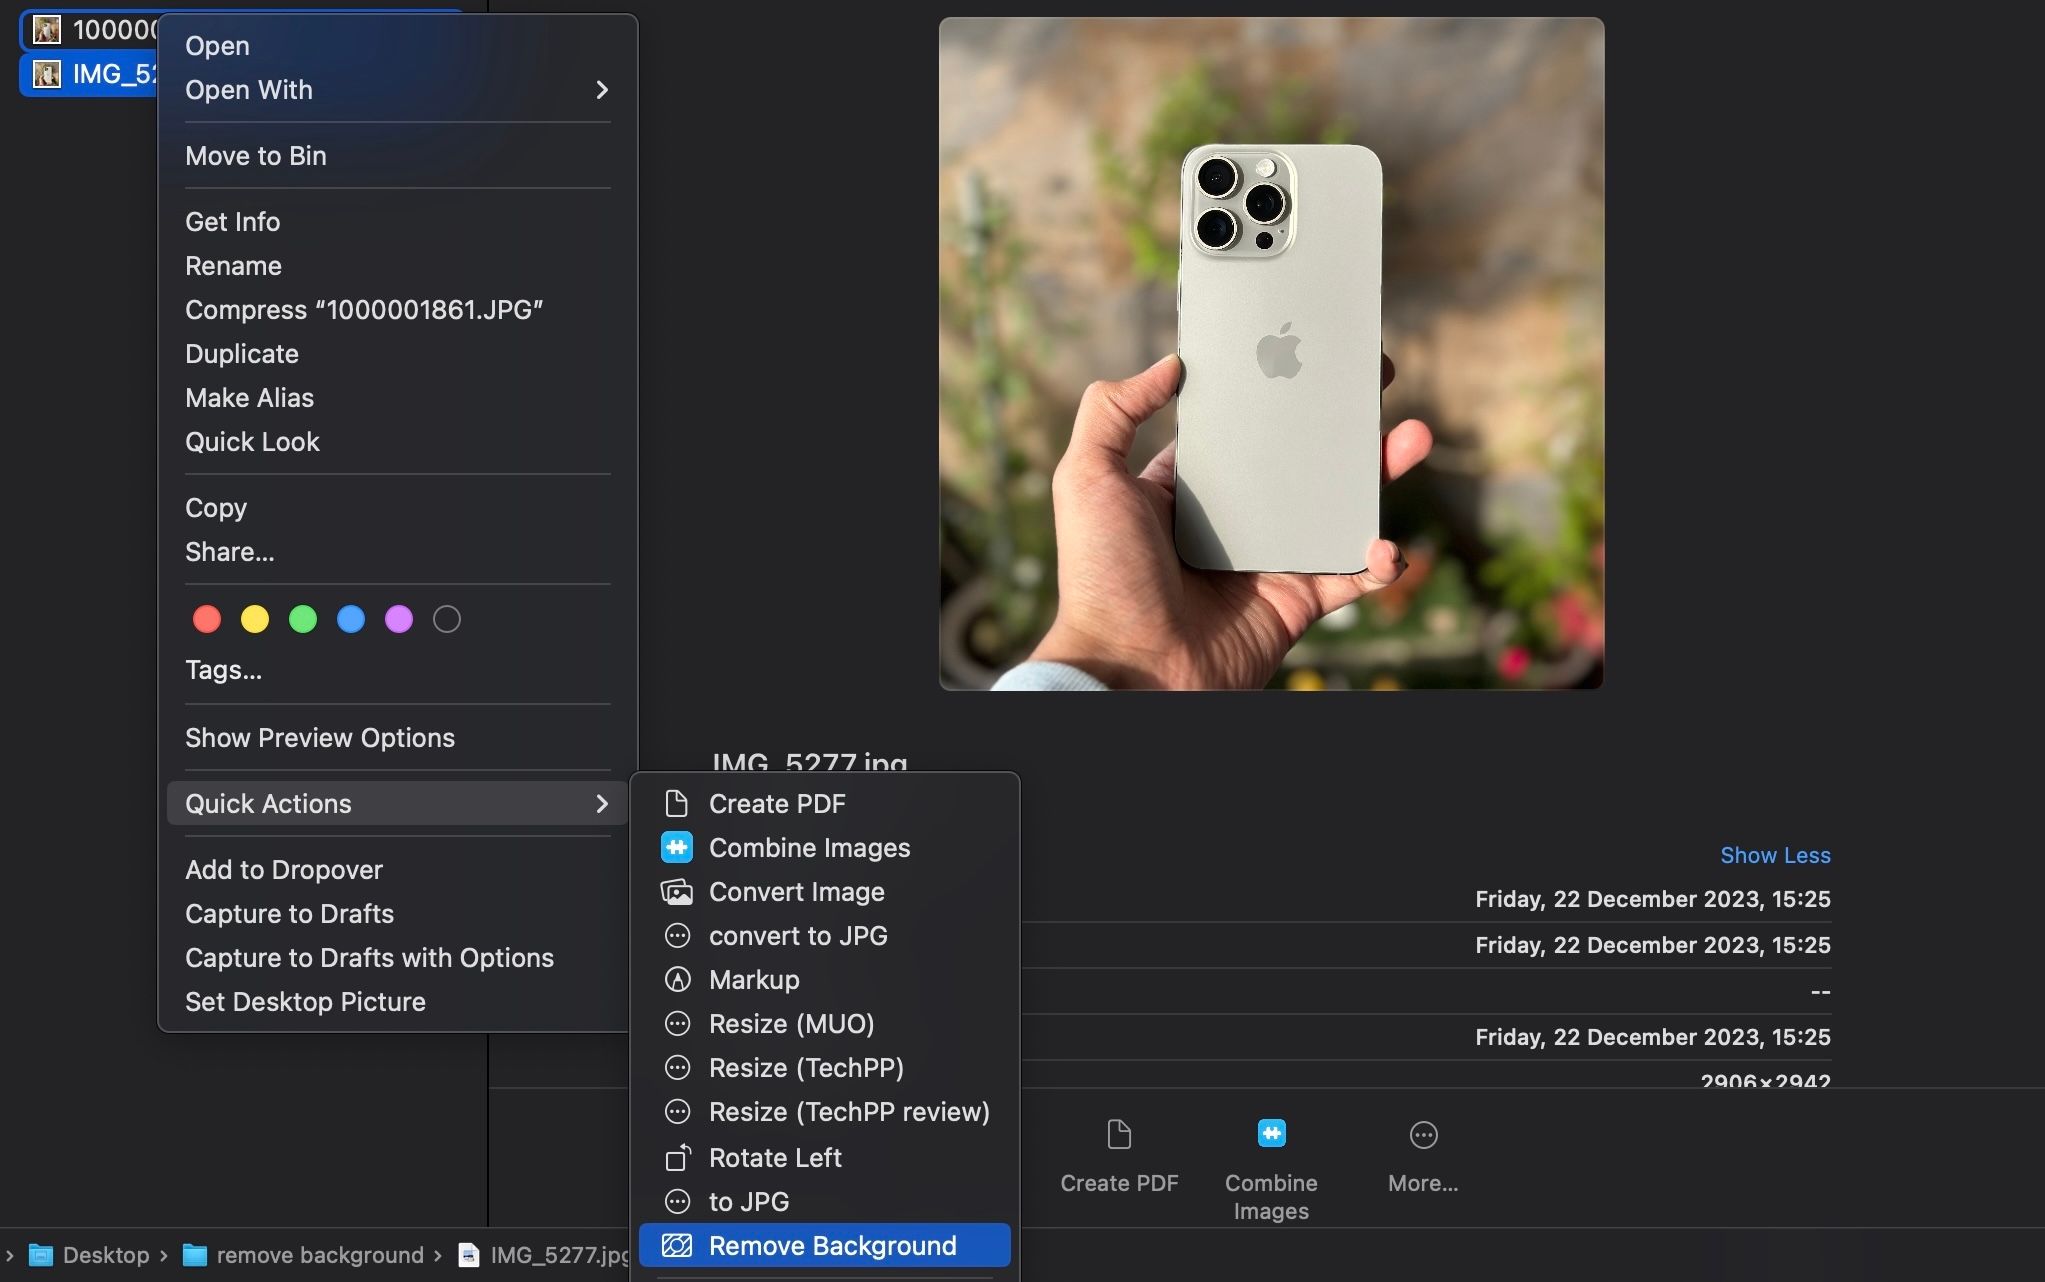
Open Finder and head into the folder with the image whose background you want to remove.
If you want to remove backgrounds from multiple images, put them into a single folder.
Now, Control-opt for photo whose background you want to remove to reach the context menu.
Finally, tap on “Quick Actions” and select “Remove Background.”
It’s pretty accurate, too.
Remove Background is just one of the many Quick Actions available in Apple’s Files and Finder apps.