We’ll show you how to do that.
The app supports multiple audio formats and quality options.
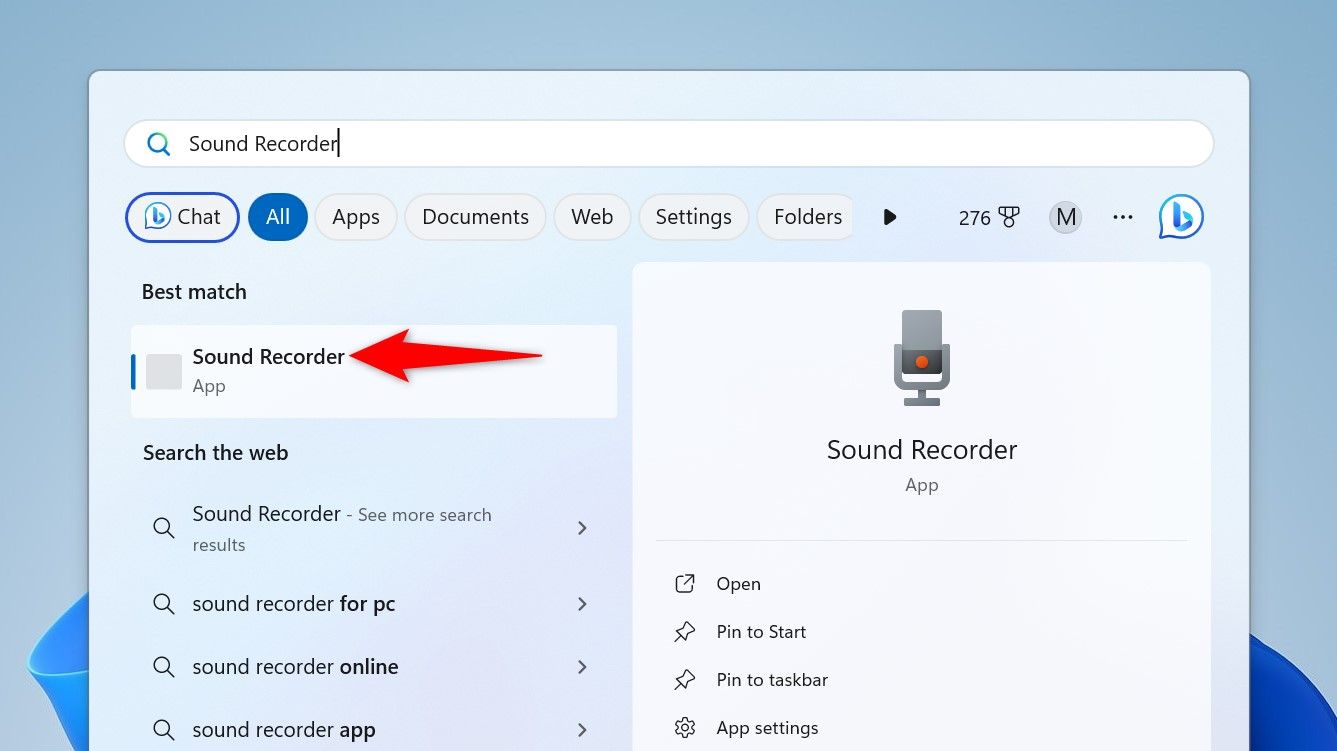
To use it, launch the Start Menu, search forSound Recorder, and snag the app.
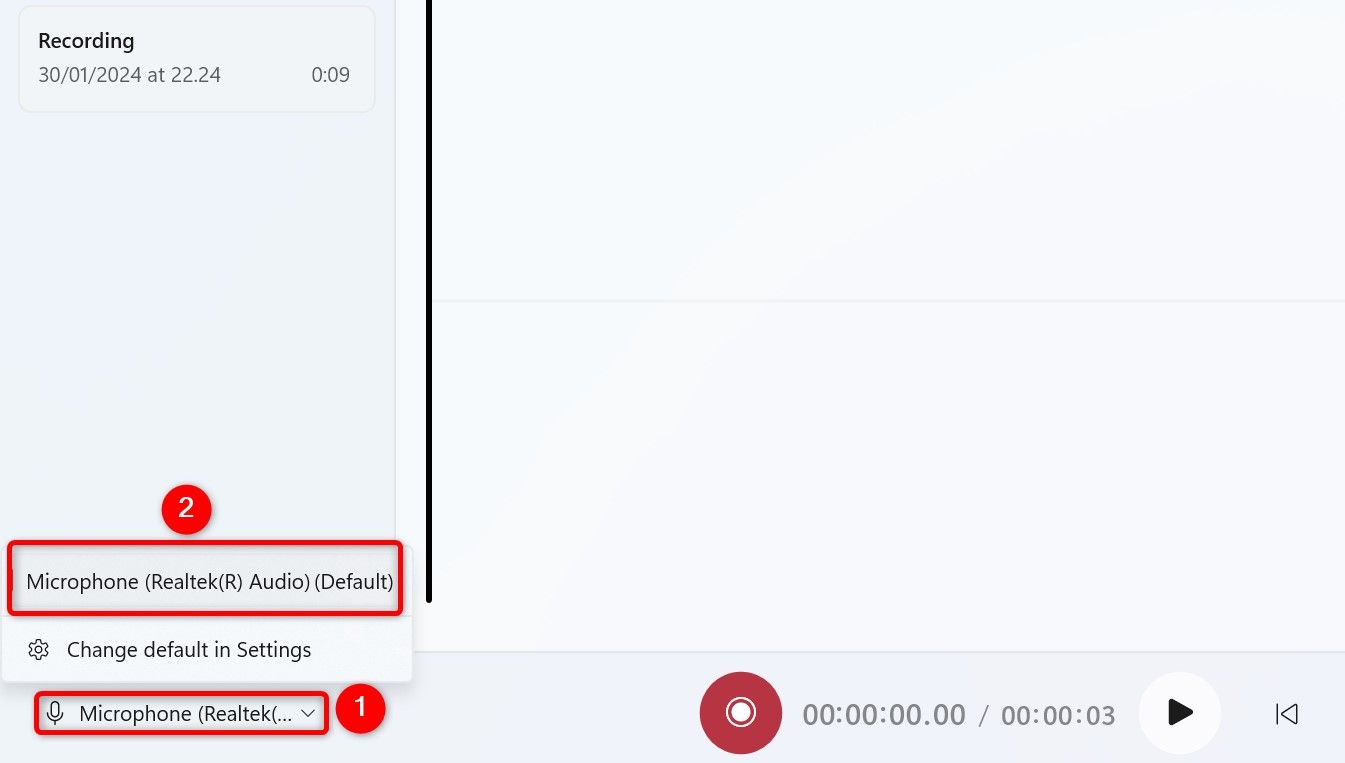
Do that by clicking the microphone icon in the bottom-left corner and selecting the mic you want.
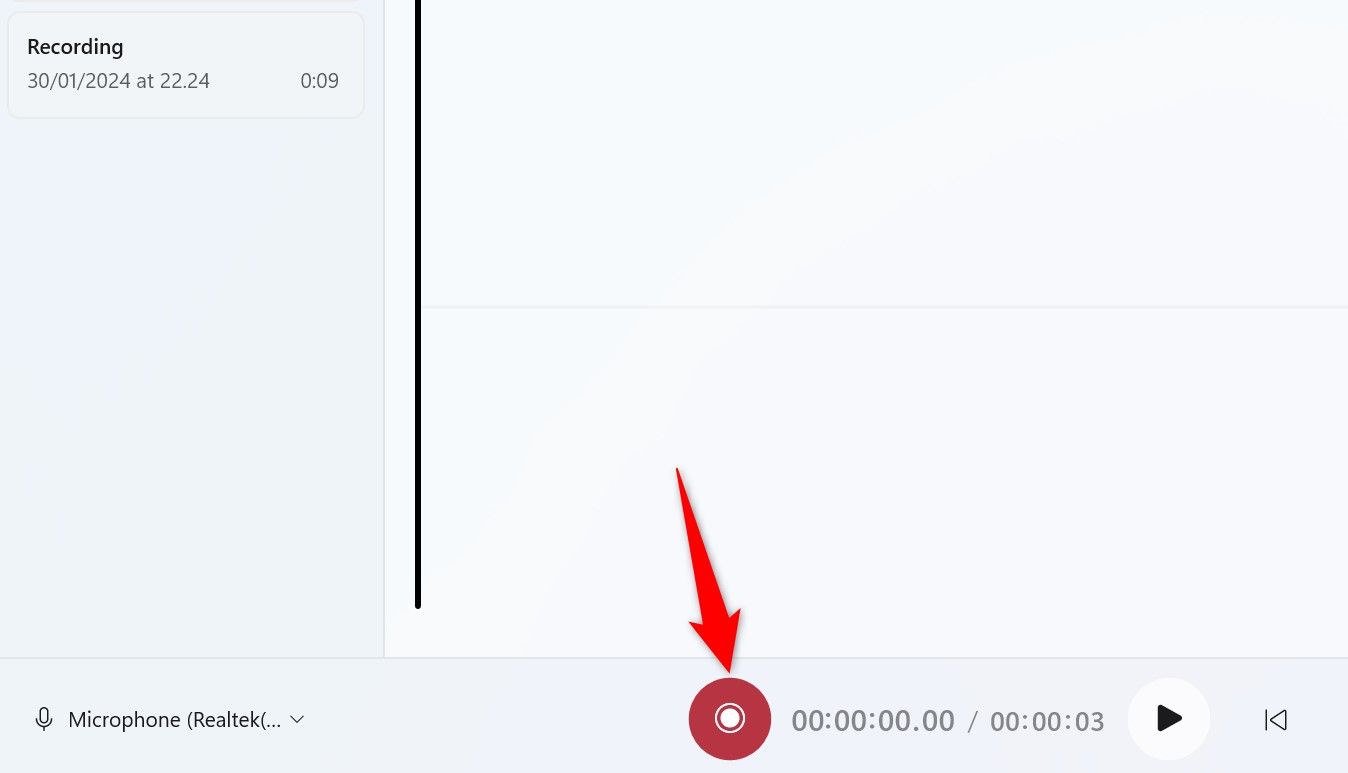
Youre now ready to begin recording your audio.
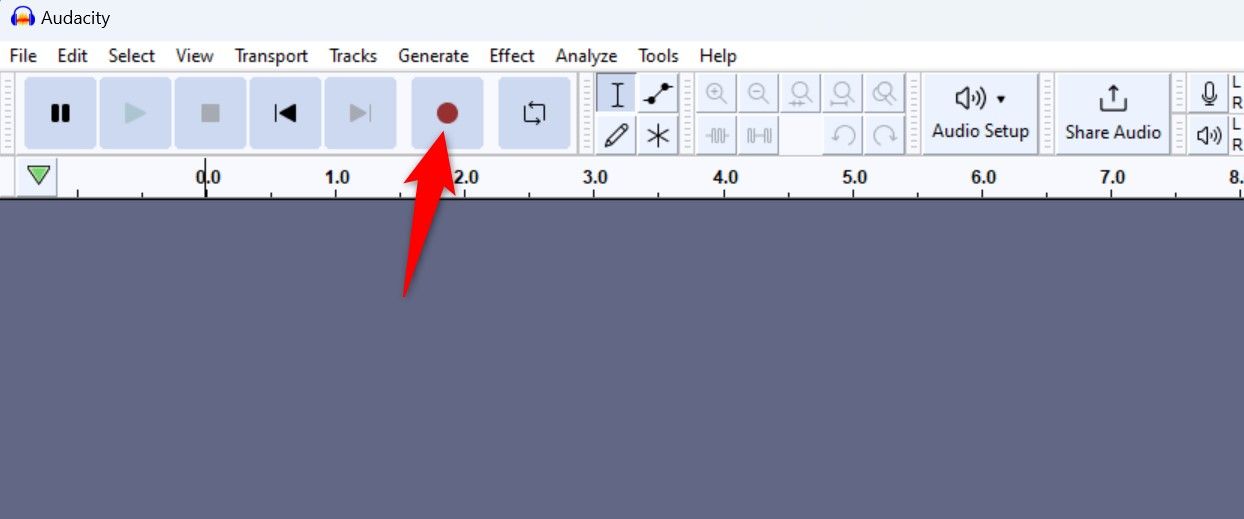
To do that, either opt for Start Recording button (the large circle-shaped button) or press Ctrl+R.
Start speaking into the mic, and the app will record your voice.
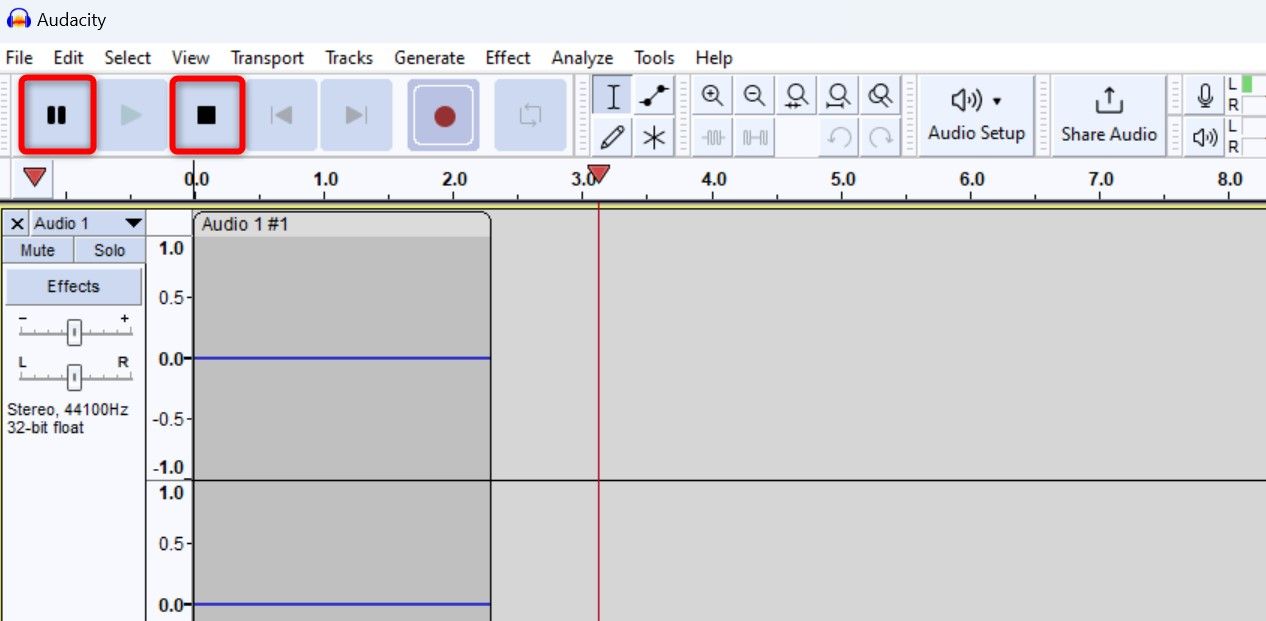
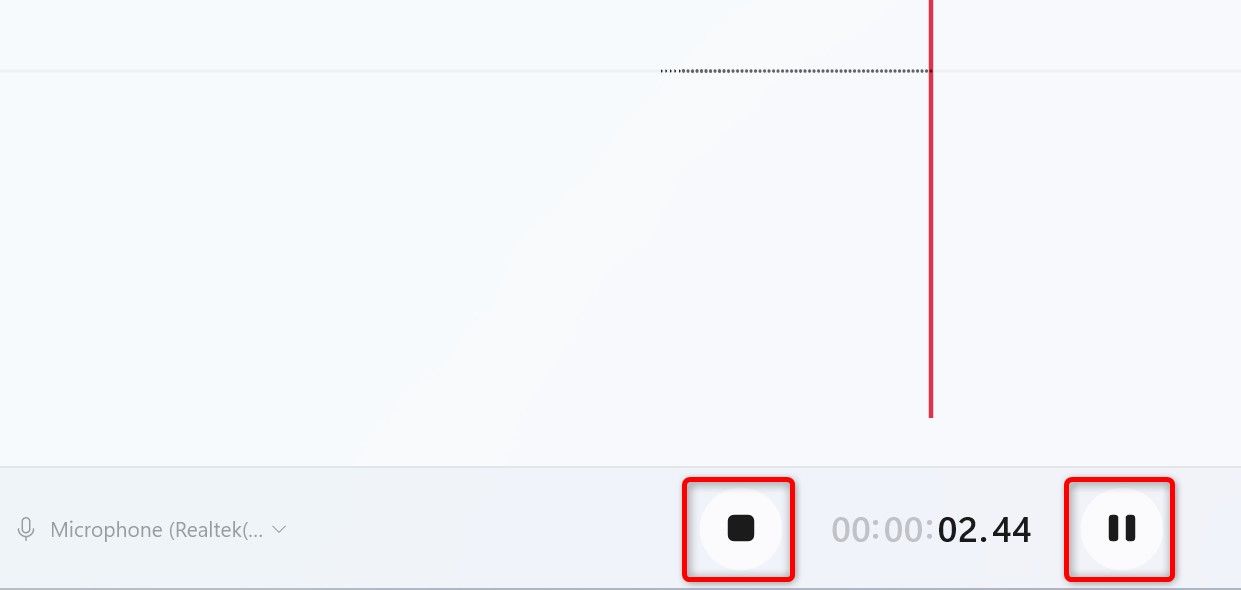
If you wish to pause the recording, hit the Pause button.
To stop the recording, hit the Stop Recording button or press the Escape key.
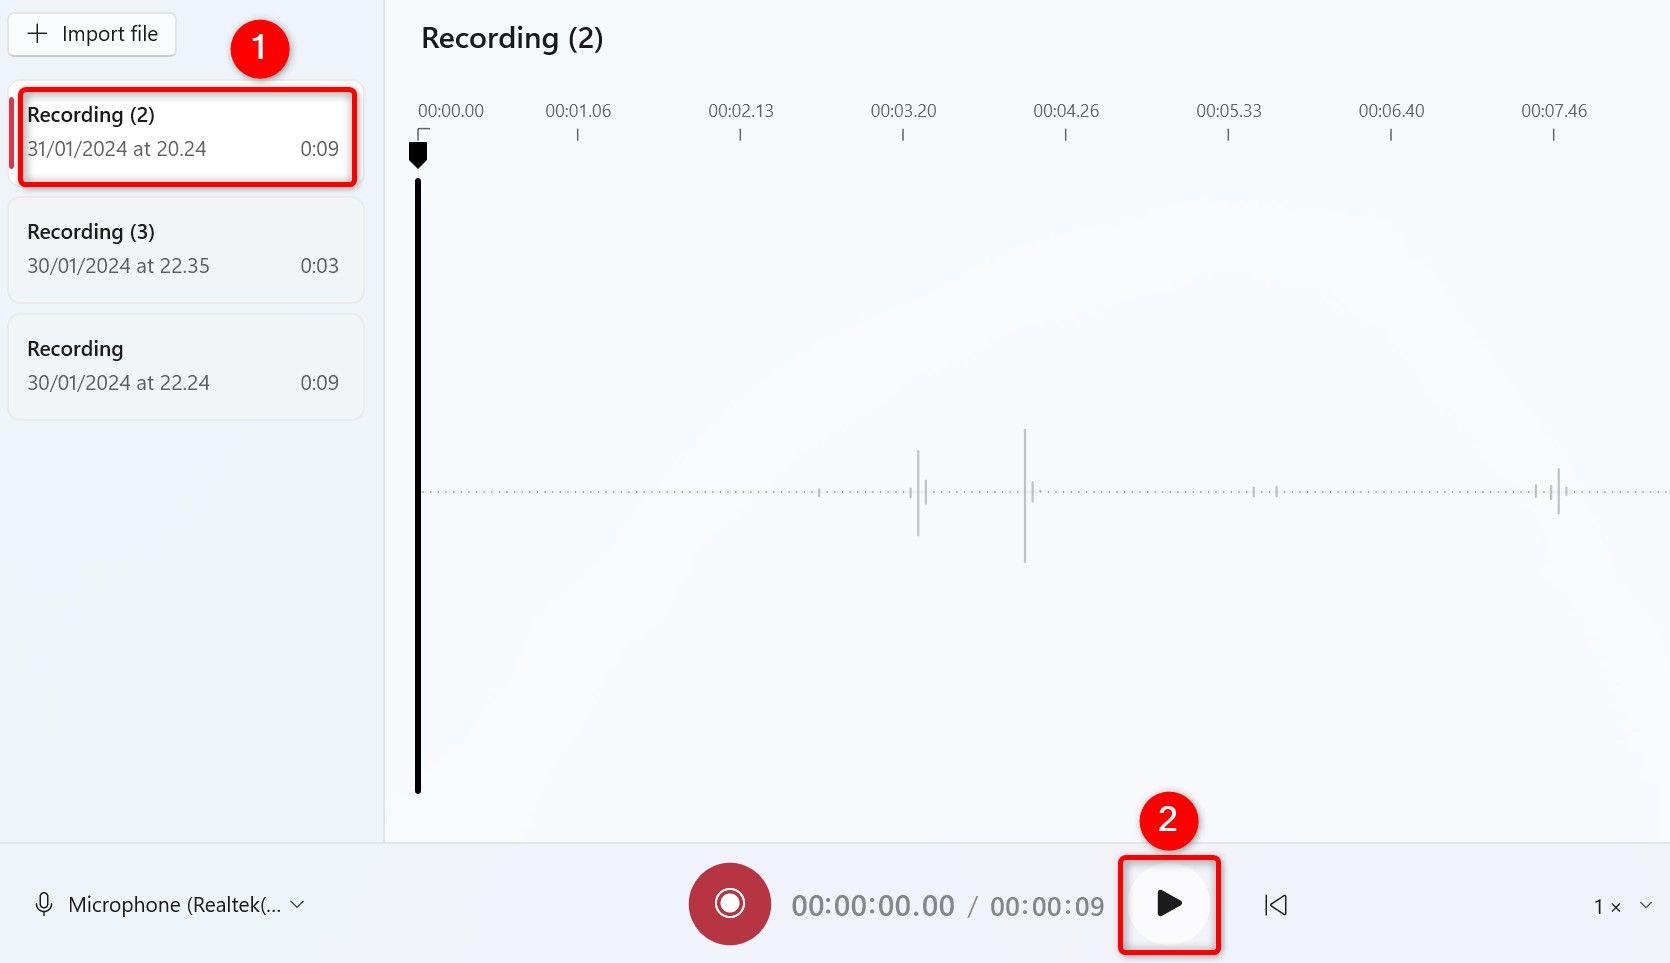
Sound Recorder will save the recording and display it in the left sidebar.
To play the recording, select it in the left sidebar and smack the Play button or press Spacebar.
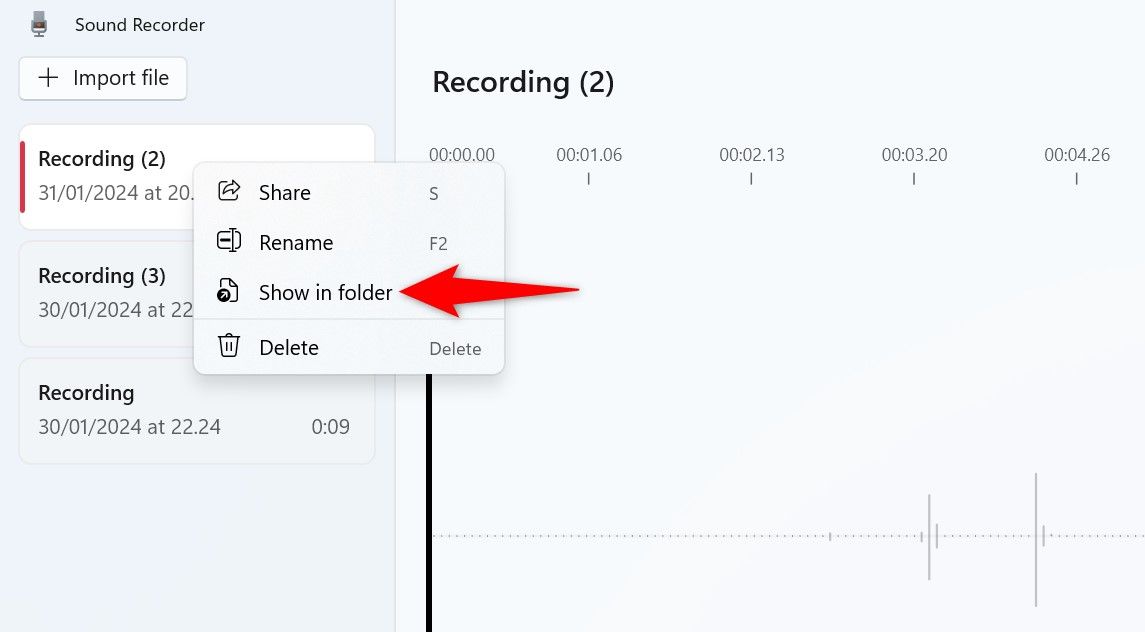
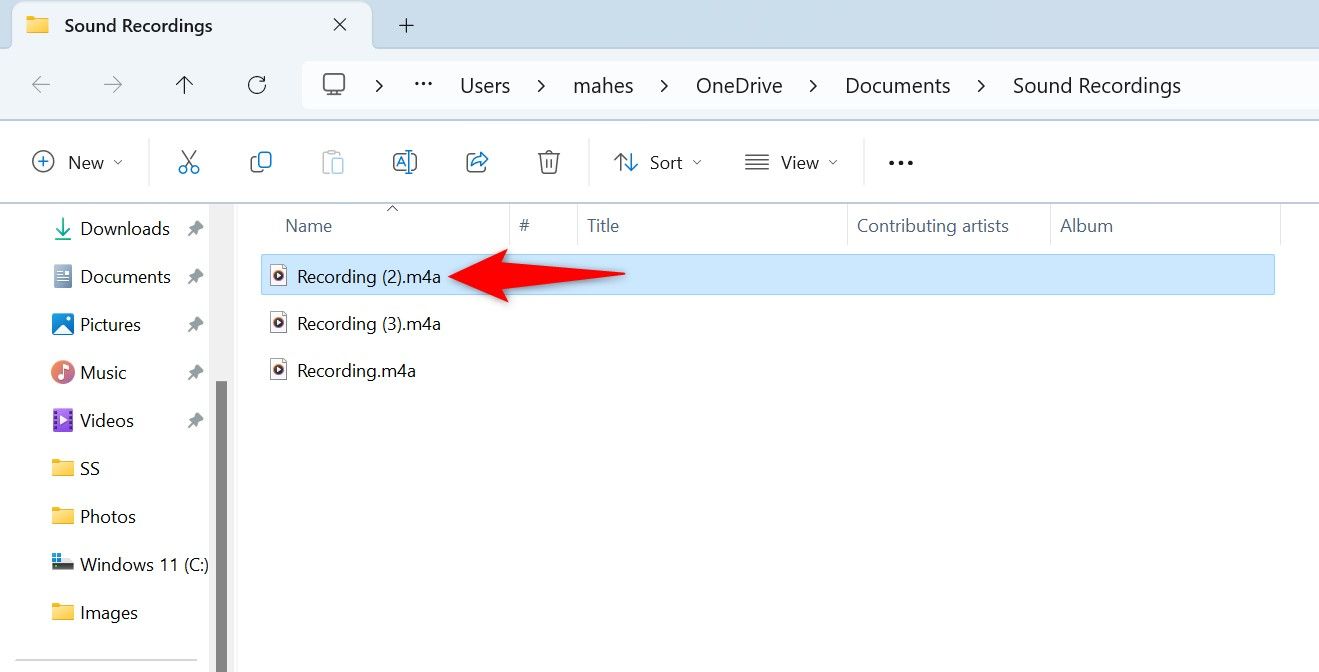
A File Explorer window will launch, highlighting the selected recording file.
You cancopy this file to any folderyou want orupload it online to cloud storage, like Google Drive.
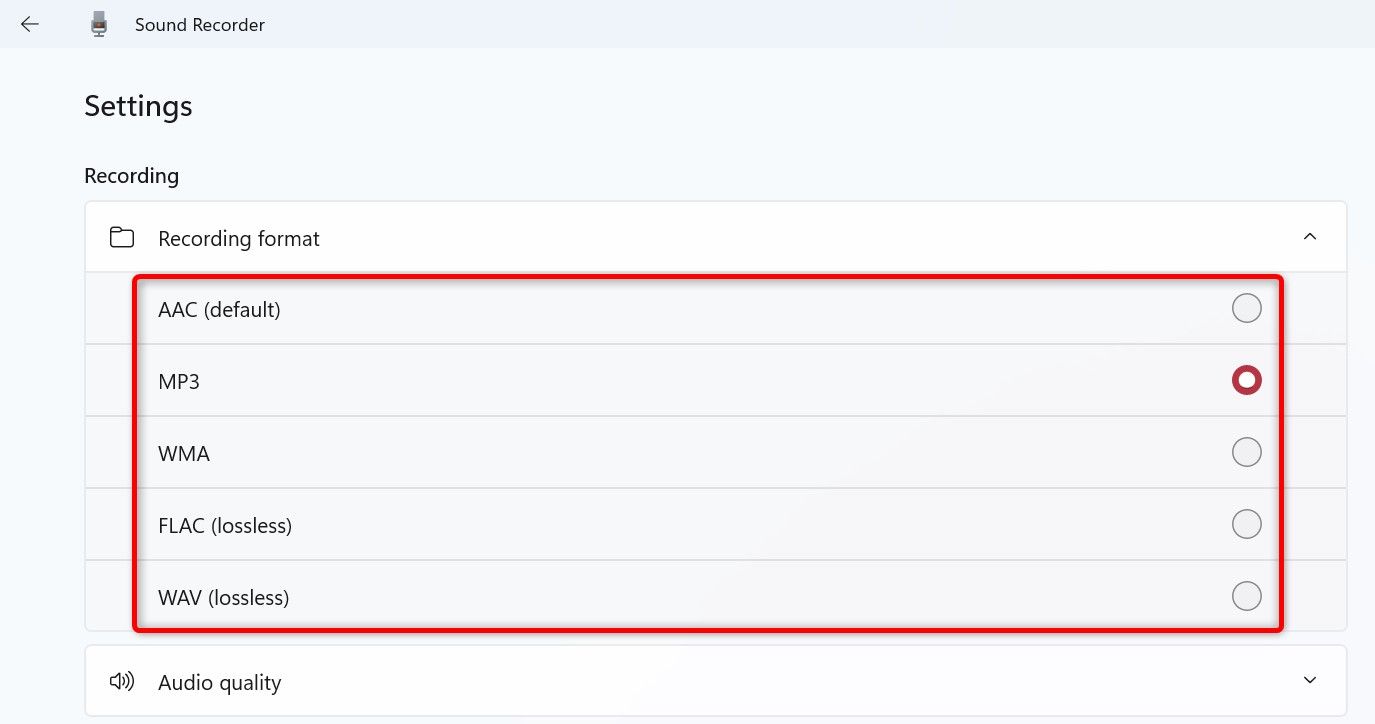
By default, Sound Recorder saves recordings in theM4Aformat.
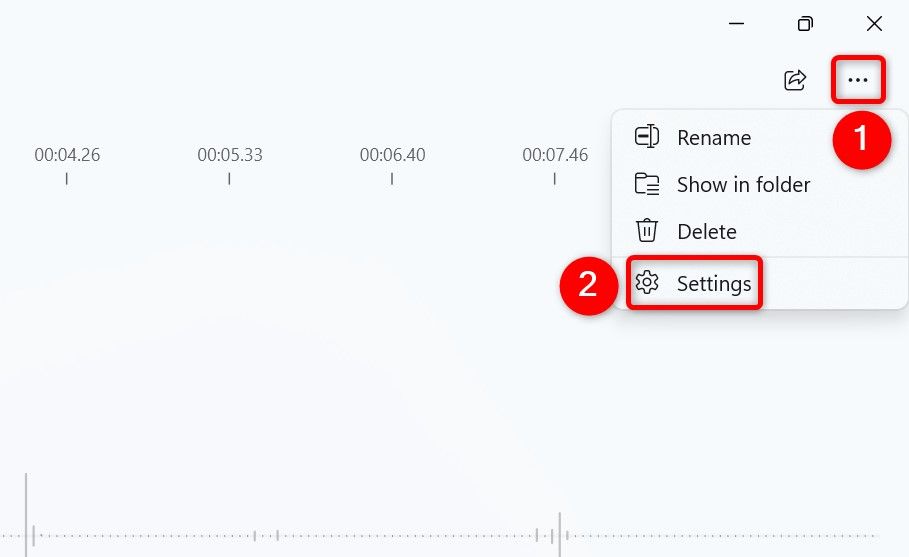
In the Recording section, click “Recording Format.”
snag the format youd like to use.
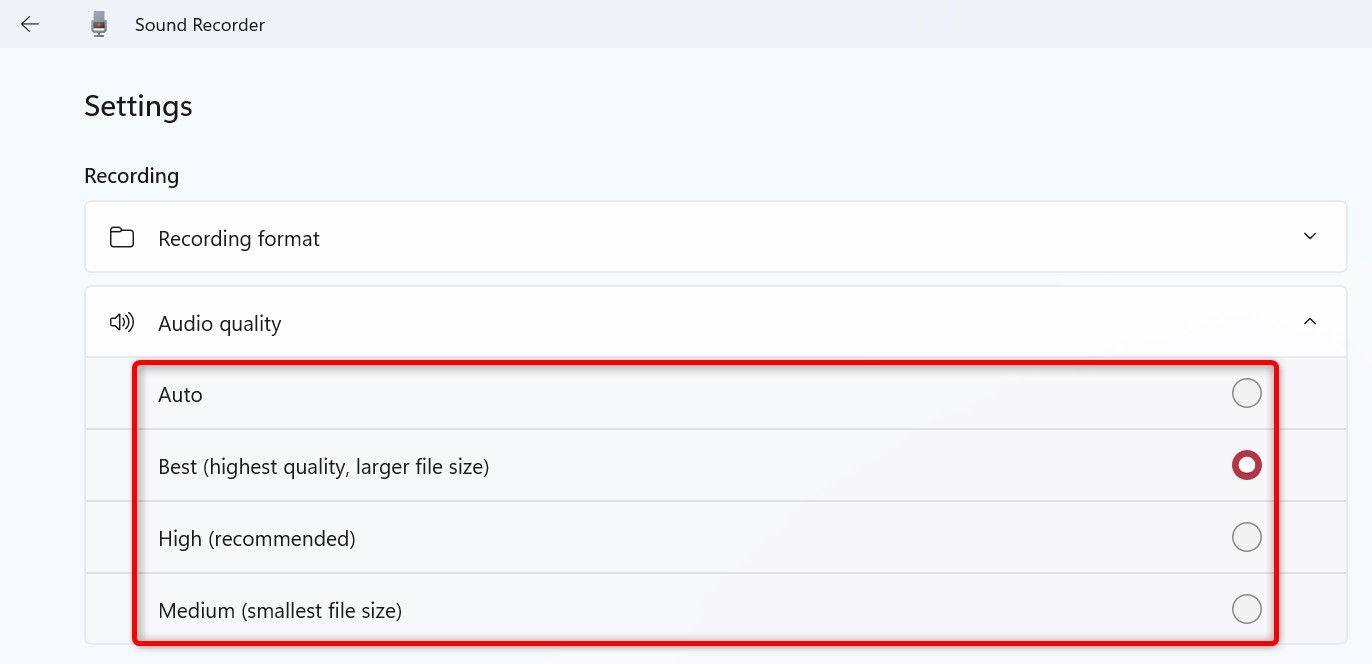
If you want to change the recording quality, snag the “Audio Quality” section.
Choose the quality youd like the app to use for the recordings.
The higher the audio quality, the larger the audio file size.
Sound Recorder automatically saves your changes, so you dont have to click any buttons.
Its a free and open-source audio recording app thats been around for a long time.
To use Audacity, launch a web web client on your PC and head tothe official Audacity website.
Download and roll out the app on your rig, then launch it.
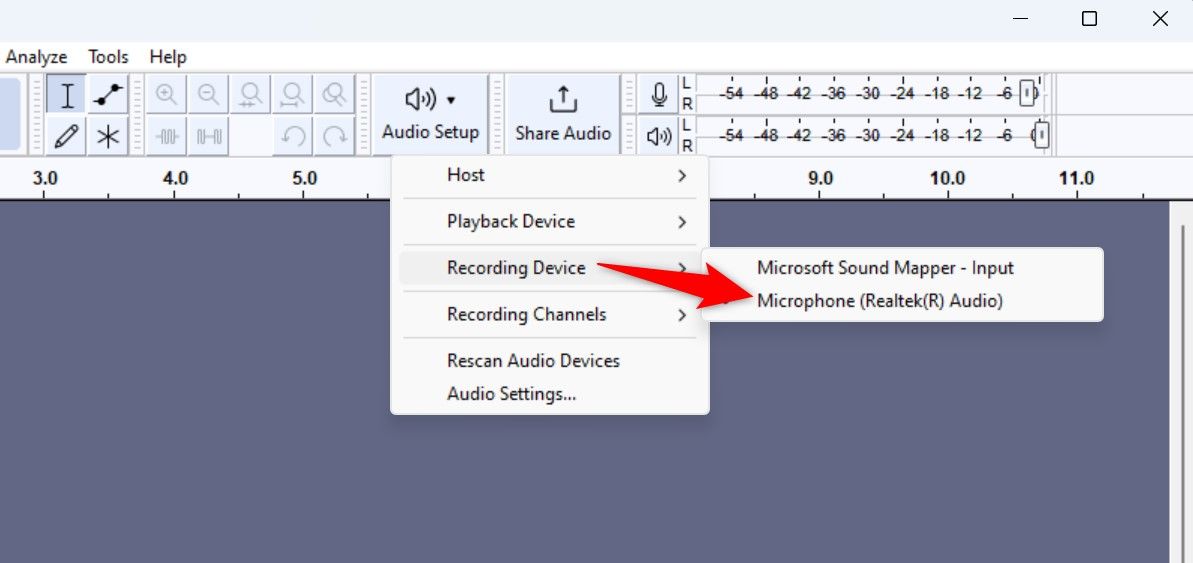
Once you open Audacity, first, choose the mic that you want to use.
Audacity is now listening, so speak into your mic.
Unlike Sound Recorder, Audacity doesnt save recordings automatically.
You have two ways to preserve your recorded audio in the app.
The first way is to keep your entire Audacity audio project.
This retains any edits youve made to your recorded audio.
To do this, from the apps menu bar, select File > Save Project > Save Project.
Later, you’ve got the option to open this project and resume your editing.
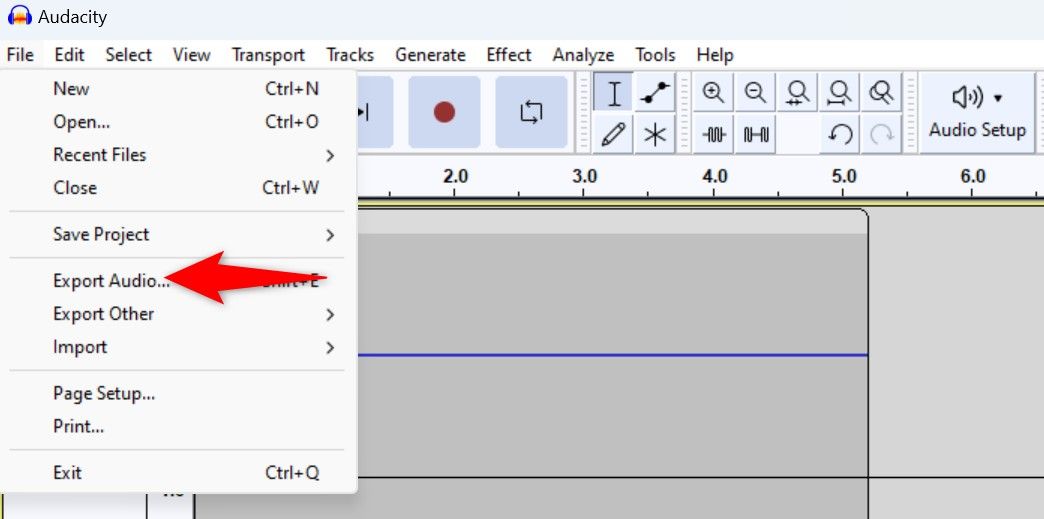
If you only wish to store your recording, from the menu bar, select File > Export Audio.
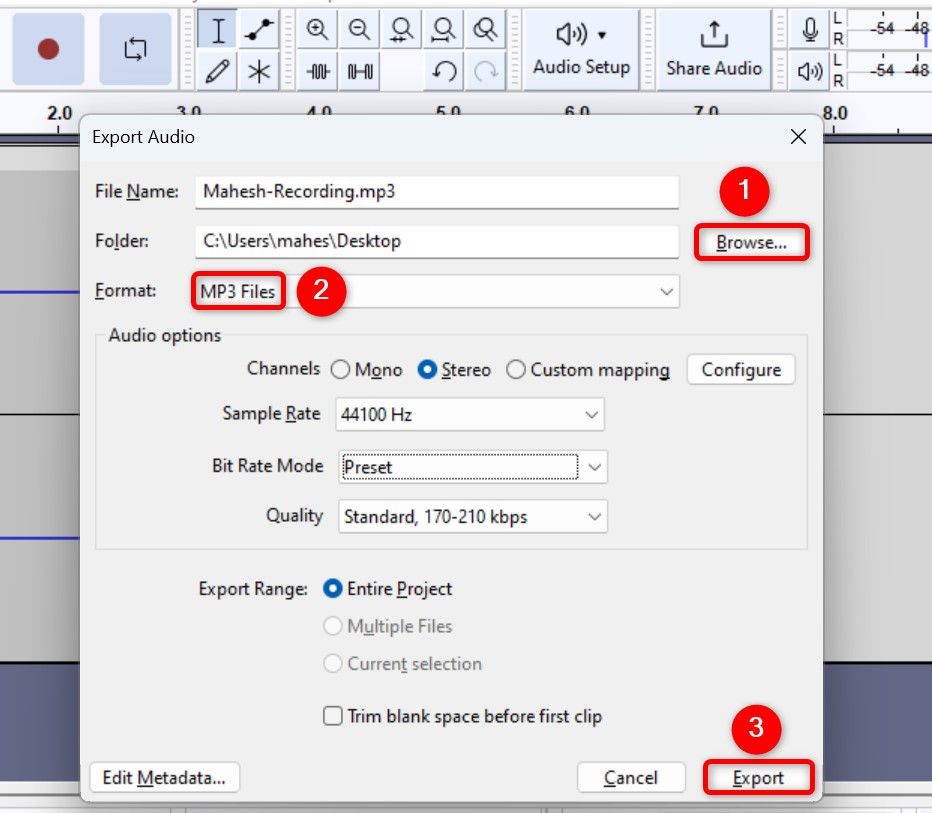
smack the “Format” drop-down menu and choose your preferred audio format for the file.
You should choose MP3 if youre unsure what to select, as this format plays on nearly all devices.
If youd like, configure the other options, then click “Export” at the bottom.
Audacity has saved the recording file in the chosen folder.