These apps have built-in background removal and replacement features, and well show you how to use them.
This is because other formats like JPG dont support transparent images.
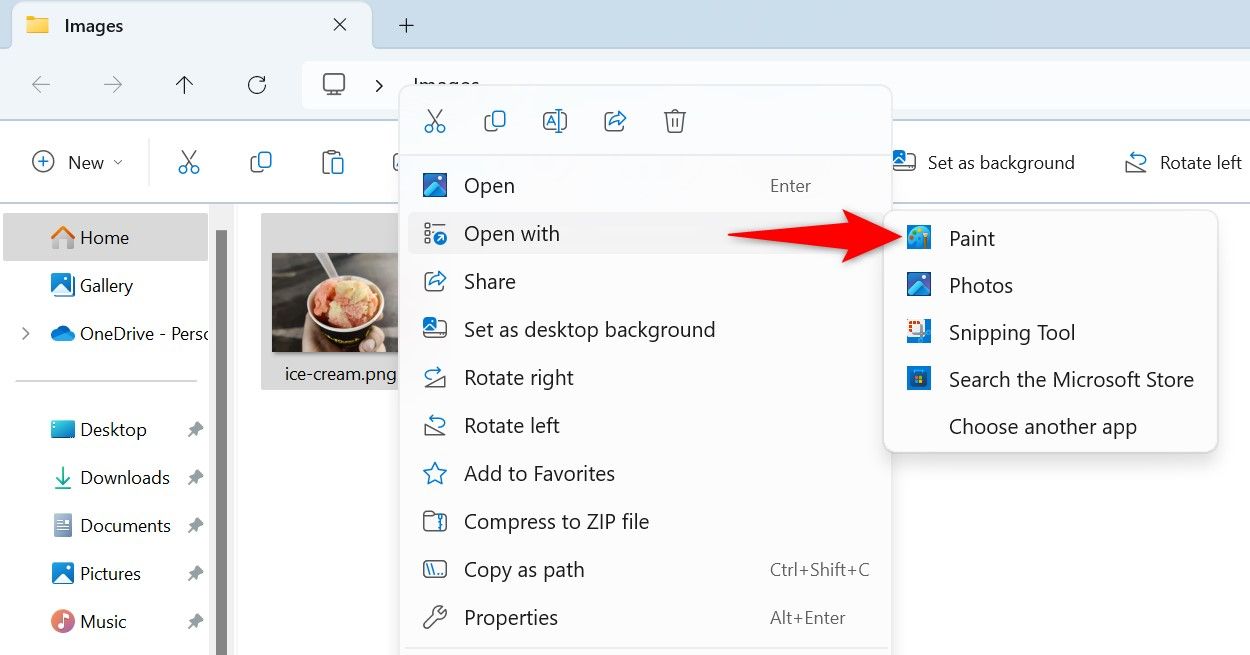
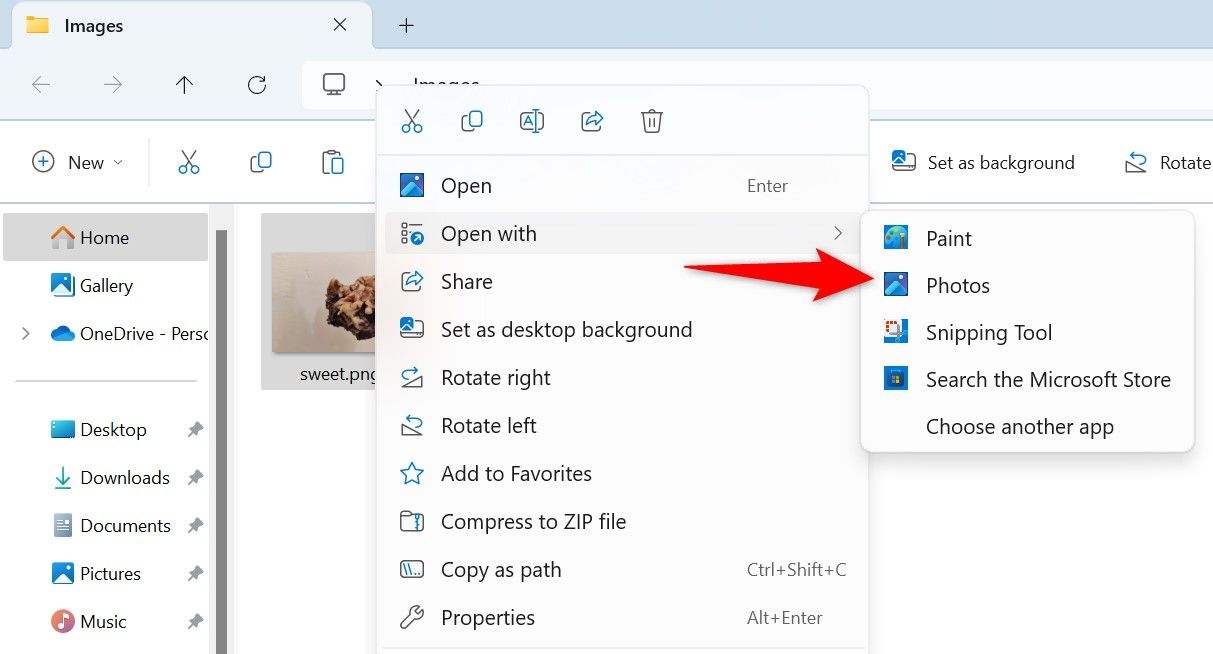
First,launch a File Explorer windowby pressing Windows+E, thenlocate the imageyou want to delete the background from.
Right-poke the image and Open With > Paint from the right-click context menu.
Wait for Paint to delete the background.
When thats done, youll see the edited image.
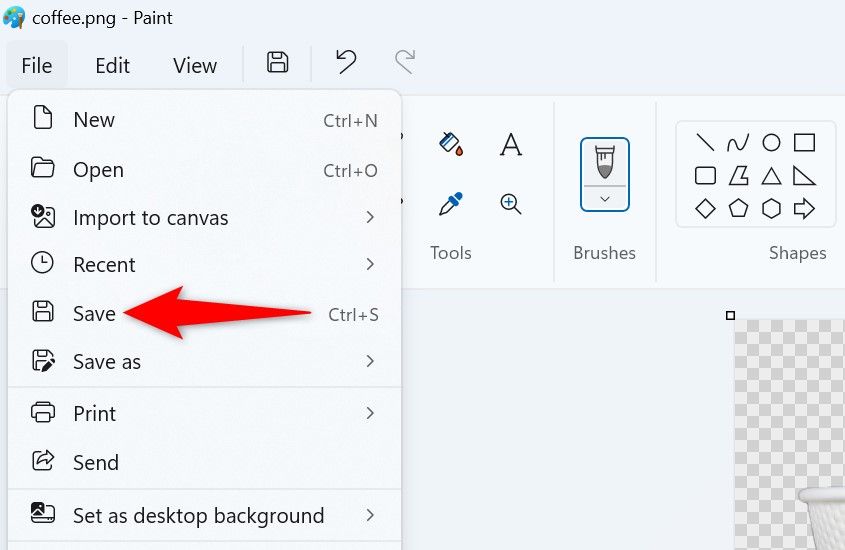
To save this background-less image select File > Save from Paints menu bar, or press Ctrl+S.
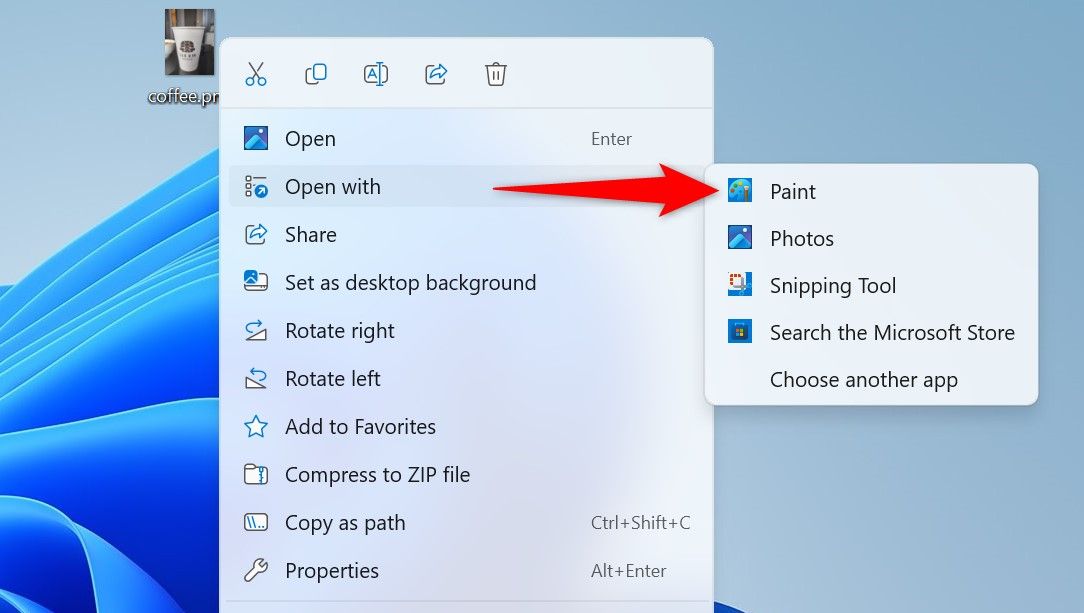
First, locate your image in a File Explorer window.
Right-smack the image and select Open With > Paint.

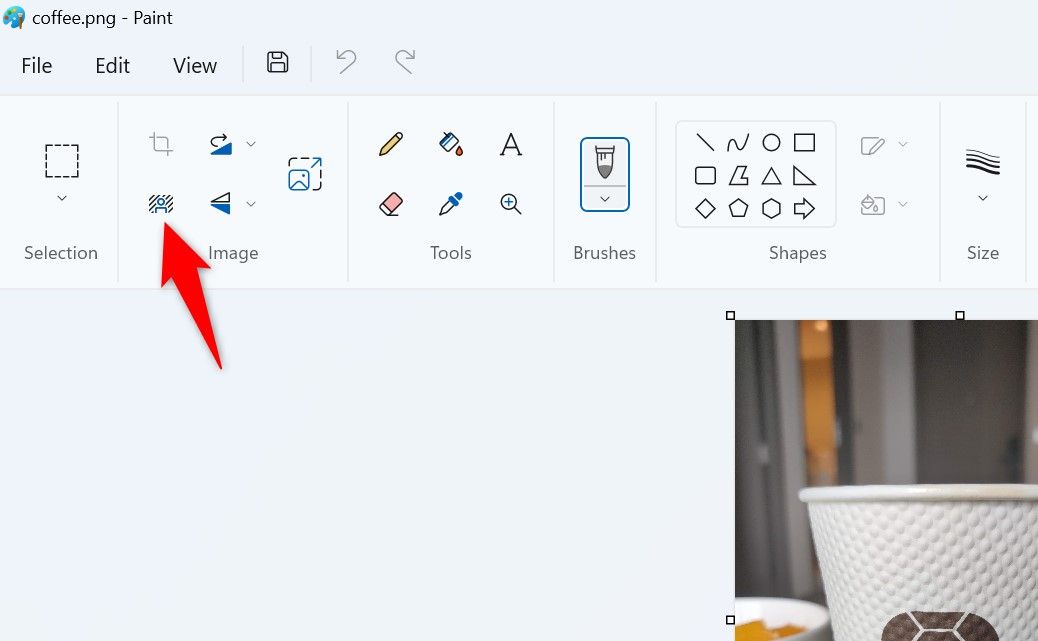
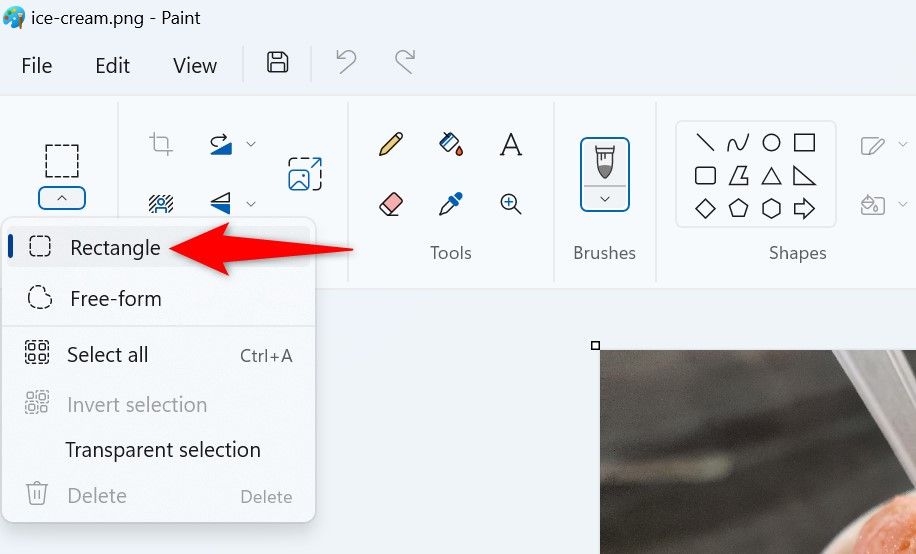
You cant use the “Free-form” selection tool, as accessing it disables Paints background removal feature.
Use the rectangle tool to opt for part of the image where you want to delete the background.
Wait while Paint deletes the background from the specified image area.
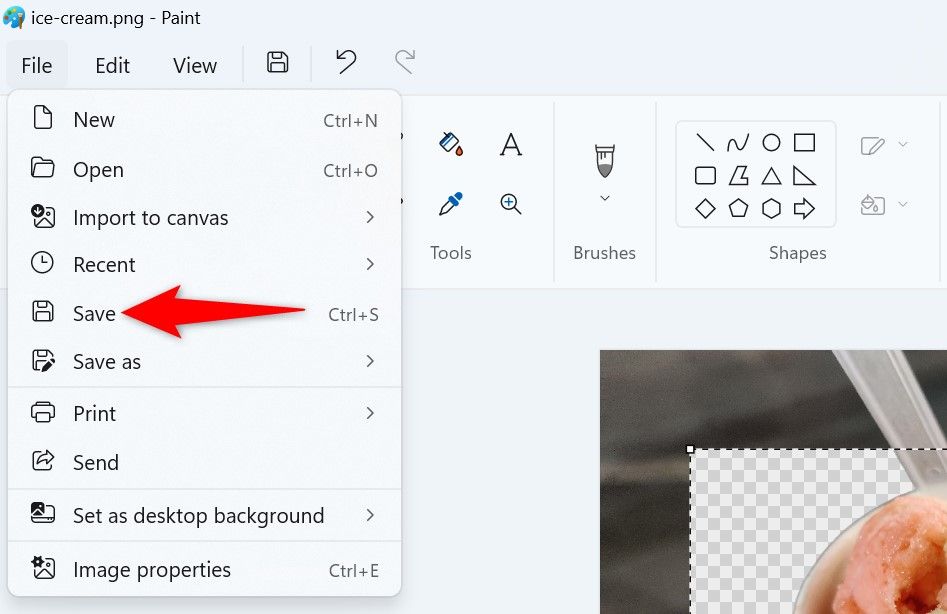
Then, back up your image by navigating to File > Save or pressing Ctrl+S.
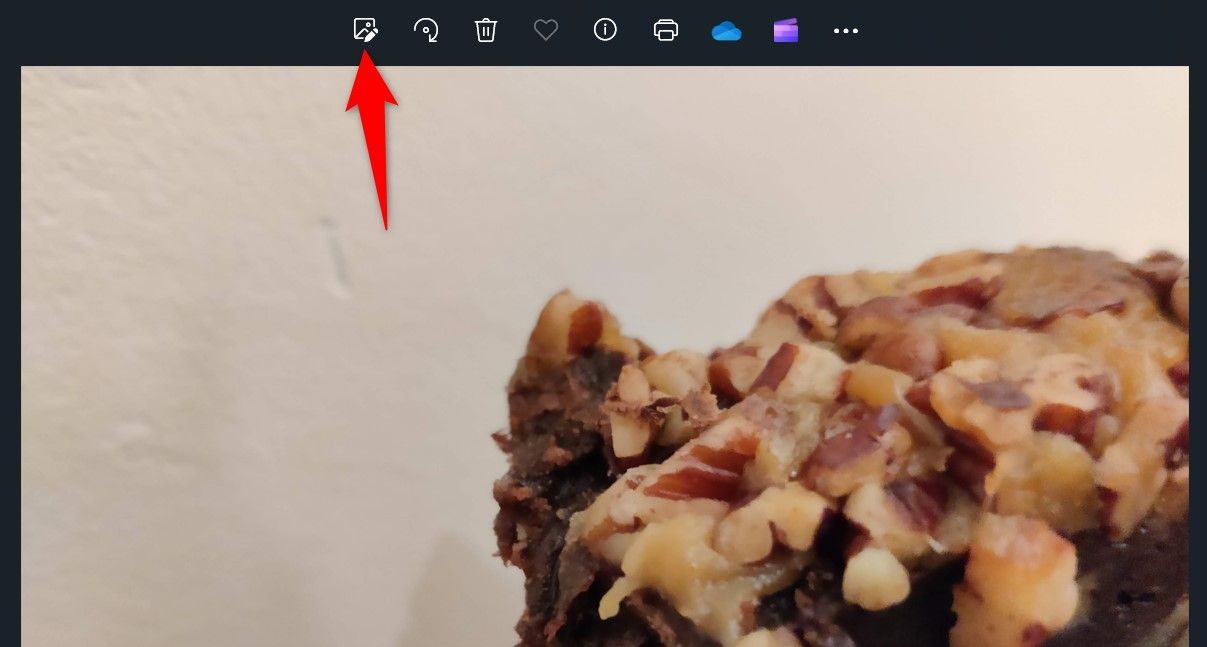
Launch File Explorer, right-click your image, and select Open With > Photos.
If Photos is the default image viewer, double-clicking the image will launch the image with the app.
When the app opens, select Edit Image (or press Ctrl+E) in the top bar.
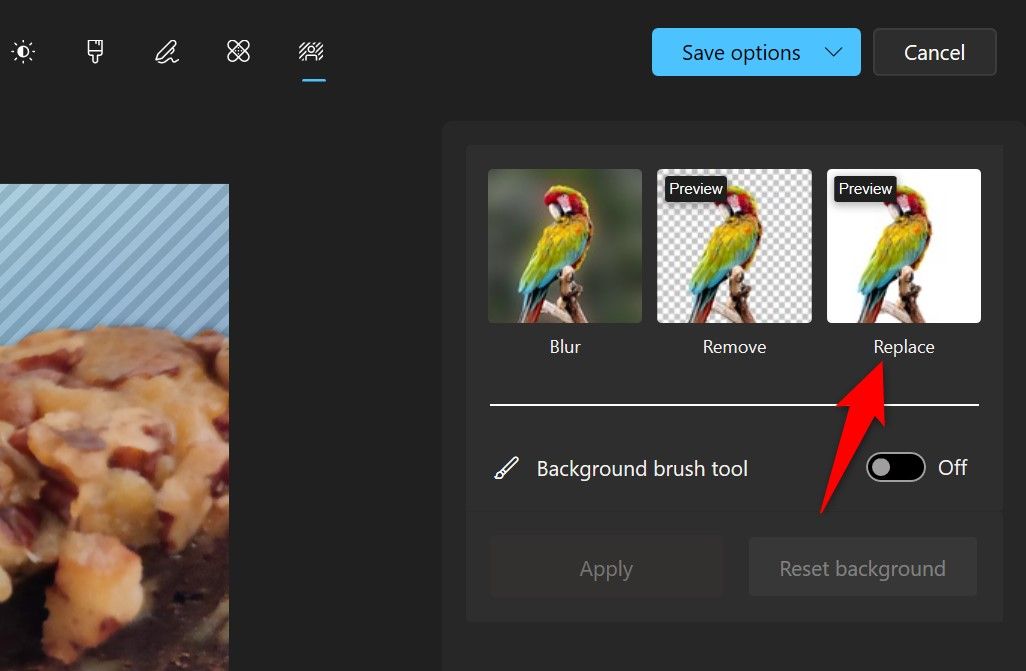
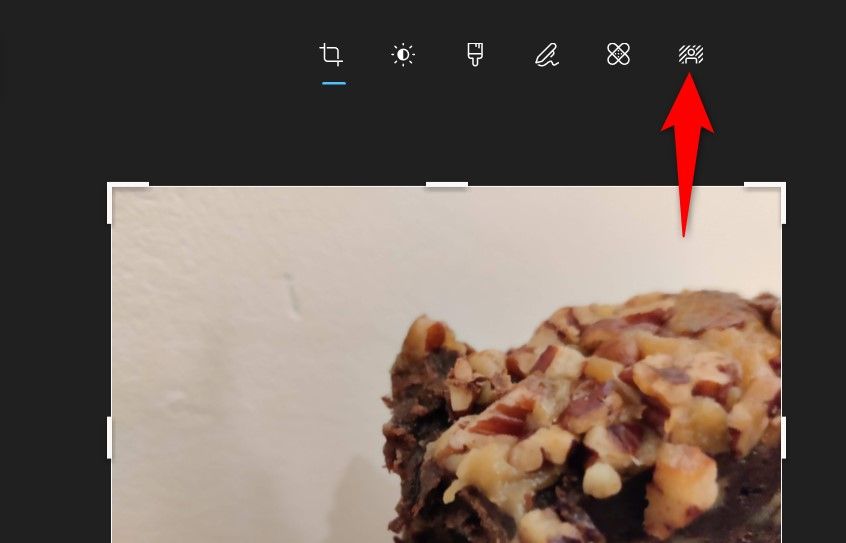
This is the background removal and replacement tool.
On the right pane, pick the “Replace” option.
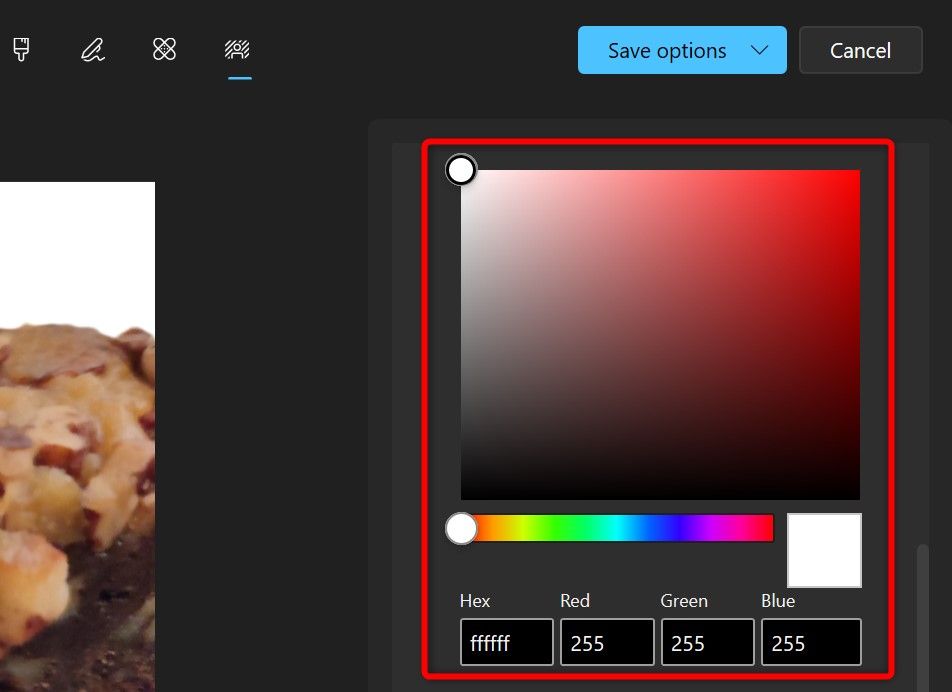
Youll see a color palette.
Here, choose the color to fill your images current background.
If you know a colorsHEXorRGBcode, enter those values in the given boxes.

This helps you quickly get to the color you want.
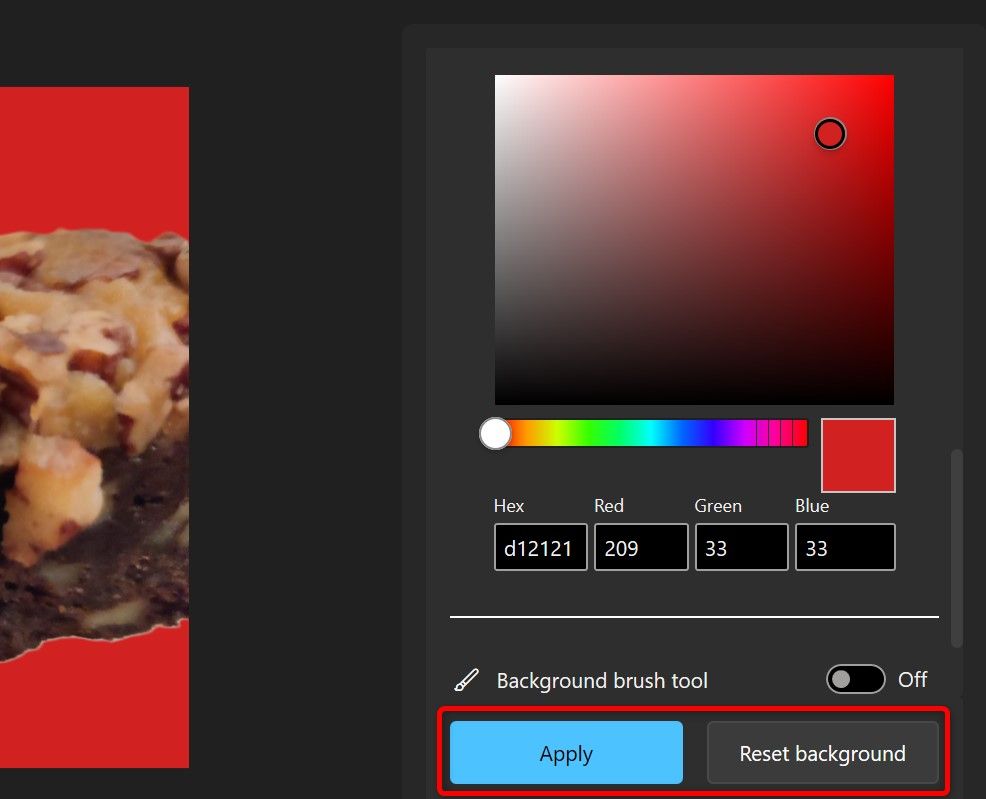
As you make your color selection, youll find Photos showing you a demo of the end result.
If youre happy with it, at the bottom of the right pane, click “Apply.”
To reset your preferences, choose “Reset Background.”
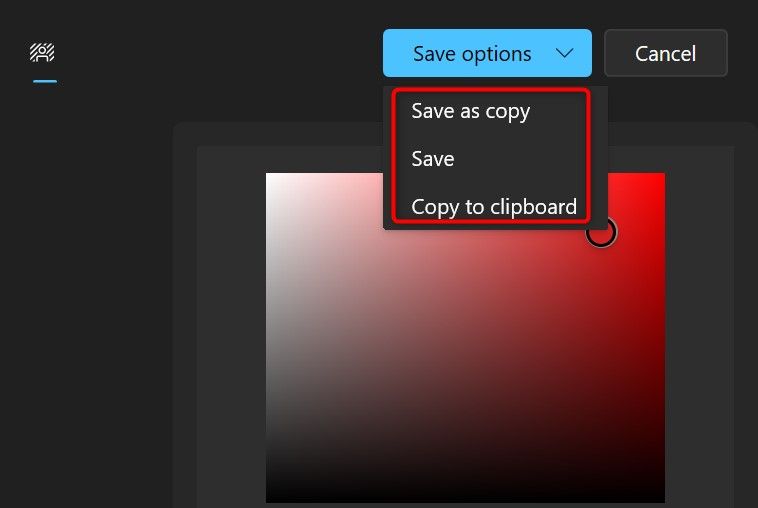
Your image is now ready to be saved.
To save the image, click “Save Options” in the top-right corner.
To rewrite the original image with the edited image, just choose “Save.”
And Photos will perform your chosen action.
Microsoft added the ability to replace backgrounds in Photos version 2023.11110.8002.0.
In the Stores left sidebar, select “Library.”
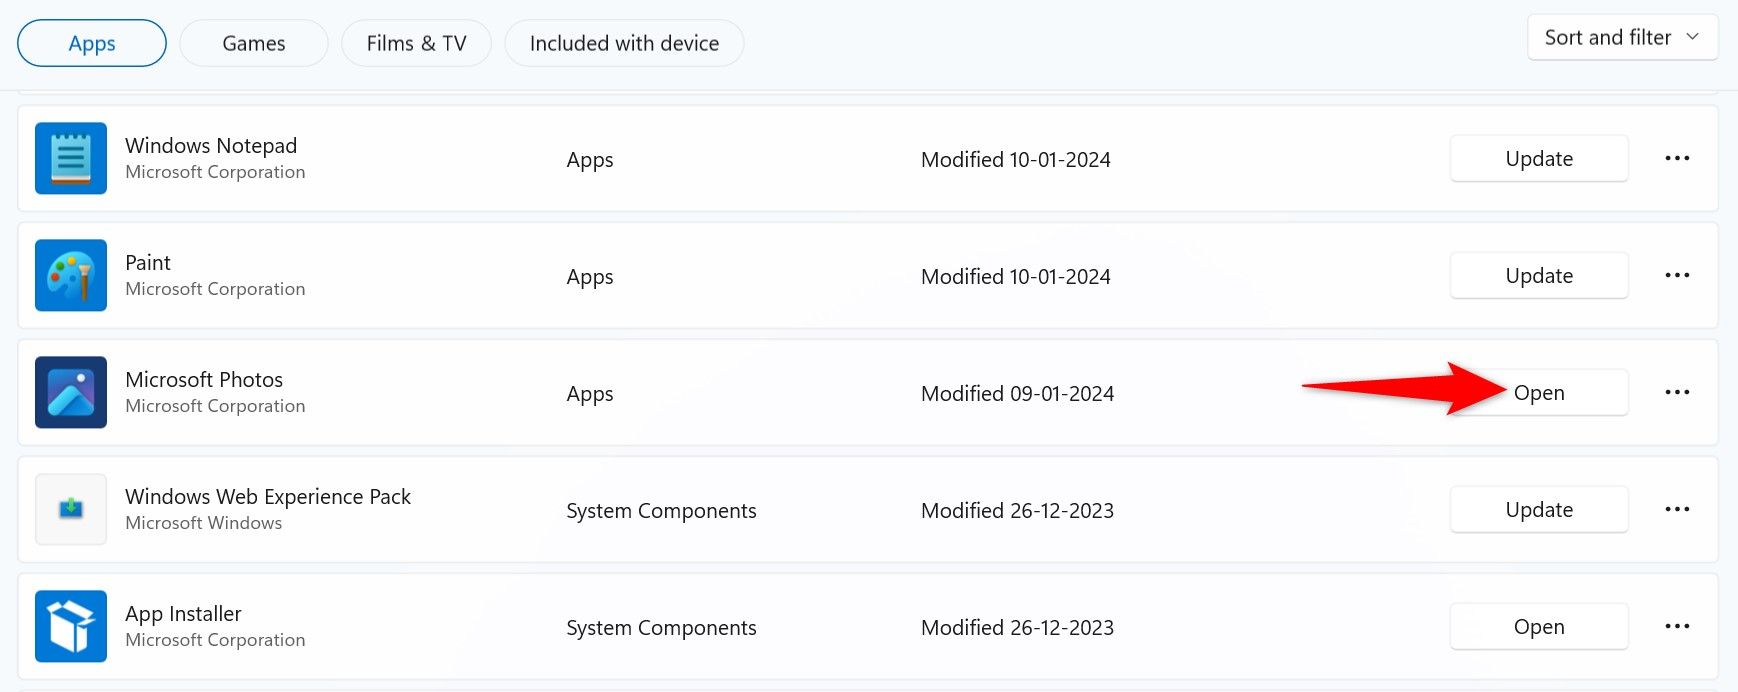
On the right pane, next to “Microsoft Photos,” choose “Update.”
Wait while the Store updates the app.
If you see “Open” instead of “Update,” your app version is already updated.
Relaunch Photos and youll find the option to replace your images backgrounds.
If you need more advanced image editing features you’ll have to look elsewhere, however.