Remove a Page Border
Apage bordermust be added manually in Word.
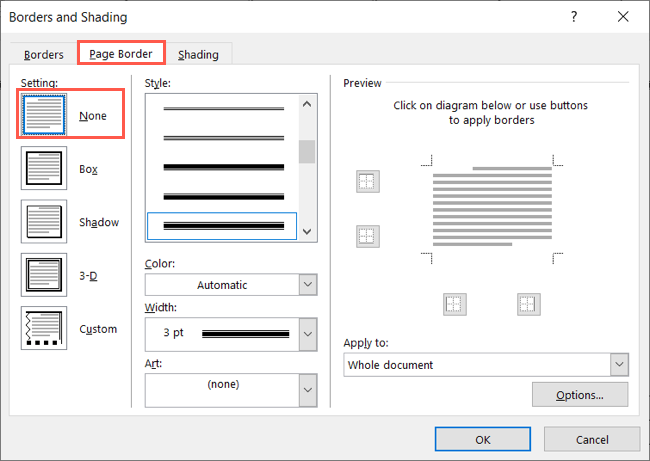
Go to the Design tab and click “Page Borders” in the Page Background section of the ribbon.
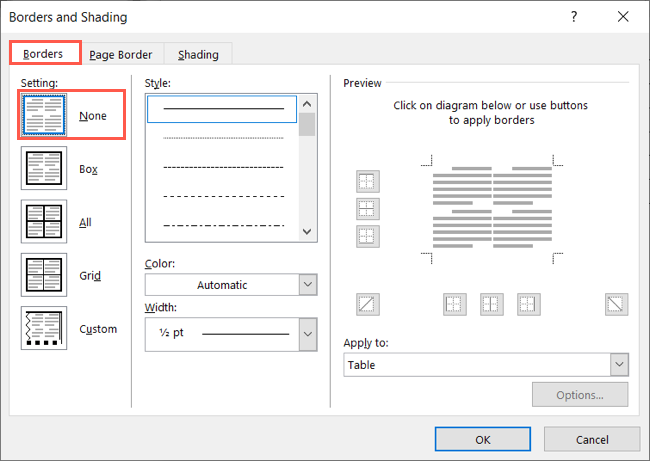
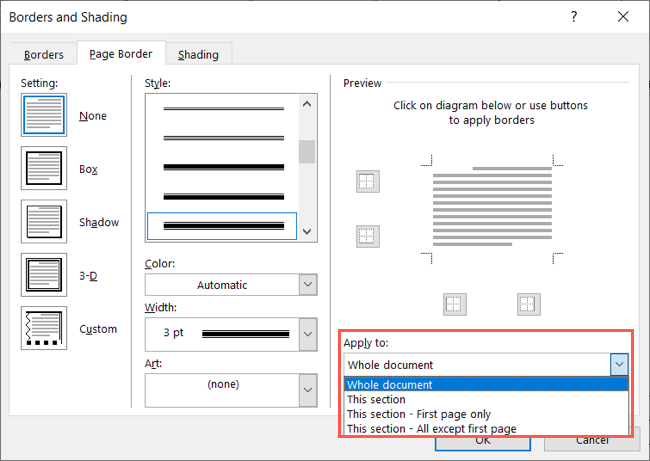
When the Borders and Shading box opens, choose the Page Border tab.

On the left below Setting, choose “None.”
Click “OK” and your page border should vanish.
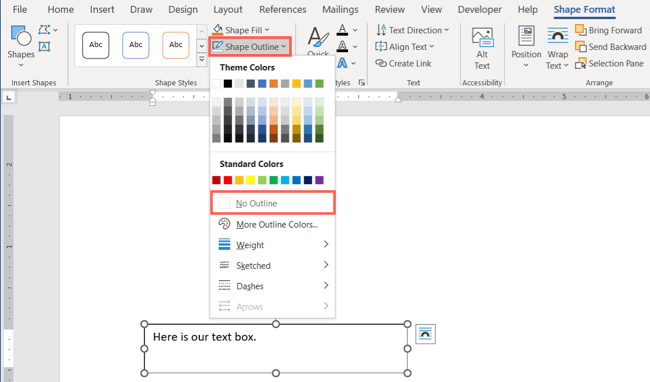
You may want to eliminate the border so that the text blends into your document better.
In the Shape Styles section of the ribbon, smack the Shape Outline drop-down box.
Pick “No Outline.”
You’ll then see your text box border disappear.
You’ll then see a dotted line around the text box.
Remove a Shape Border
Someshapes you drawin Word may include a border by default as well.
you’re able to remove the border similar to how you delete a border from a text box.
choose the shape and go to the Shape Format tab.
hit the Shape Outline drop-down box and pick “No Outline.”
And just like that, the shape’s border is removed.

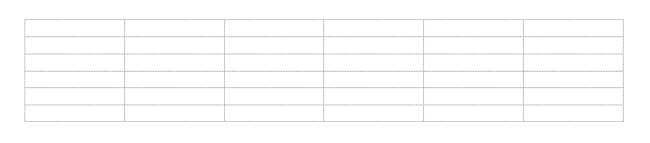
This is only to indicate the table outline but doesn’t appear if you print the document.
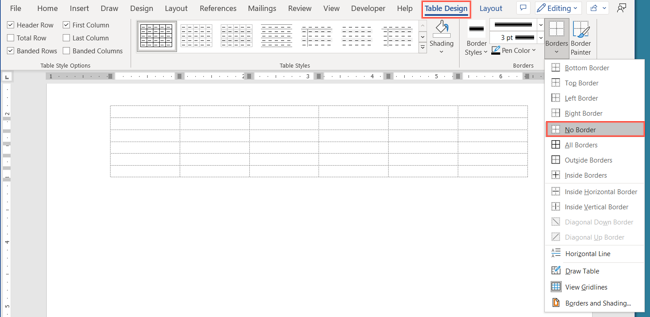
You have two ways to remove atable border in Word.
Use the Table Design tab
grab the table and go to the Table Design tab.

Choose “No Border” in the list.
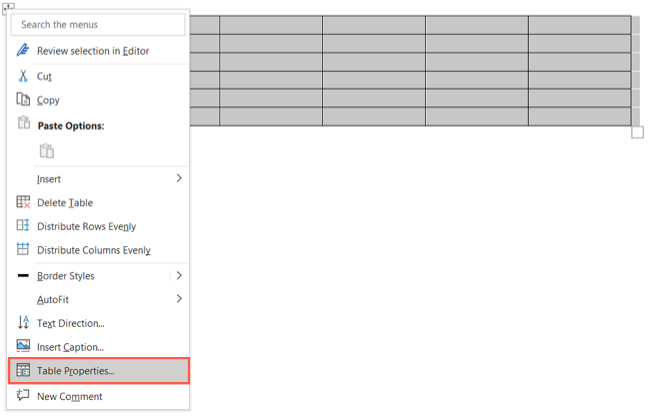
Use the Table Properties
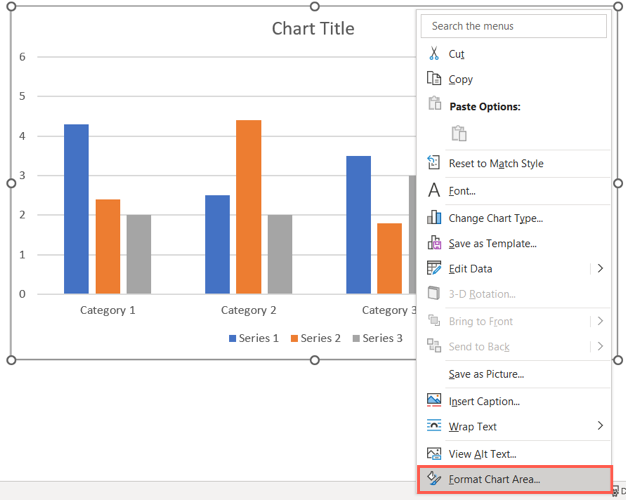
Right-clickthe table and choose “Table Properties” in the shortcut menu.
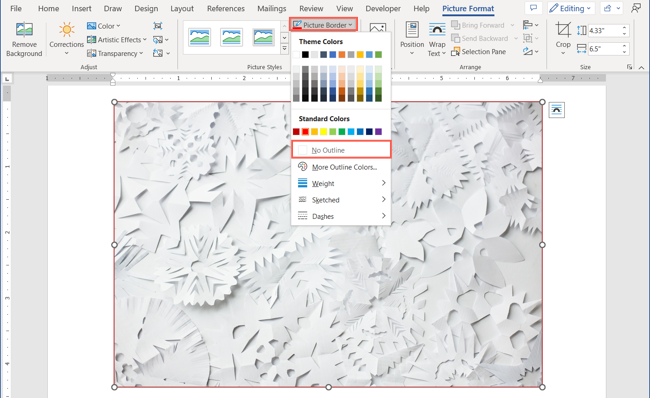
Maybe someone else added a border that you want to remove.

grab the image and go to the Picture Format tab.
poke the Picture Border drop-down arrow in the Picture Styles section of the ribbon.
Choose “No Outline.”
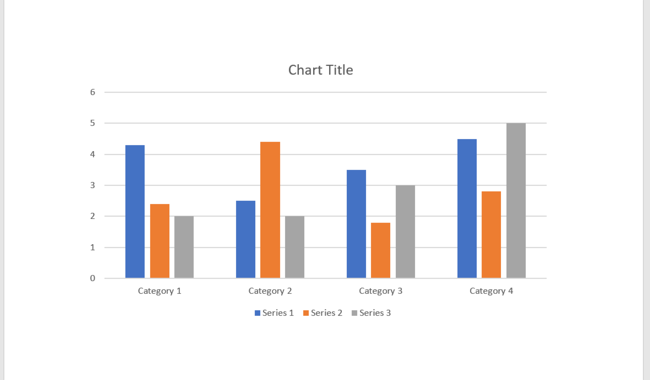
You’ll then see the image border disappear.
Use your image editor to eliminate the border and then reinsert the picture into your document.
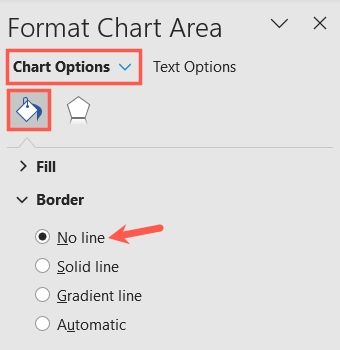
Again, this might not be something you want to display in your document.
Expand the Border section and mark the option for No Line at the top.
Related:How to Change the Page Color in Microsoft Word