Quick Links
JPG distortion, tiling, and artifacts can ruin an otherwise great image.
GIMP users, follow along, as this Photoshop howto is GIMP friendly.
Keep reading to see how it’s possible for you to finally restore your images!
Fixing JPG Artifacts With Photoshop
JPG is a pretty amazing format, all things considered.
But the lossy nature of the filetype can be an ugly mess.
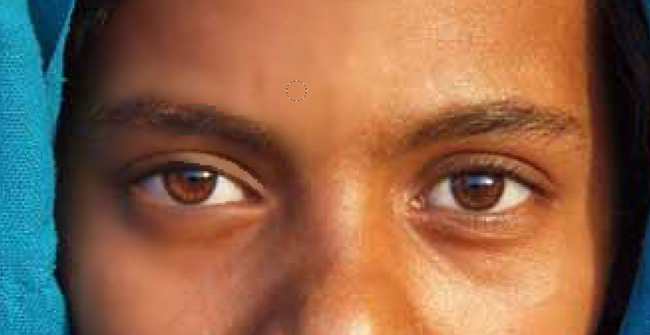
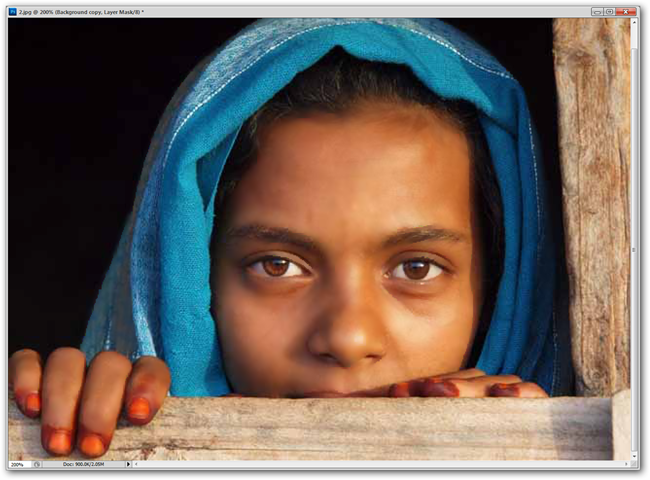
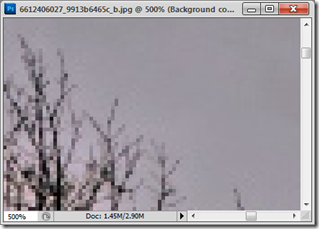
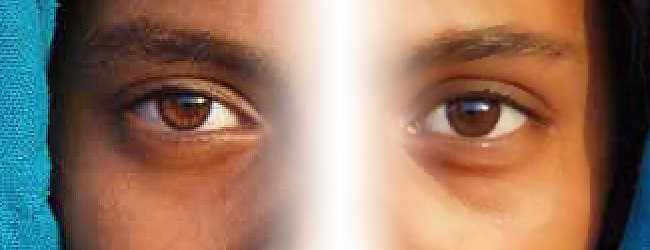
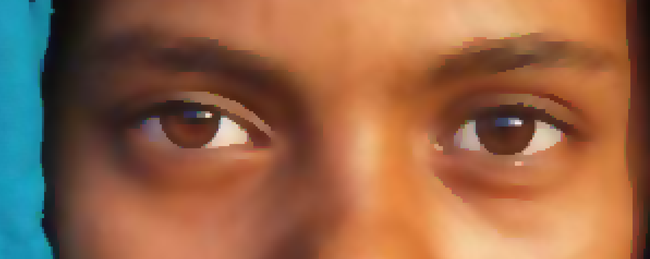
Lets take a closer look at this image.

Without a lot of zoom, we can see a big problem with our image data.
Tiling is obvious, and we can see some definite artifacts popping up in the whites of the eye.
Lets take some steps to reduce all of that ugly.
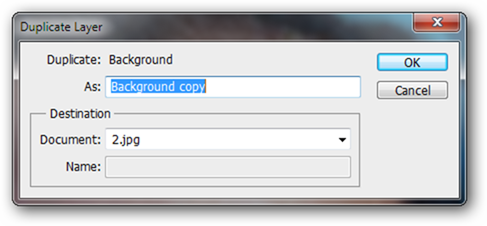
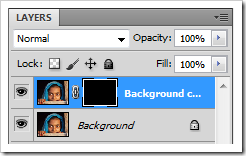
Right click your background layer and select Duplicate Layer.
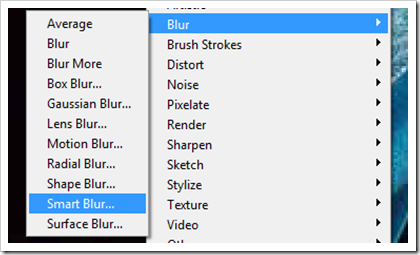
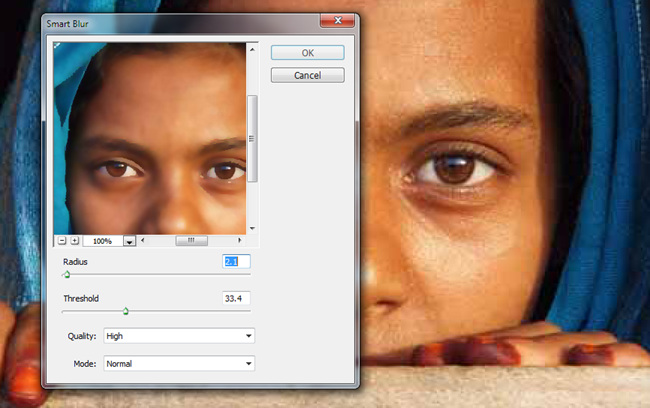
On your new duplicated layer, Navigate to Filter > Blur > Smart Blur.
)Reader Alz: Gimp has a Selective Gaussian Blur with edge detection, and radius and Threshold parameters.
These parameters worked fairly well for this level of JPG distortion and tiling.
If you have more, you’re free to set your Radius and Threshold to higher prefs.
Quality tweaks should be set to High, although any setting will work just fine.
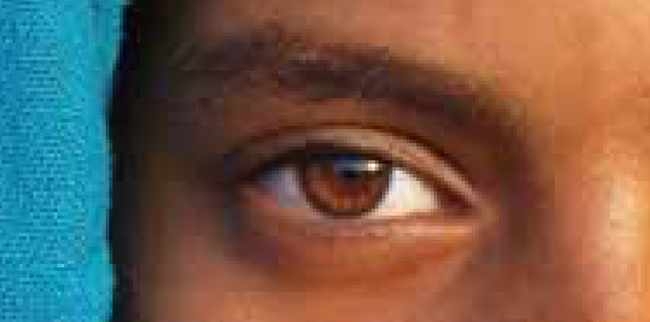
Depending on your success with the filter, you may decide to stop here.
Keep reading and well transform this filtered image into a much better final result.
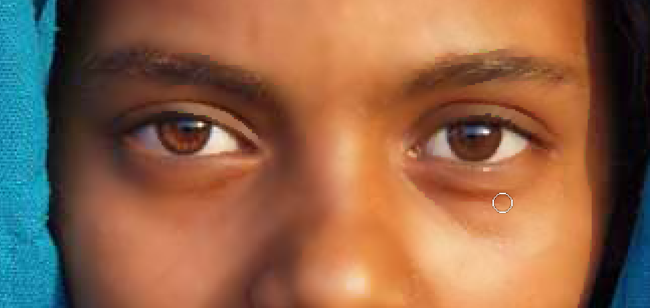
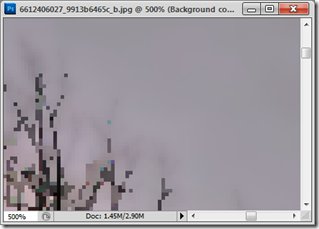
Weve lost detail and were getting some odd pixelation around some of the edges.
This will mask out all of this topmost layer revealing the original problematic JPG again.
Grab the brush tool and see to it you fill your
Foreground color with white.
Work larger if youre using a larger image, and smaller if youre working with a smaller sized image.

Be careful around edges and dont be afraid to undo and redo your work.
Painting with black will hide your topmost layer, while white will make the Smart Blur layer reappear.
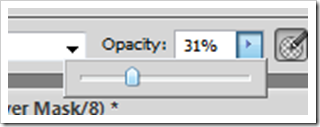
Selectively changing your brush Opacity in the top options bar can also be helpful.
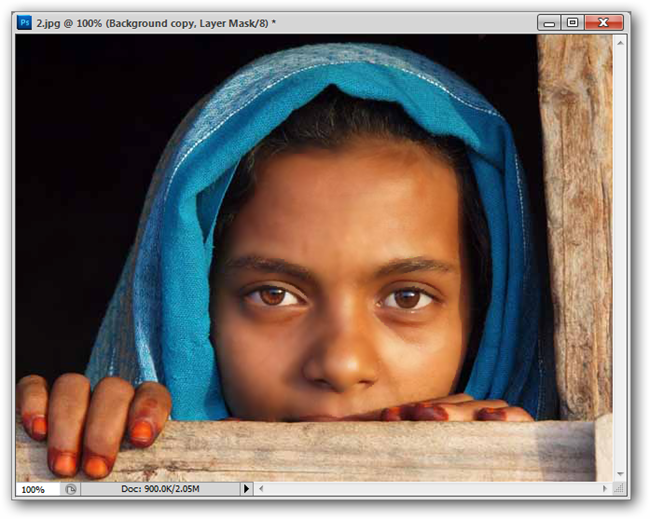
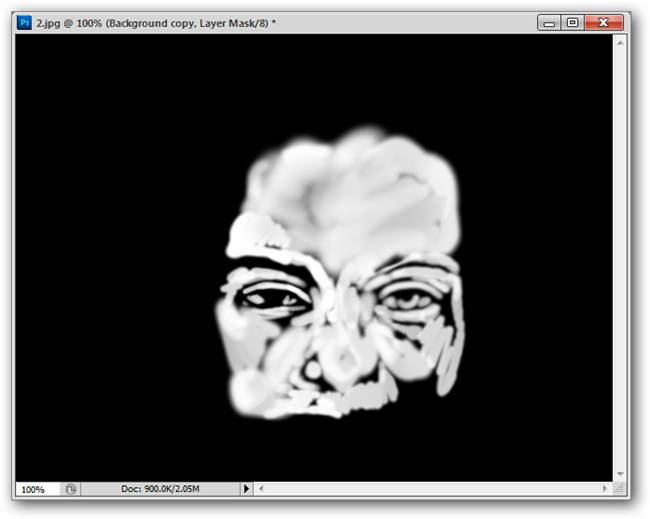
Lets look at how our mask looks, just to be clear.
At this point, weve only allowed our Smart blur to appear on the parts in our face.
Heres how the layer mask looks by itself.
The white parts represent where weve painted withyou guessed itour white brush.
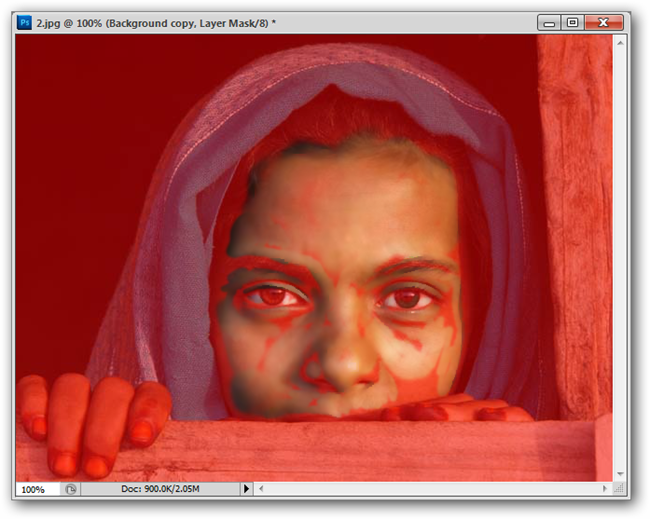
Heres our overlay, with the red parts representing where the Smart Blur layer is blocked out.
Hopefully this makes it clear what you better be doing with your paintbrush.

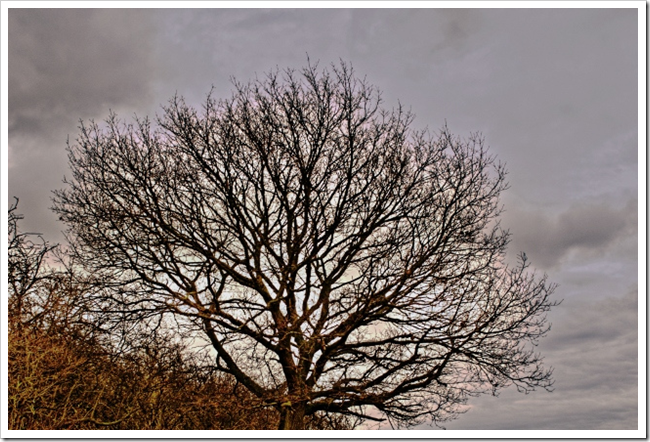
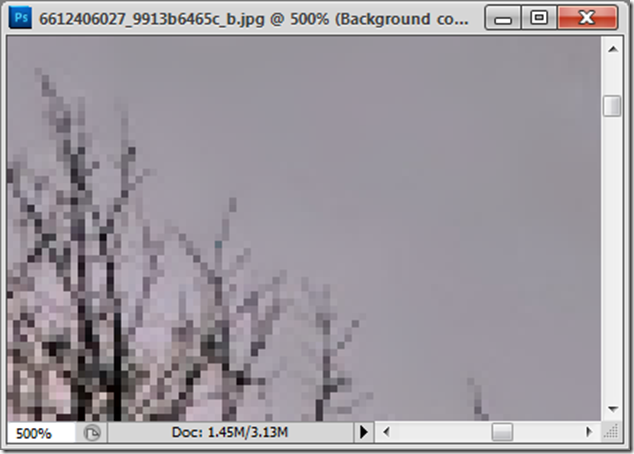
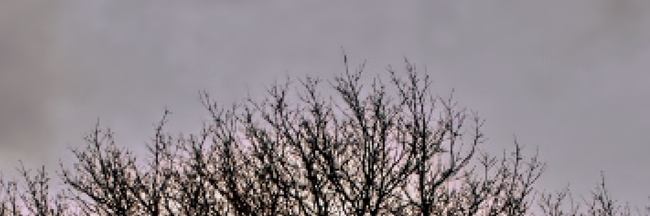
Lets look at one final example to show the usefulness of this trick.
The tree still looks like a tree, and the sky is smooth and artifact free.
And in no time at all, our distortions are cleared up while retaining detail in our foreground object.
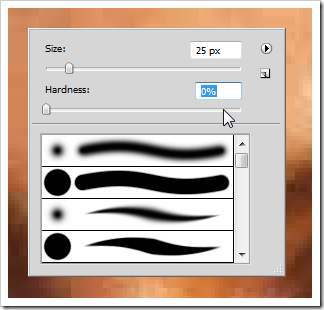
Image Credits: Esoteric ~ Socotra Island, Yemen by Martin Sojka, Creative Commons.
Tree by Elizabeth Oldham, Creative Commons.