Luckily, there’s a way to reinstall Windows without losing your personal data.
We’re going to show you how to perform an in-place upgrade.
What Is an In-Place Upgrade?

To protect yourself, you must create a backup before you proceed.
Another thing you should do is double-check that you’ve logged in to Windows with an administrator account.
After you download the ISO file, right-click it, and select “Mount.”

Mounting the ISO will allow you to dive into the files and folders contained therein.
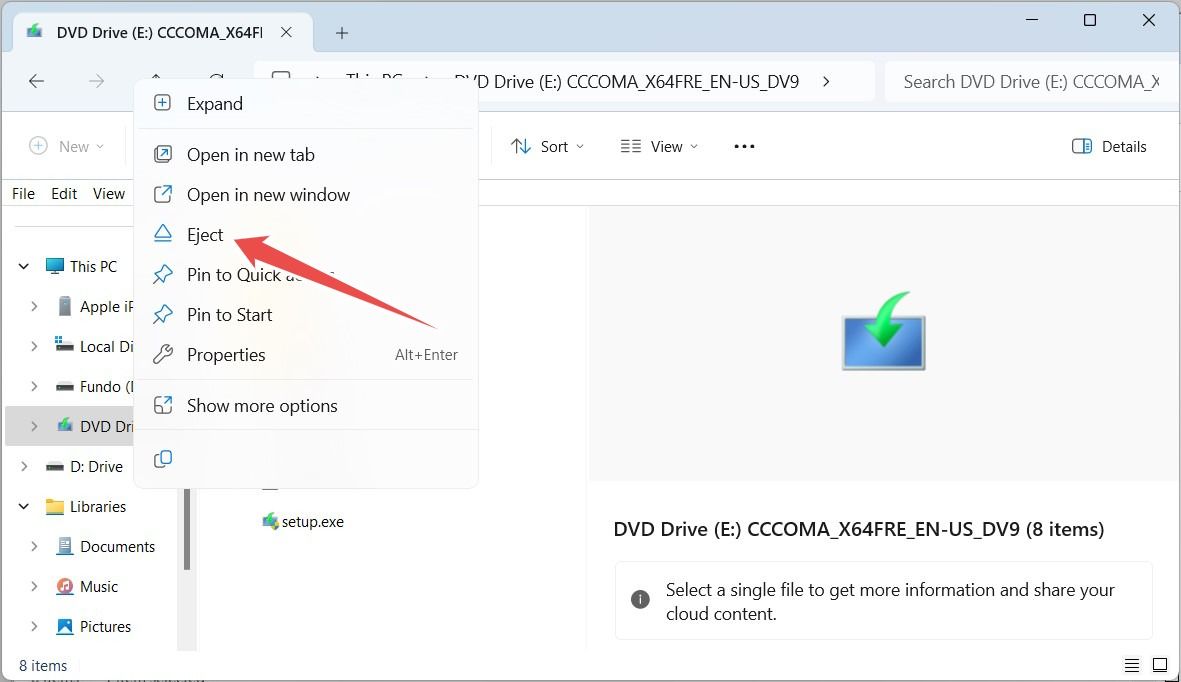
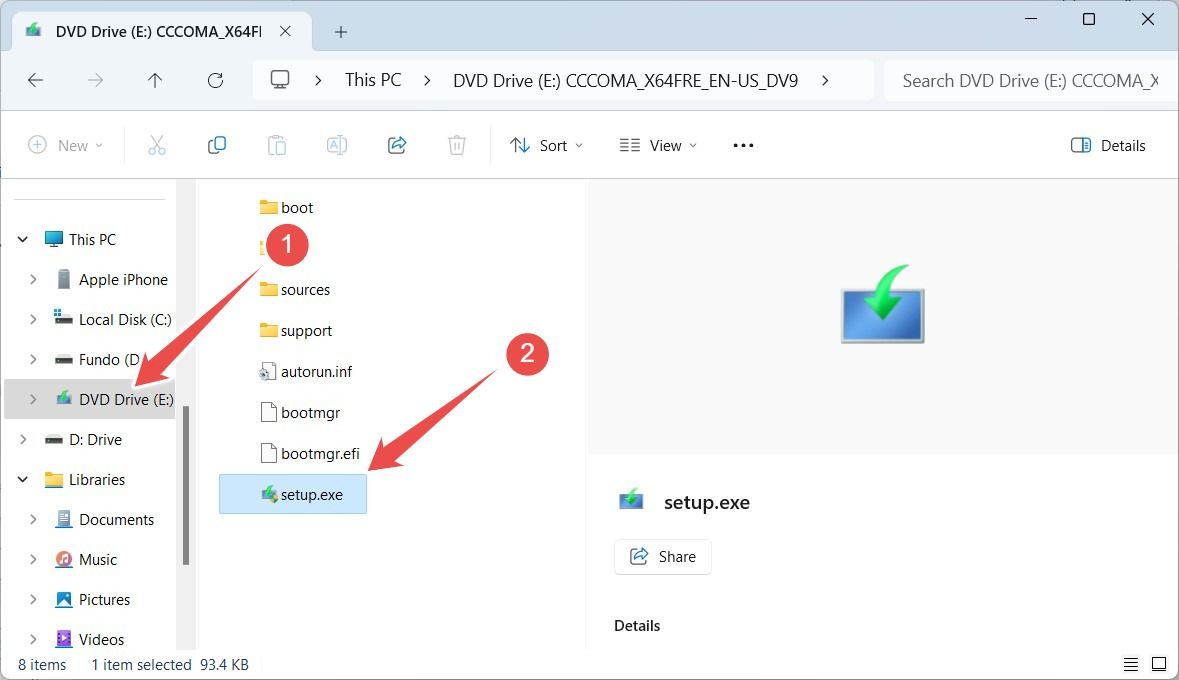
The mounted ISO will appear as a DVD drive under “This PC” in the navigation pane.
Now, go for the mounted ISO and double-click “setup.exe.”
You will get a prompt from the UAC, so click “Yes” to bypass it.
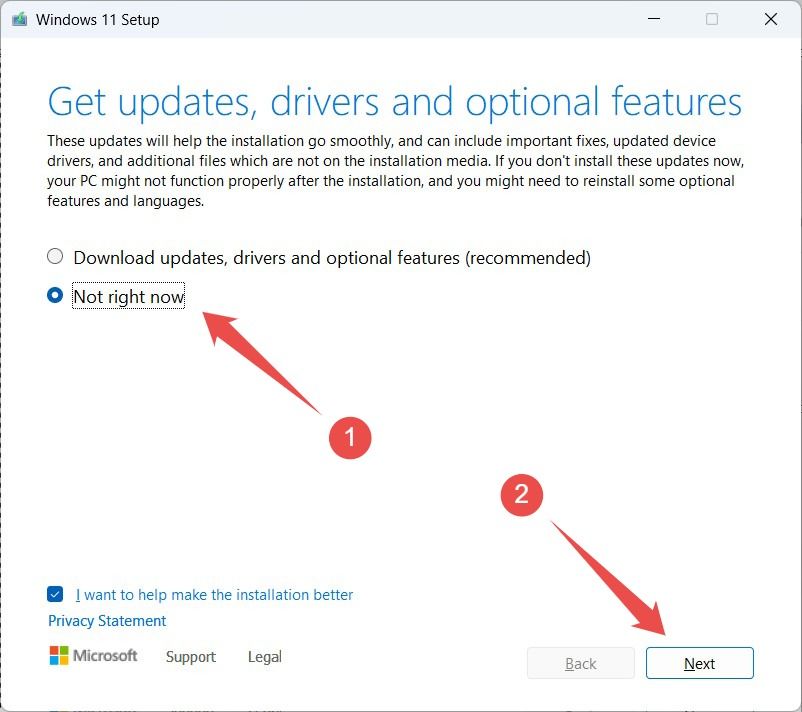
Setup then checks for updates.
Once it finishes, it restarts and picks up where it left off.
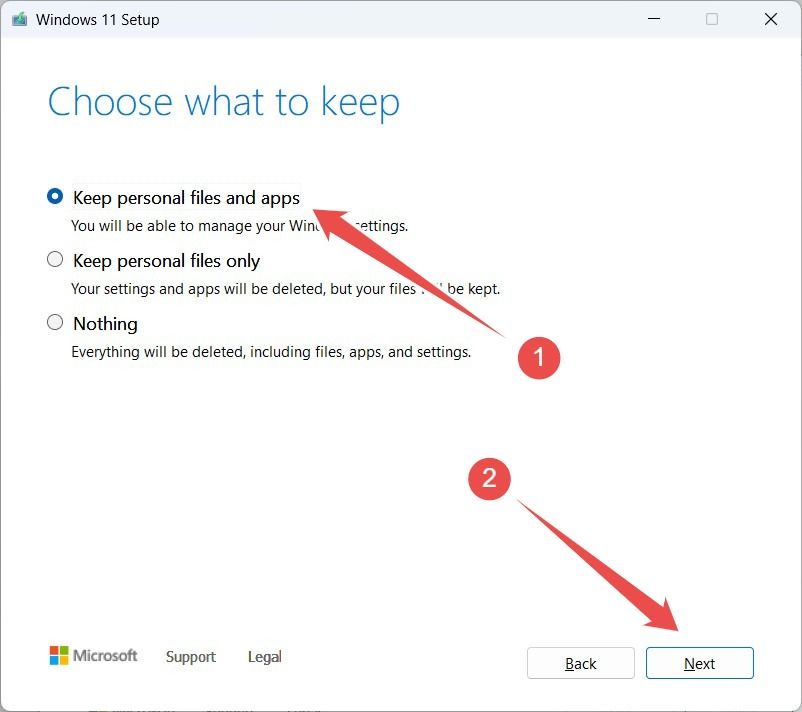
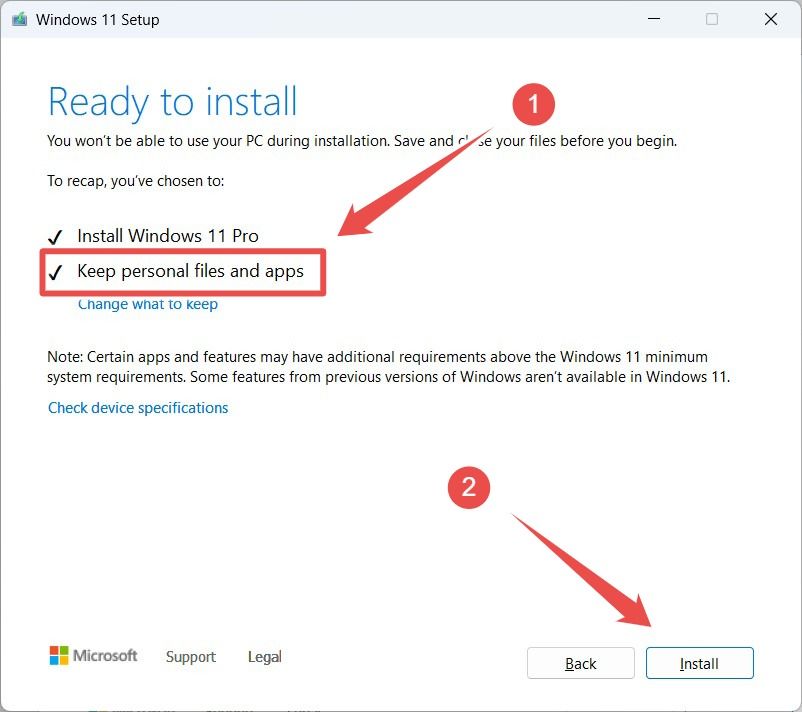
Here, ensure one of the checked items is “Keep personal files and apps.”
If it is, go ahead and click “Install.”
If it’s not one of the checked items, click “Change what to keep”.
If that happens, see to it that there isn’t an issue with your Wi-Fi online grid.
To do that, close setup and launch it again.
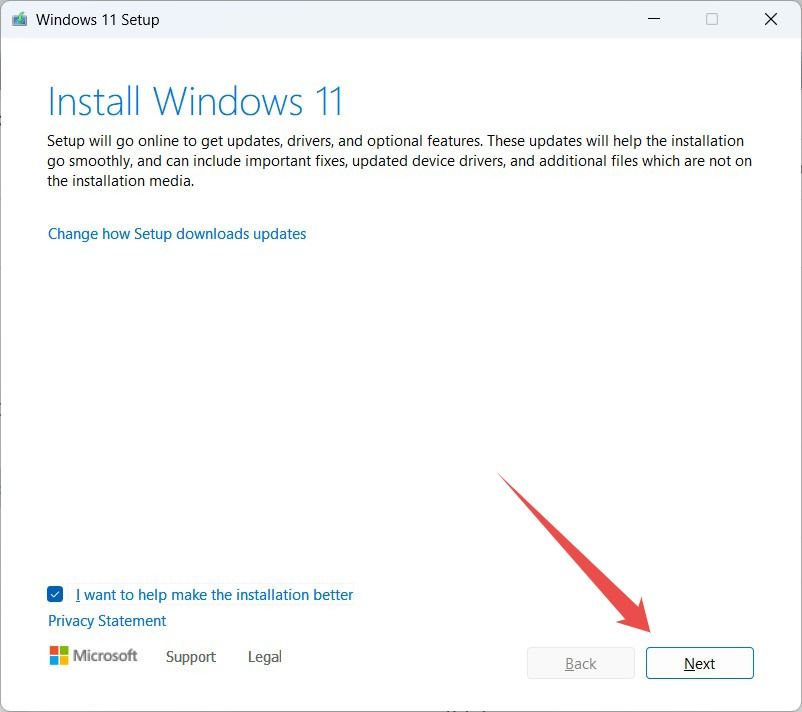
On the “Install Windows 11” screen, click “Change how setup downloads updates”.
Now just follow the prompts to complete the in-place upgrade and hopefully it won’t get stuck again.
Just like that, you have successfully performed an in-place upgrade.
If it persists, consider performing a clean install instead.