We’ll show you how to do that with your PCs built-in apps.
it’s possible for you to use this utility to rotate multiple pictures at once as well.
To rotate an image with File Explorer,launch a File Explorer windowby pressing Windows+E and find your image.
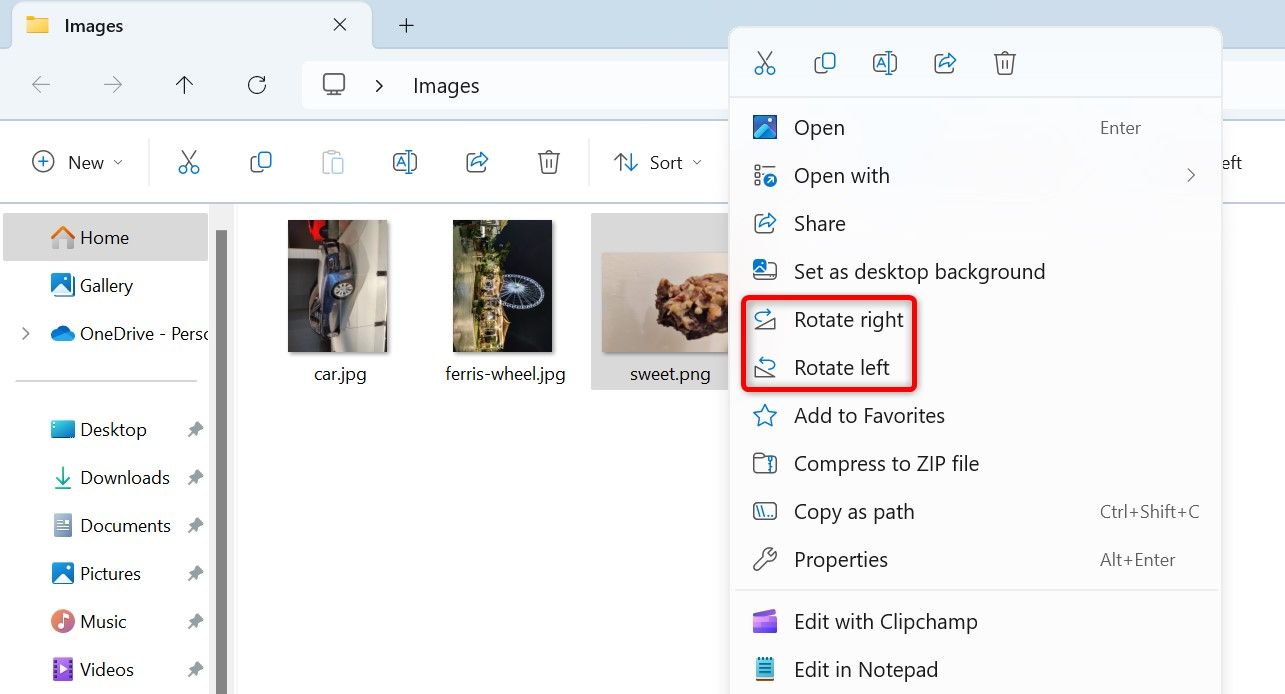
To rotate multiple pictures at once, select all the images to rotate before choosing a rotation option.
If you make a mistake rotating the image, right-opt for image again and choose the opposite rotation option.
This will bring the image back to its default orientation.
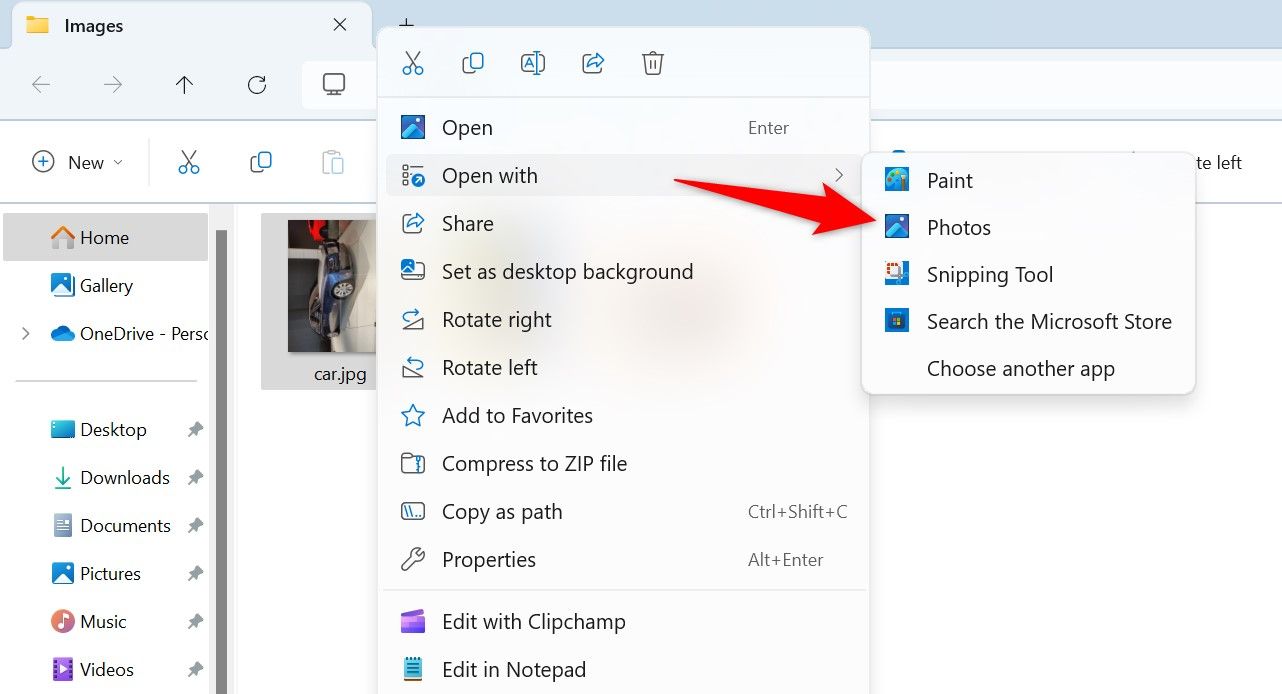
To rotate a photo with the Photos app, open File Explorer and locate your image.
Right-hit the image and select Open With > Photos.
In Photos, from the top toolbar, select Edit Image (the first icon).
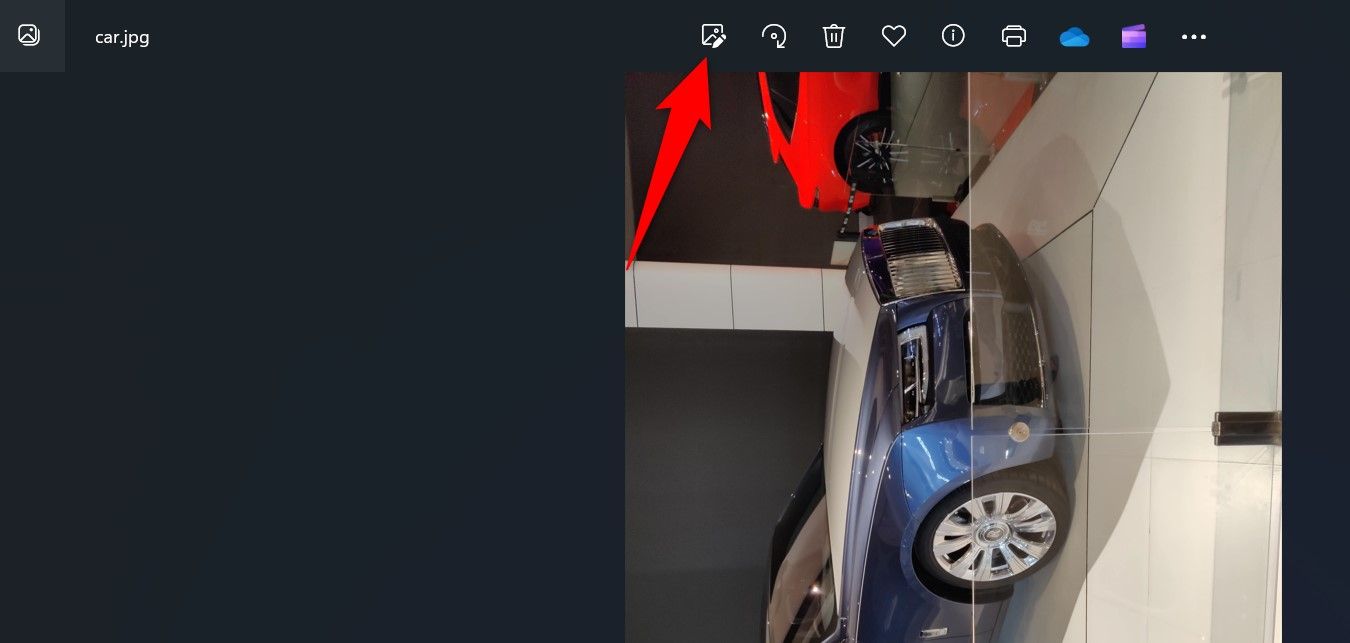
Alternatively, press Ctrl+E.
Youre now ready to edit the image.
To rotate the image 90 degrees counterclockwise, smack the arrow going left.
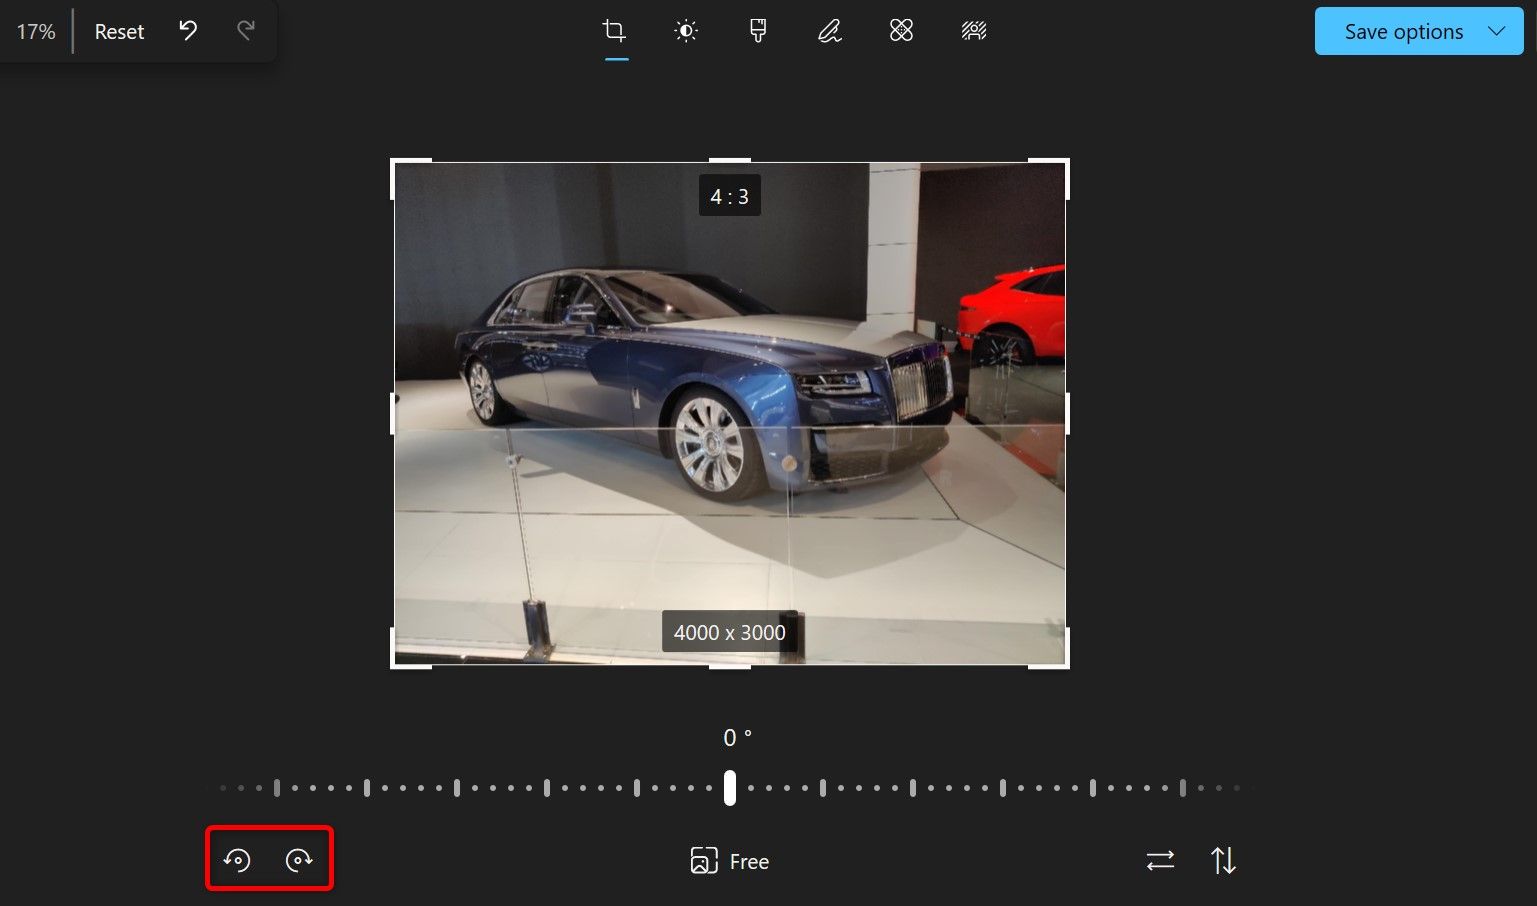
Feel free to smack the rotation option multiple times until the desired result is achieved.
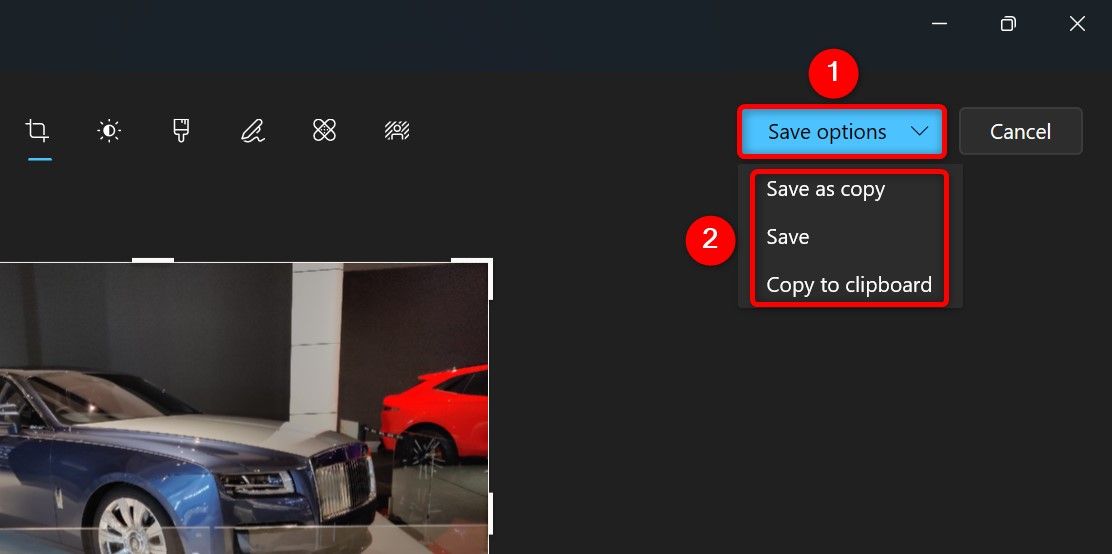
When you want to save the image, in the top-right corner, click “Save Options.”
Then, choose one of three options:
And thats all.
Using the Paint App
Paint allows you to rotate images 90 degrees as well as 180 degrees.
To use it, launch File Explorer and find your image.
Right-nudge the image and select Open With > Paint.
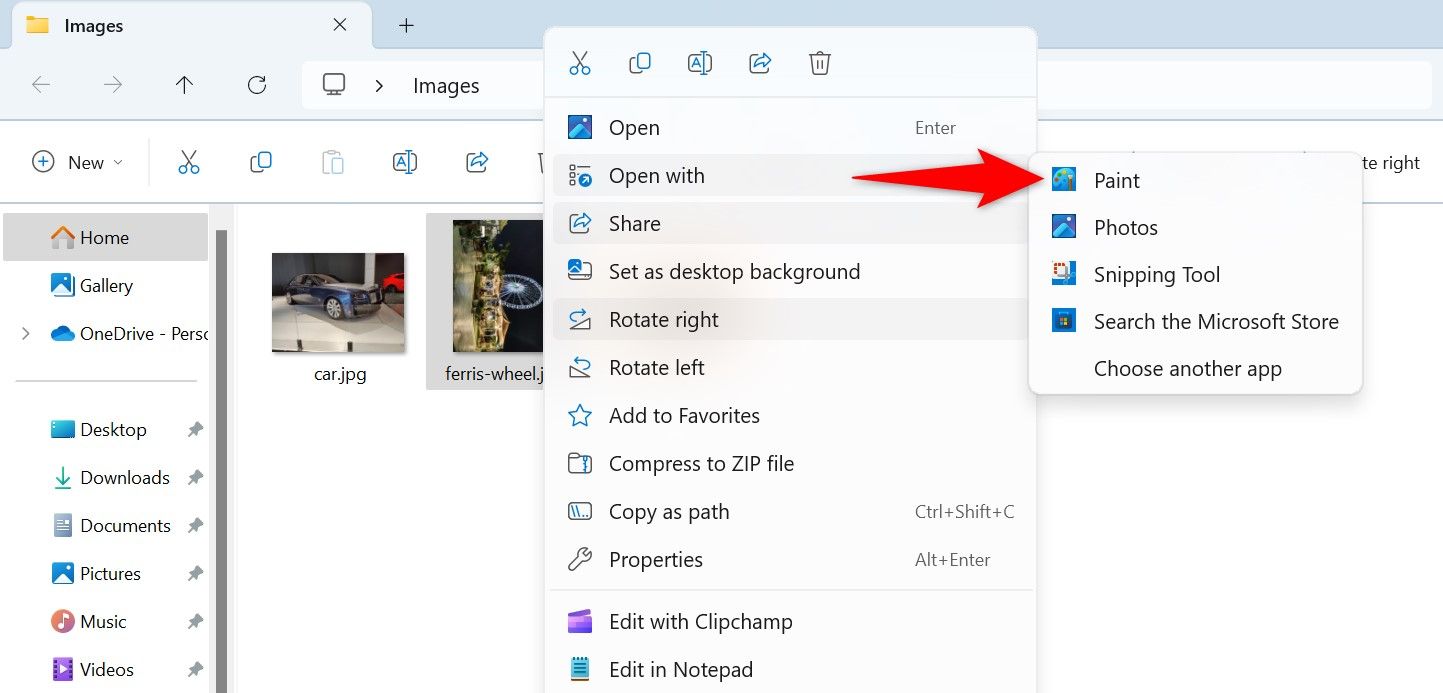
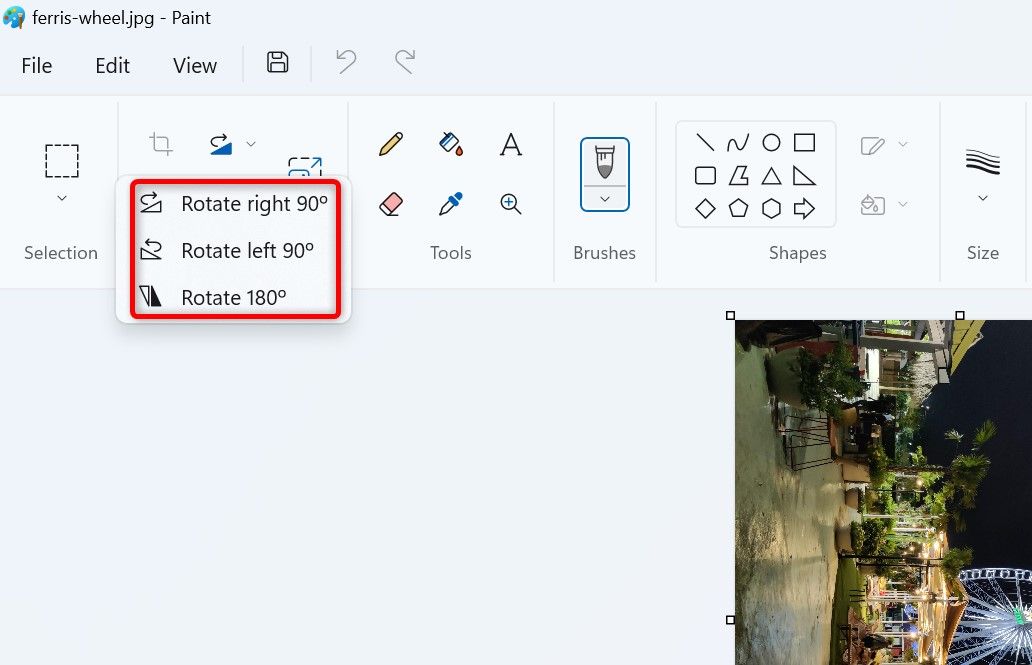
In Paint, from the Image section at the top, select Rotate (a right-arrow icon).
From the displayed options, choose how you want to rotate the image.
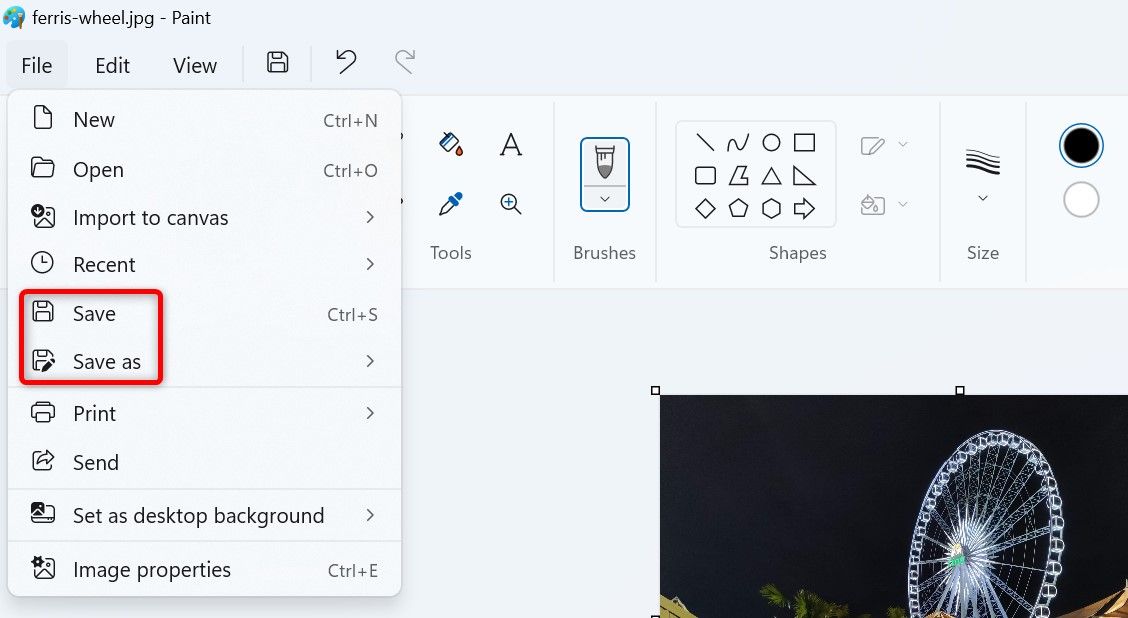
When youve finished rotating the image, save it.

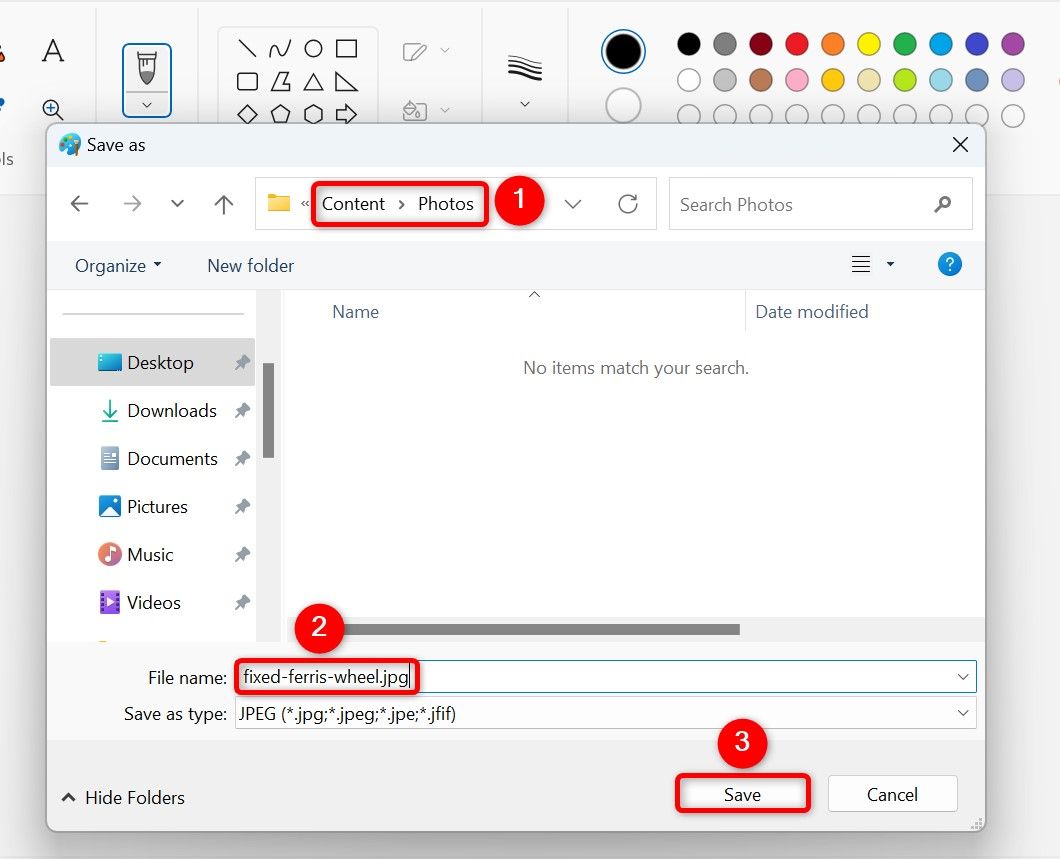
Enter a name for the image in the “File Name” field and click “Save.”
Paint has saved your image.
And thats how you change your photos orientation without using third-party apps on your Windows 11 PC.