Would you like to use Ubuntu Linux programs, but prefer the convenience of Windows 7?
VMware Player makes it easy to install Ubuntu Linux as a virtual machine in only 5 clicks.
It then offers easy access to Ubuntu programs straight from your desktop with Unity mode.

Heres how you’re able to set this up on your setup.
Getting Started
First, download and install VMware Player (link below).
It is a free download, but requires registration.
![sshot-2010-02-16-[19-14-34]](https://static1.howtogeekimages.com/wordpress/wp-content/uploads/2010/02/sshot20100216191434.png)
You may see some prompts about installing drivers; simply approve them.
We didnt see them on our latest test, but have in the past.
When you are finished installing VMware Player, you will have to start your gear.
Install Ubuntu
once you nail installed VMware Player and downloaded Ubuntu, youre ready to setup Ubuntu.
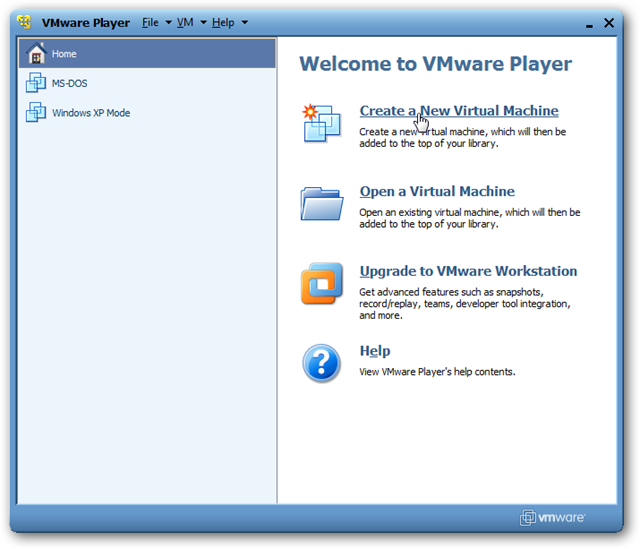
Open VMware Player, and choose Create a New Virtual Machine.
This is the simplest method if youre simply wanting to use Ubuntu in VMware Player.
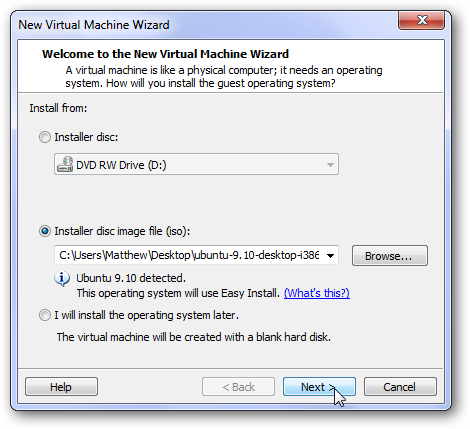
However, if you do have an Ubuntu disk, then feel free to choose that instead.
Click next to continue.
Now slide in your name, user name, and password.
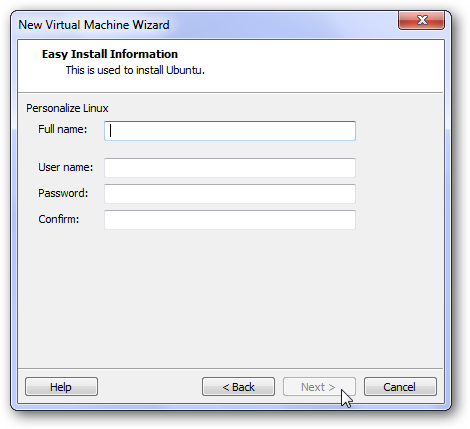
All fields are required.
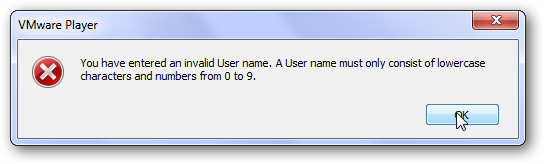
kindly note that the username can only have lowercase characters and numbers.
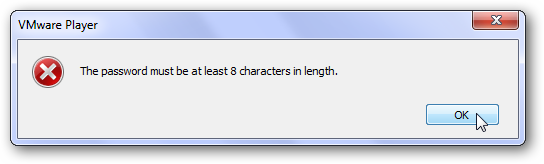
Also, the password must be at least 8 characters long.
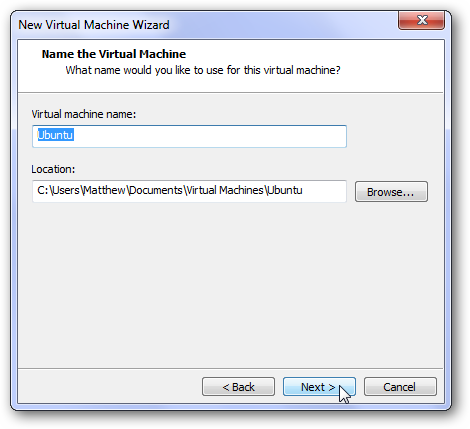
Now, choose a name for your virtual machine and where to save it.
Simply click next to accept the defaults.
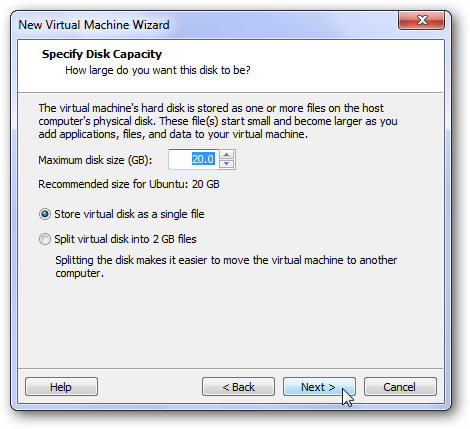
yo note that the entire 20Gb will not be used up on your hard drive initially.
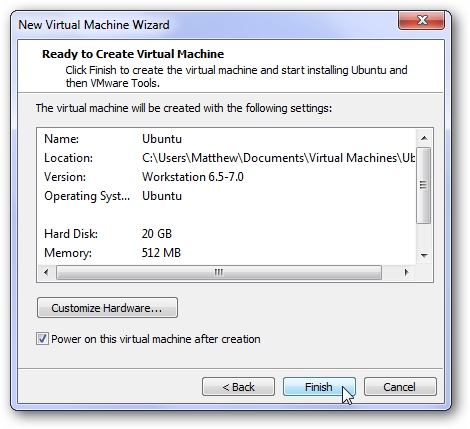
VMware player will now install Ubuntu without any further input.
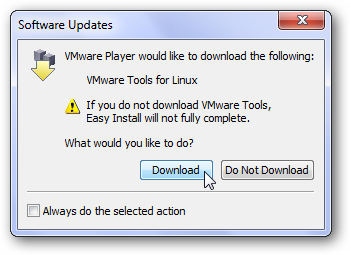
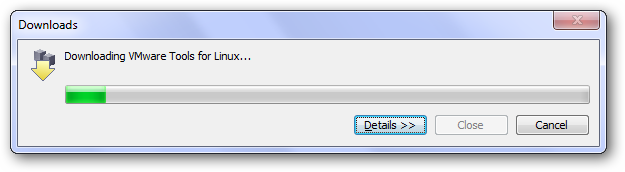
During the install, you may be prompted to download and install VMware tools for Linux.
VMware will continue installing Ubuntu even while the tools are downloading.
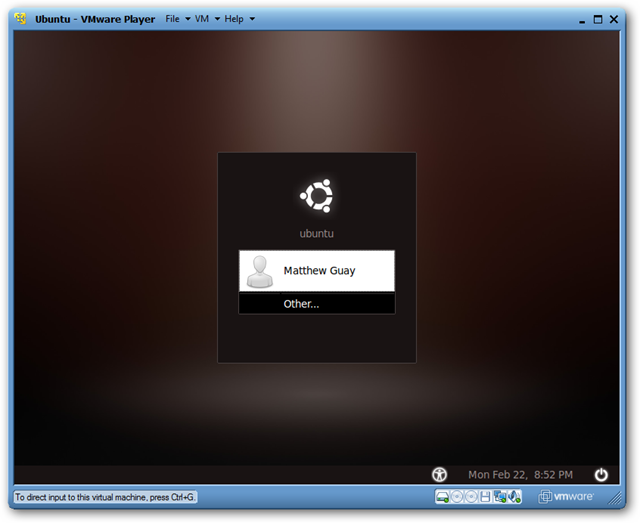
Once the install is finished, you will be presented with your Ubuntu login screen.
The full install took about 30 minutes in our test.
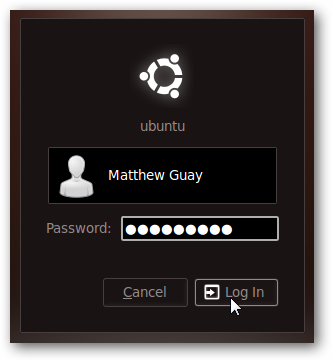
Select your user name, then type your password to access Ubuntu.
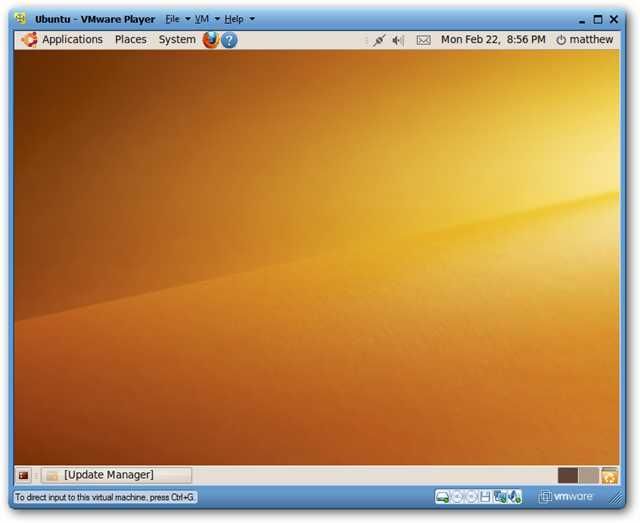
Welcome to your Ubuntu desktop!
In our test, the tools failed to install during the Ubuntu setup since our internet connection was down.
In your tests, it may or may not automatically install.
If it doesnt, follow the following steps to install them.
just note that this is fairly complicated, so be sure to enter the correct things during the install.
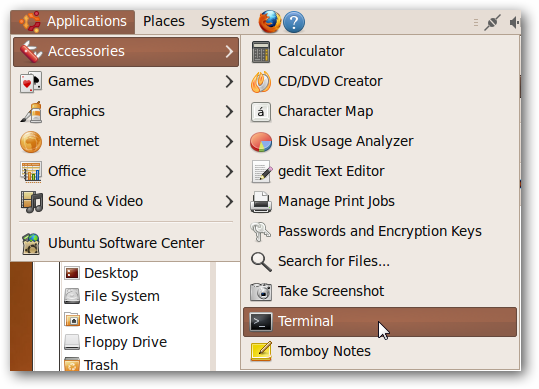
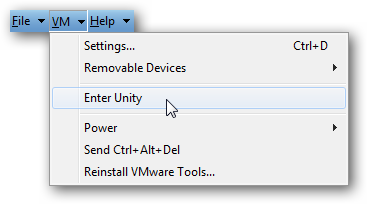
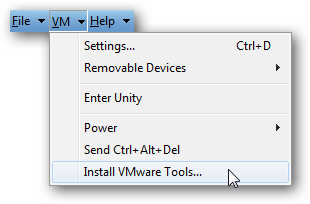
To load the tools, click VM and then select Install VMware Tools in the menu.

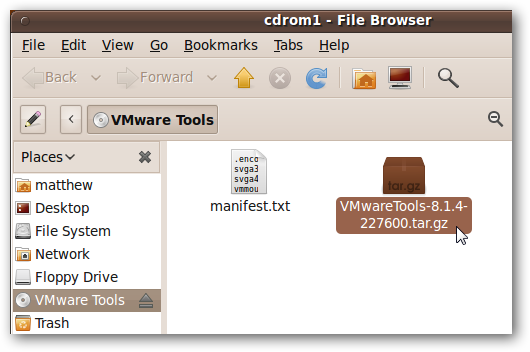
This will open a File web client window.
Double choose the VMwareTools icon; this should look like a box that says tar.gz on the front.
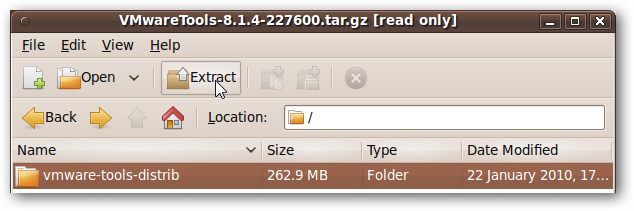
This will launch the compressed file.
grab the Extract button at the top of the window.
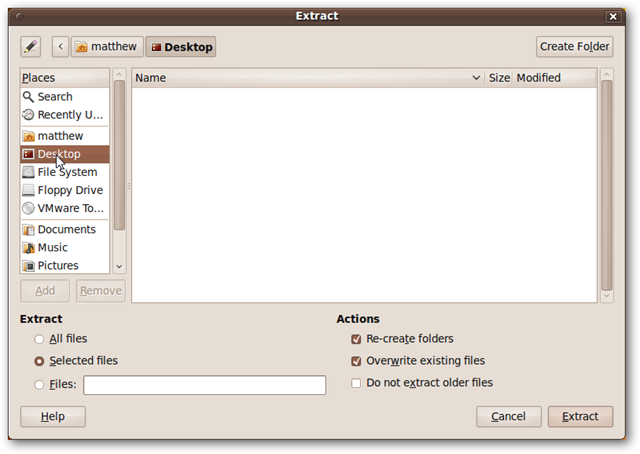
Now, choose where to save the files.
Simply click Desktop on the left, and then click Extract.
This will take a moment.
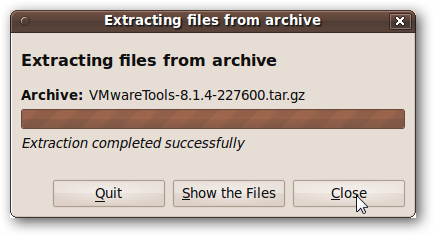
When the files are extracted, click Close.
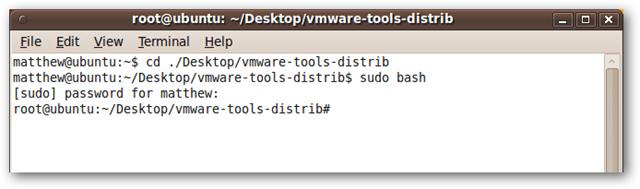
Now we can load the VMware tools.
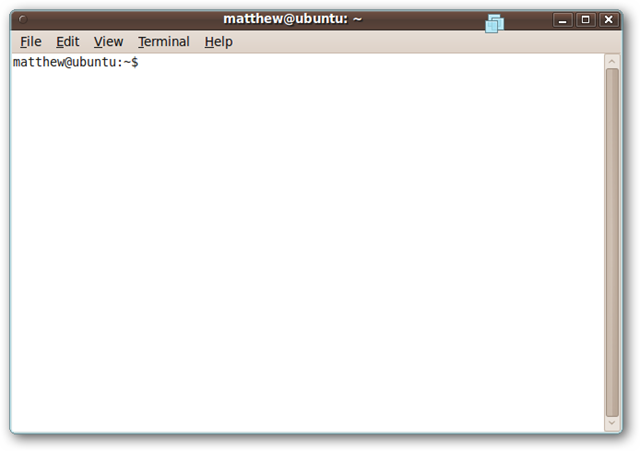
To do this, enter:
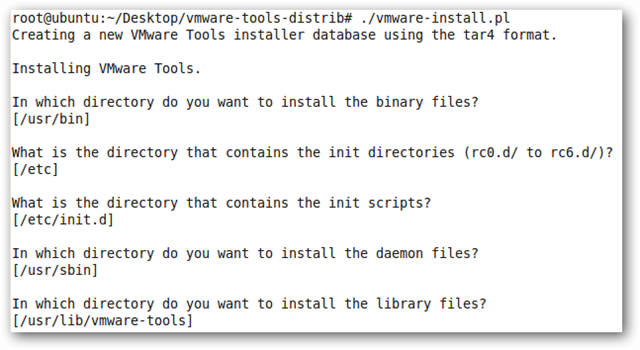
./vmware-install.pl
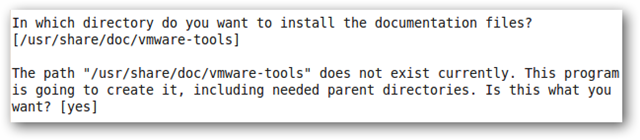
and then simply press enter at the prompts to accept the defaults.
It should ask a total of 5 questions, and just press enter at all of them.
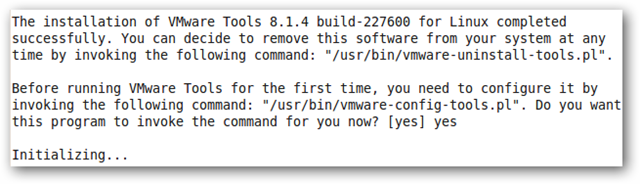
The installation is now complete.
It may ask to enable an experimental backup feature; we simply entered no at this prompt.
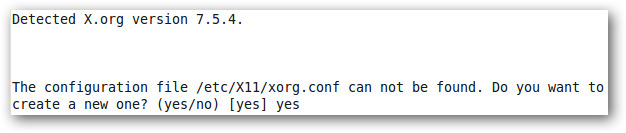
Then, it will want to setup the graphics configurations.
Enter yes at the prompt.
Your screen may flicker or go black momentarily while it is changing these options.
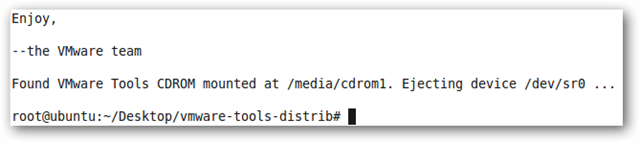
Finally, you will see the following message when the install is complete.
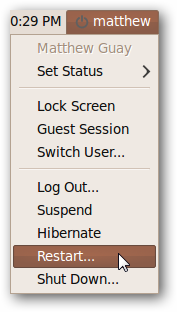
Once your virtual machine has rebooted, login to Ubuntu as before and your setup is complete!
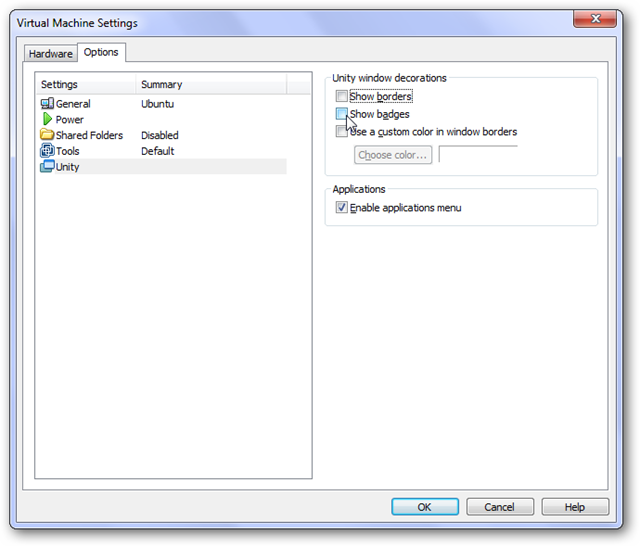
Click VM and then Unity Mode in the VMware Player Menu.
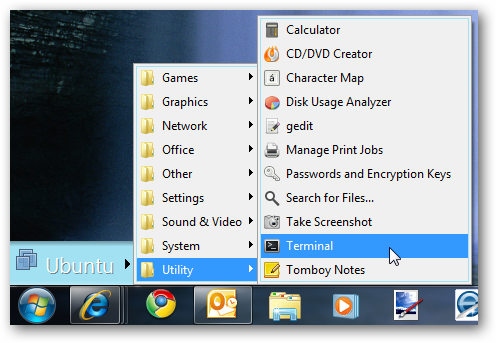
Now, you will have an Ubuntu menu right above your Windows 7 Start button!
By default, the Ubuntu windows will have a border and VMware logo on them.
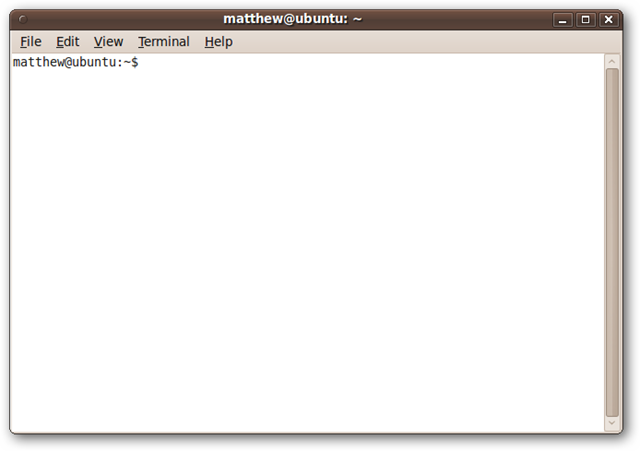
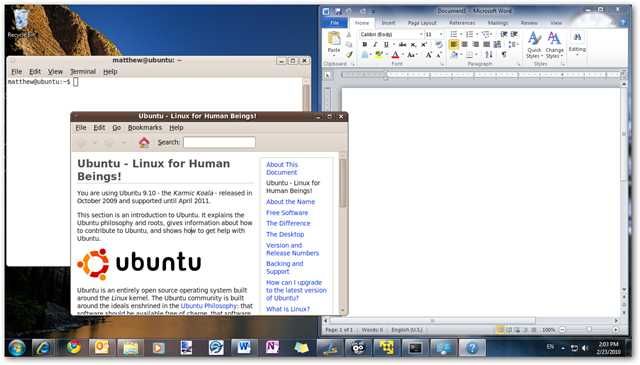
Now the windows will look just like they do in Ubuntu.
The Ubuntu programs icons show up in the taskbar the same as normal Windows programs.
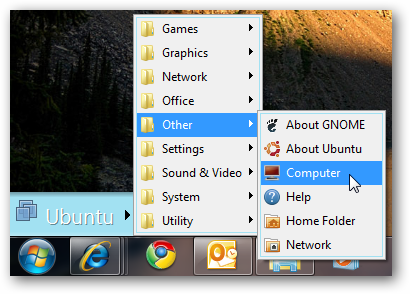
you’re free to access all of the files in your Ubuntu virtual machine from the Ubuntu menu.
Select Other, and then choose Computer or Home Folder.
Conclusion
VMware Player gives us an exciting way to have a complete Ubuntu install right inside Windows 7.
In this tutorial we used Ubuntu 9.10, but other recent editions should work the same.
Links
Download Ubuntu
Download VMware Player 3