Can You Run Windows on an M-Series Mac?
Mainstream Intel and AMD processors use a different processor architecture, called x86.
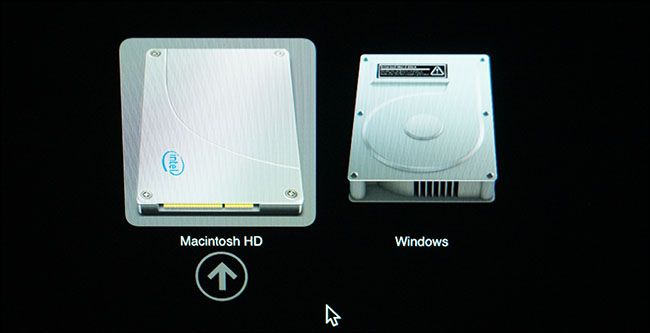
Before 2020, Apple used the same Intel processors which meant their machines were natively compatible with Windows.
Justin Duino / How-To Geek
If you have anolder Mac with an Intel processoryou can still install Windows natively.
It’s not possible to install this natively, but that’s not necessarily a big deal anymore.
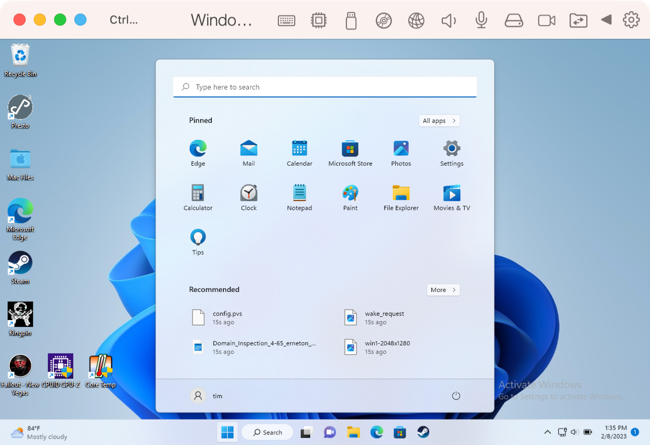
By installing Windows within macOS, you don’t need to reboot each time you want to use Windows.
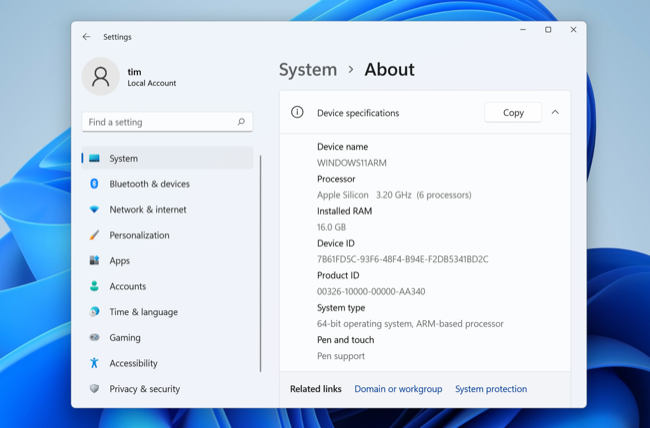
Virtualization is the most reliable way of using Windows 11 on your Mac.
If you want to run Windows 11 on a Mac, using a VM is your safest bet.
Windows is smooth and responsive.
DirectX 12 titles are not yet supported.
Alternatively, run your VM in full-screen mode andswitch between spaceswhenever you should probably use it.
Running your VM in a window is also possible, but it’s probably the least appealing option.
Running Windows in a VM means that you won’t need to sacrifice disk space up front.
you’re free to always remove applications or delete files within Windows torecover space.
With an app like Parallels Desktop, it’s easy to forget Windows is running at all.
Check outour Parallels Desktop reviewfor more details.
Parallels is a premium utility, starting at $99 for the most basic version.
If you want full Windows functionality, you’ll also need to purchase aWindows license.

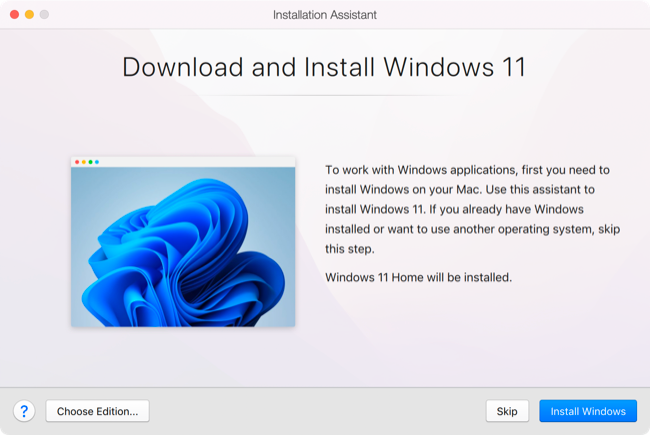
On the plus side,VMware Fusion Playeris free for personal use.
Install it and enter the key you received in your VMware Customer Connect account to register the system.
First, you’ll need to download theWindows 11 on ARM Insider Preview .VHDX from Microsoft.
Next you’ll need to convert it to .VMDK using qemu, a free app that’s available viaHomebrew.
There’s a detailed andhelpful tutorial from Andrew Tsaion YouTube for getting this working.
UTMis another free VM program that you might use to install Windows 11 on your Mac.
Running Windows in a VM means that you have to share resources with macOS.
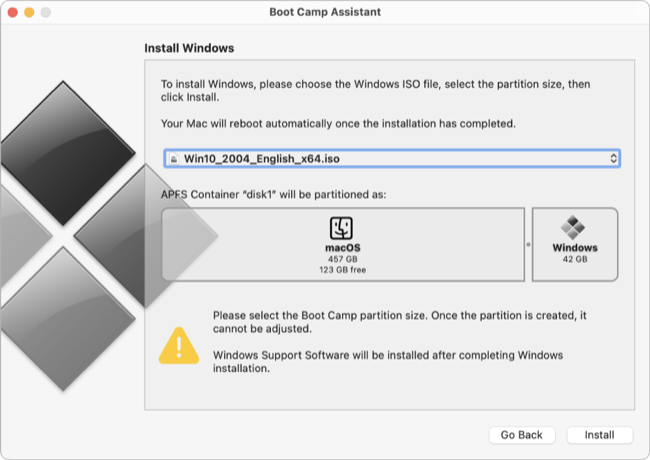
You’ll also need at least 64GB of free space, with 128GB recommended.
You shouldback up your Mac with Time Machinebefore you proceed.
To get started, launch Boot Camp Assistant from the Applications > Utilities folder and follow the on-screen instructions.
Boot Camp Assistant will then download the necessary drivers and begin the installation process.
At some point, your Mac will restart and you’ll see a standard Windows installer.
you’re free to then snag the “BOOTCAMP” partition and let Windows install.
With drivers installed, your Mac should function like any other PC.
