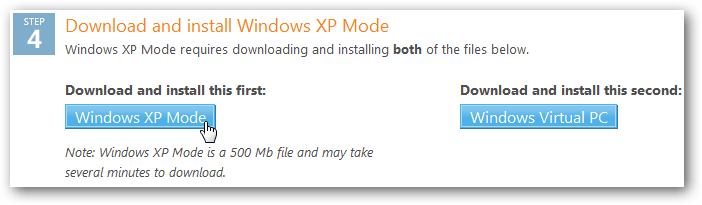
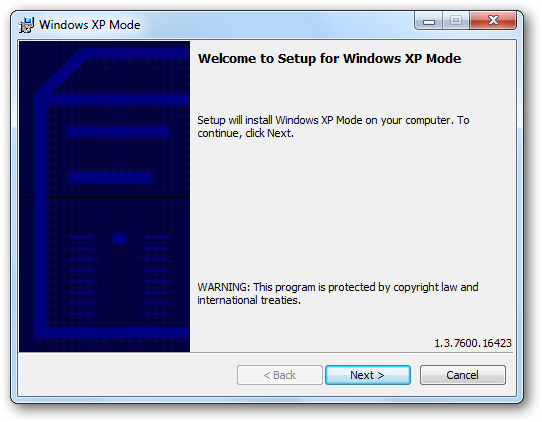
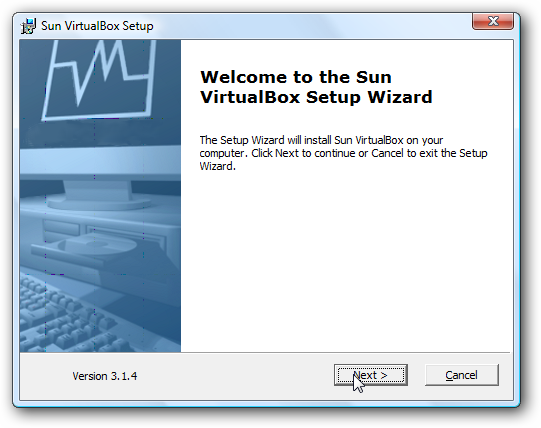
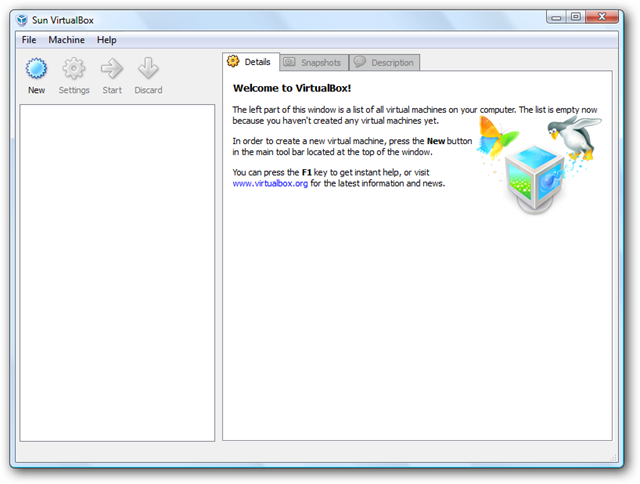
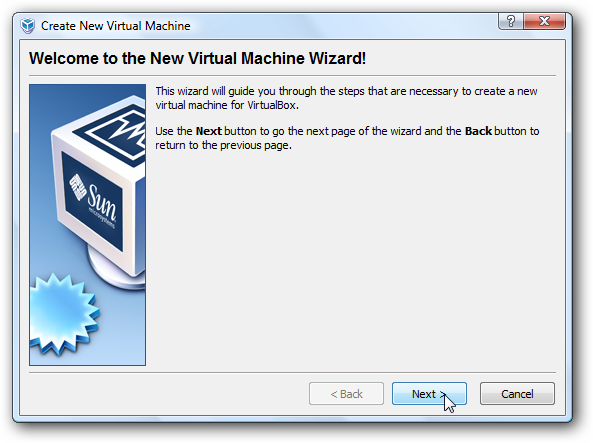
Now, download and install VirtualBox 3.1.2 or higher(link below).
Install as normal, and simply follow the default prompts.
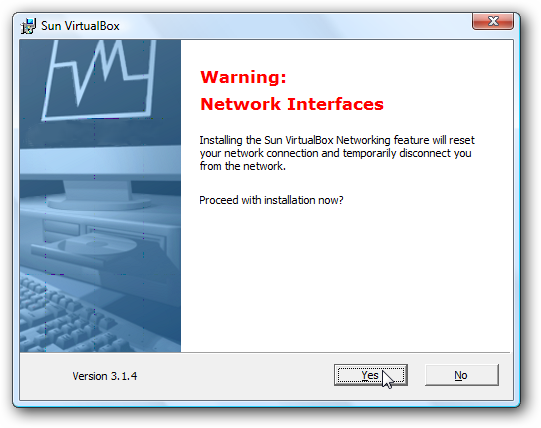
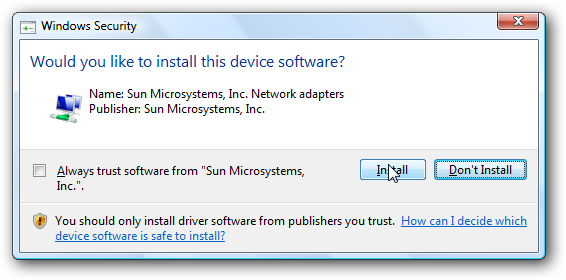
VirtualBox may notify you that your connection connection will be reset during the installation.
Press Yes to continue.
Simply click install, as these are needed for VirtualBox to run correctly.
Setup only took a couple minutes, and doesn’t require a reboot.
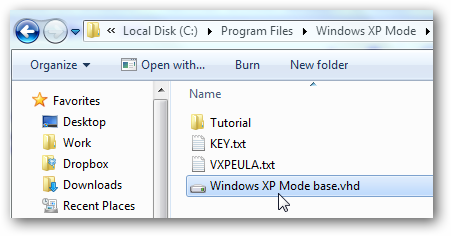
Browse to C:\Program Files\Windows XP Mode, and copy the file “Windows XP Mode base.vhd”.
Paste it in another folder of your choice, such as your Documents folder.
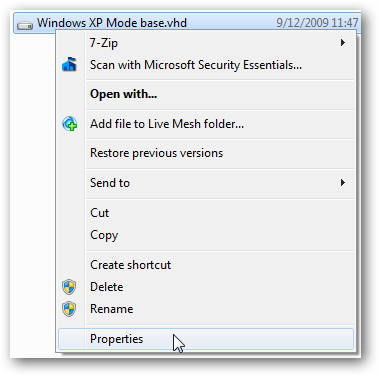
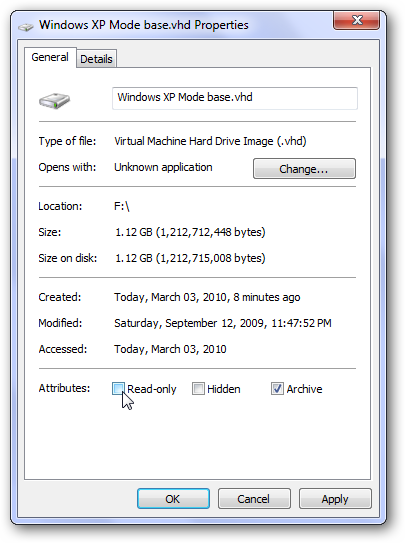
Once you’ve copied the file, right-press it and click Properties.
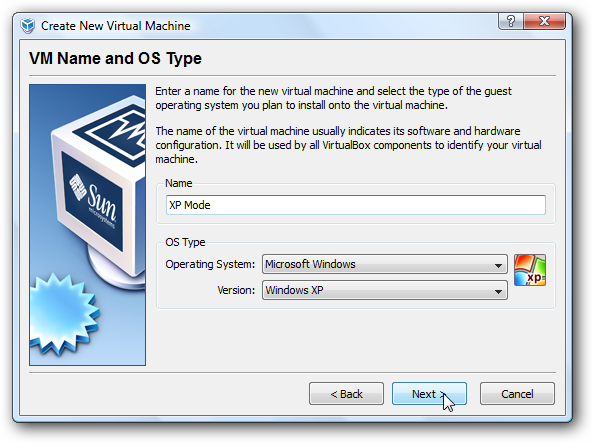
Enter the name of your virtual machine, and ensure the operating system selected is Windows XP.
Choose how much memory you want to allow the virtual machine to use.
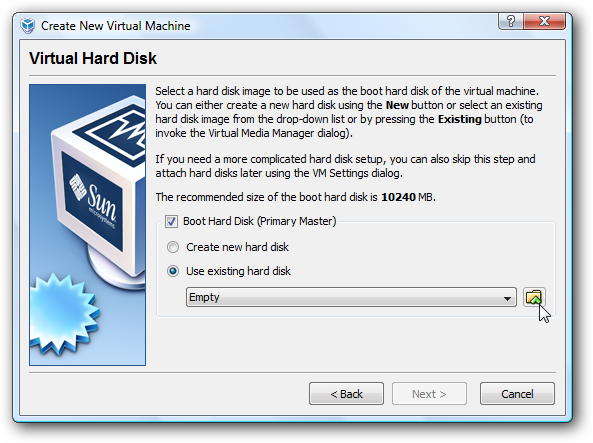
Now, go for the hard drive for the virtual machine.
check that the correct virtual drive is selected, then press Select.
After selecting the VHD your screen should look like the following then click Next.
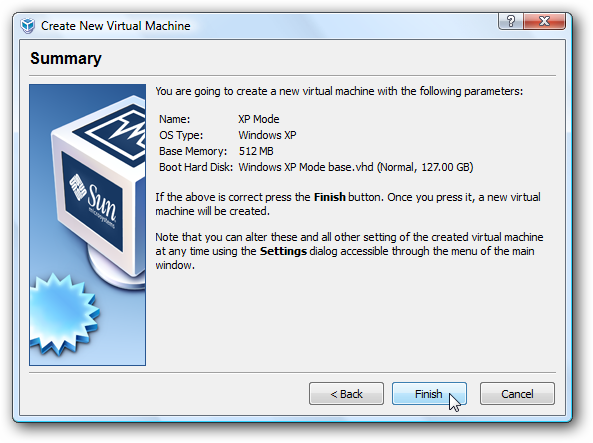
Verify the controls you made are correct.
If not, it’s possible for you to go back and make any changes.
When everything looks correct click Finish.
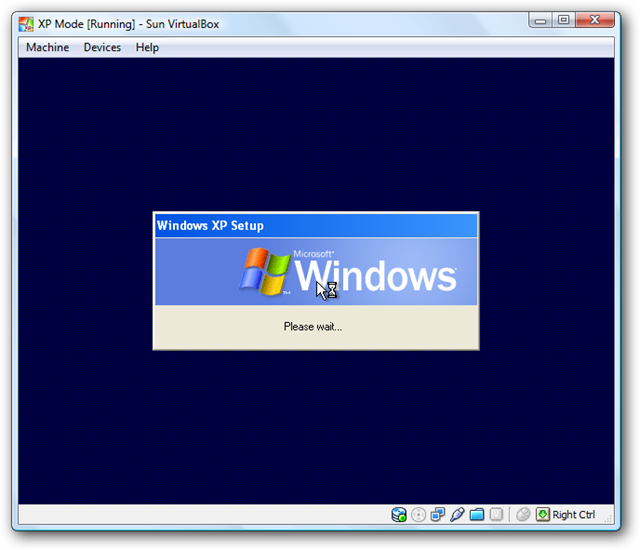
Setup XP ModeNow, in VirtualBox, click start to run XP Mode.
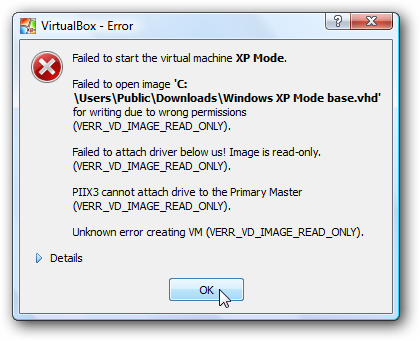
If you see it, go back and check the file to makes sure it is not read-only.
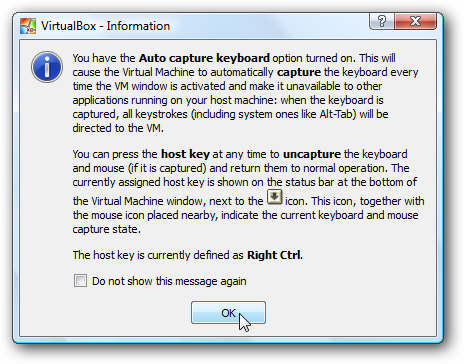
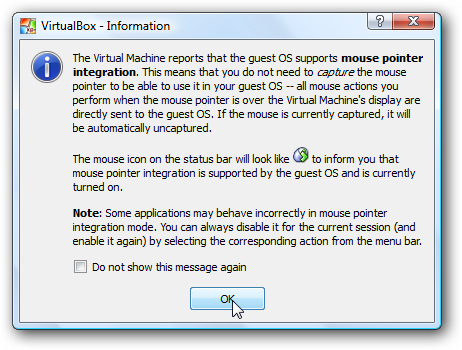
When you click in the virtual machine, it will capture your mouse by default.
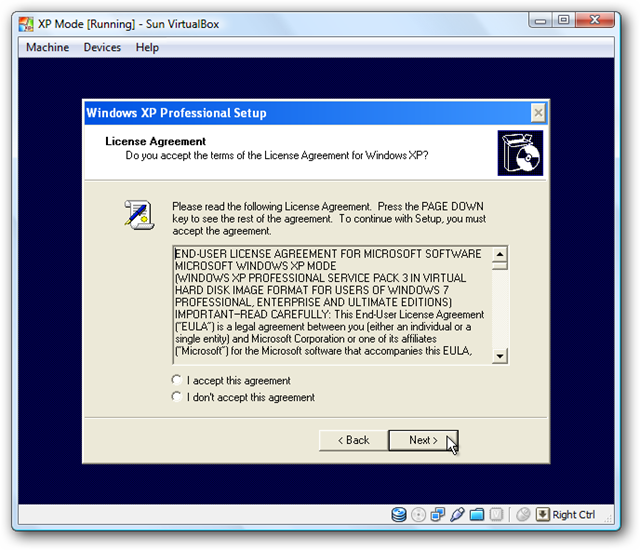
Now, accept the license agreement in XP.
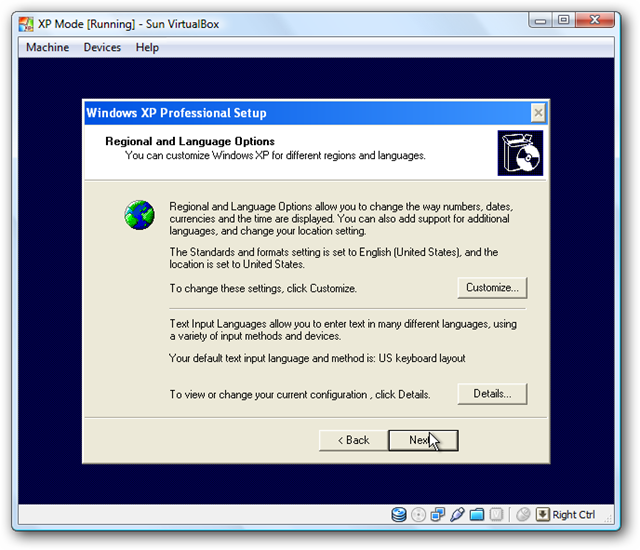
Choose your correct locale and keyboard prefs.
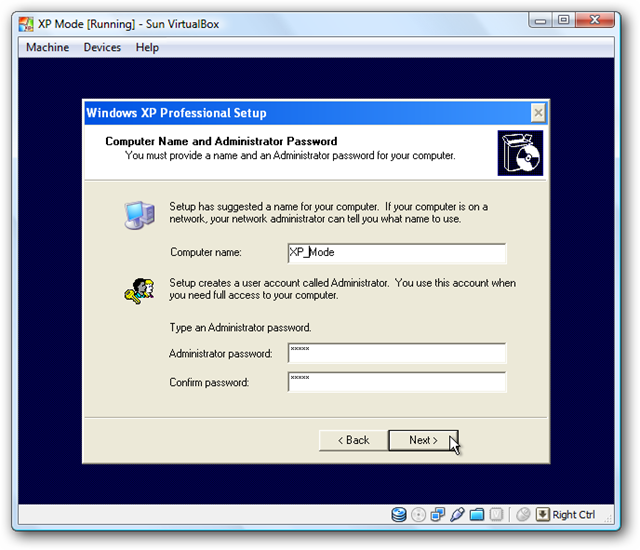
Enter a name for your virtual XP, and an administrative password.
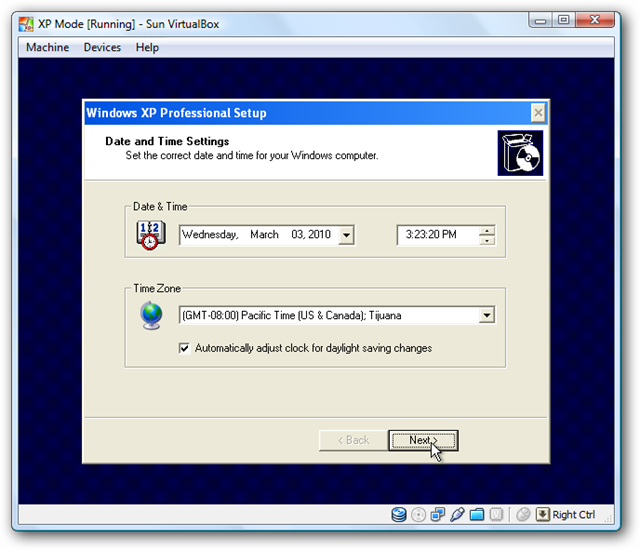
Check the date, time, and time zone controls, and adjust them if they are incorrect.
The time and date are usually correct, but the time zone often has to be corrected.
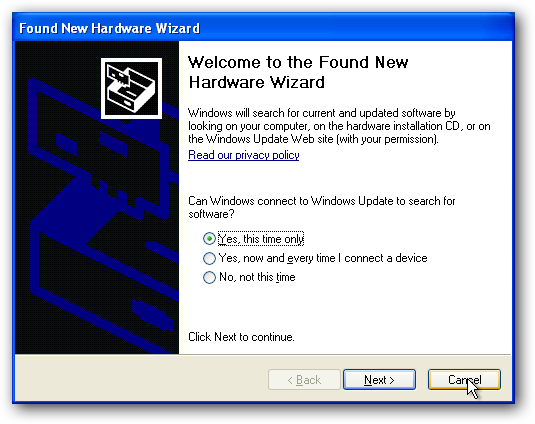
XP will now automatically finish setting up your virtual machine, and then will automatically reboot.
After rebooting, select your automatic update parameters.
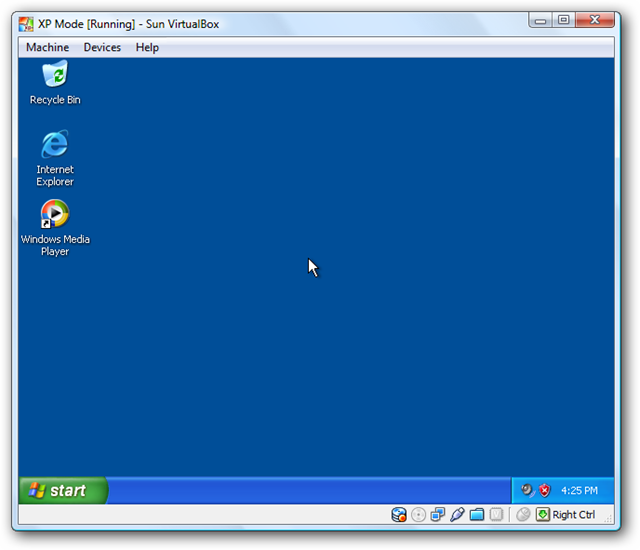
Your last controls will be finalized, and finally you will see your XP desktop in VirtualBox.
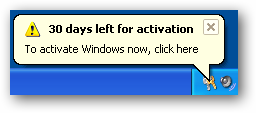
like note that XP Mode may not remain activated after importing it into VirtualBox.
When you activate it, use the key that is located at C:\Program Files\Windows XP Mode\key.txt.
Note: During our tests we weren’t able to get the activation to go through.
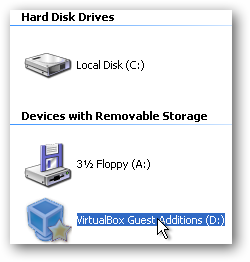
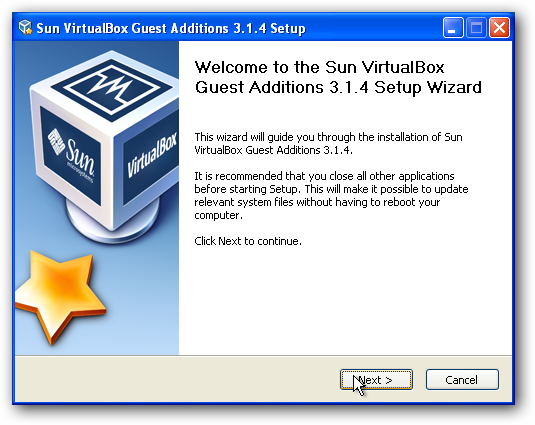
Now we have one final thing to install – the VirtualBox Guest Additions.
In the VirtualBox window, click “Devices” and then select “Install Guest Additions”.
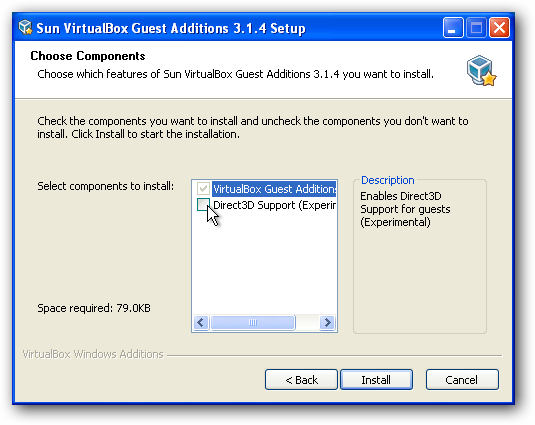
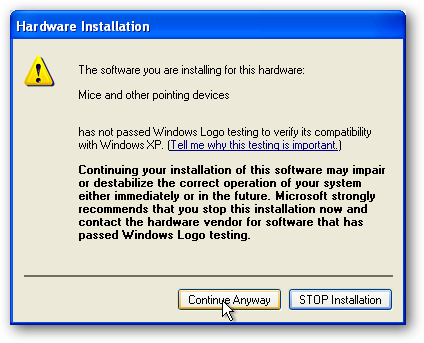
Simply install with the normal presets.
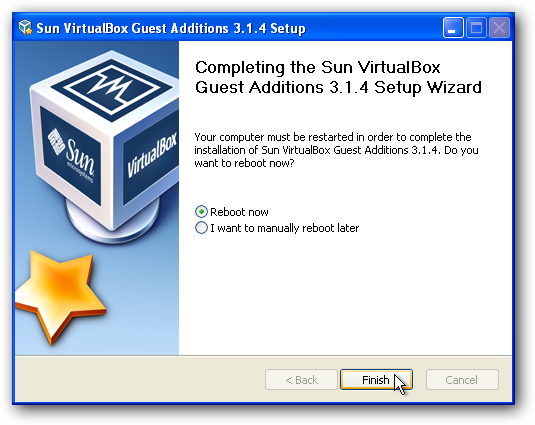
When installation has completed, you will be required to reboot your virtual machine.
In the VirtualBox window, click Machine and then select “Seamless Mode”.

Here we see XP running on Virtual Box in Seamless Mode.
We have the old XP WordPad sitting next to the new Windows 7 version of WordPad.
Another view of everything running seamlessly together on the same Windows 7 desktop.
Hover the pointer over the XP taskbar to pull up the Virtual Box menu items.
you could exit out of Seamless Mode from the VirtualBox menu or using “Ctrl+L”.
Then you go back to having it run separately on your desktop again.
![sshot-2010-03-03-[21-47-55]](https://static1.howtogeekimages.com/wordpress/wp-content/uploads/2010/03/sshot20100303214755.png)
![sshot-2010-03-03-[21-50-30]](https://static1.howtogeekimages.com/wordpress/wp-content/uploads/2010/03/sshot20100303215030.png)
![sshot-2010-03-03-[21-51-40]](https://static1.howtogeekimages.com/wordpress/wp-content/uploads/2010/03/sshot20100303215140.png)
![sshot-2010-03-03-[21-55-03]](https://static1.howtogeekimages.com/wordpress/wp-content/uploads/2010/03/sshot20100303215503.png)
![sshot-2010-03-03-[21-56-52]](https://static1.howtogeekimages.com/wordpress/wp-content/uploads/2010/03/sshot20100303215652.png)
![sshot-2010-03-03-[22-13-05]](https://static1.howtogeekimages.com/wordpress/wp-content/uploads/2010/03/sshot20100303221305.png)

![sshot-2010-03-03-[22-19-41]](https://static1.howtogeekimages.com/wordpress/wp-content/uploads/2010/03/sshot20100303221941.png)
![sshot-2010-03-03-[22-30-13]](https://static1.howtogeekimages.com/wordpress/wp-content/uploads/2010/03/sshot20100303223013.png)
![sshot-2010-03-03-[22-51-33]](https://static1.howtogeekimages.com/wordpress/wp-content/uploads/2010/03/sshot20100303225133.png)
![sshot-2010-03-03-[22-49-10]](https://static1.howtogeekimages.com/wordpress/wp-content/uploads/2010/03/sshot20100303224910.png)
![sshot-2010-03-03-[22-47-22]](https://static1.howtogeekimages.com/wordpress/wp-content/uploads/2010/03/sshot20100303224722.png)
![sshot-2010-03-03-[22-56-54]](https://static1.howtogeekimages.com/wordpress/wp-content/uploads/2010/03/sshot20100303225654.png)
![sshot-2010-03-03-[22-57-38]](https://static1.howtogeekimages.com/wordpress/wp-content/uploads/2010/03/sshot20100303225738.png)
![sshot-2010-03-03-[22-58-10]](https://static1.howtogeekimages.com/wordpress/wp-content/uploads/2010/03/sshot20100303225810.png)
![sshot-2010-03-03-[22-58-46]](https://static1.howtogeekimages.com/wordpress/wp-content/uploads/2010/03/sshot20100303225846.png)
