Quick Links
Over the years, Windows has gotten much better about how it handles networked printers.
Here’s how it all works.
Setting up a printer on your internet involves two steps.
We’re about to go over all of this.
Update: Microsoftremoved the HomeGroup feature from Windows 10 in the April 2018 update.
As we mentioned above, you have three options here.
Connect Your Printer Directly to the connection
Most printers these days have networking built in.
Some come equipped with Wi-Fi, some with Ethernet, and many have both options available.
Some printers even have a dedicated easy connect button that can set up the Wi-Fi for you.
If that PC can print to the printer, then you’re good to go.
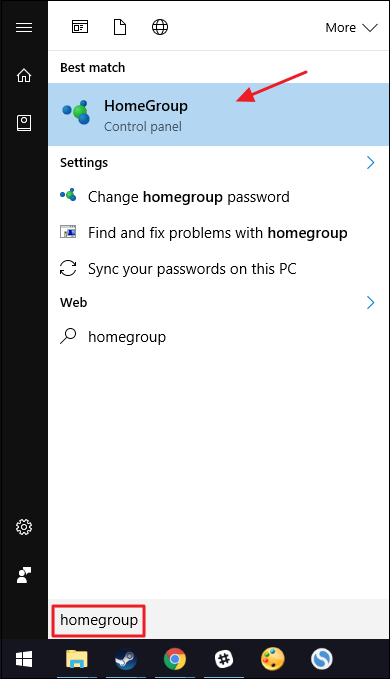
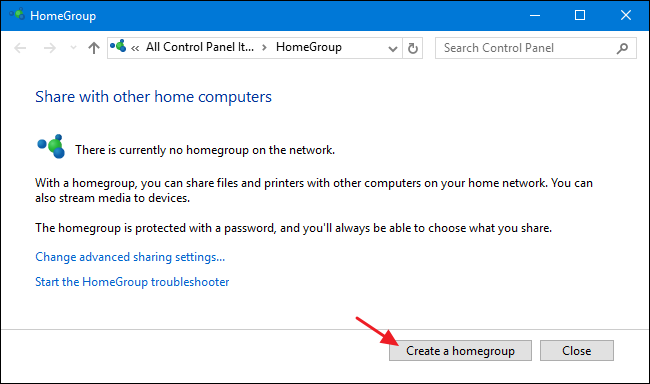
Start by firing up the Homegroup control panel app.
Click Start, throw in “homegroup,” and then nudge the selection or hit Enter.
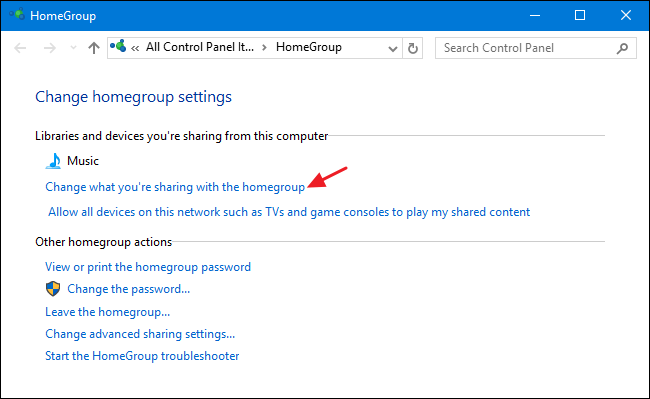
What you do next depends on what you see in the Homegroup window.
If it shows that you’re already sharing printers, then you’re done.
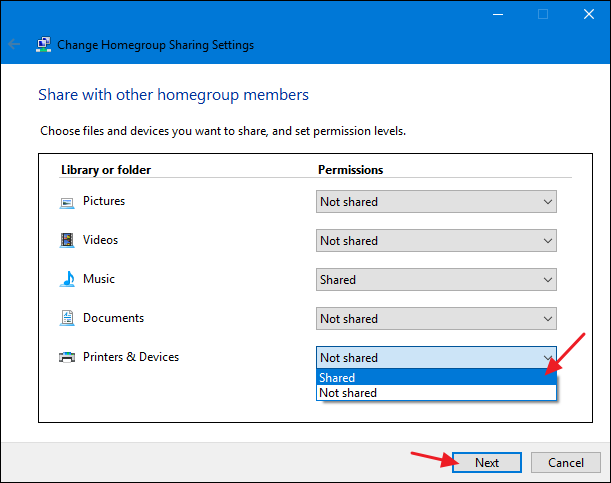
On the “Printers & Devices” drop-down menu, choose the “Shared” option.
Click Next and then you’re able to end the Homegroup options and move on to step two.
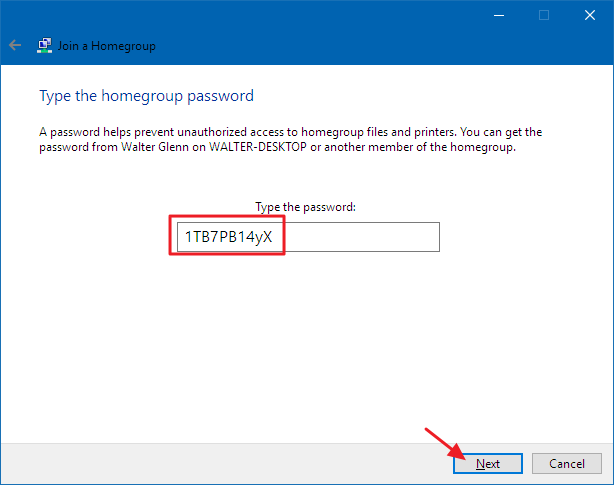
pop in the password for the Homegroup and then click “Next.”
Instead, Windows will authorize you automatically.
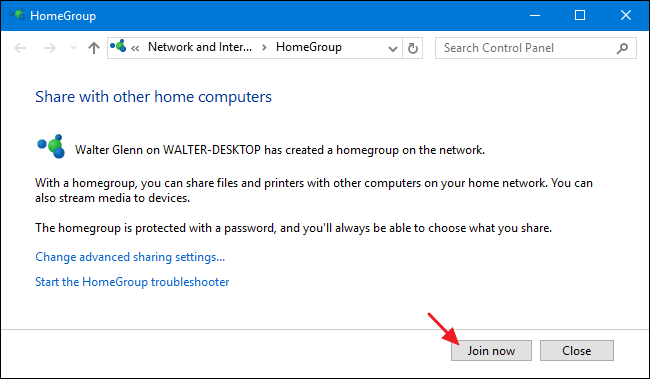
To create a new homegroup, grab the “Create a homegroup” button.
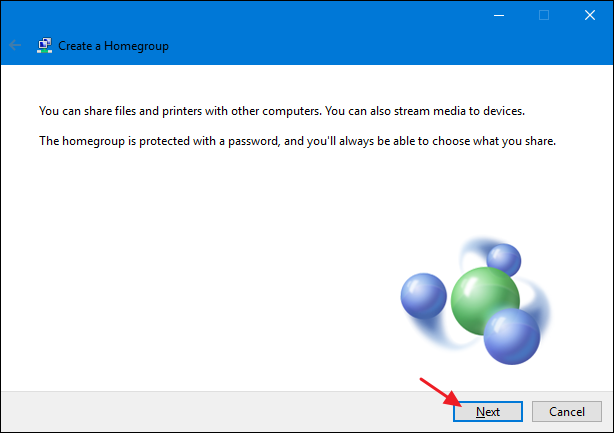
The following screen just tells you a little about Homegroups.
Go ahead and click “Next.”
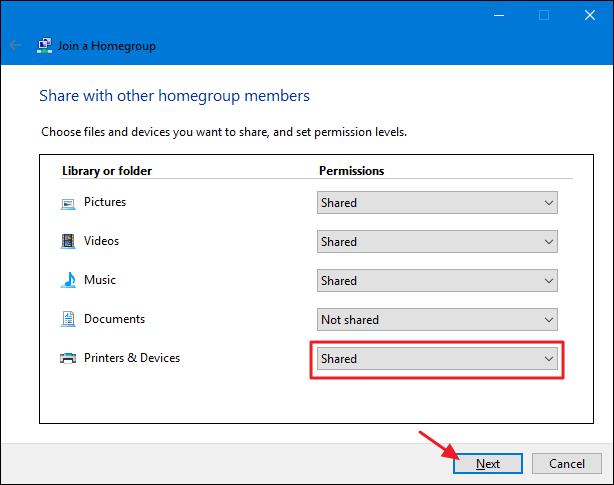
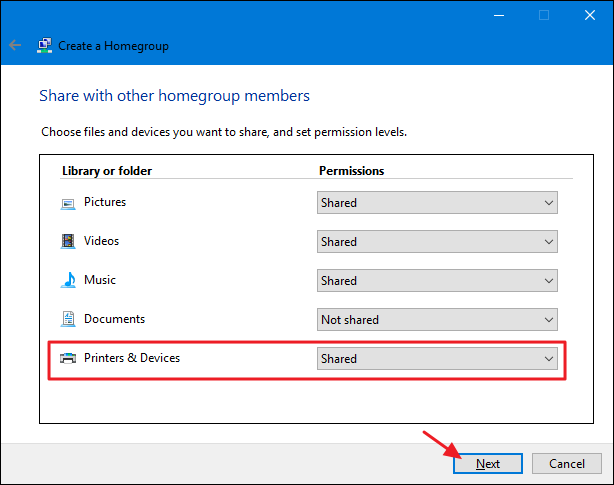
Choose whatever libraries and folders you want to share with the online grid from the PC you’re on.
Just verify that you snag the “Shared” option for “Printers & Devices.”
Click “Next” when you’re done making your selections.
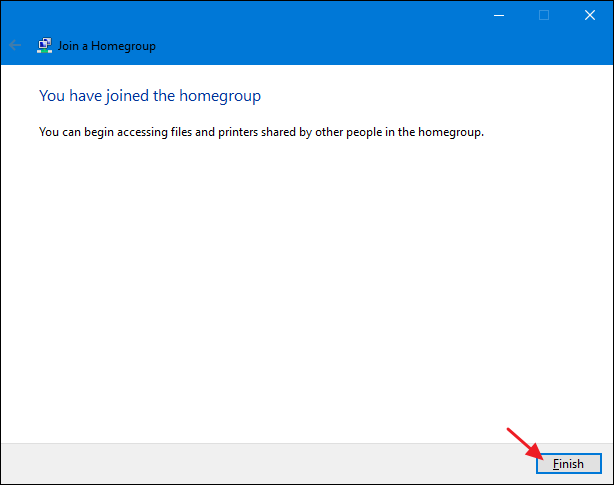
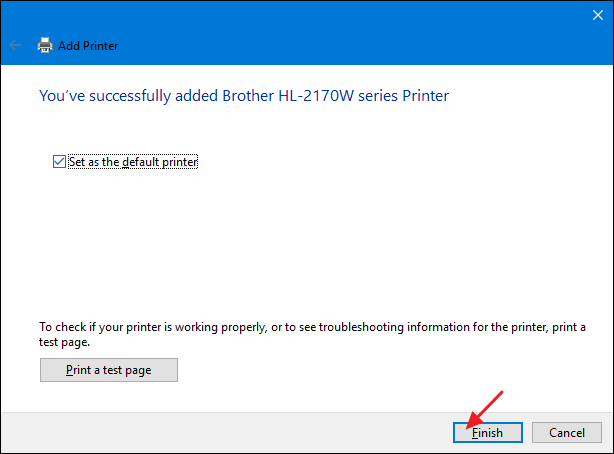
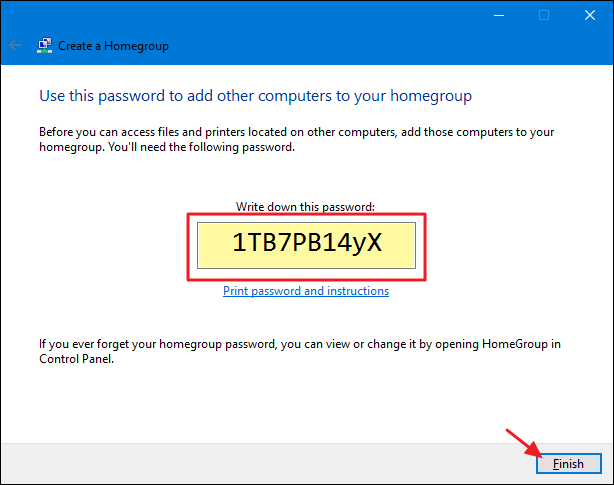
Write it down and then hit the “Finish” button.
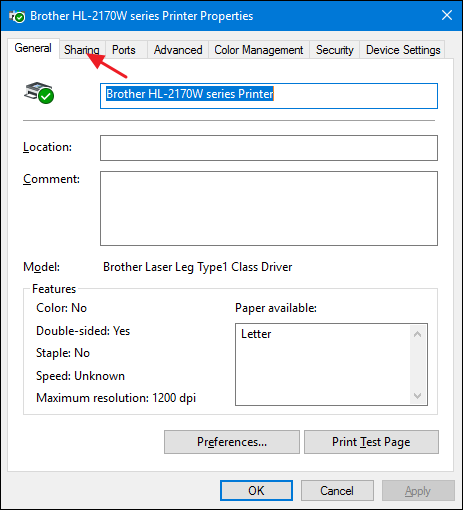
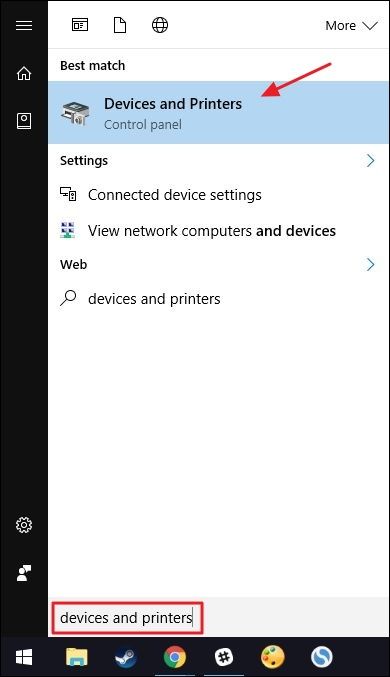
Click Start, throw in “devices and printers,” and then hit Enter or grab the result.
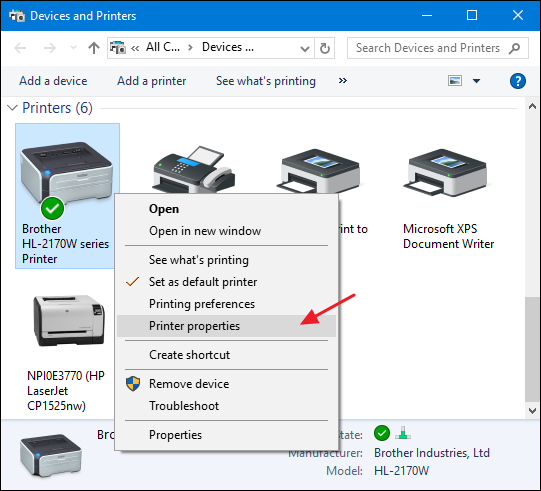
Right-hit the printer you want to share with the data pipe and then select Printer properties.
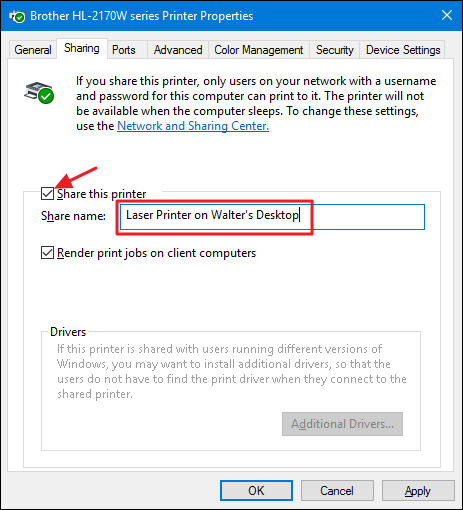
For now, grab the “Sharing” tab.
You are informed that the printer will not be available when your gear sleeps or it is shut down.
We suggest you read up oncustomizing your connection sharing settingsbefore making that decision.
When this setting is disabled, the documents are rendered on the computer to which the printer is attached.
So, you’re ready to move on to step two.
How you do that really just depends on whether you’re using Homegroup or not.
you could use the same process we went over in Step One to get them joined.
It’s still pretty straightforward, though.
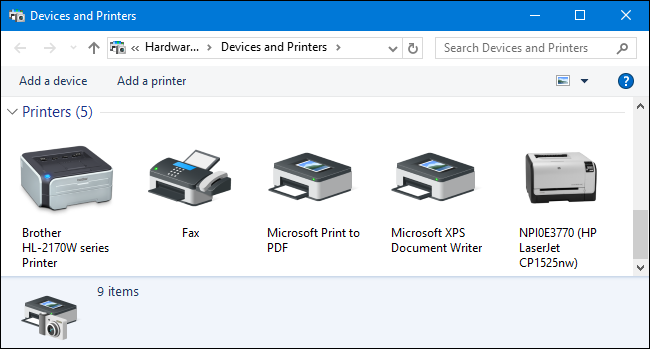
Click Start, throw in “devices and printers,” and then hit Enter or smack the result.
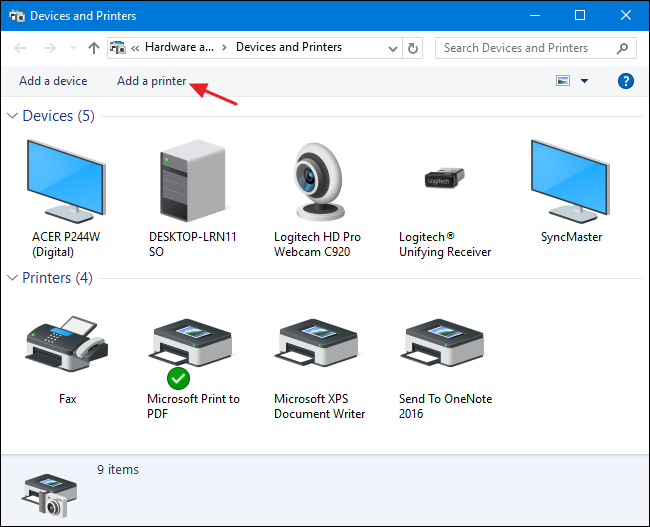
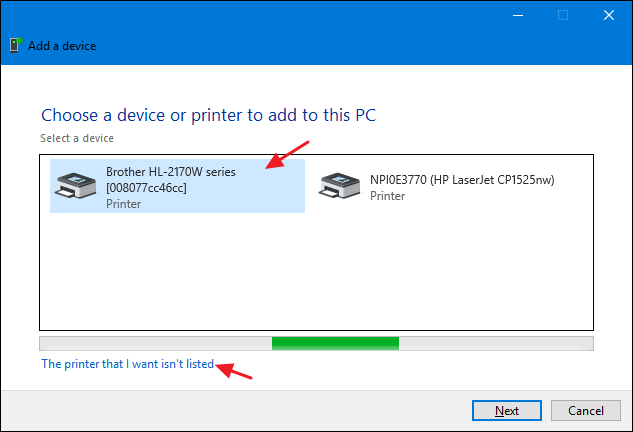
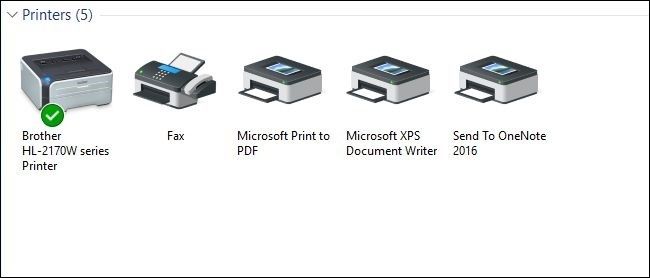
The Devices and Printers window shows a collection of devices on your PC.
nudge the “Add a printer” link to get started adding your online grid printer.
If you see the printer you’re looking for, then your job just got super easy.
tap the printer you want to install.
That’s all you have to do.
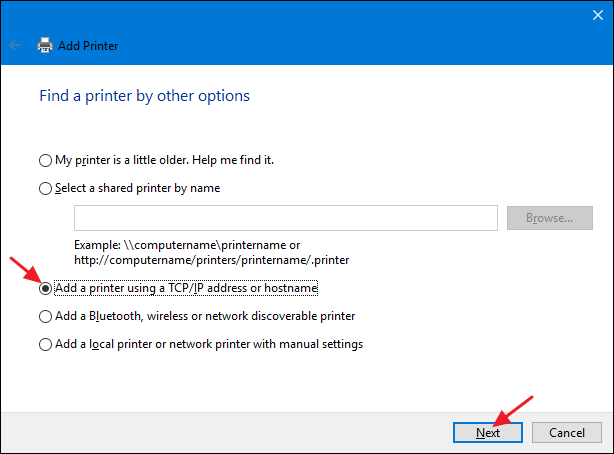
Select “Add a printer using a TCP/IP address or hostname” and then click “Next.”
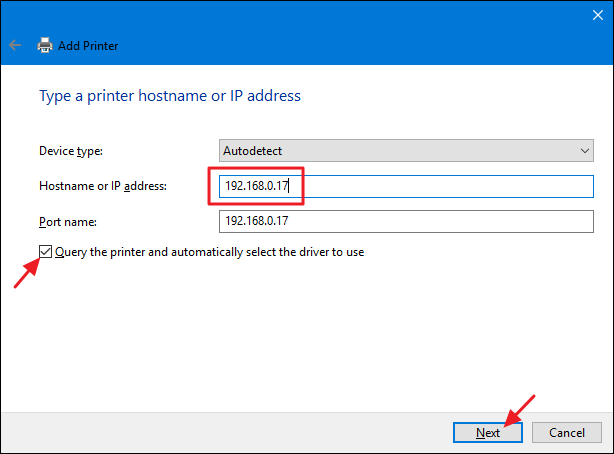
pop in the IP address for the printer into the “Hostname or IP address” box.
Hopefully, you never need to bother with most of this stuff.