How often should I clean my computer?
Depending on your environment, you may need to clean your box more or less often.
Computer placement is one important variable.
Ridding your setup of these things every 6 months can increase your setup’s performance.
The inside of your setup is just as susceptible to fur clogging fans and other areas of your setup.
Preparation
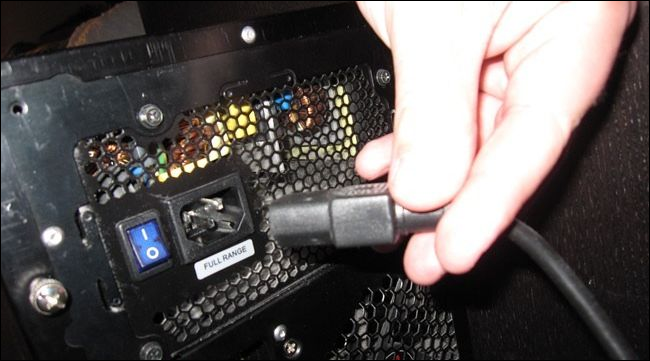
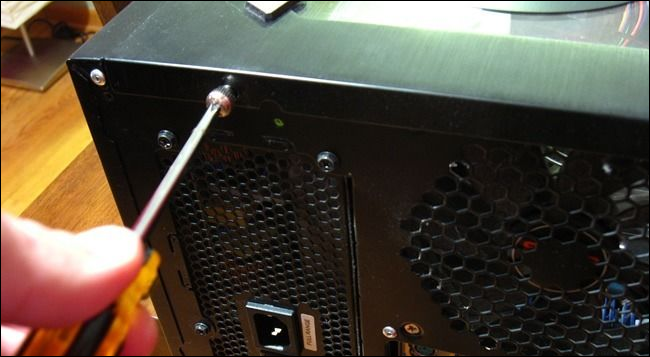
Do not open your gear while it is running or with any cables attached to it.

Next, move your setup to a well-ventilated area such as your backyard or garage.
We highly recommendnot using a vacuumto clean dust off your box components.
It’s just a bad idea, so spare yourself the agony and pick up a compressed air can.
That said, a vacuum can come in handy if you’re dusting out your rig inside.
initiate the vacuum and hold the hose near—but not touching—your PC.
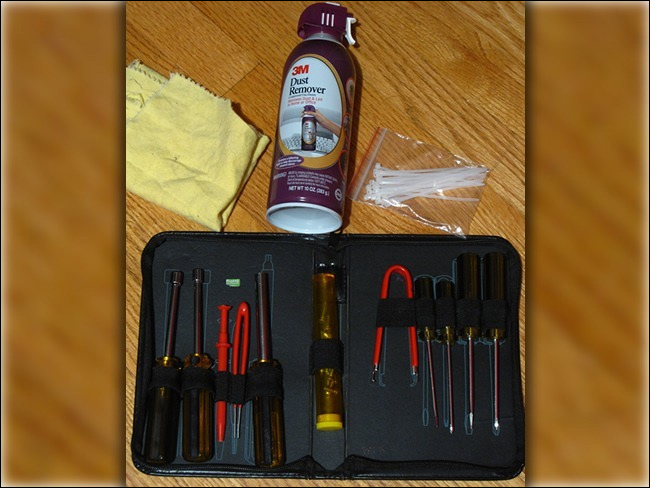
Some of these tools are optional, so don’t stress out if you don’t have them.
We only had a few ourselves, and still managed to do a great job.
All computer cases are different.
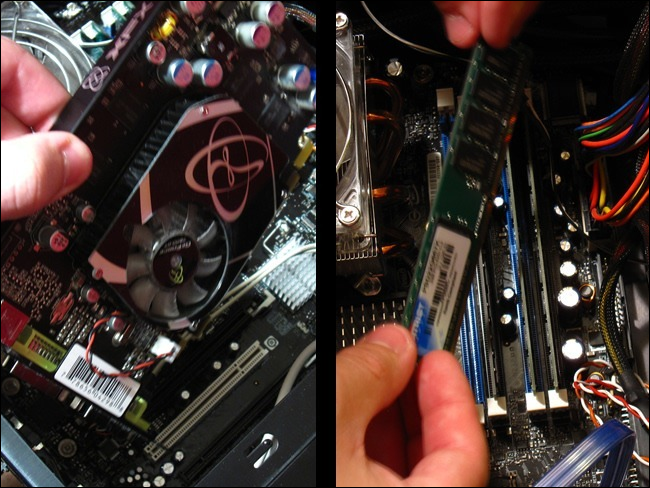
Most desktop computers allow you to remove RAM sticks, video cards, and hard drives.
You don’t need to do this, but you could clean more thoroughly if you do.
Then apply a fresh coat of thermal paste once you’re done cleaning your machine.
Most people shouldn’t need to remove their CPU and CPU fan.
It just doesn’t make sense considering barely any dust makes its way into the CPU socket.
Then again, if you’re cleaning your gear, why not go all the way?
The choice is yours.
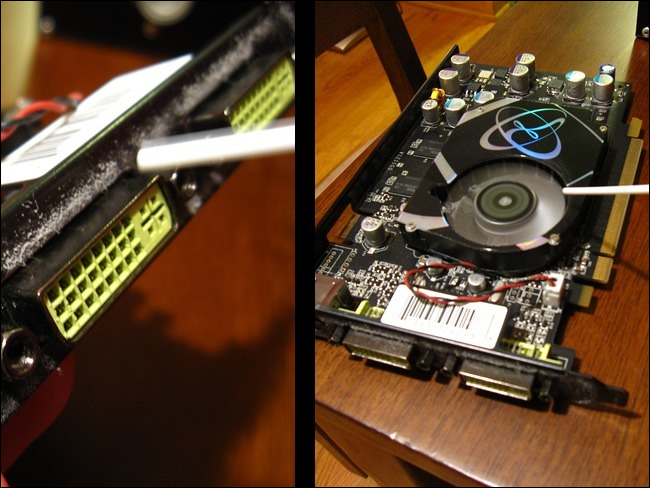
Cleaning
To start the cleaning process, begin with the peripherals we just removed.
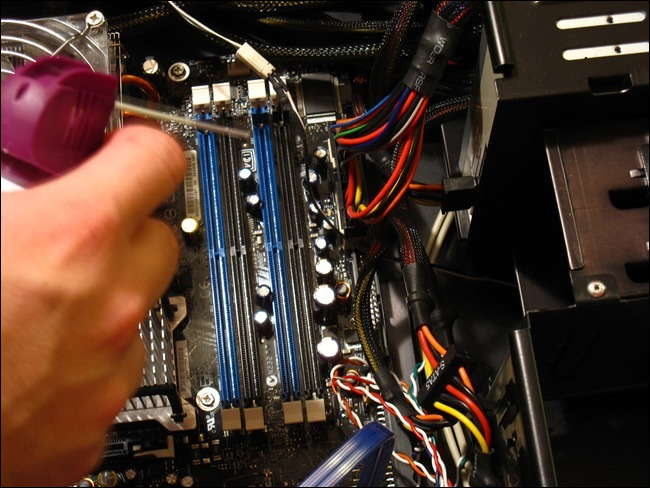
Next, we move inside the computer case.
Start by removing any dust particles that may have found their way inside the RAM slots.
Repeat this for every slot in your box case.
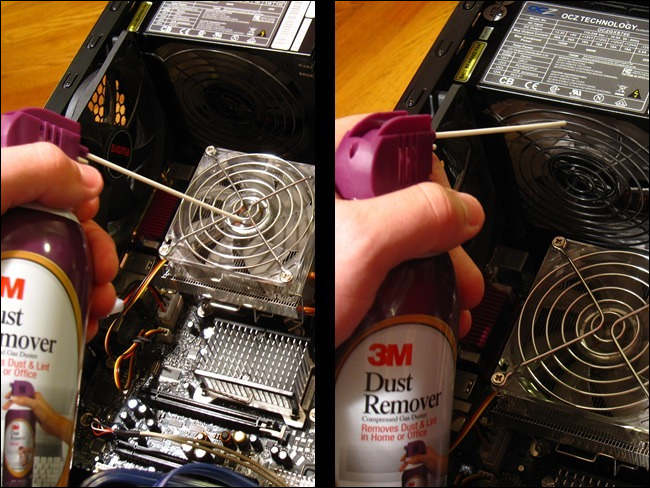
Now we’ll move onto the bigger equipment inside such as your CPU fan and power supply unit.
Use your compressed air can to blow out any loose dust particles.
It’s a little tedious, but it makes for a nice, clean fan in the end.
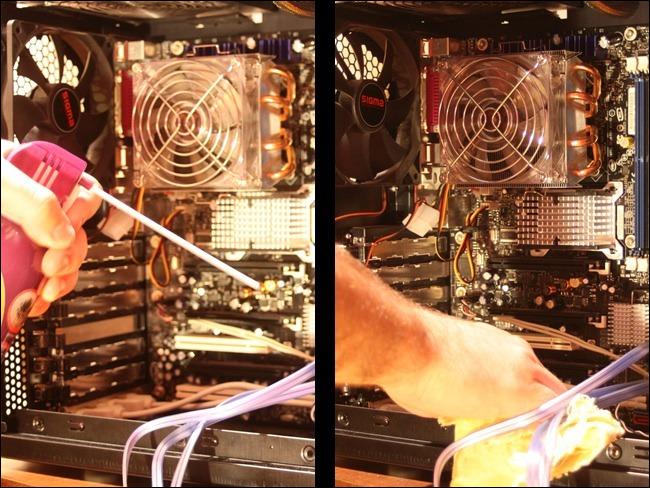
The bottom of your case will undoubtedly have dust buildup.
you’re free to begin with blowing the dust away with your compressed air.
If there is still dust stuck to the case, you might use a damp cloth to wipe it.
double-check your cloth is not wet, but damp.
Repeat this step for all the nooks of your case.
Give the fans a quick spin to double-check that the blades move freely after cleaning.
If they don’t, it’s probably best to go ahead and replace those fans.
Decluttering Cables (Optional)
This next step is optional and is recommended for custom-built computers.
Unlike professionally manufactured computers, custom-built computers don’t arrive with nicely tucked away cabling that fits just right.
The best way to make your case more secure and organized is to use zip ties.
To start you’ll need a pack of zip ties.
We’ll be using 4-inch zip ties.
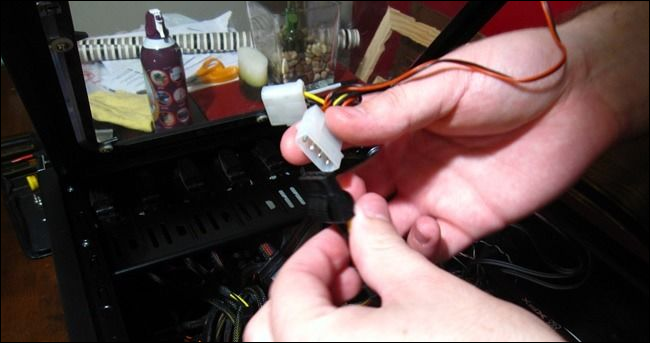
Begin by disconnecting all cables that need to be tied.
Be sure to write down how they were connected for reference later and take pictures.
Then tighten the zip tie by pulling the thin end until you might no longer tighten it.
Grab your scissors and cut off the excess.
Repeat this step for as many cables as possible.
you might then tuck them away to reduce their visibility and give your system’s guts a cleaner look.
The Aftermath
Plug your cables back into their correct sockets.
Refer to your document or pictures from earlier if you don’t remember where each cable goes.
your machine, inside and out, should be looking as good as new.
We’ve rid our computer of dust, hair, skin particles, and much more.
Your cables should be neatly managed and out of the way of fans and other sensitive equipment.
And don’t forget to clean your box every 3 to 6 months to keep that performance up!
