Unfortunately, Plex Server hardware can be expensive, electricity intensive, or both.
To reduce both bills, use aRaspberry Pifor a Plex Server.
What you better Know
Running a Raspberry Pi as a Plex Server does come with several benefits.

It won’t take up as much room as a server or a full-size PC.
It also will use less electricity, even when idle all day.
Best of all, it costs less than most other hardware capable of working as a server.

There are some downsides to be aware of, though.
The Raspberry Pi 3 has an ARM processor that just doesn’t have the power to support transcoding.
So when you are setting up your videos, you are going to want to chooseMKVas your video format.

That will usually bypass the need for transcoding.
And 4K Videos are likely not going to play well either.
But once you account for those potential pitfalls, the Raspberry Pi does make a competent Plex Media Server.

You’ll need:
Optionally you might want to consider acase and a heat sinkfor the Raspberry Pi.
To start with, you will want to set your Raspberry Pi upfollowing the standard steps.
The easiest thing to do is get a copy ofNOOBSto roll out the latest version of Raspbian.
when you’ve got Raspbian installed, you’ll do nearly everything else in the terminal.
So execute the following commands:
sudo apt-get upgrade
And provide the root password when prompted.
Alternatively, you could use SU and skip all the sudo entries.
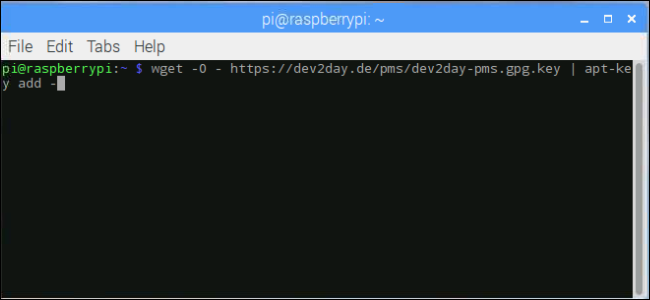
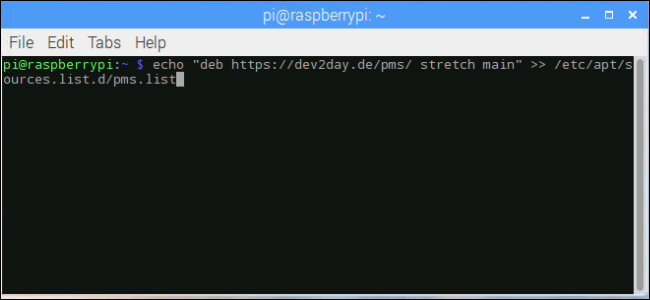
After all your updates are finished, you’ll need to load the “apt-transport-https” package.
This allows Plex Server from an HTTPS source.
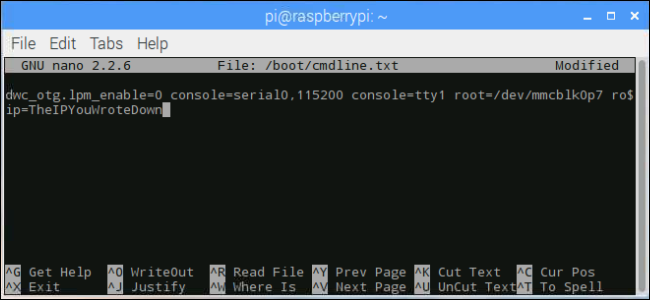
Choose to save and overwrite the file.

For reliable remote access, you’ll want a static IP.
Then use Ctrl+X to terminate the file and save it.
It’s a great Plex Server option that won’t break the bank.