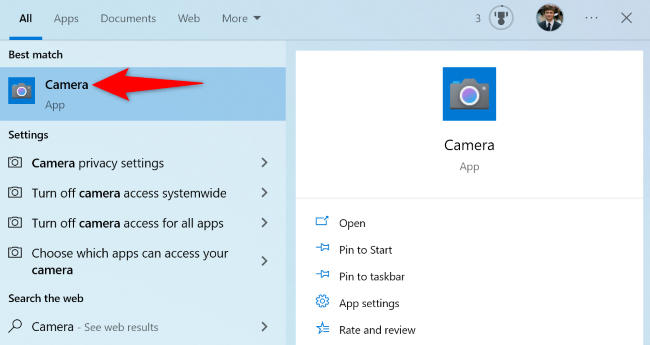
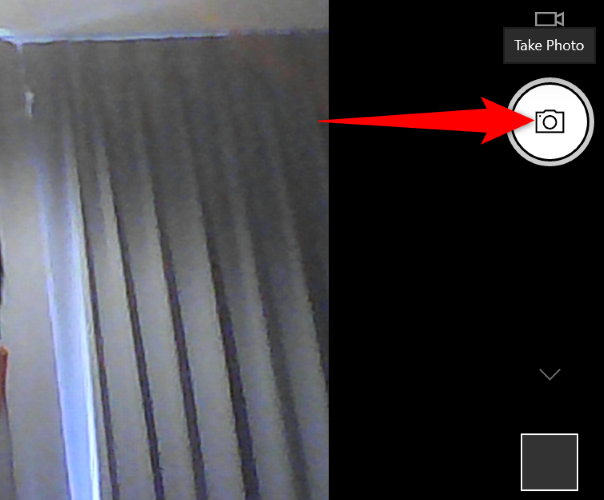
you might then use Windows 10’s Camera app to test your webcam.
There are several ways to do it, but the fastest is by pressing thekeyboard combinationWindows+i.
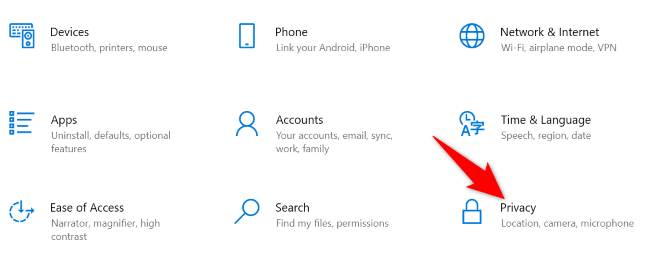
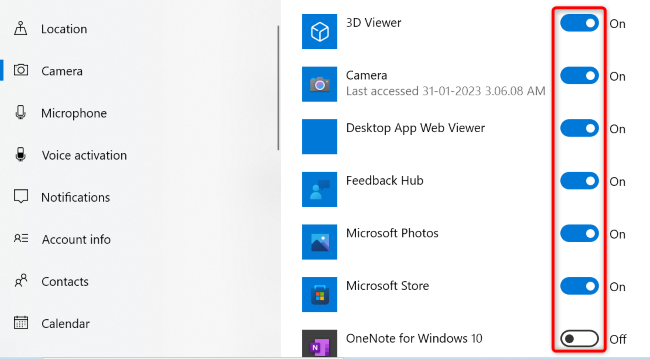
In prefs, select “Privacy.”
Hannah Stryker / How-To Geek
On the left sidebar, click “Camera.”
confirm the app you plan to use your webcam with is enabled.
Windows 10’s built-in Camera app is one of the simplest ways to do that.
You candisable your camerafrom your PC’s options app as well as the rig Manager utility.
Using options
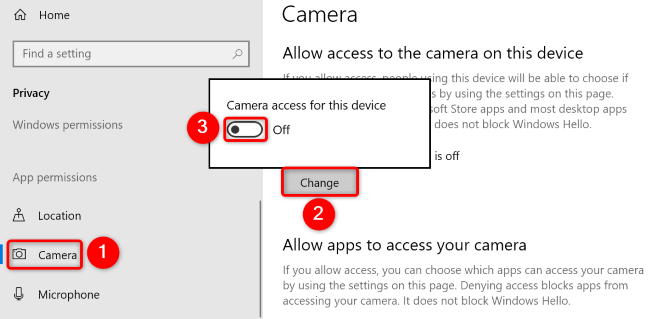
Press Windows+i to open options.
Then, select “Privacy.”
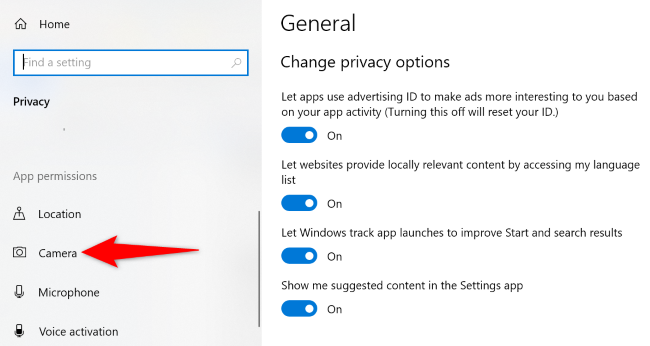
In the left sidebar, click “Camera.”
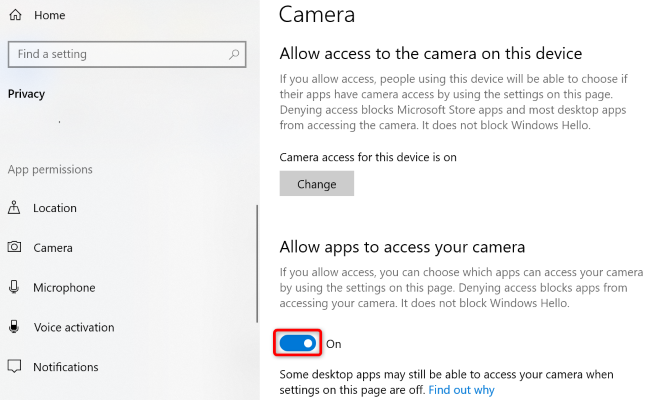
On the right pane, select “Change” and toggle off the displayed option.
In the future, to re-activate the camera, toggle on the option.

You’ve successfully turned off your camera.
Doing so will better ensure your privacy by making the camera more difficult to turn back on.
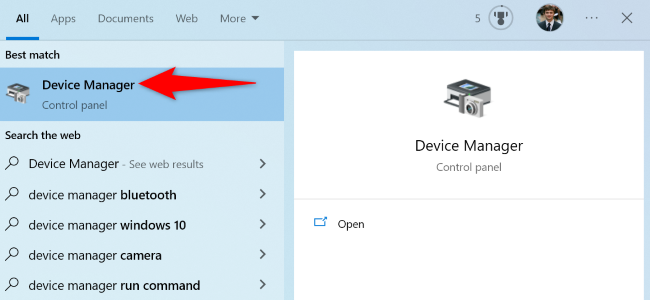
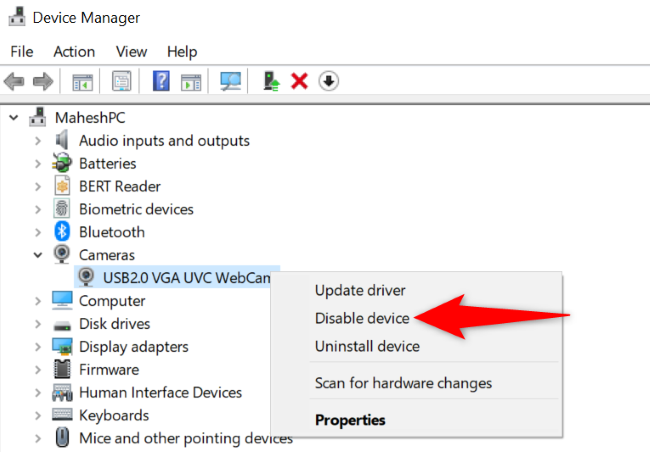
In gadget Manager, find your webcam.
You’ll find it in categories like “Camera” or “Imaging Devices.”
Then, right-click your camera and choose “Disable unit.”
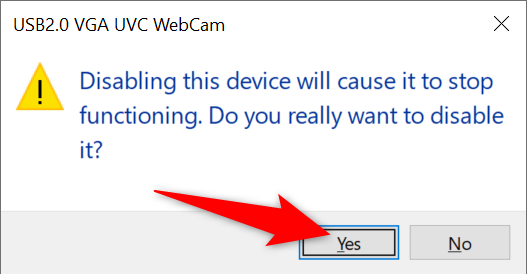
In the future, to reactivate your camera, choose “Enable equipment” in the menu.
From the prompt, select “Yes.”
Your Windows 10 webcam is now disabled.
If you’re confident your webcam’s lens isn’t covered, you may have a software problem.
The simplest fix is toreboot your PCand thentoggle the camera offin options beforeturning it back on.
That will resolve most minor problems.
If your camera still won’t work,use machine Manager to modernize your webcam’s drivers.
This basically requires opening unit Manager,right-clickingyour webcam, and choosing “Update Driver.”