Quick Links
Got a Linux PC you want to put to work?
Maybe you’re not comfortable with the command-line only version of Ubuntu Server Edition.
Here’s how to keep the standard Ubuntu desktop and add web-serving capabilities to it.
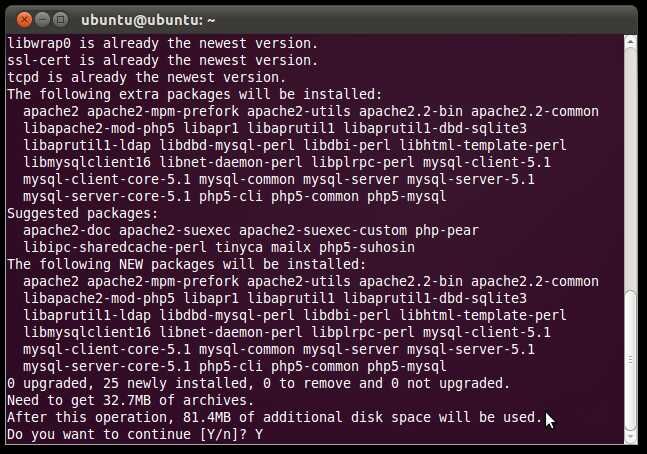
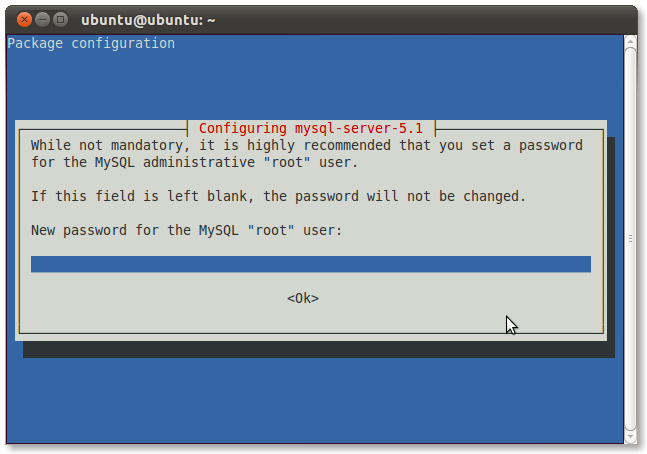
Just sit back and let it do its thing until you get a blue screen pop up.
You’ll be prompted to re-key in your password, so do that and hit Enter again.
That’s it for installation!
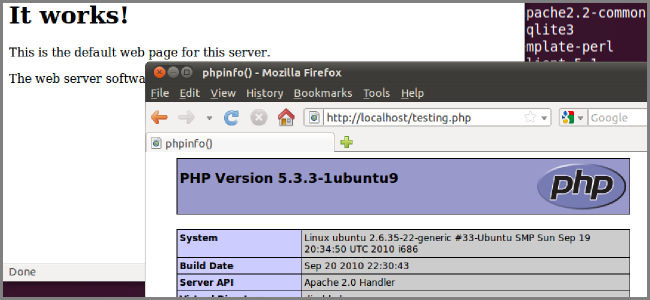
Testing Apache and PHP
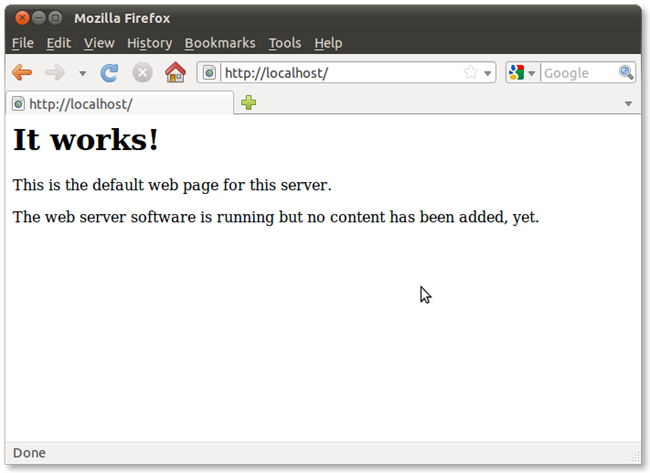
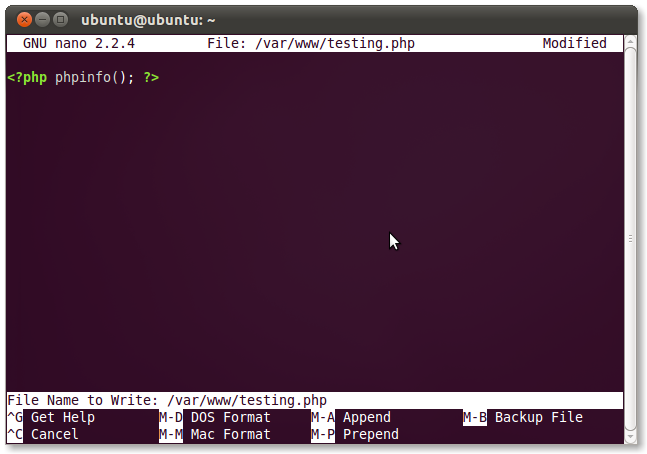
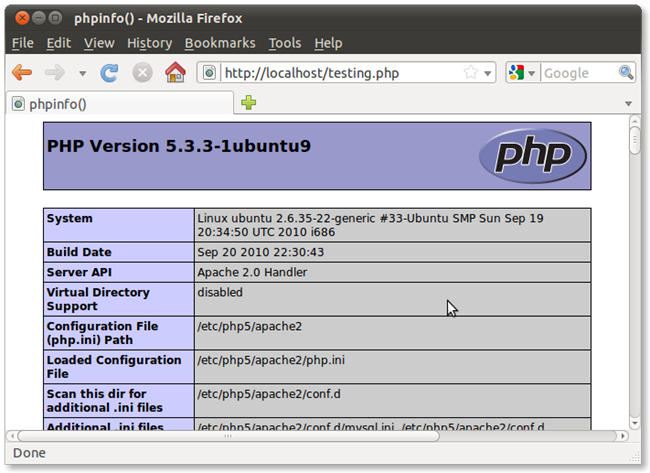
Let’s test Apache to see if it’s serving properly.
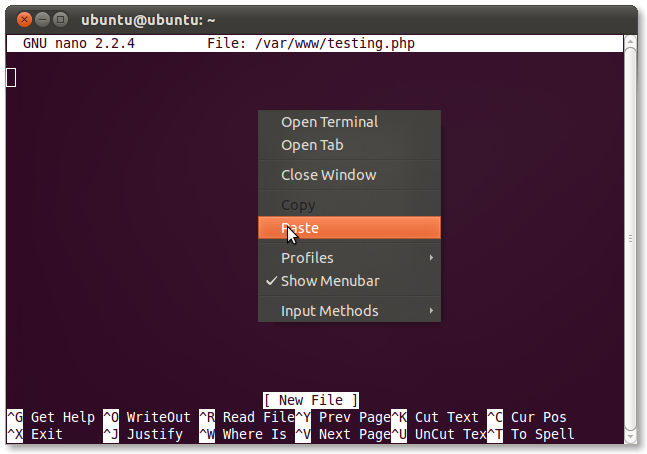
Hit CTRL+O to “write-out” or save the file, and then hit CTRL+X to quit.
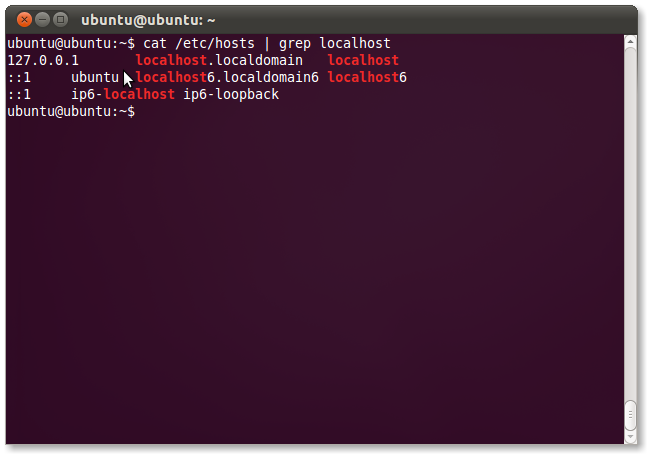
You’ll get a couple of results, one of which will show you an IP address.
it’s possible for you to see from the screenshot above that my bind address is 127.0.0.1.
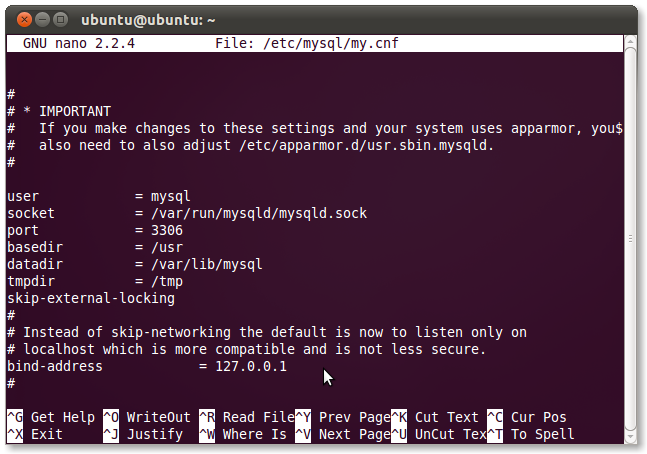
Next, let’s open up the MySQL config file to see what’s listed there.
sudo nano /etc/mysql/my.cnf
Scroll down until you see a line beginning with “bind-address” like below.
As you’re free to see, the bind-address is the same, so we’re good.
If yours is different, just change it so it matches what you found above.
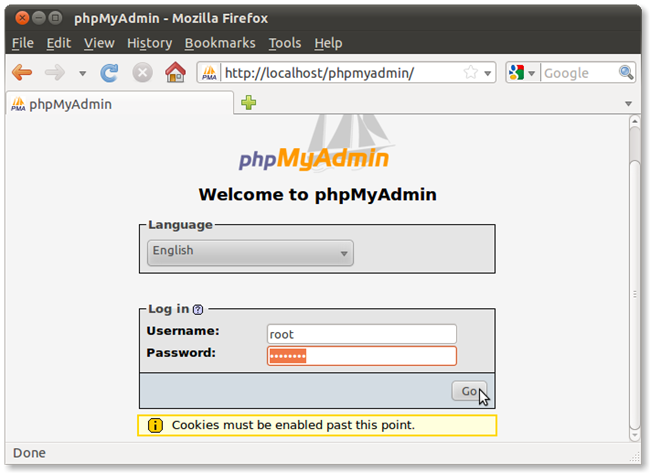
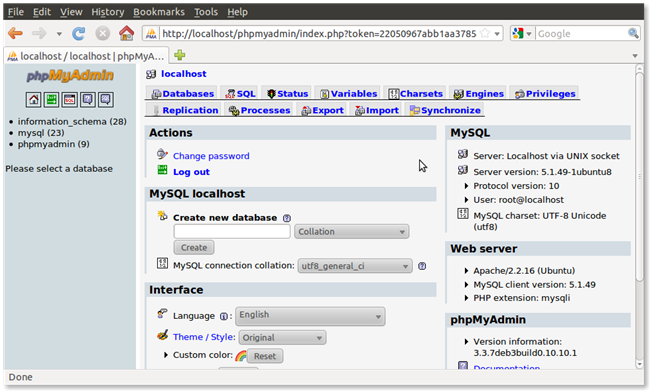
phpMyAdmin helps you tackle that by providing a PHP interface for MySQL administration.
It’s easy to install and can really come in handy, so let’s get to it.
sudo apt-get install phpmyadmin
If this command doesn’t work, you may need to enable additional repositories.
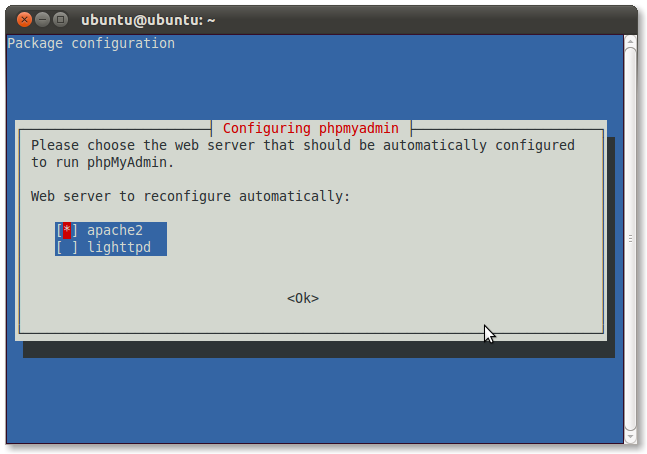
You’ll get another blue screen come up asking you to choose which web server to configure.
check that the red block is next to “apache2” and be SURE to hit the Space bar.
This will mark it with an asterisk, and then you’re free to hit Enter.
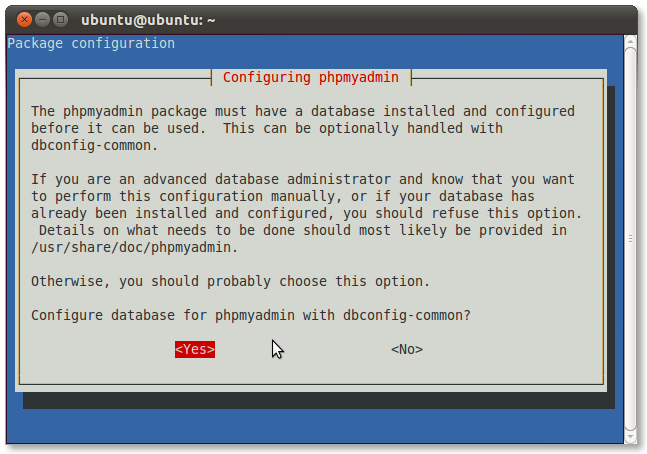
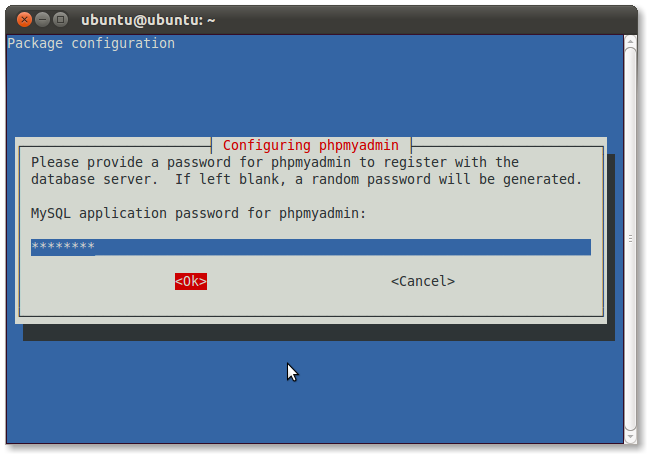
You’ll be asked if phpmyadmin should configure a default database for its own use.
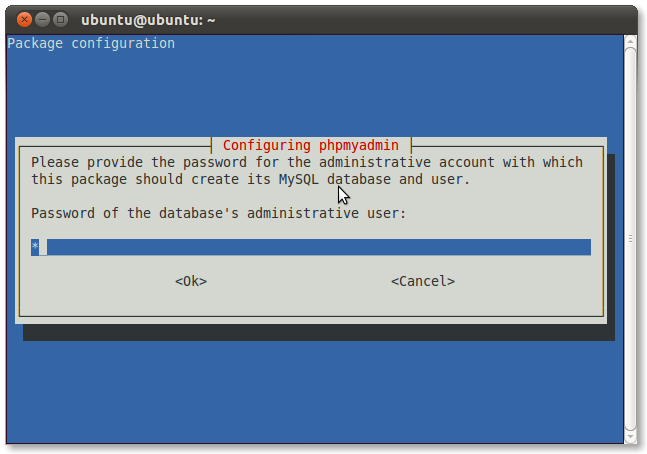
Since we haven’t created any other MySQL users, type your MySQL root password.
Once you’re done, restart Apache.
Remember, you are giving others access to your system by installing this software, so take proper precautions.
They’re in /var/www/ be default, and will need elevated privileges to access that directory.
One idea is to mount a separate partition to that point to be used solely for serving web stuff.