Uninstalling your display drivers allows you tofix driver issuesor install your own.
you might use your display adapter’s own tool to complete the process.
Or, you’re free to use your tweaks or Windows unit Manager.
We’ll show you how to do just that on Windows 10 and 11.
Related:How to Fix Screen Flickering in Windows 10
Which Uninstall Method Should You Use?
If you don’t have such a tool, use parameters to remove your drivers.

This is a universal way to remove drivers for all your hardware devices, including display adapters.
In this method, you uninstall your drivers justlike an app on your PC.
On Windows 10
Launch Settingsby pressing Windows+i on your keyboard.
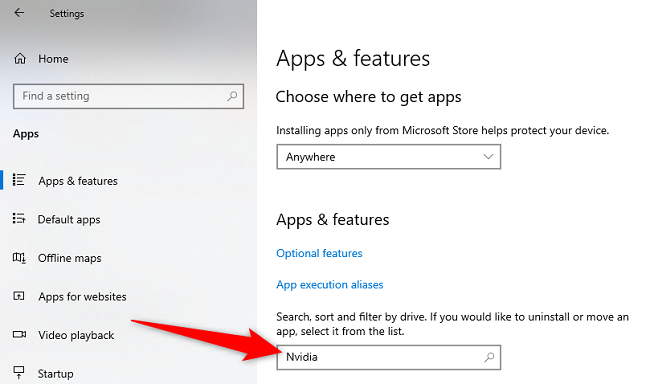
Then, select “Apps.”
Alternatively, manually find your drivers on the list.
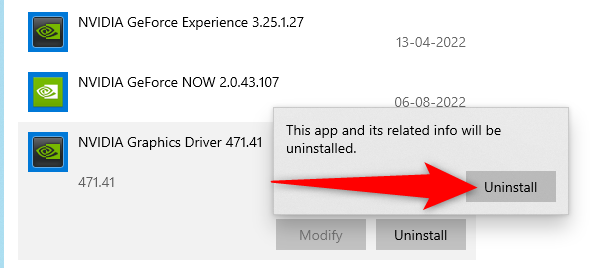
Select your drivers on the list and choose “Uninstall.”
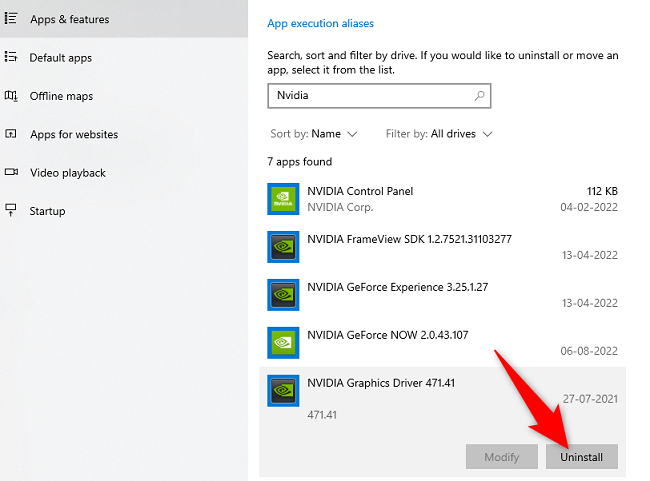
Click “Uninstall” in the prompt.
Windows will begin to remove your selected drivers.
On Windows 11
Start by launching prefs using the Windows+ikeyboard shortcut.
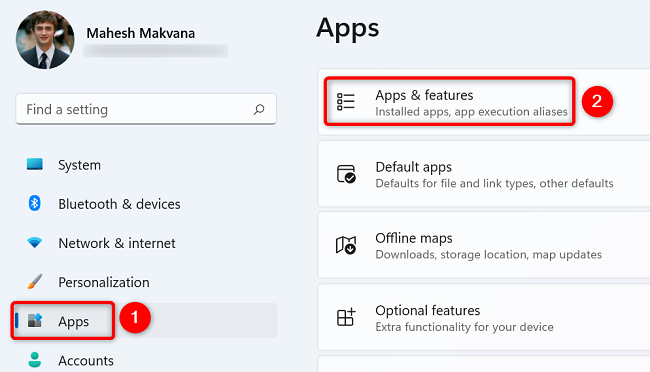
In tweaks, from the left sidebar, select “Apps.”
Then, on the right pane, click “Apps & Features.”
In the “Apps & Features” menu, find your display drivers.
Then, next to these drivers, hit the three-dot menu and choose “Uninstall.”
Select “Uninstall” in the prompt to finish.
The steps are the same whether you’re using a Windows 10 or 11 PC.
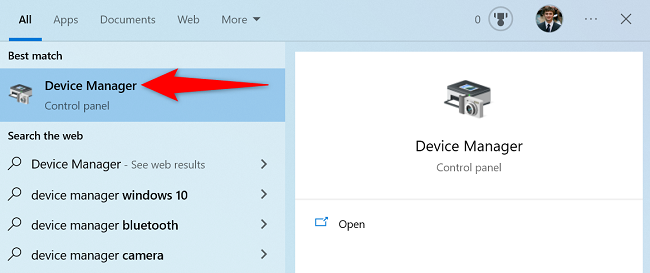
To start,launch gadget Manager on your setup.
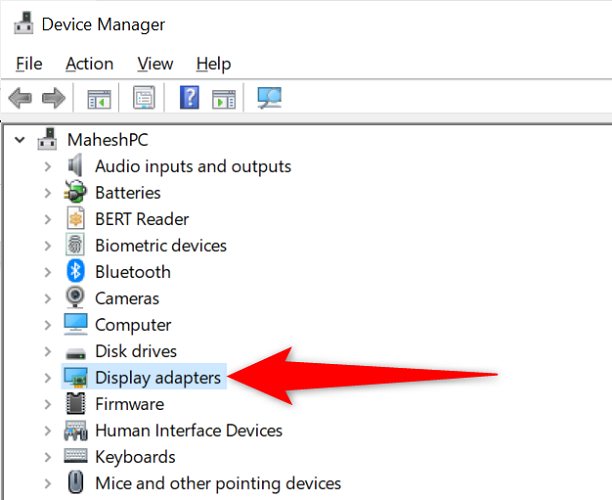
In machine Manager, next to “Display Adapters,” pick the right-arrow icon to expand the menu.
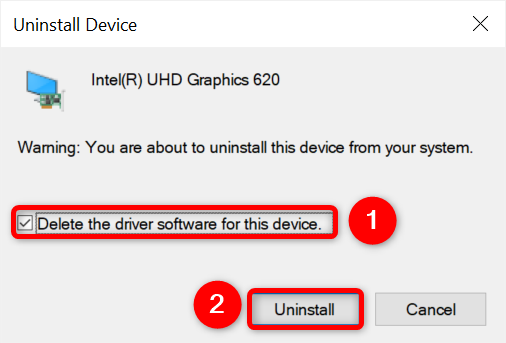
In the expanded “Display Adapters” menu, right-click your display adapter and choose “Uninstall machine.”
gear Manager will begin removing your display drivers.
You’re all set.
Now that your drivers are uninstalled, you candownload fresh new drivers for your Nvidiaorother display adapters.

Related:How to Find Official Windows Drivers for Any gear