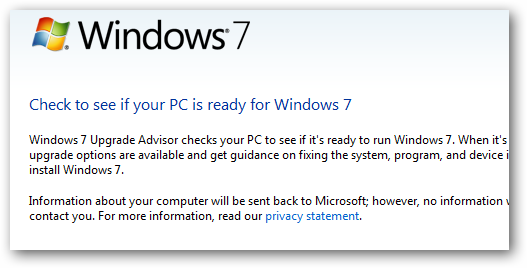
Upgrade Advisor
Also you’ll want to run Windows 7 Upgrade Advisor which wepreviously covered.
Compatibility Center
Go to Windows 7 Compatibility Center to find out what hardware and software Windows 7 currently supports.
you might easily search or browse for your hardware to see if it’s Windows 7 compatible.
The site also allows you to browse or search for software that is officially supported.
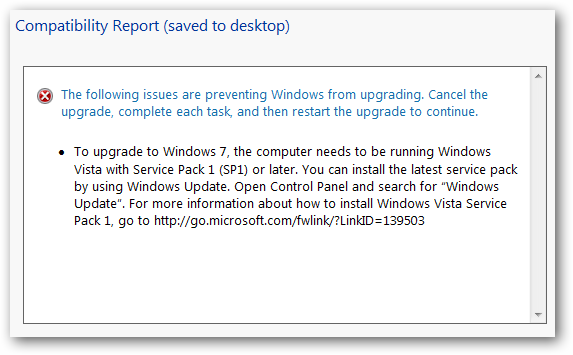
Backup Data
Backup all of your most important files, folders, and other data.
Hopefully you have complete backups of your data already.
If not, here are some backup solutions that we’ve previously covered.
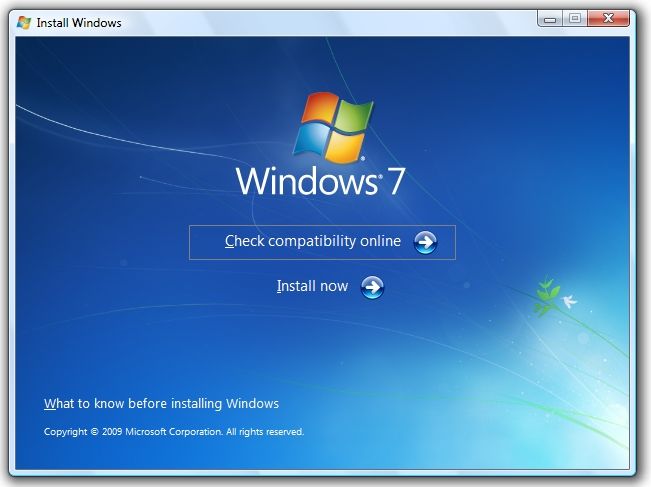
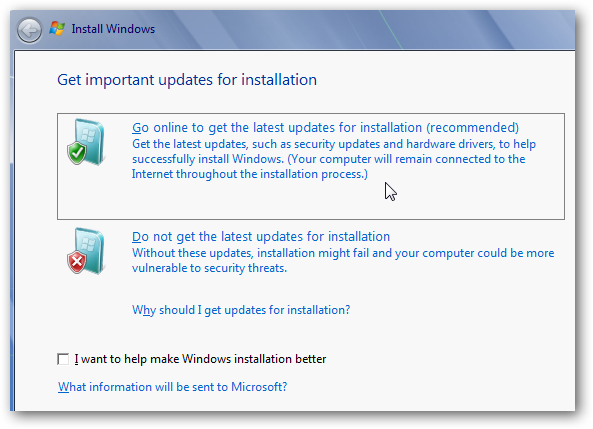
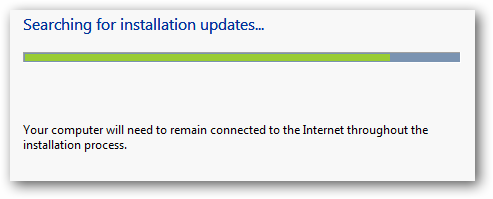
After you click Install now you will see the following message.
Wait while the latest upgrades are found.
![sshot-2009-11-29-[03-14-12]](https://static1.howtogeekimages.com/wordpress/wp-content/uploads/2009/11/sshot20091129031412.png)
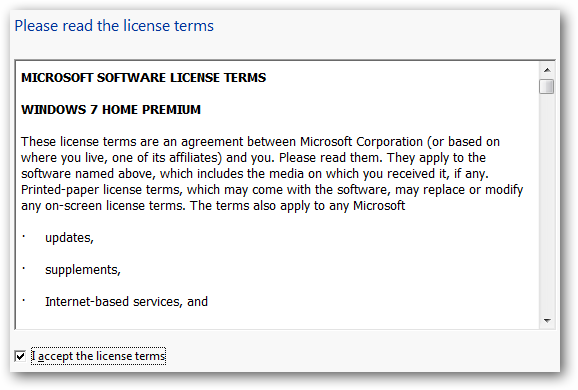
Agree to the software license terms.
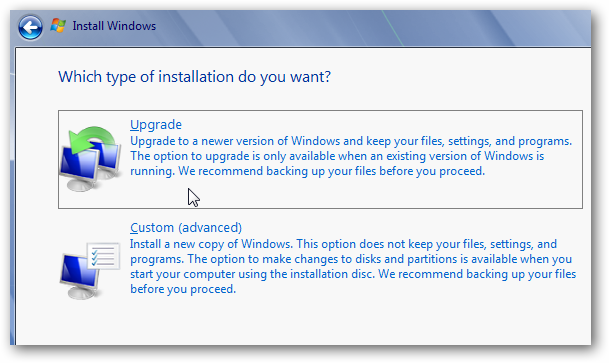
At the pop in of installation screen, select Upgrade and not Custom.
Custom would be used if you’re doing a clean install.
![sshot-2009-11-29-[03-19-02]](https://static1.howtogeekimages.com/wordpress/wp-content/uploads/2009/11/sshot20091129031902.png)
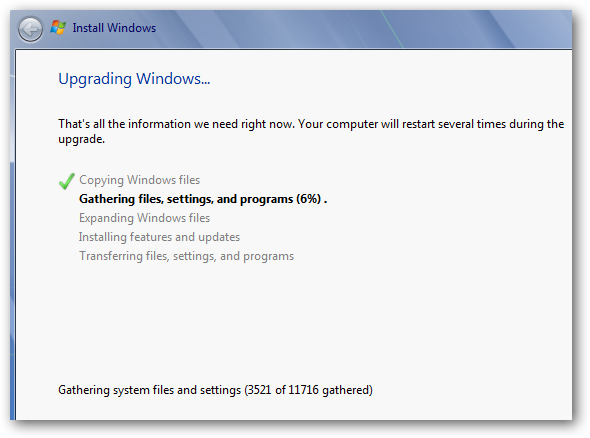
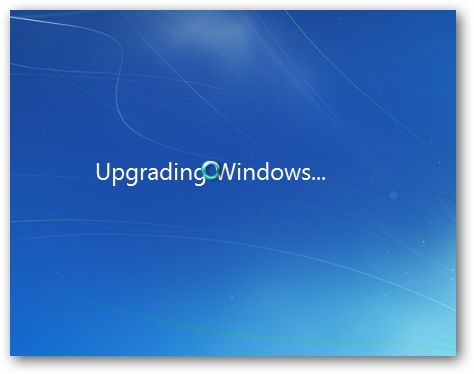
The upgrade process begins…
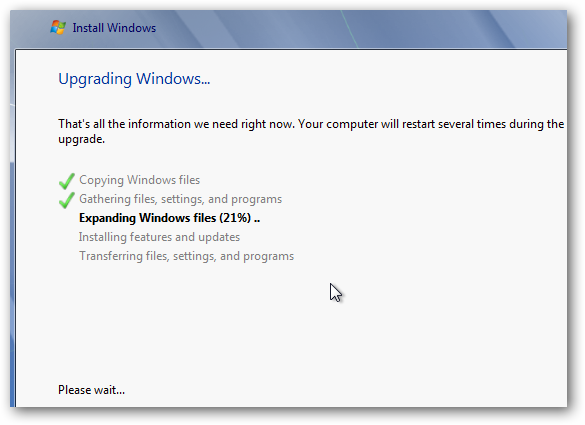
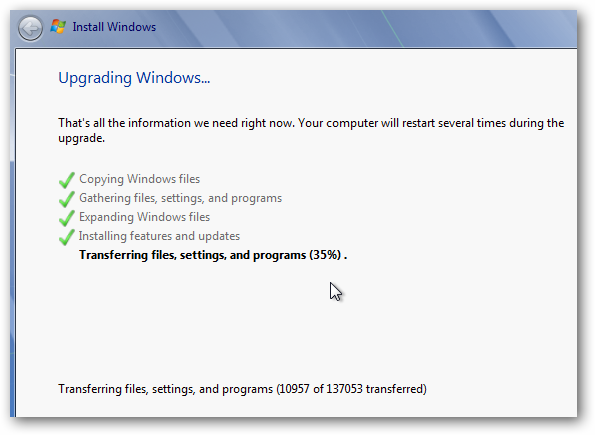
There will be about three or four reboots while the process completes.
After each reboot you should see different tasks on the list showing they have completed.
The last step will be Transferring Files, configs, and programs.
After the final reboot you will see the message that setup is checking video performance.
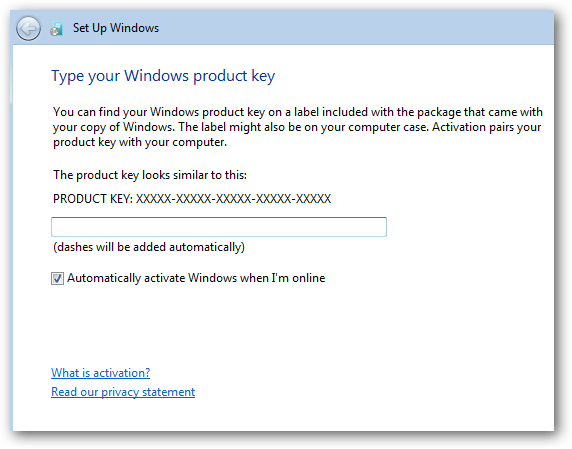
jot down in your upgrade product key…
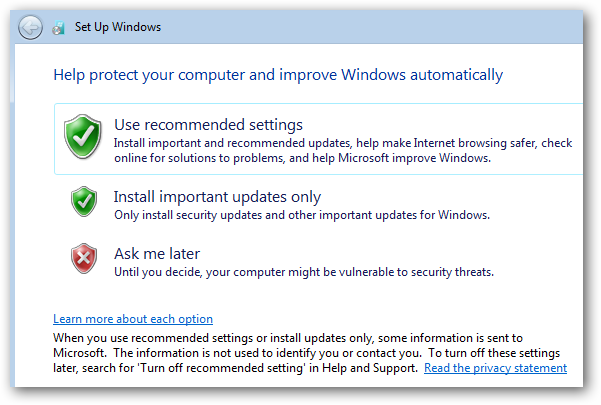
Then select if you want to turn on automatic updates.

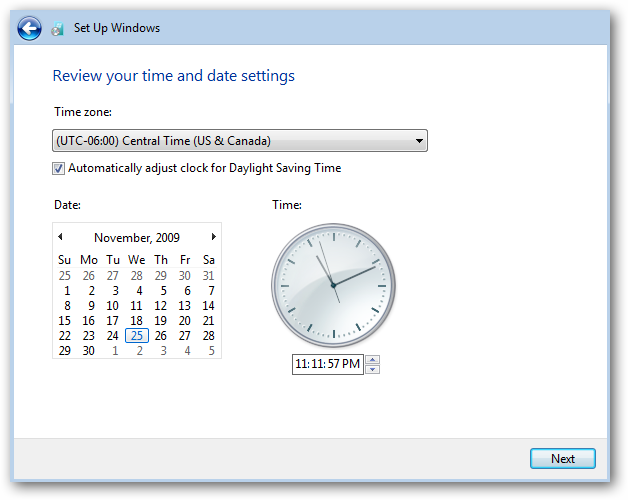
Set up your time zone, time and date.
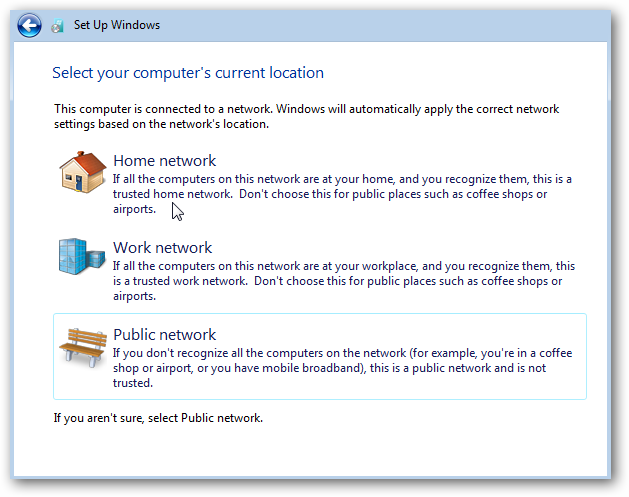
Select where your box is located, which in our example is on a Home internet.
Of course there will be differences such as no Windows Mail, Messenger, Photo Gallery…etc.
ensure to downloadMicrosoft Live Essentialsto get your favorite MS apps back.
check that to run Windows Update right away after the upgrade to check that everything is current.
The amount of time it takes will vary between systems.
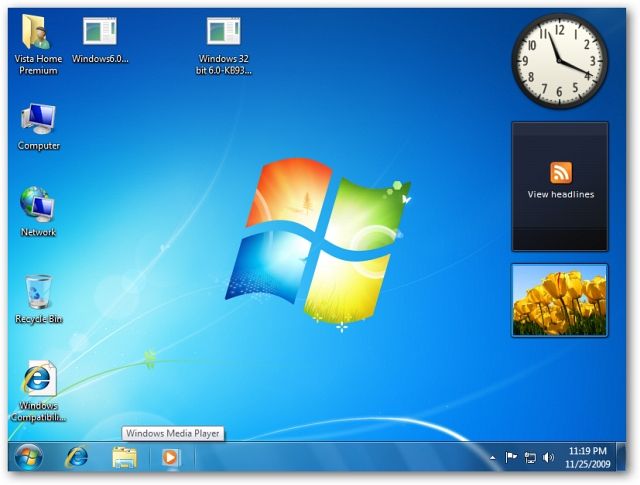
Overall an in-place upgrade is a relatively simple and effective process.
Windows Upgrade Advisor
Windows Compatibility Center
Windows 7 Upgrade Considerations Chart


![sshot-2009-11-29-[02-57-11]](https://static1.howtogeekimages.com/wordpress/wp-content/uploads/2009/11/sshot20091129025711.png)
