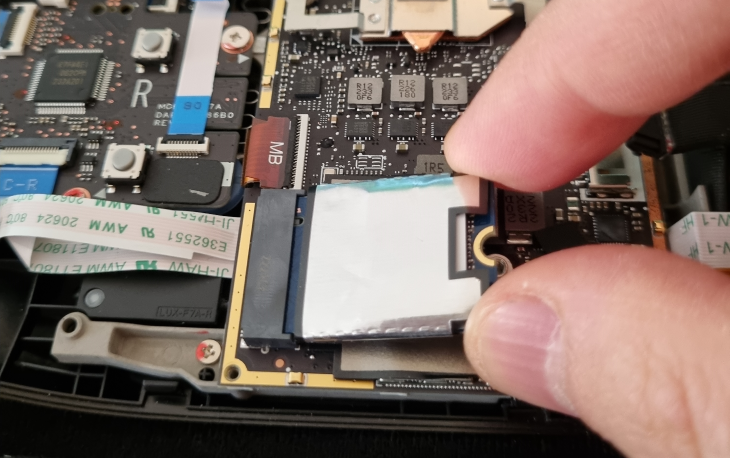
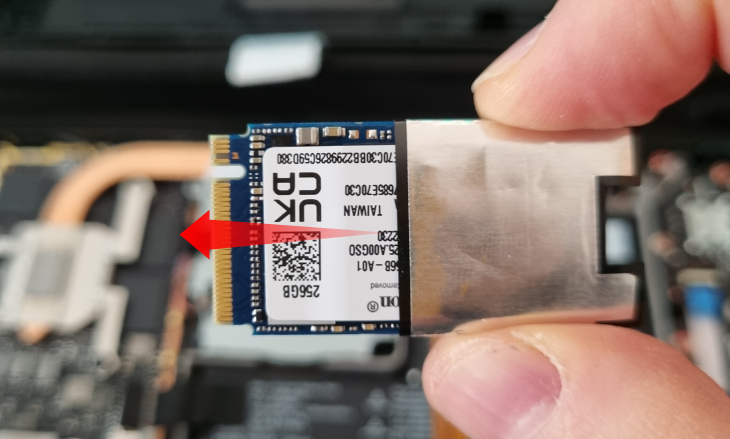
Next, fully disconnect the battery and remove the old SSD.
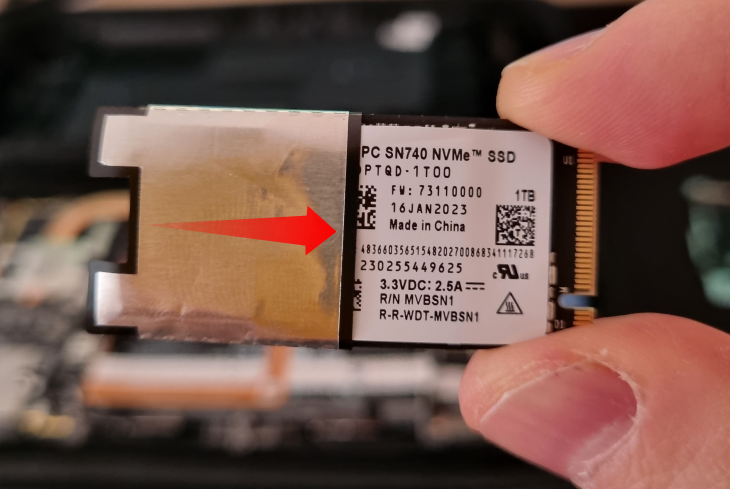
Strip the ESD shield from the old SSD and sleeve it on the new one.
We’ll walk you through the Steam Deck SSD replacement procedure in an easy-to-follow step-by-step guide.
First, you need a#0and a#1 Phillips screwdriver.
If you’re outside the US, those two sizes are known as PH0 and PH1.
You also need a pair of tweezers.

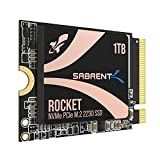
The SABRENT Rocket 2230 NVMe SSD is an excellent choice for upgrading your Steam Deck SSD.
Next, you’ll need a prying tool.
And, of course, you’ll need anSSD.
The SABRENT Rocket 2230 NVMe SSD is an excellent choice for upgrading your Steam Deck SSD.
The SABRENT Rocket 2230 NVMe SSD is an excellent choice for upgrading your Steam Deck SSD.
Finally, we recommendbacking up your Deck with Clonezillaand then copying the clone SSD image to the new SSD.
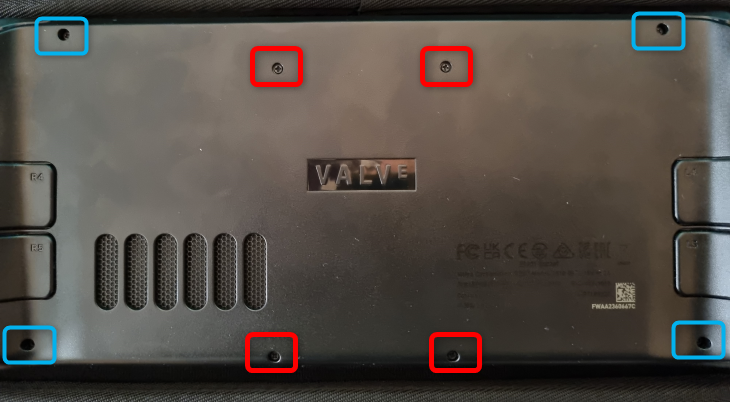
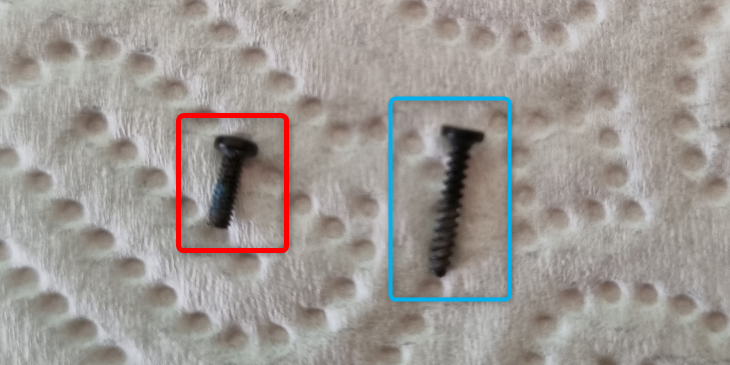
The screws marked in red are shorter, while the blue ones are more prolonged.
Don’t mix the two groups when putting the back cover back.
Also, be sure to keep track of the screws and not misplace them.
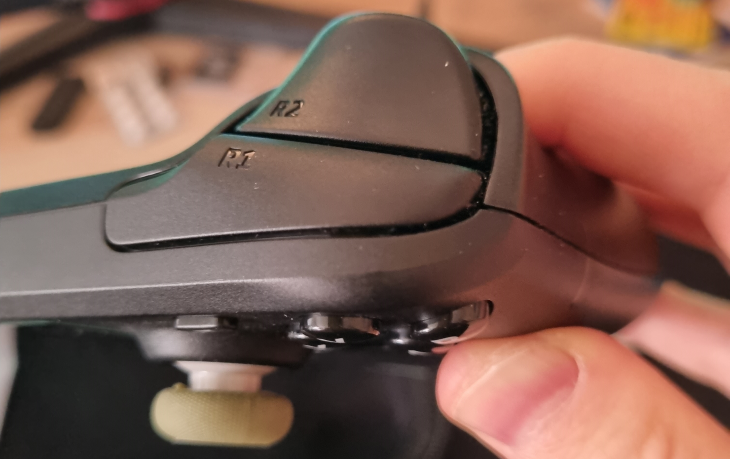
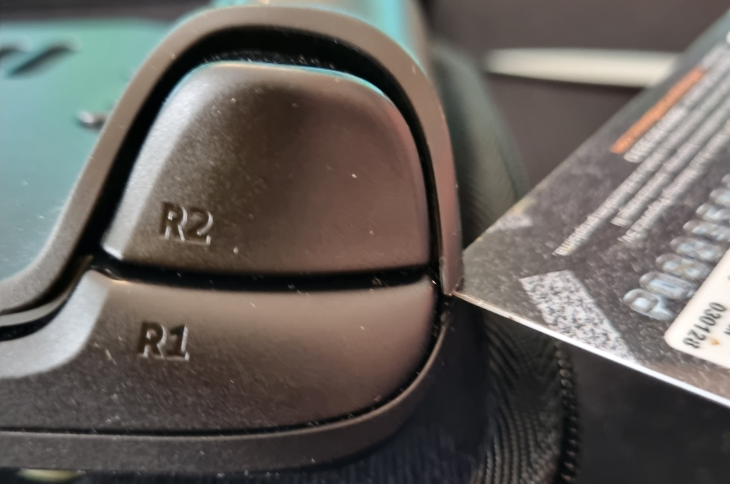
Once you unhook a couple of locking clips, disconnect the rest with your fingernails or a prying tool.
Once you disconnect every locking clip, remove the back plate entirely and move to the next step.
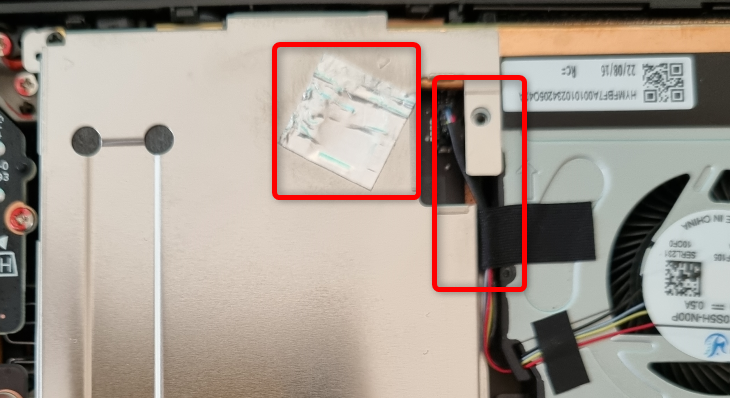
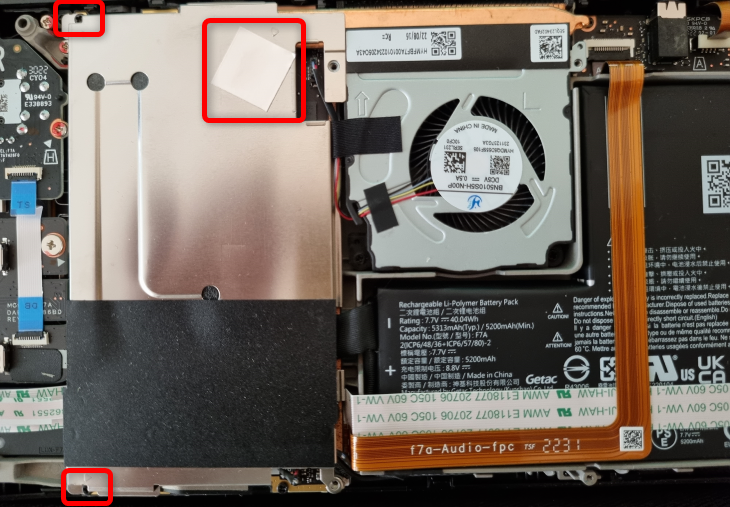
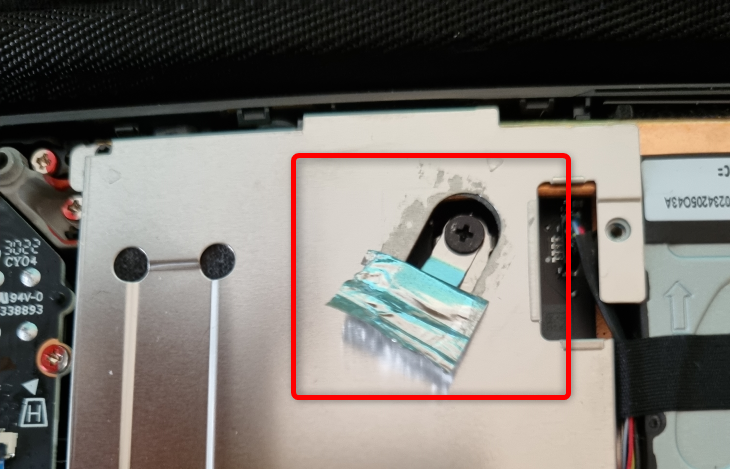
We want to remove the shield.
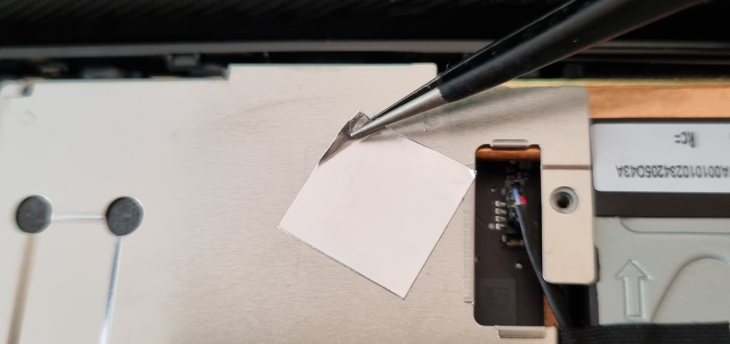
You should only partly remove the foil.
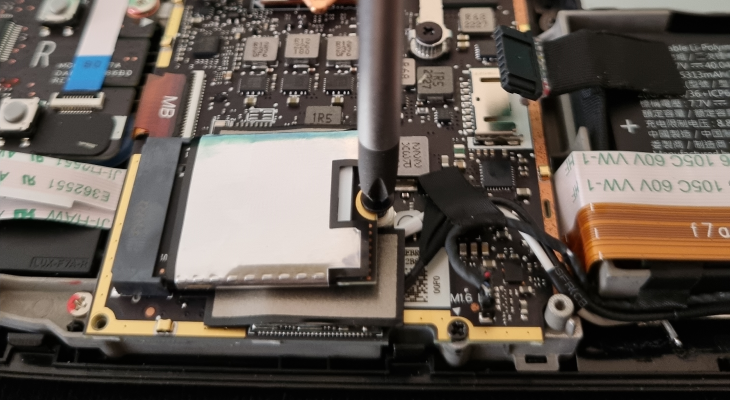
Patiently pull the foil until it uncovers the hidden screw.
Pull it away until you have enough headroom to remove the screw with a screwdriver.
Use a Phillips #1 screwdriver for this particular screw.
Remove the other two screwdrivers with a Phillips #0.
Once you remove all three screws, pull the shield up with your fingers and remove it.
Step 5: Disconnect the Battery
Now you’ve uncovered the PCB and the SSD.
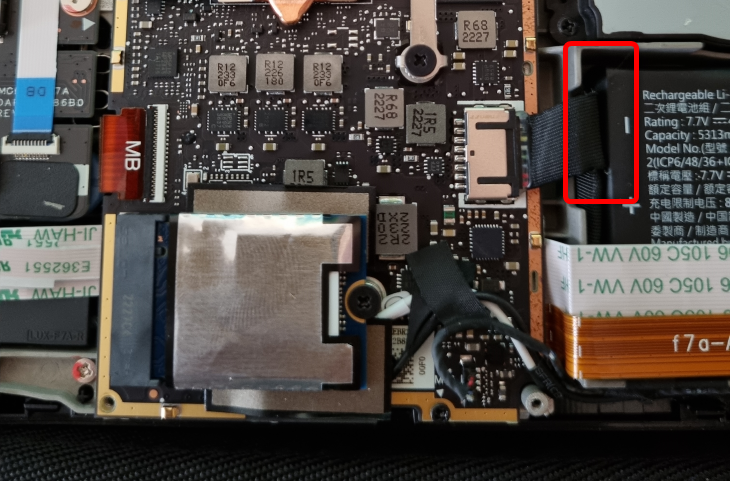
But before you disconnect the SSD, disconnect the battery.
The battery pull tab is tucked between the battery and the housing.
Free it up with your finger or tweezers.
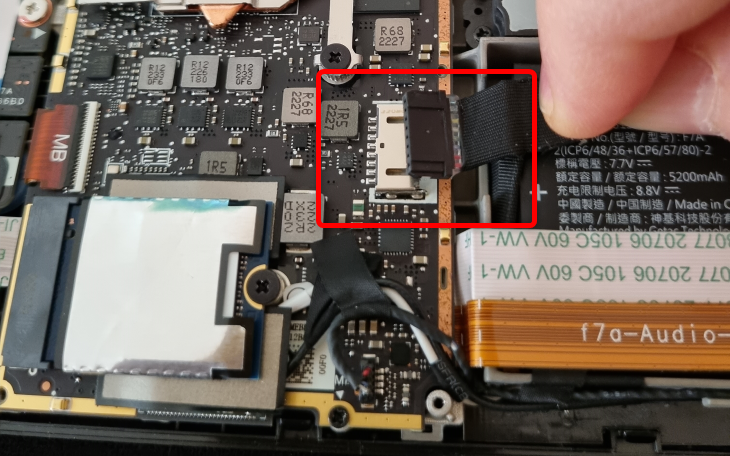
Wiggle it a bit left and right while pulling it away to disconnect it easier.
Once you fully disconnect it, move on to the next step.
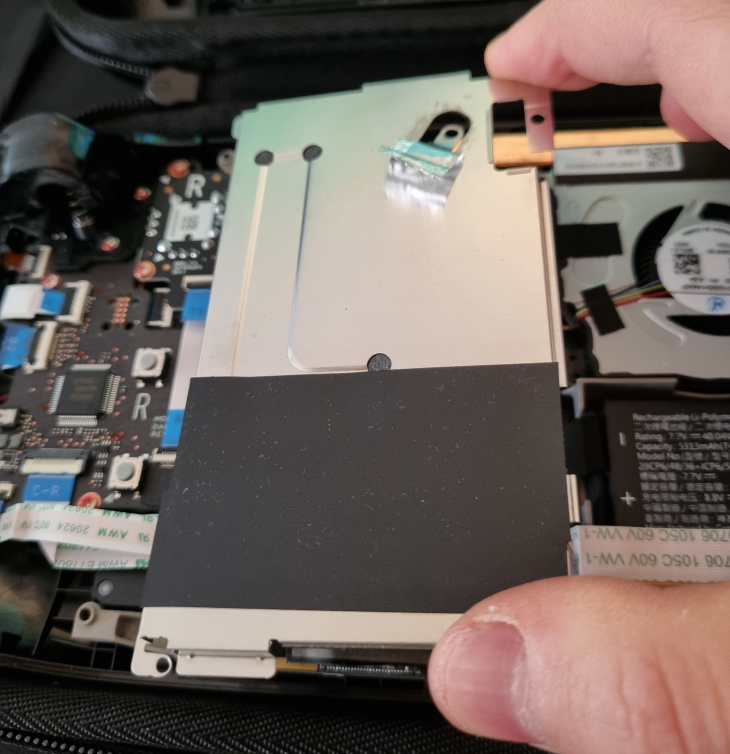
We held the SSD by its sides and slowly pushed the shielding until it fully covered the storage drive.
Don’t overdo it; stop once you feel the hard wall resistance from the screw.
The reconnect procedure is way easier than disconnecting the battery.
Be sure not to mix up the short and long screws!
The entire Steam Deck SSD replacement procedure shouldn’t take more than half an hour of your time.
Related:How to Emulate the GameCube on Your Steam Deck