We need to first verify that we, in fact, own the email address that we’re using.
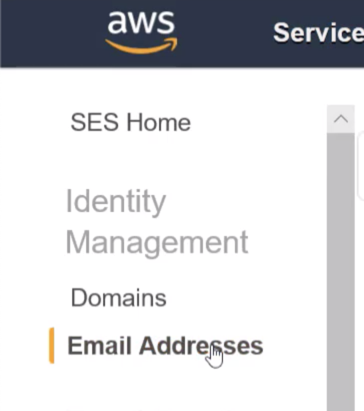
Let’s go ahead and select Email Addresses on the left.
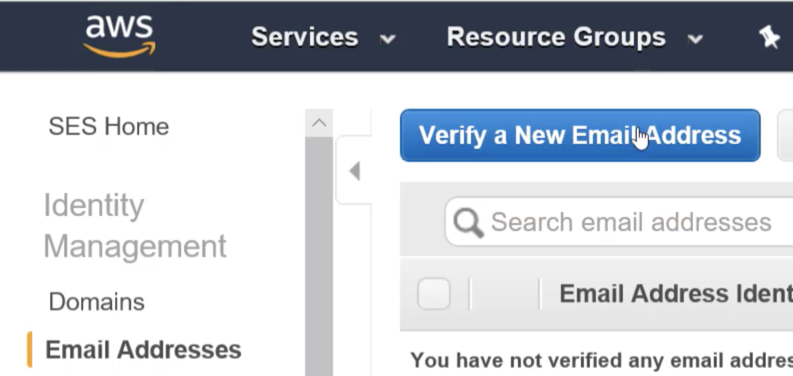
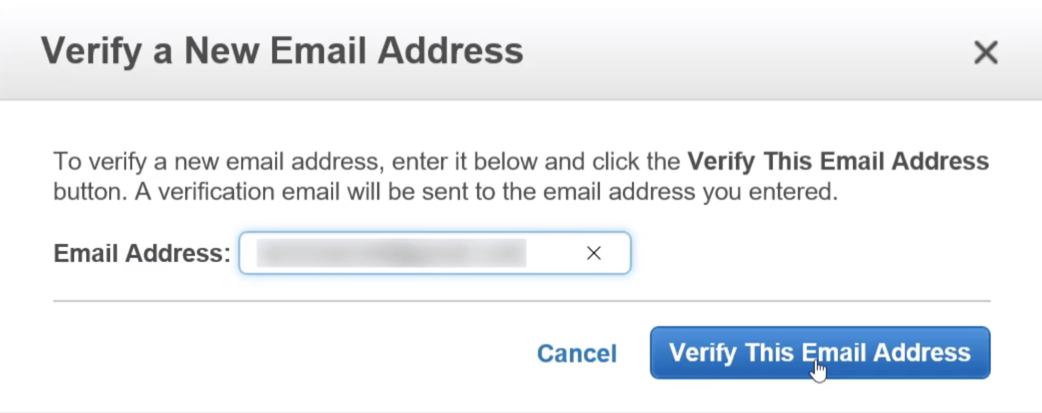
We currently don’t have any verified email addresses, so punch Verify a New Email Address.
![]()
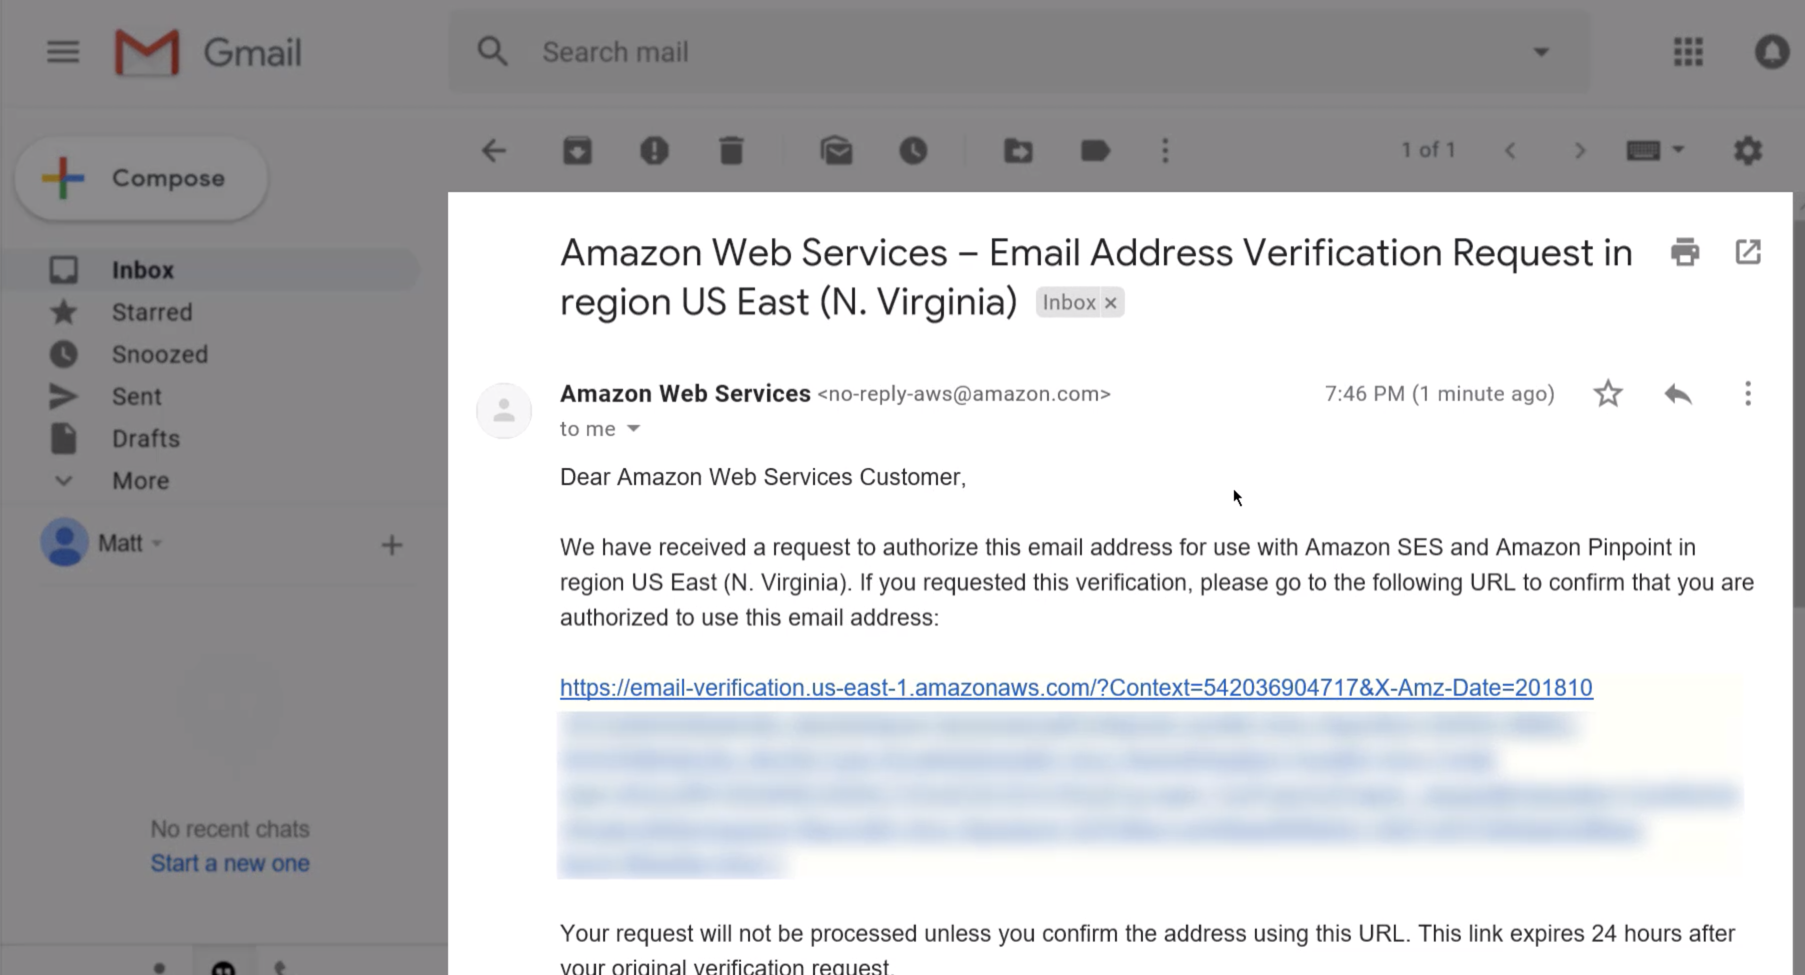
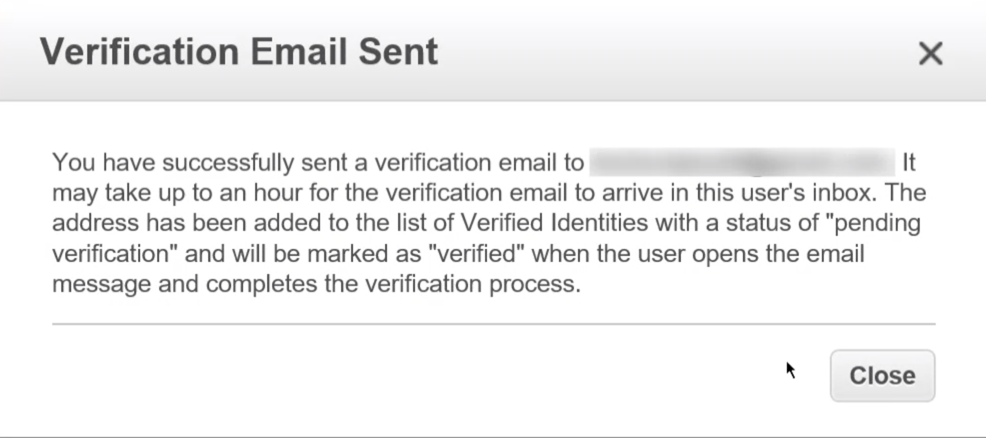
A dialog will appear telling us that the verification email has been sent to that address.
Let’s switch over to the email client.
Once that verification is complete, go back to the SES console.

Now, when I refresh my list.
you’re free to see that my new email address has a status of verified.
We’re now able to send an email.

Sending a Formatted Test Email
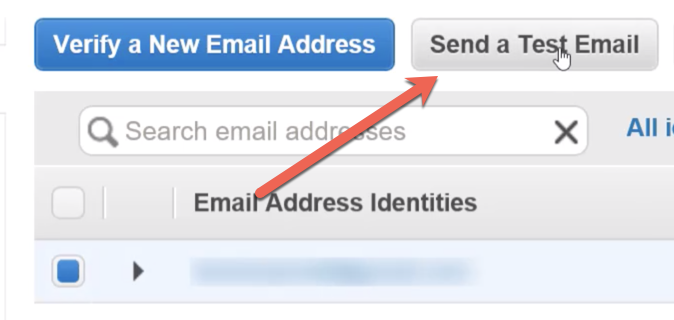
snag the verified email address and then click Send a Test Email.
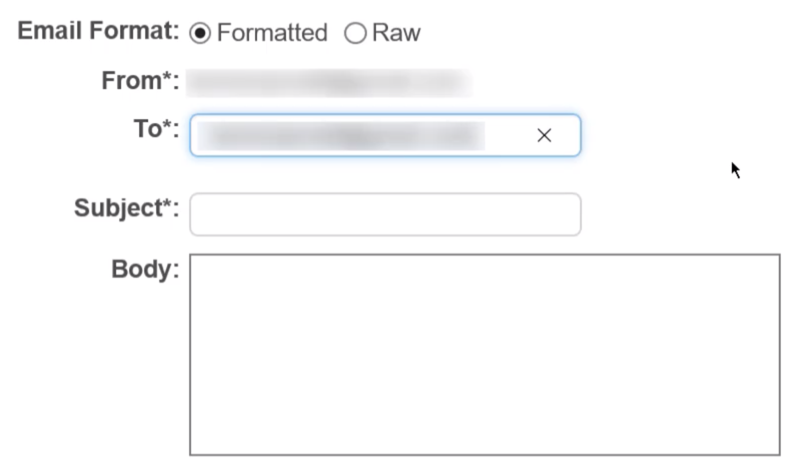
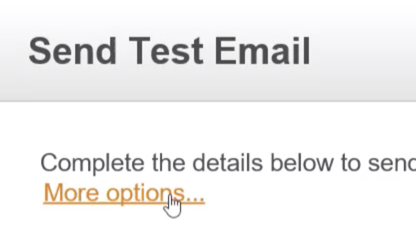
In this dialog we’re given a few options for email.
In the To field, input the email address you just verified.
you might later apply to move out of the sandbox to lift the recipient address restriction.
In the subject, input SES formatted test and then add some text in the body.
Now press Send Test Email.
You should receive an email.
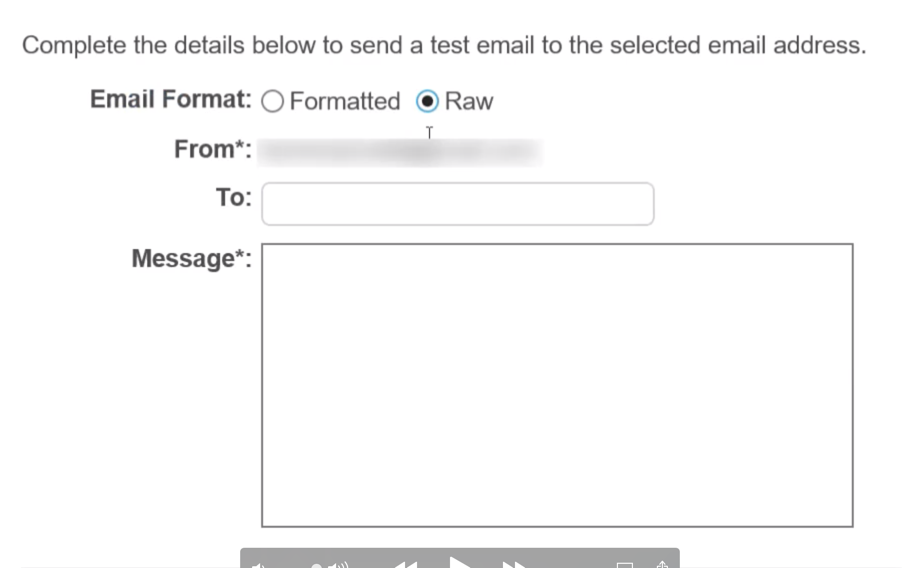
Sending a Raw Email
Let’s now send a raw formatted email.
I’m going to send this email to the same verified address again.
These fields will need to be specified in the message box.
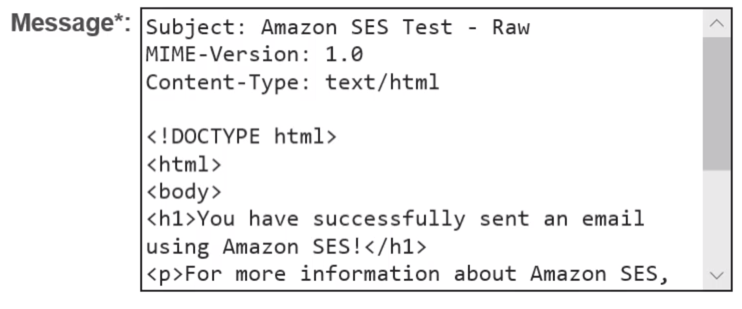
I’m going to paste some sample formatted text for this email.
Notice that I’m specifying the subject within the message field.
This is also where you would specify some of the other options you saw earlier under More Options.
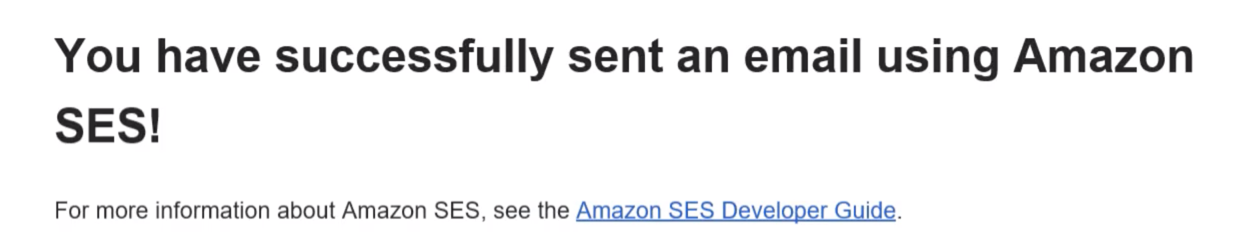
Send the email and then check your email client.
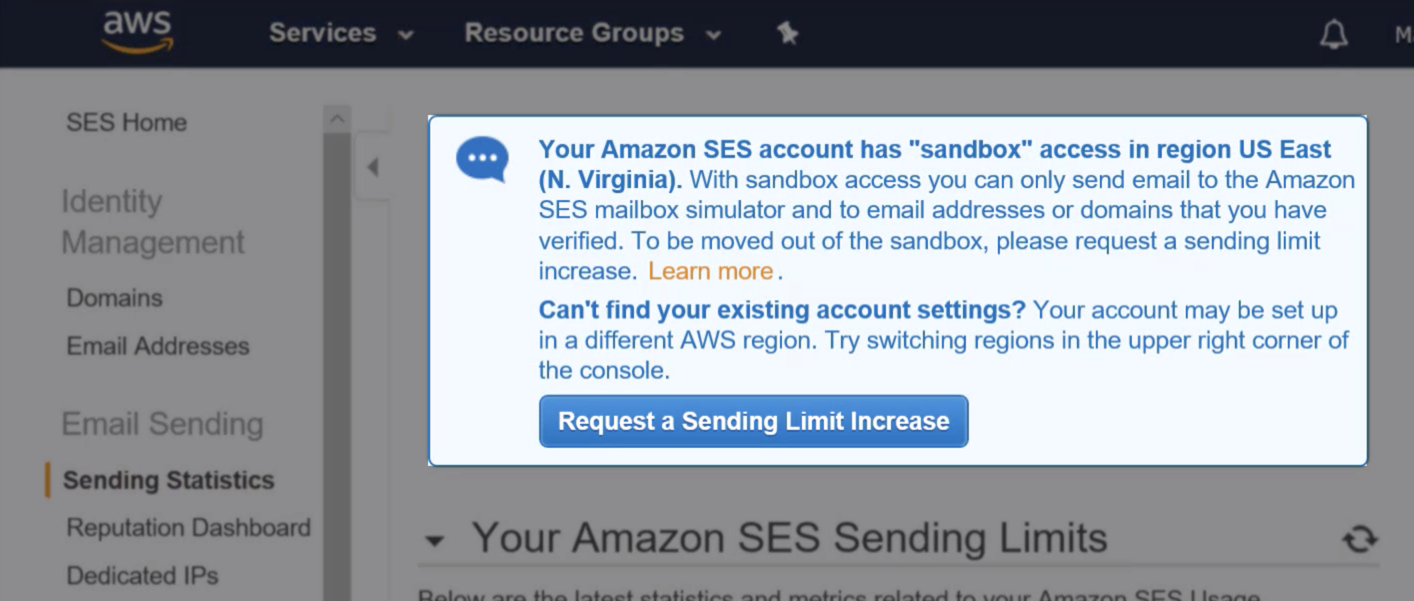
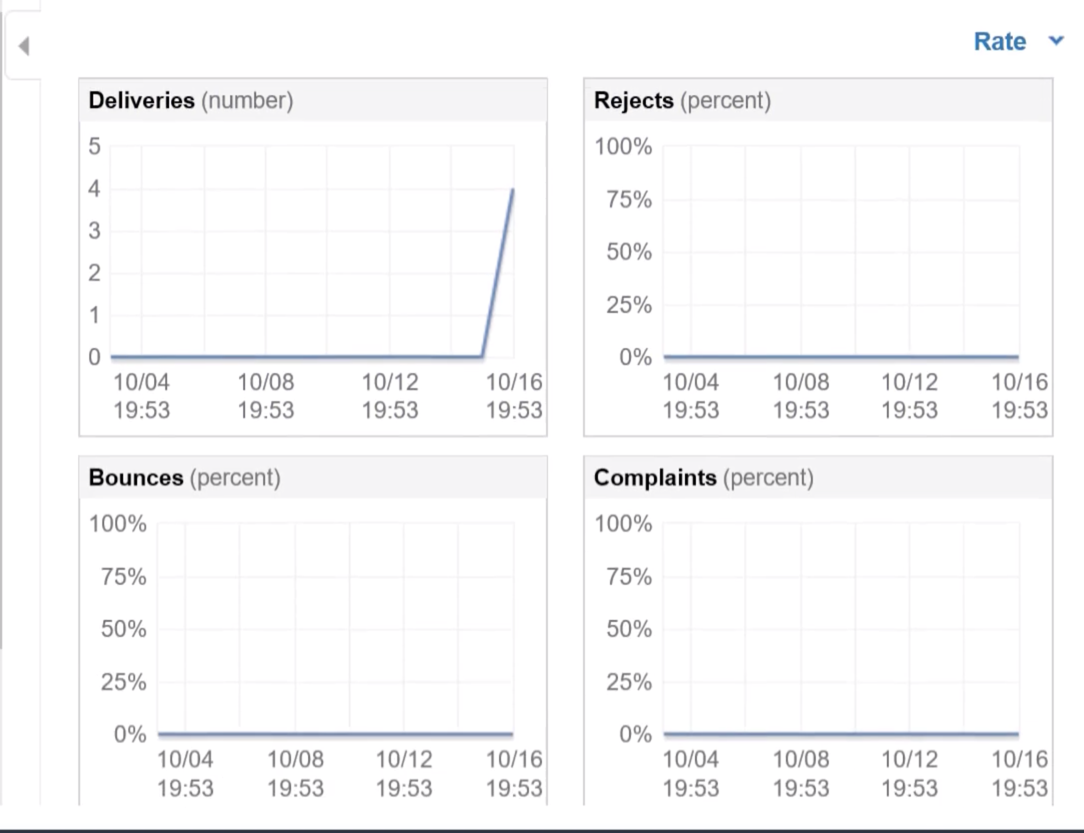
SES Sending Statistics
Going back to the SES console, punch Sending Statistics.
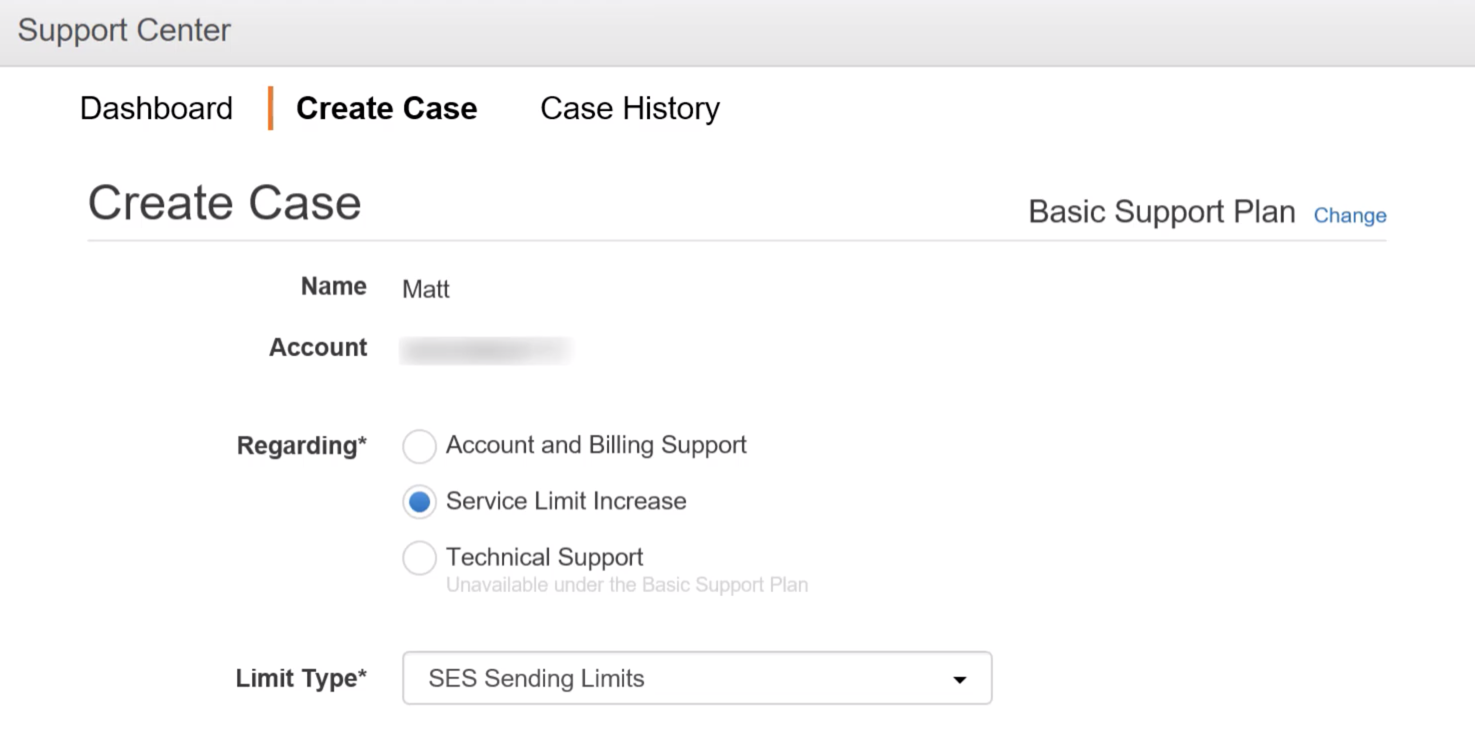
To start sending emails without the sandbox limitation, you will need to select Request a Sending Limit Increase.
Then you’ll need to fill out this form to submit a new case.
I’m not going to go through that here.

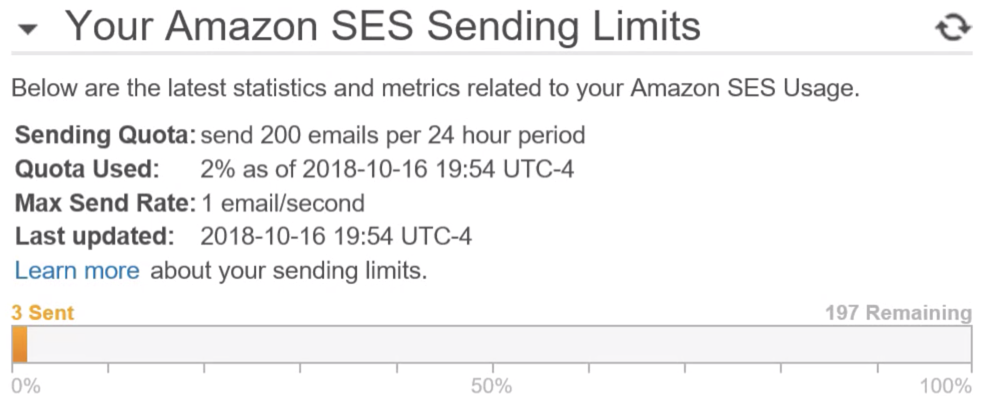
you’ve got the option to see here how you’re doing on our current sending limit.
Summary
Amazon’s SES feature is a great way to send emails in bulk.