Quick Links
Microsoft SQL Server management is often a difficult and time-consuming task.
To address challenges such as performance tuning, scalability, and updates, Microsoft introduced theAzure SQL Managed Instance.
Azure SQL Managed Instances take the difficulty out of managing a SQL environment.
It uses an evergreen Microsoft SQL, which always uses the latest version and features.
SQL upgrades, patching, and security are fully managed and automated.
High availability, disaster recovery, and automated backups make Managed SQL easy to administrator and use.

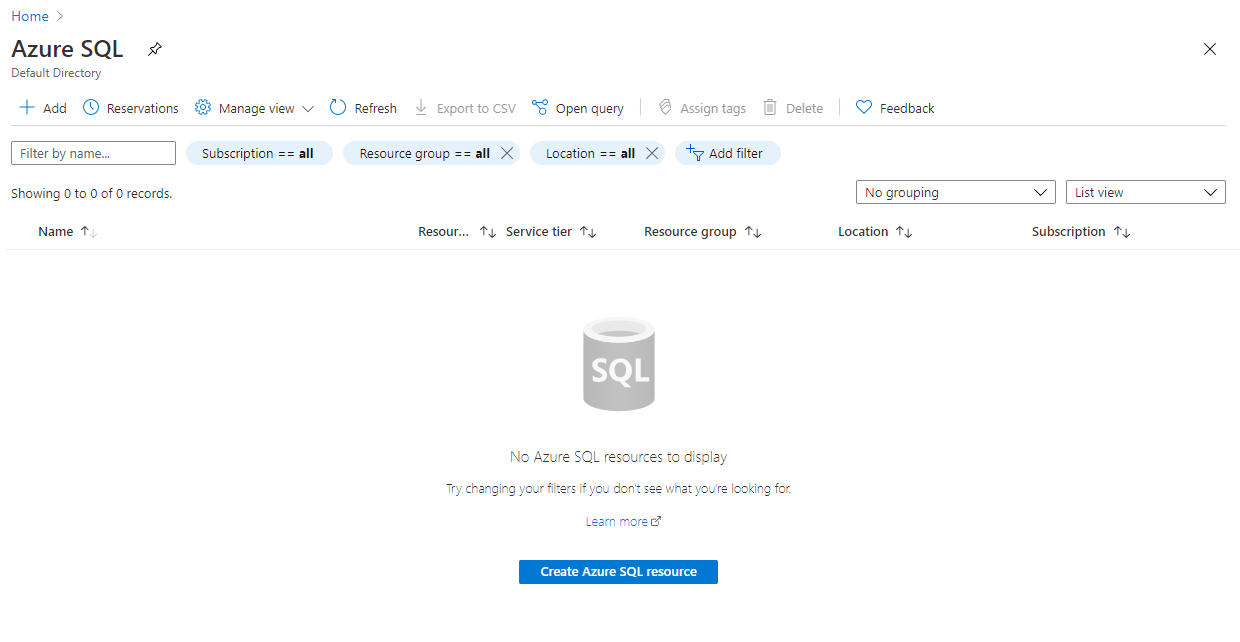
punch “Create Azure SQL resource” to get started.
A couple of options are available for SQL deployments.
In this case, we are going to work with the SQL managed instance.
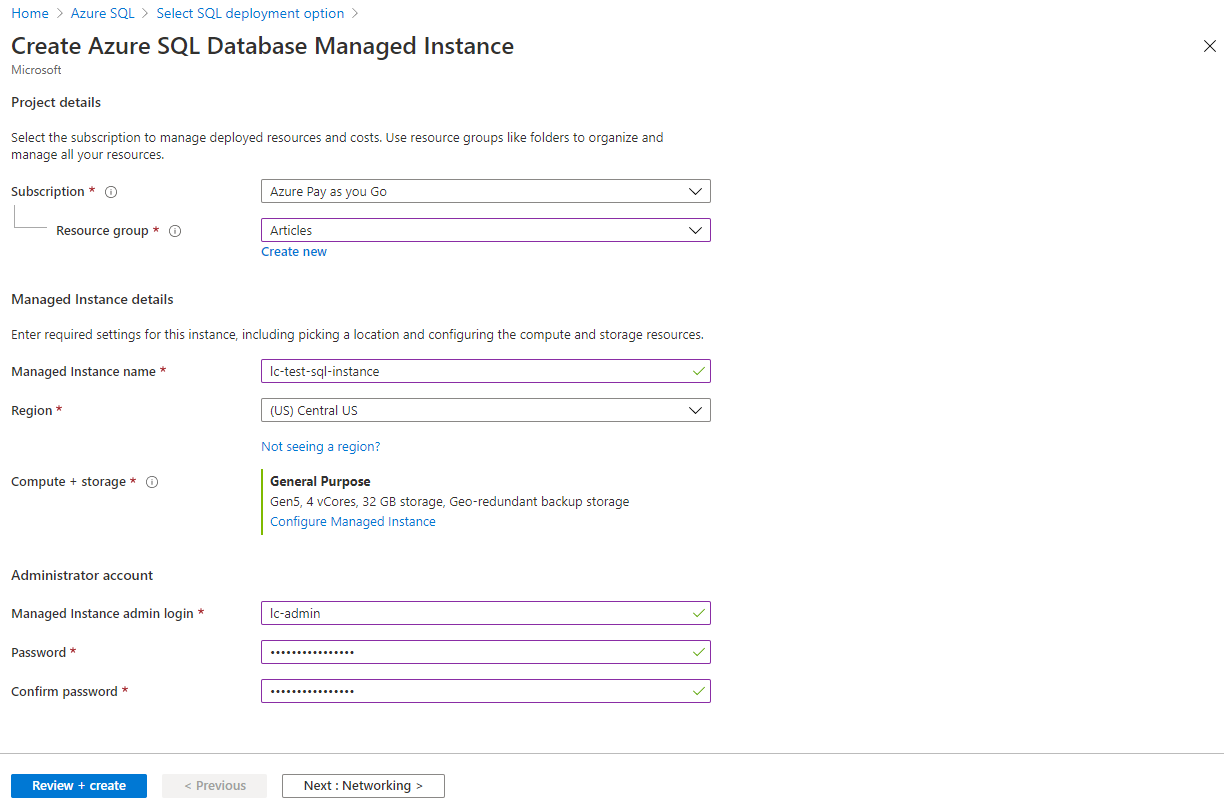
hit “Create” under the SQL managed instance option to start the provisioning wizard.
First, we need to enter a name, choose the region, and provide the administrator account details.
The administrator account is a SQL login jot down account, and can be connected to like so.
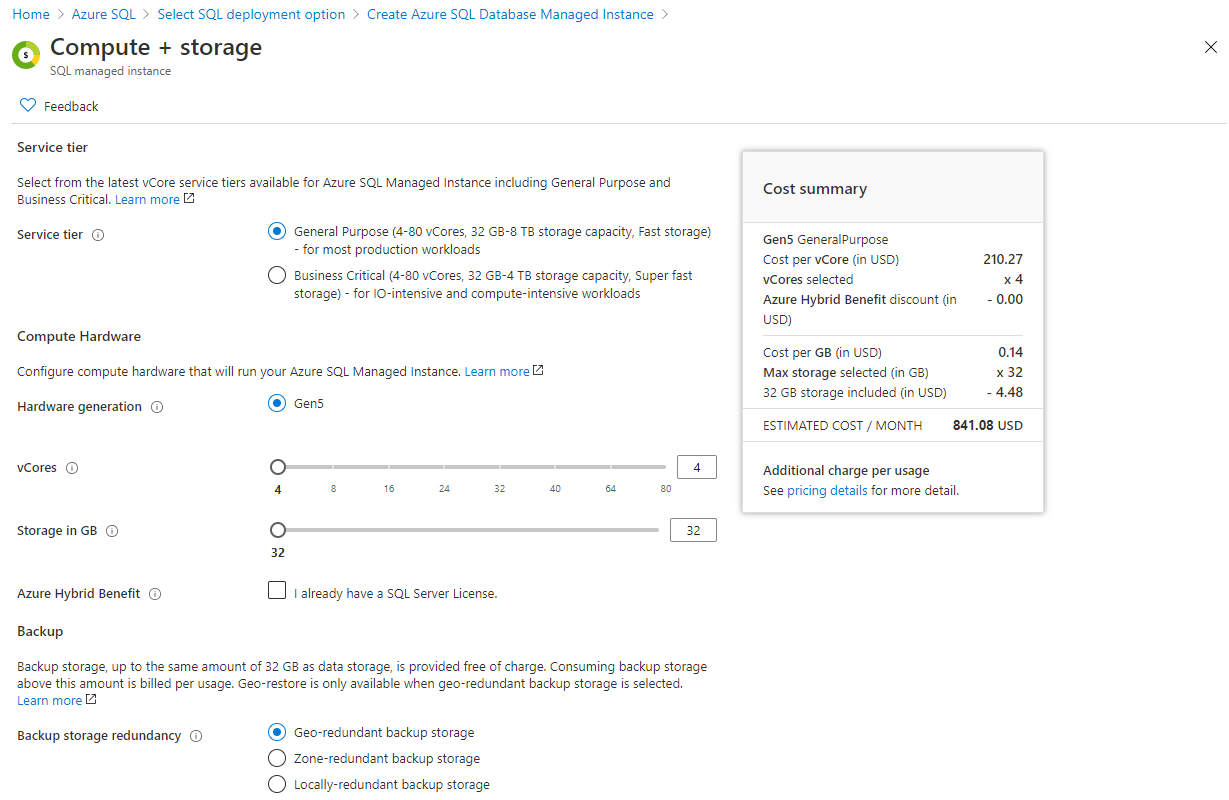
If you would like to change the compute resources provided, punch “Configure Managed Instance.”
First, we need to choose the key in of service tier and the compute hardware.
Balanced against the time savings with patching and management, this very well could easily pay for itself.
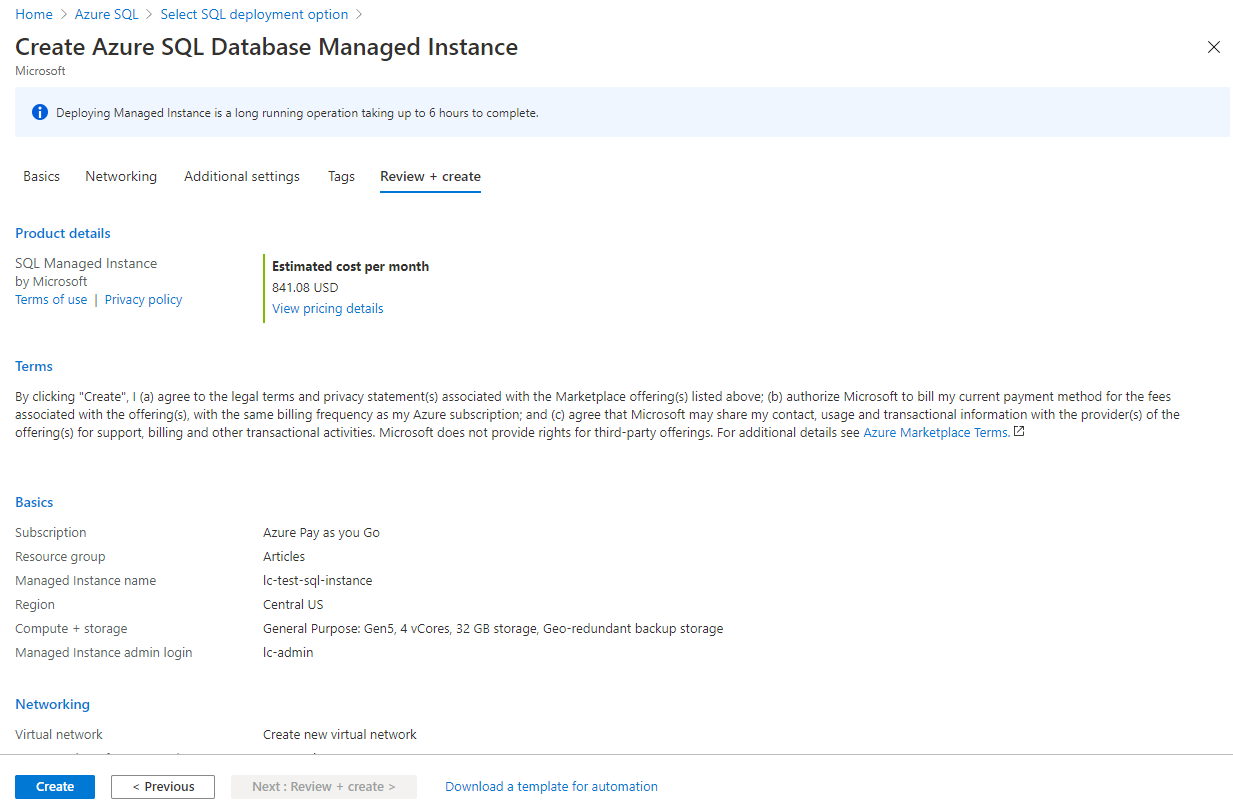
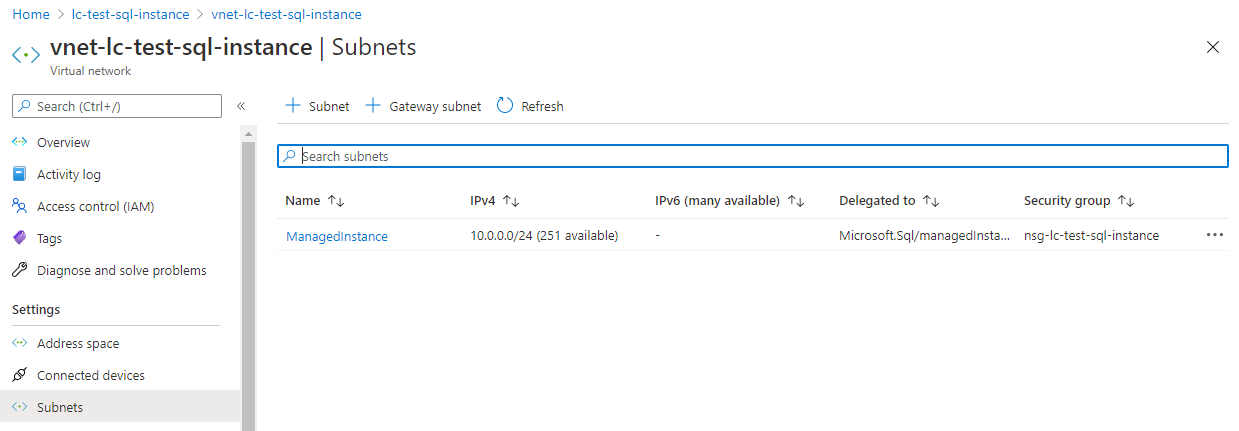
Networking, additional prefs, and tags will all be created with their defaults in this article.
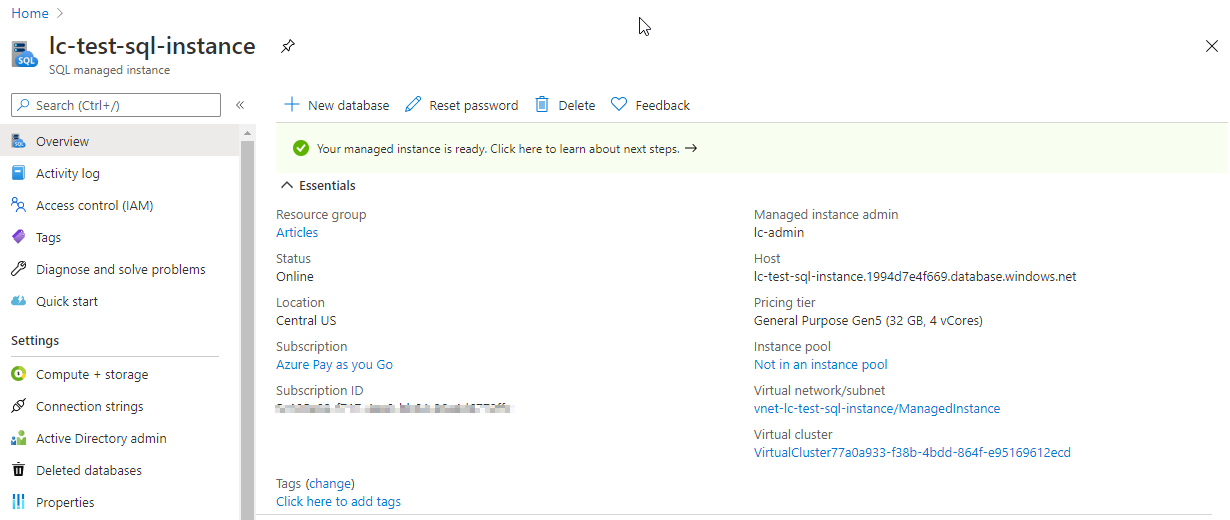
Finally, create the SQL managed instance.
Word of caution, this process can take up to 6 hours, per their documentation.
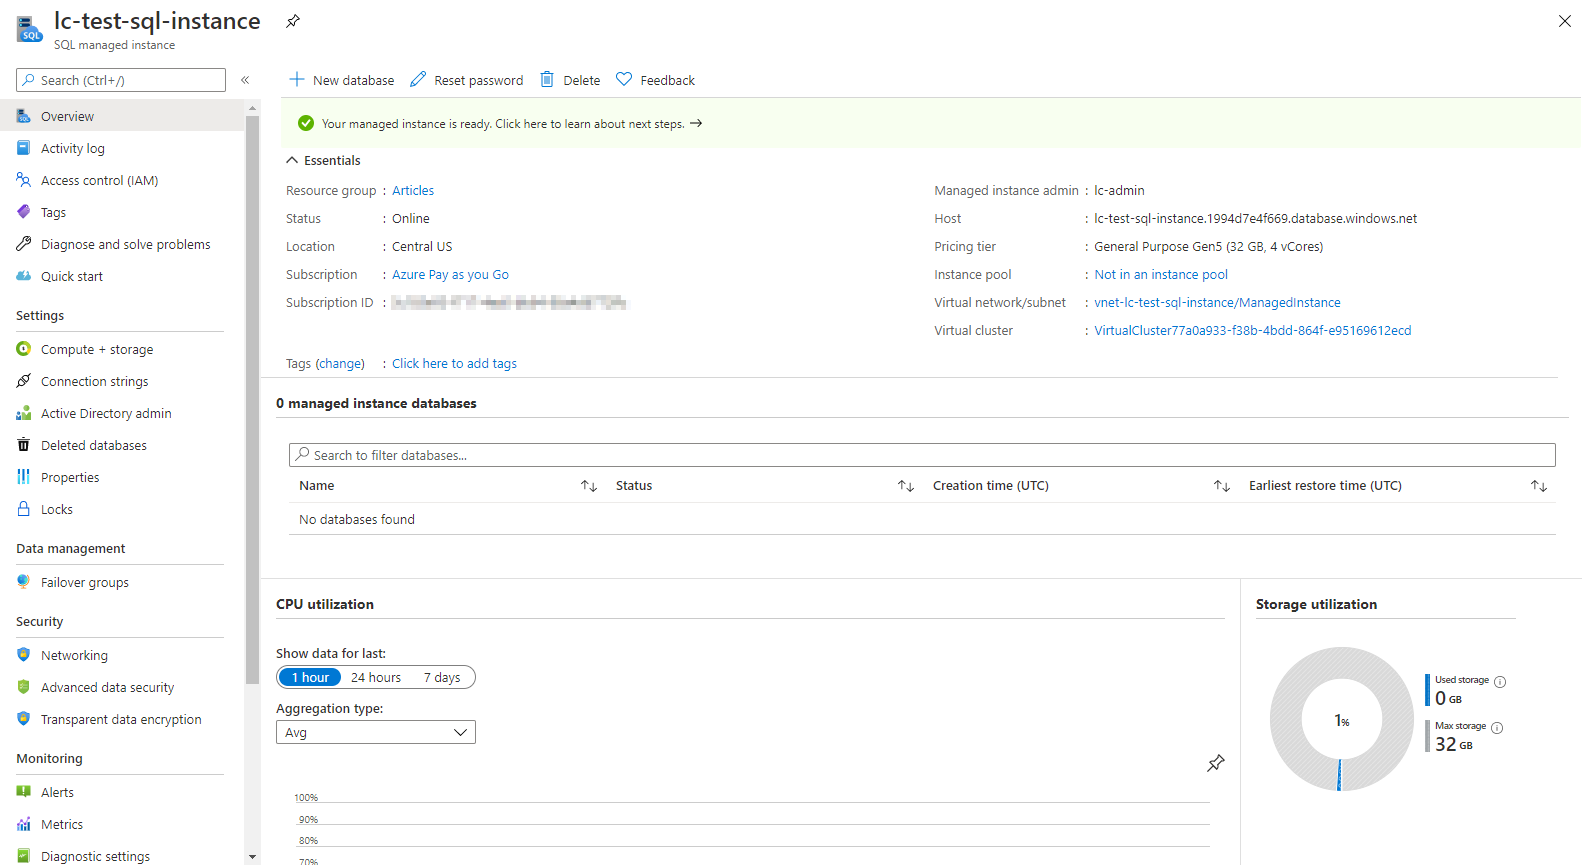
During the creation of this instance, it took about 2 hours to fully provision.
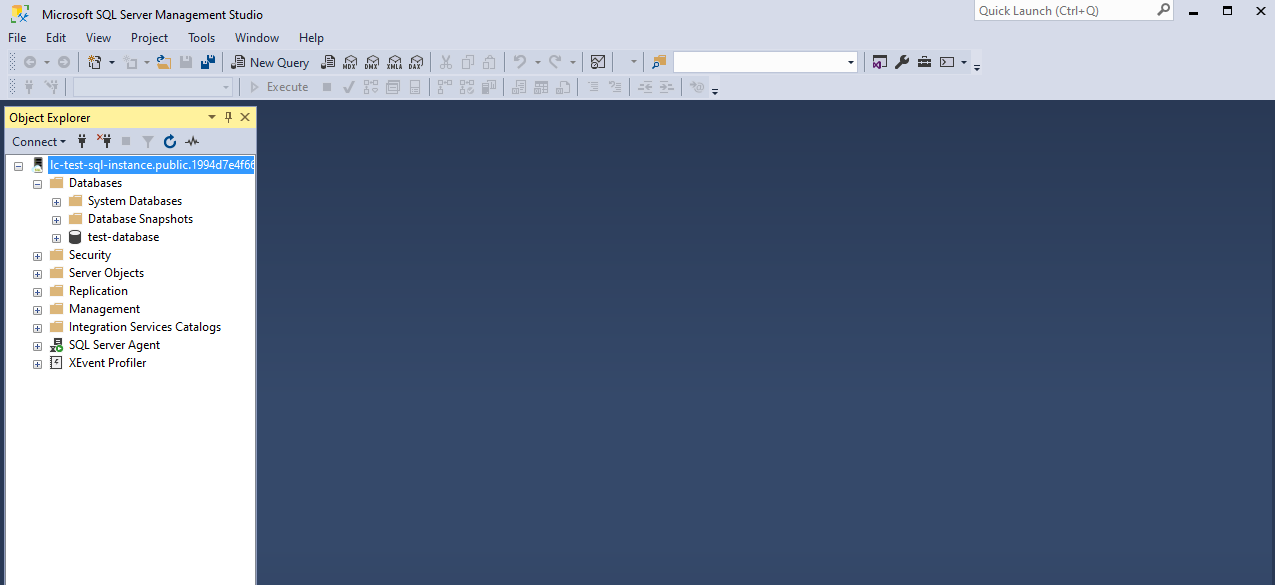
punch the New Database option to quickly provision a database.
Simply provide a name and select “Create.”
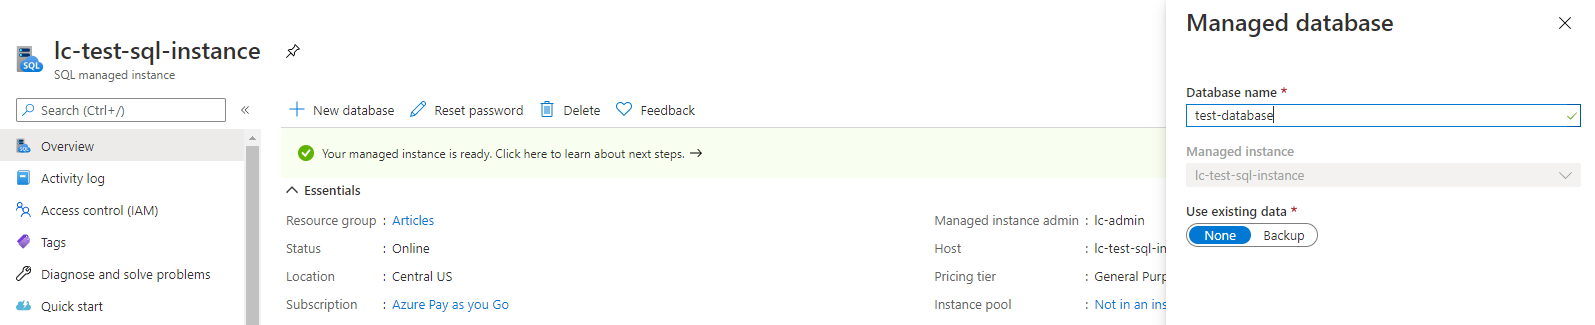
This will immediately create the database and make it available.
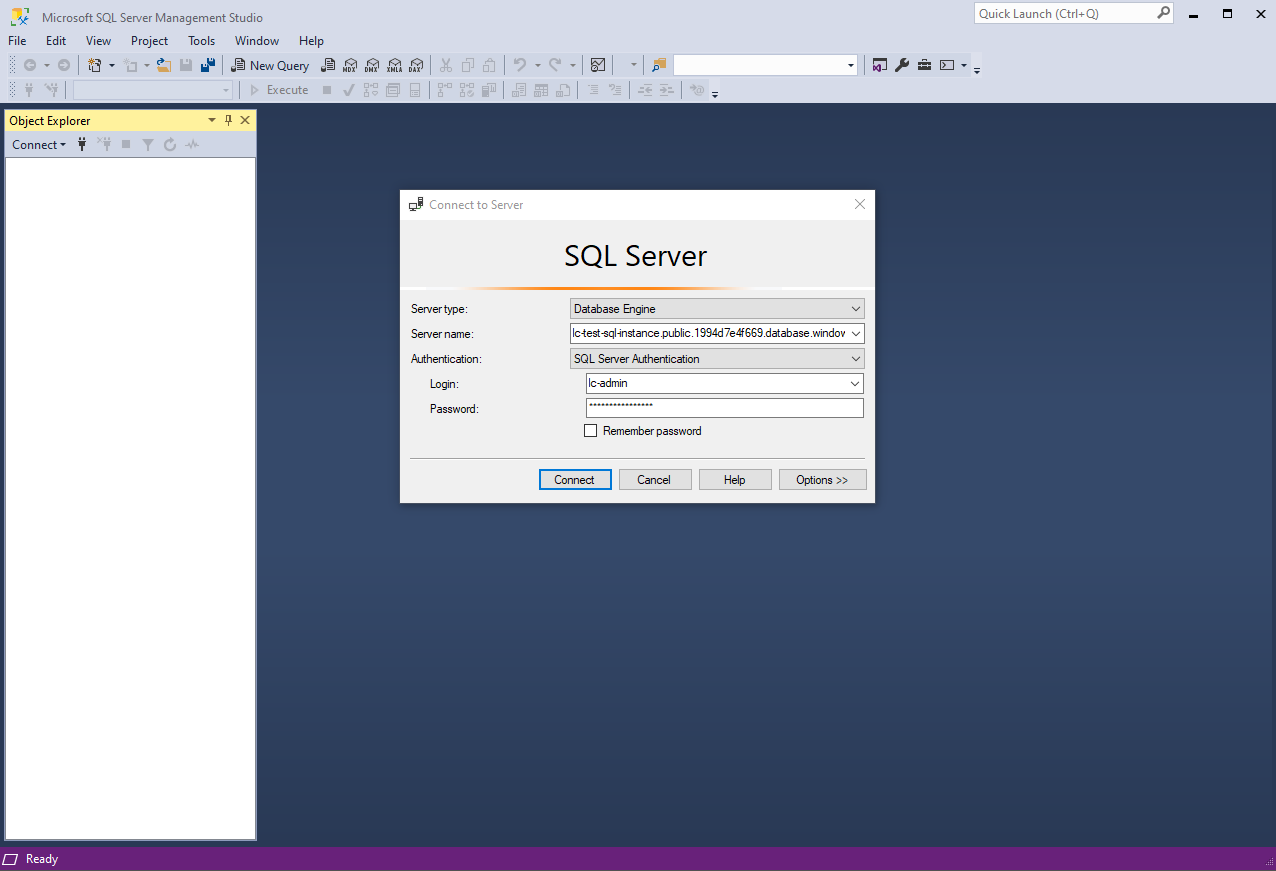
Connecting via Public Endpoint
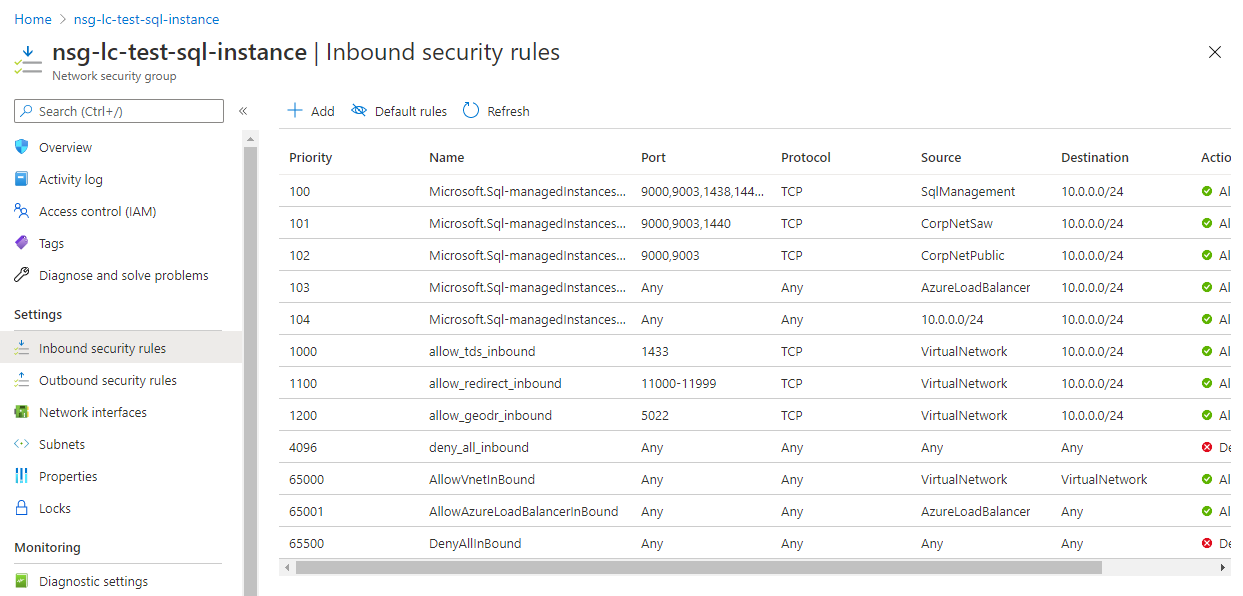
There are a number of ways to connect to this instance.
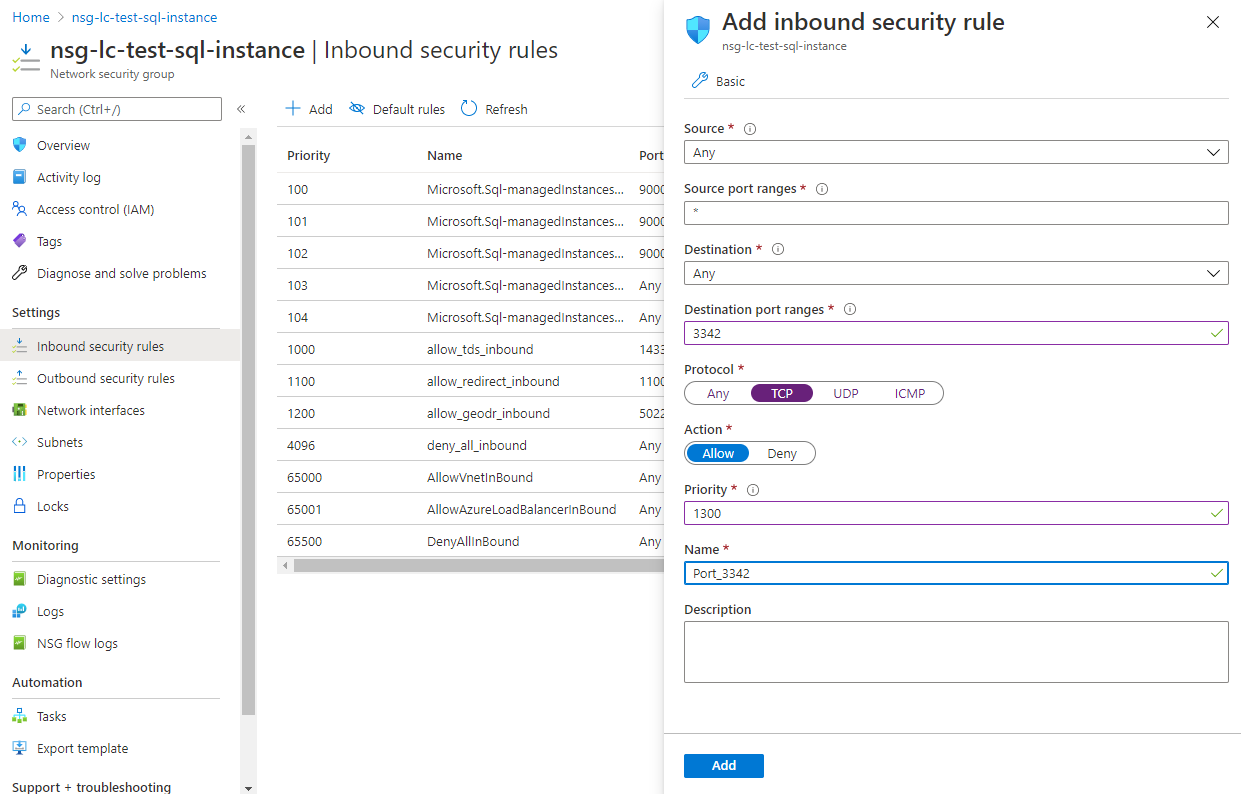
For ease of management, we will demonstrate how to allow the remote endpoint option.
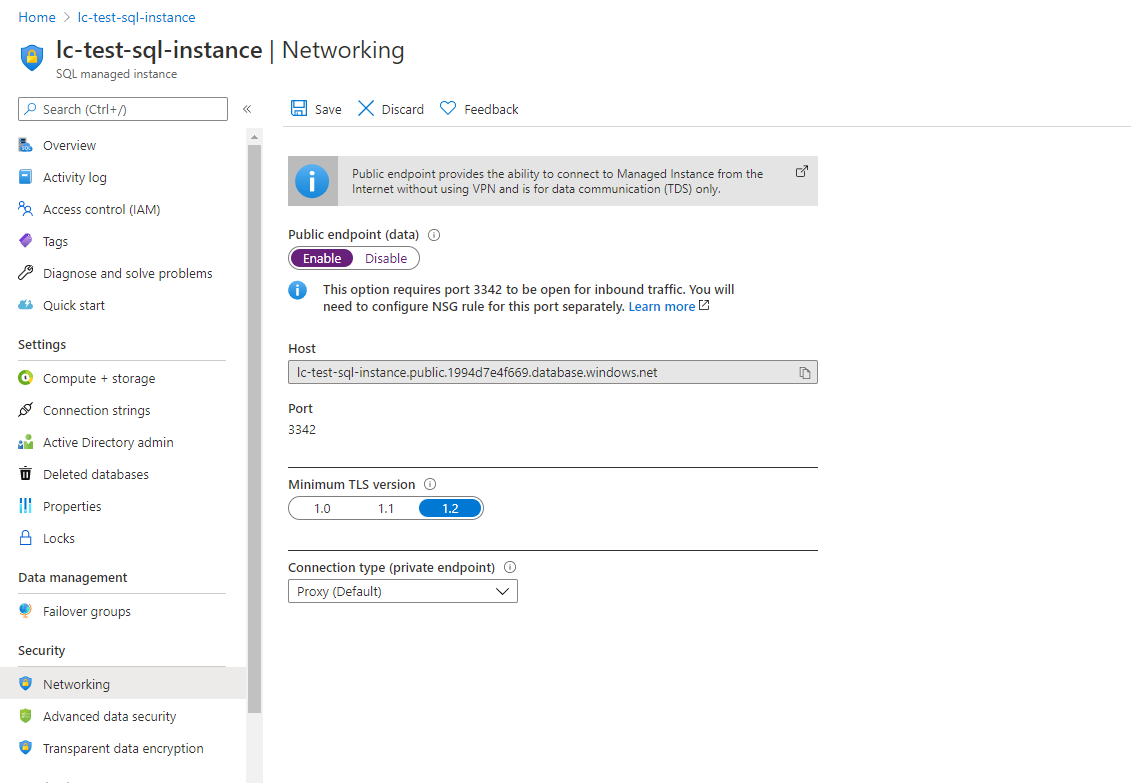
Choose “Enable” on the public endpoint (data) option and hit “Save.”
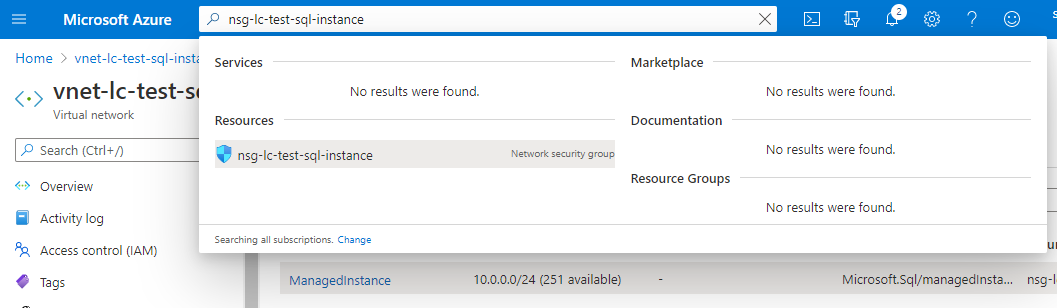
In this case, this is named
.
press the found resource to navigate to the page.
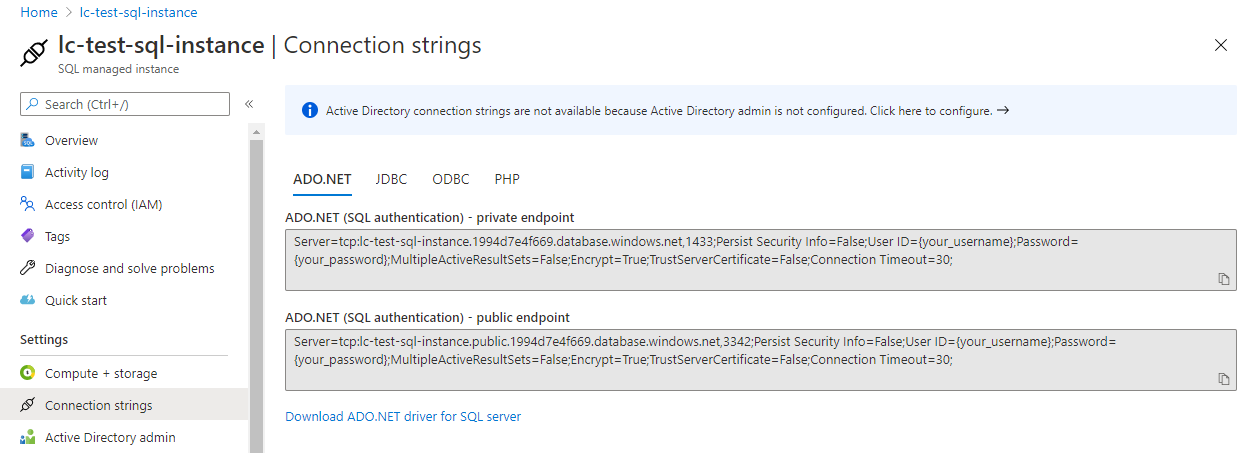
In theADO.NETsection, you will see that the second section has the public endpoint.
The value that you will need, as shown below, is the following.
SQL uses the,instead of the typical:to denote port.
Conclusion
Azure SQL Managed Instances provide a powerful and easy-to-use SQL instance to use.