It may be intimidating, but it can be mastered, and surely is not impossible to use.
Keep reading for tips and videos to help.
Creating straight lines between points is as simple as clicking single points with your mouse or stylus.
Curved lines are a little more complex, and the main reason behind most users frustration.
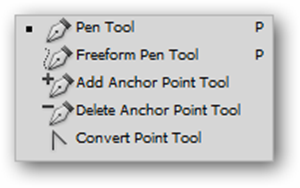
Freeform Pen Tool: Photoshop only.
The Freeform Pen Tool allows you to draw with your mouse or stylus.

When you release your drawn line, Photoshop will create a path based on your drawn line.
Simply select this tool and click or click and drag to add new points to it.
Select this tool and click any point you’ve drawn on any line to delete it.
Convert Point Tool: With the Pen Tool active, shortcut key
.
Useful for re-editing your lines and anchor points once you’ve drawn them.
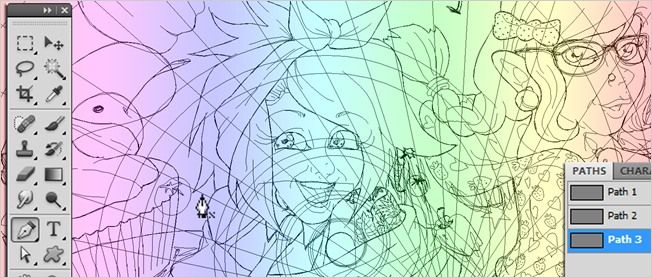
Similar to the layers panel, Photoshop works with various paths in these different containers within this panel.
Switching from Path 1 to Path 2 will make any lines drawn for Path 1 disappear from the screen.
Photoshop will only show one of these active paths at a time.
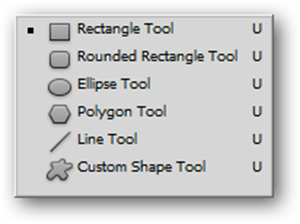
Rectangle Tool, et al: A set of tools that draws regular vector shapes.

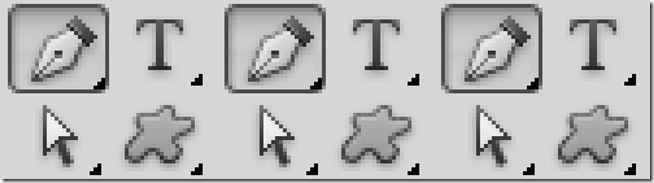
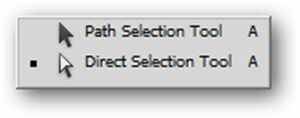
With the Pen Tool selected, use the shortcut key
to pick the Direct Selection arrow.
This will allow you to move points and anchors around, changing your curves and location of your lines.
plus clicking and dragging will allow you to add curving points to a line.
Watch and rewatch it, as all of these techniques are very useful in drawing accurate lines.
It does not come immediately and is frustrating at times.
It can be helpful to see how certain complex curved shapes are drawn, as in the video above.
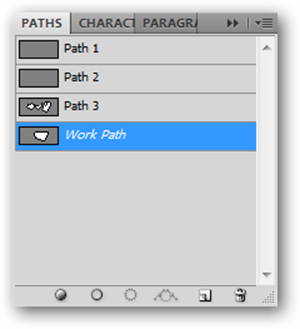
Image Credits: All artwork copyright the author.
like do not use without permission.
Pixels versus Vectors image credited inits original article.