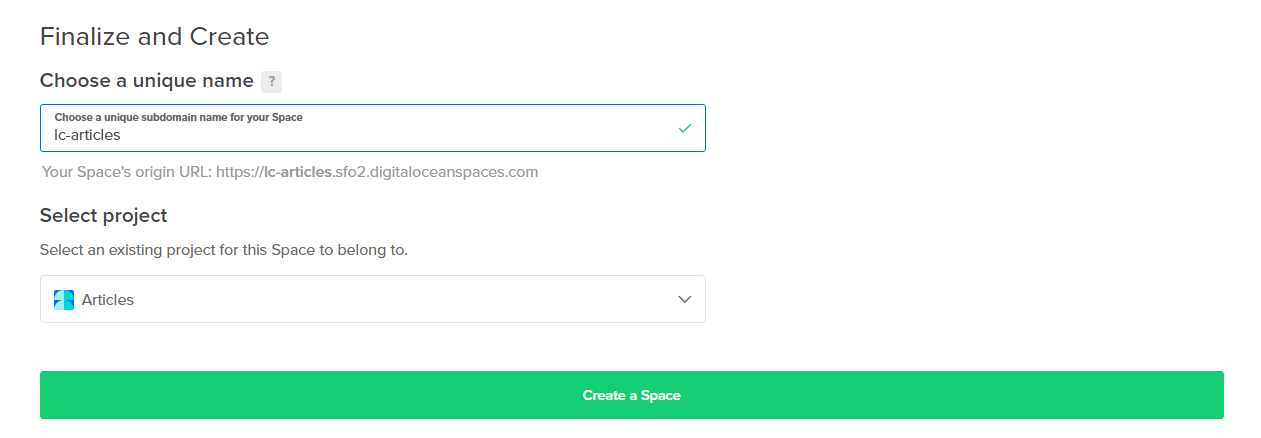
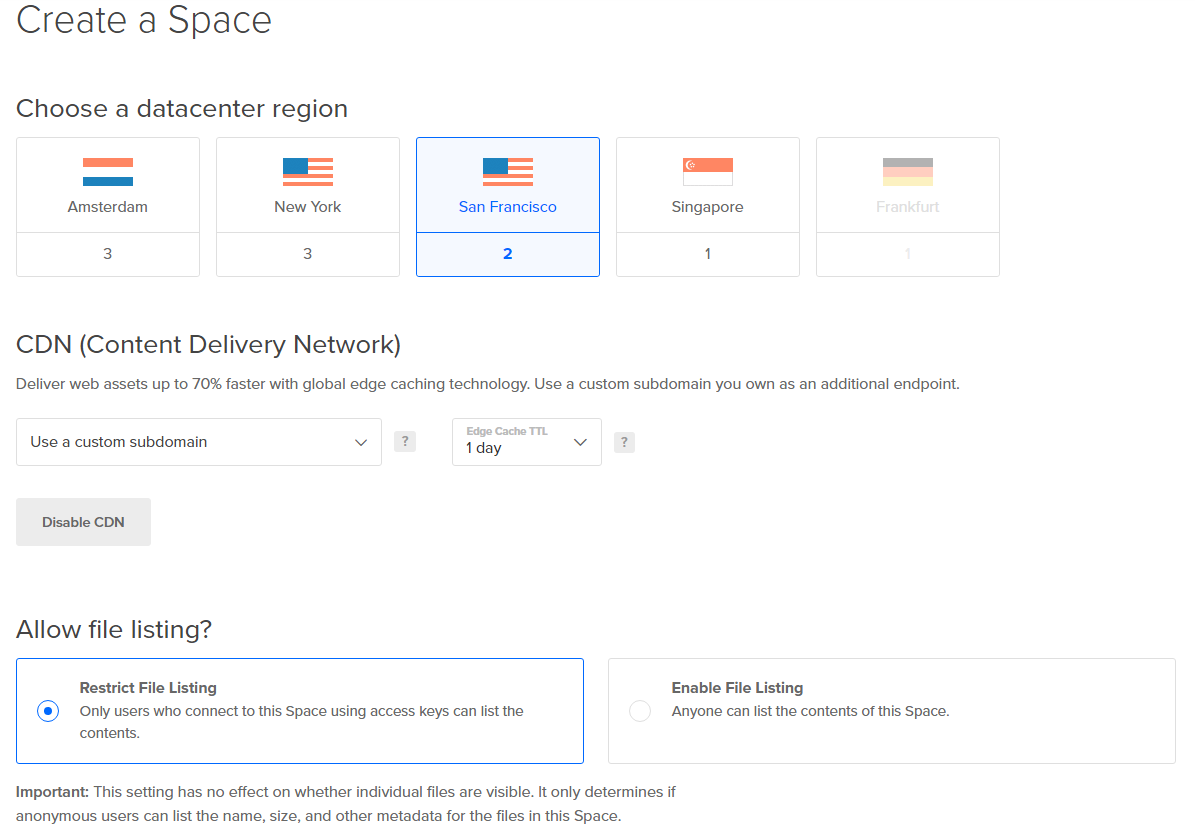
Next we will press theCreate a Spacebutton to provision our Space.
Clicking on prefs shows all the configurations that we can modify.
Several additional features here are very useful.

Notably the Purge Cache option and the CORS configurations.
Enter a name to identify the access key.
Once saved, you will be presented with the key and the associated secret.

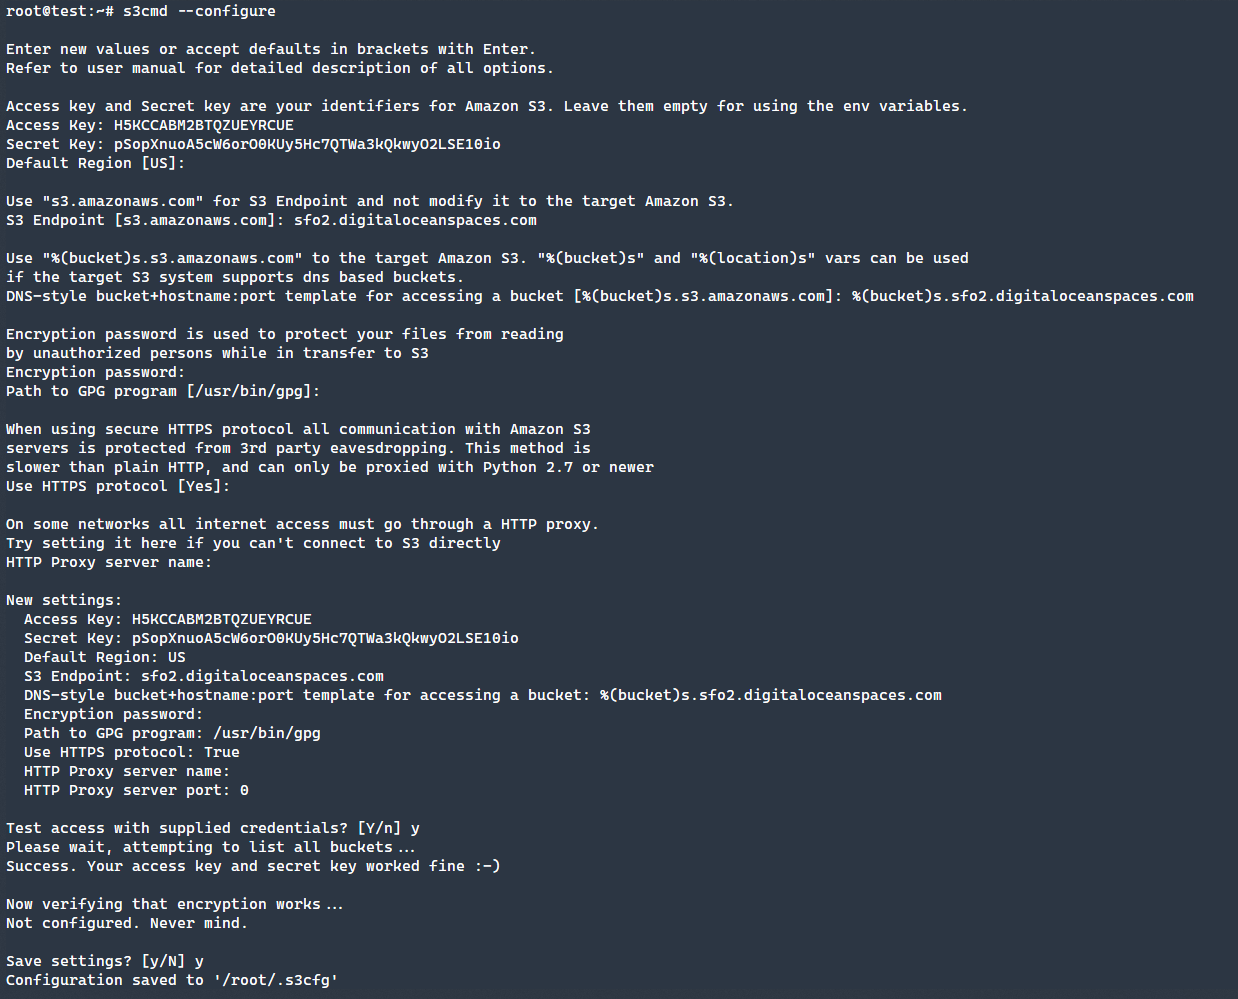
We will use these two values to connect to the DigitalOcean Space that we created.
The easiest way to get started is to use the
command.
There are a number of different configs that we need to configure.
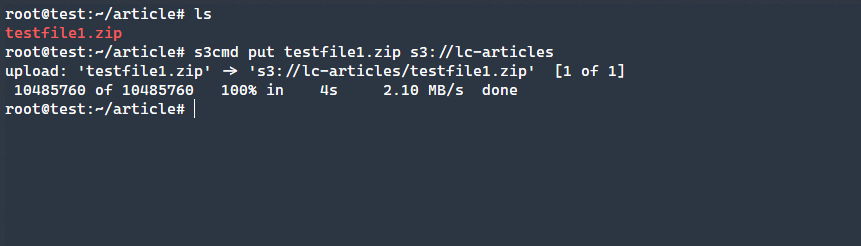
We can verify that this works by simply running the command
.
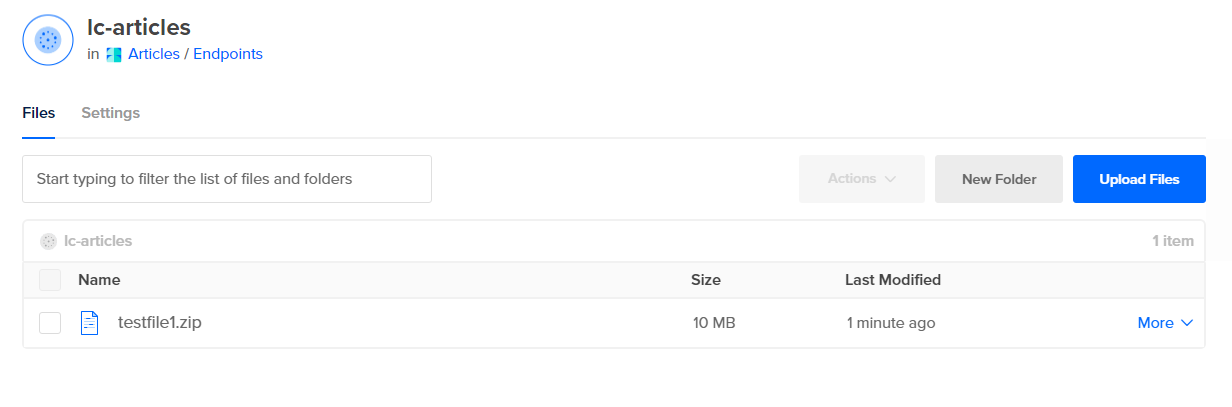
Additionally, it’s possible for you to verify this in the GUI as well.
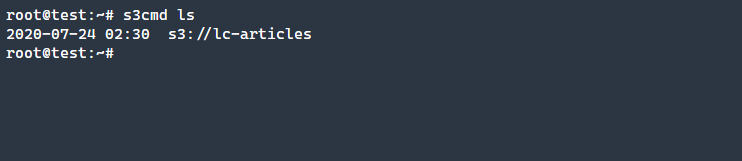
Listing Files
How can we list what available files are currently located in the Space?

Much like the standard Linux command ofls, we use a similar one with S3Cmd.
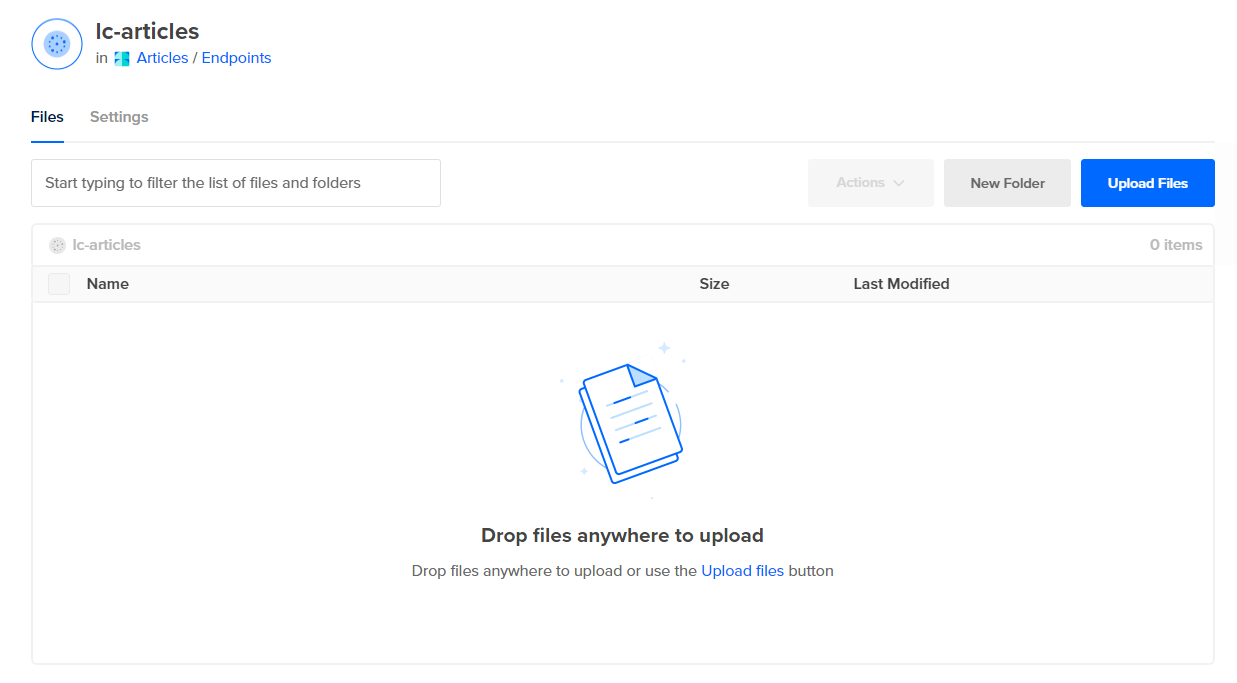
Removing Files
Removing files is just as easy as the prior operations.
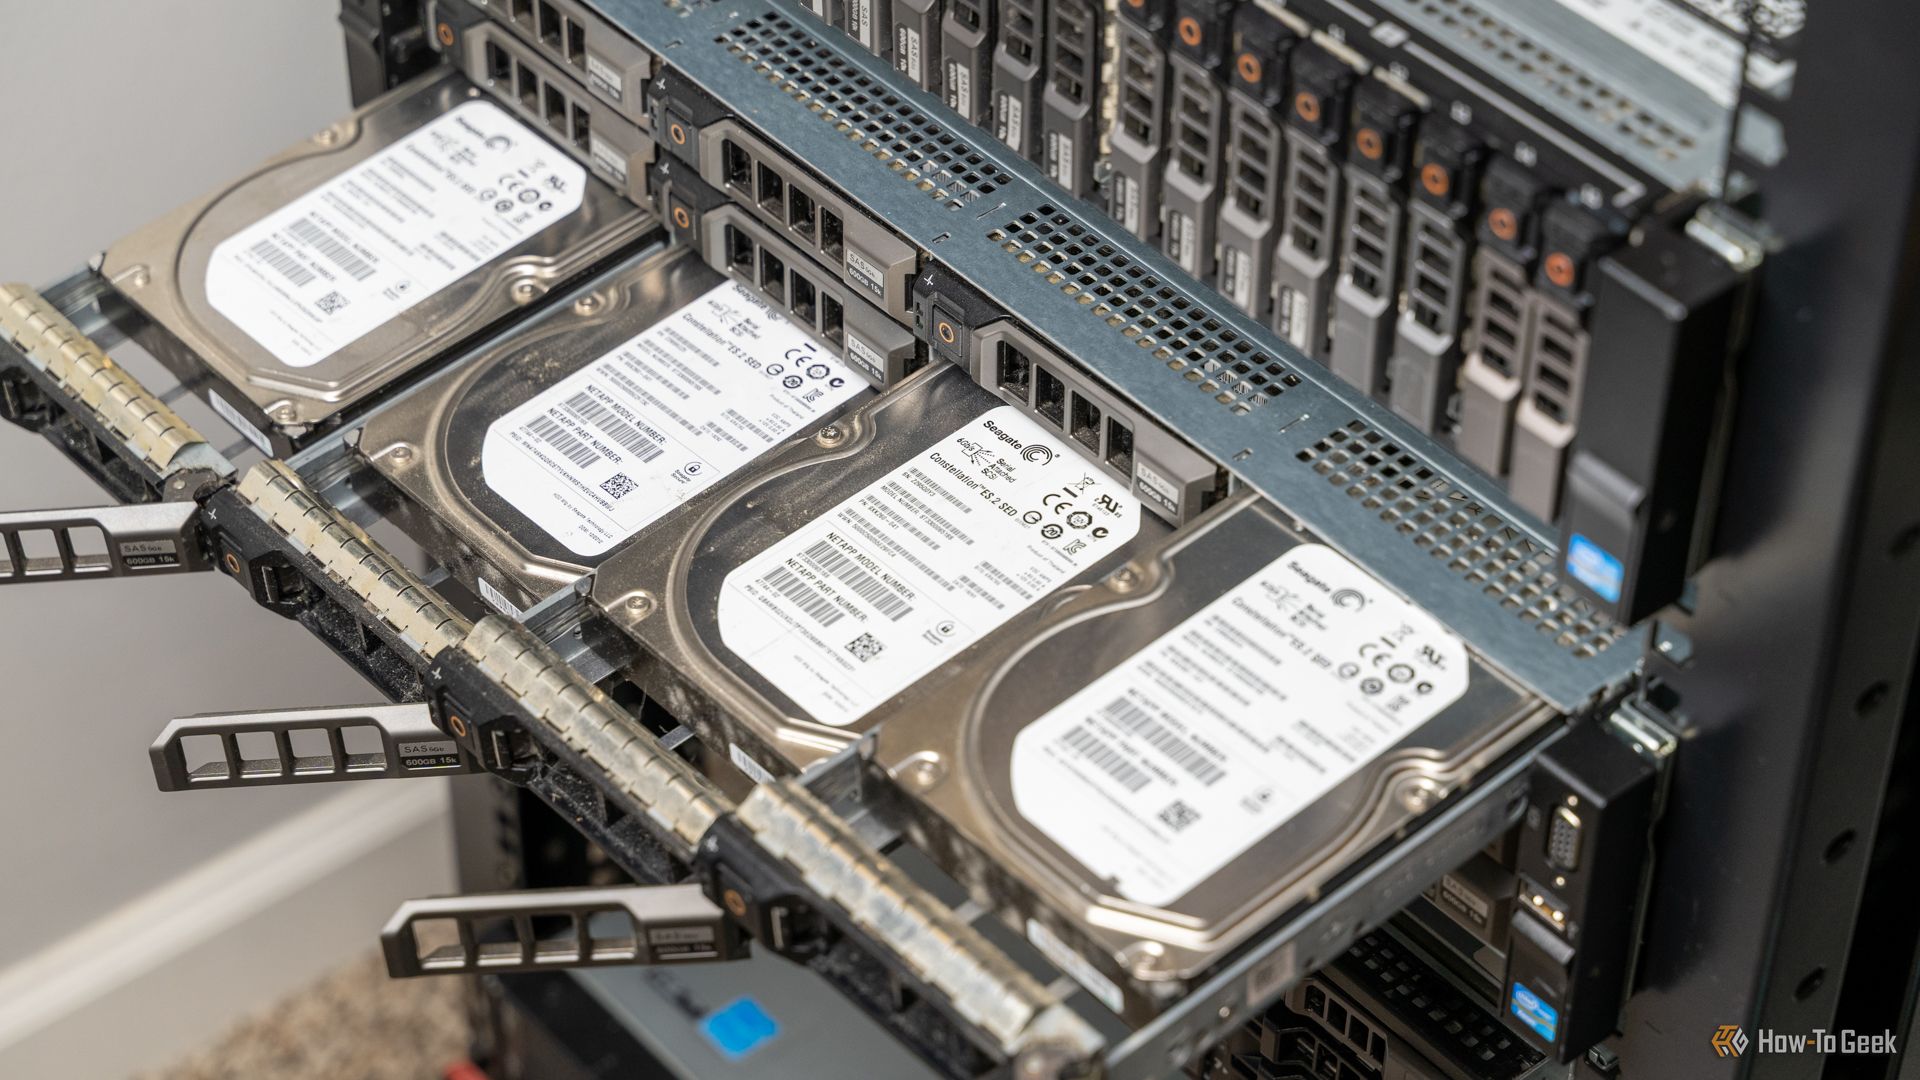
One of the most popular use cases is that of storing system backups here.
Check out how quick it and easy it is to get started on the DigitalOcean site!