Summary
Rainmeter is the oldest desktop customization tool for Windows.
With a few simple clicks, Rainmeter can totally change the look of your boring old Windows desktop.
Rainmeter has a strong community built around it which shares resources and thousands of skins for free.
Lucas Gouveia / How-To Geek | Rainmeter |sdx15/ Shutterstock
I recommend checking out theRainmeter subredditor looking it up onDeviantArtto see what others have created with it.
I found these on the subreddit.
If this showcase piques your interest, lets go ahead and give Rainmeter a try on your gear.
Ill walk you through the step-by-step process of setting up a desktop using Rainmeter.
Installing Rainmeter
First, lets install Rainmeter.
you could do that using one of two ways: the command line or the regular executable installer.
The simplest way is using the good old executable installer.
Head over to theRainmeter downloadpage and save the installer file anywhere on your system.
Double-click to launch the installer and click Next a bunch of times to complete the installation.
Run Rainmeter when its done.
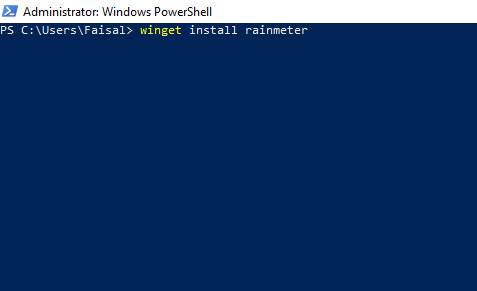
Alternatively, it’s possible for you to use the command line if your system already hasWingetorChocolateyset up.
I recommend setting up Winget on your setup to save yourself the hassle of installing apps the manual way.
Open Powershell as Administrator, pop in the following command, and hit Enter.
Wait for the installation to finish.
Once done, search rainmeter in the Start menu to launch the app.
So lets clear up our desktop to make room for a fresh theme.
Now lets hide the desktop icons.
Right click anywhere on the desktop, hover over View, and uncheck Show Desktop Icons.
The only thing left to deal with is the Taskbar.
To auto-hide it, right-choose the taskbar and click Taskbar controls.
On the options page, toggle Automatically Hide Taskbar in Desktop Mode.
With that, we have a completely blank canvas, ready for our theme.
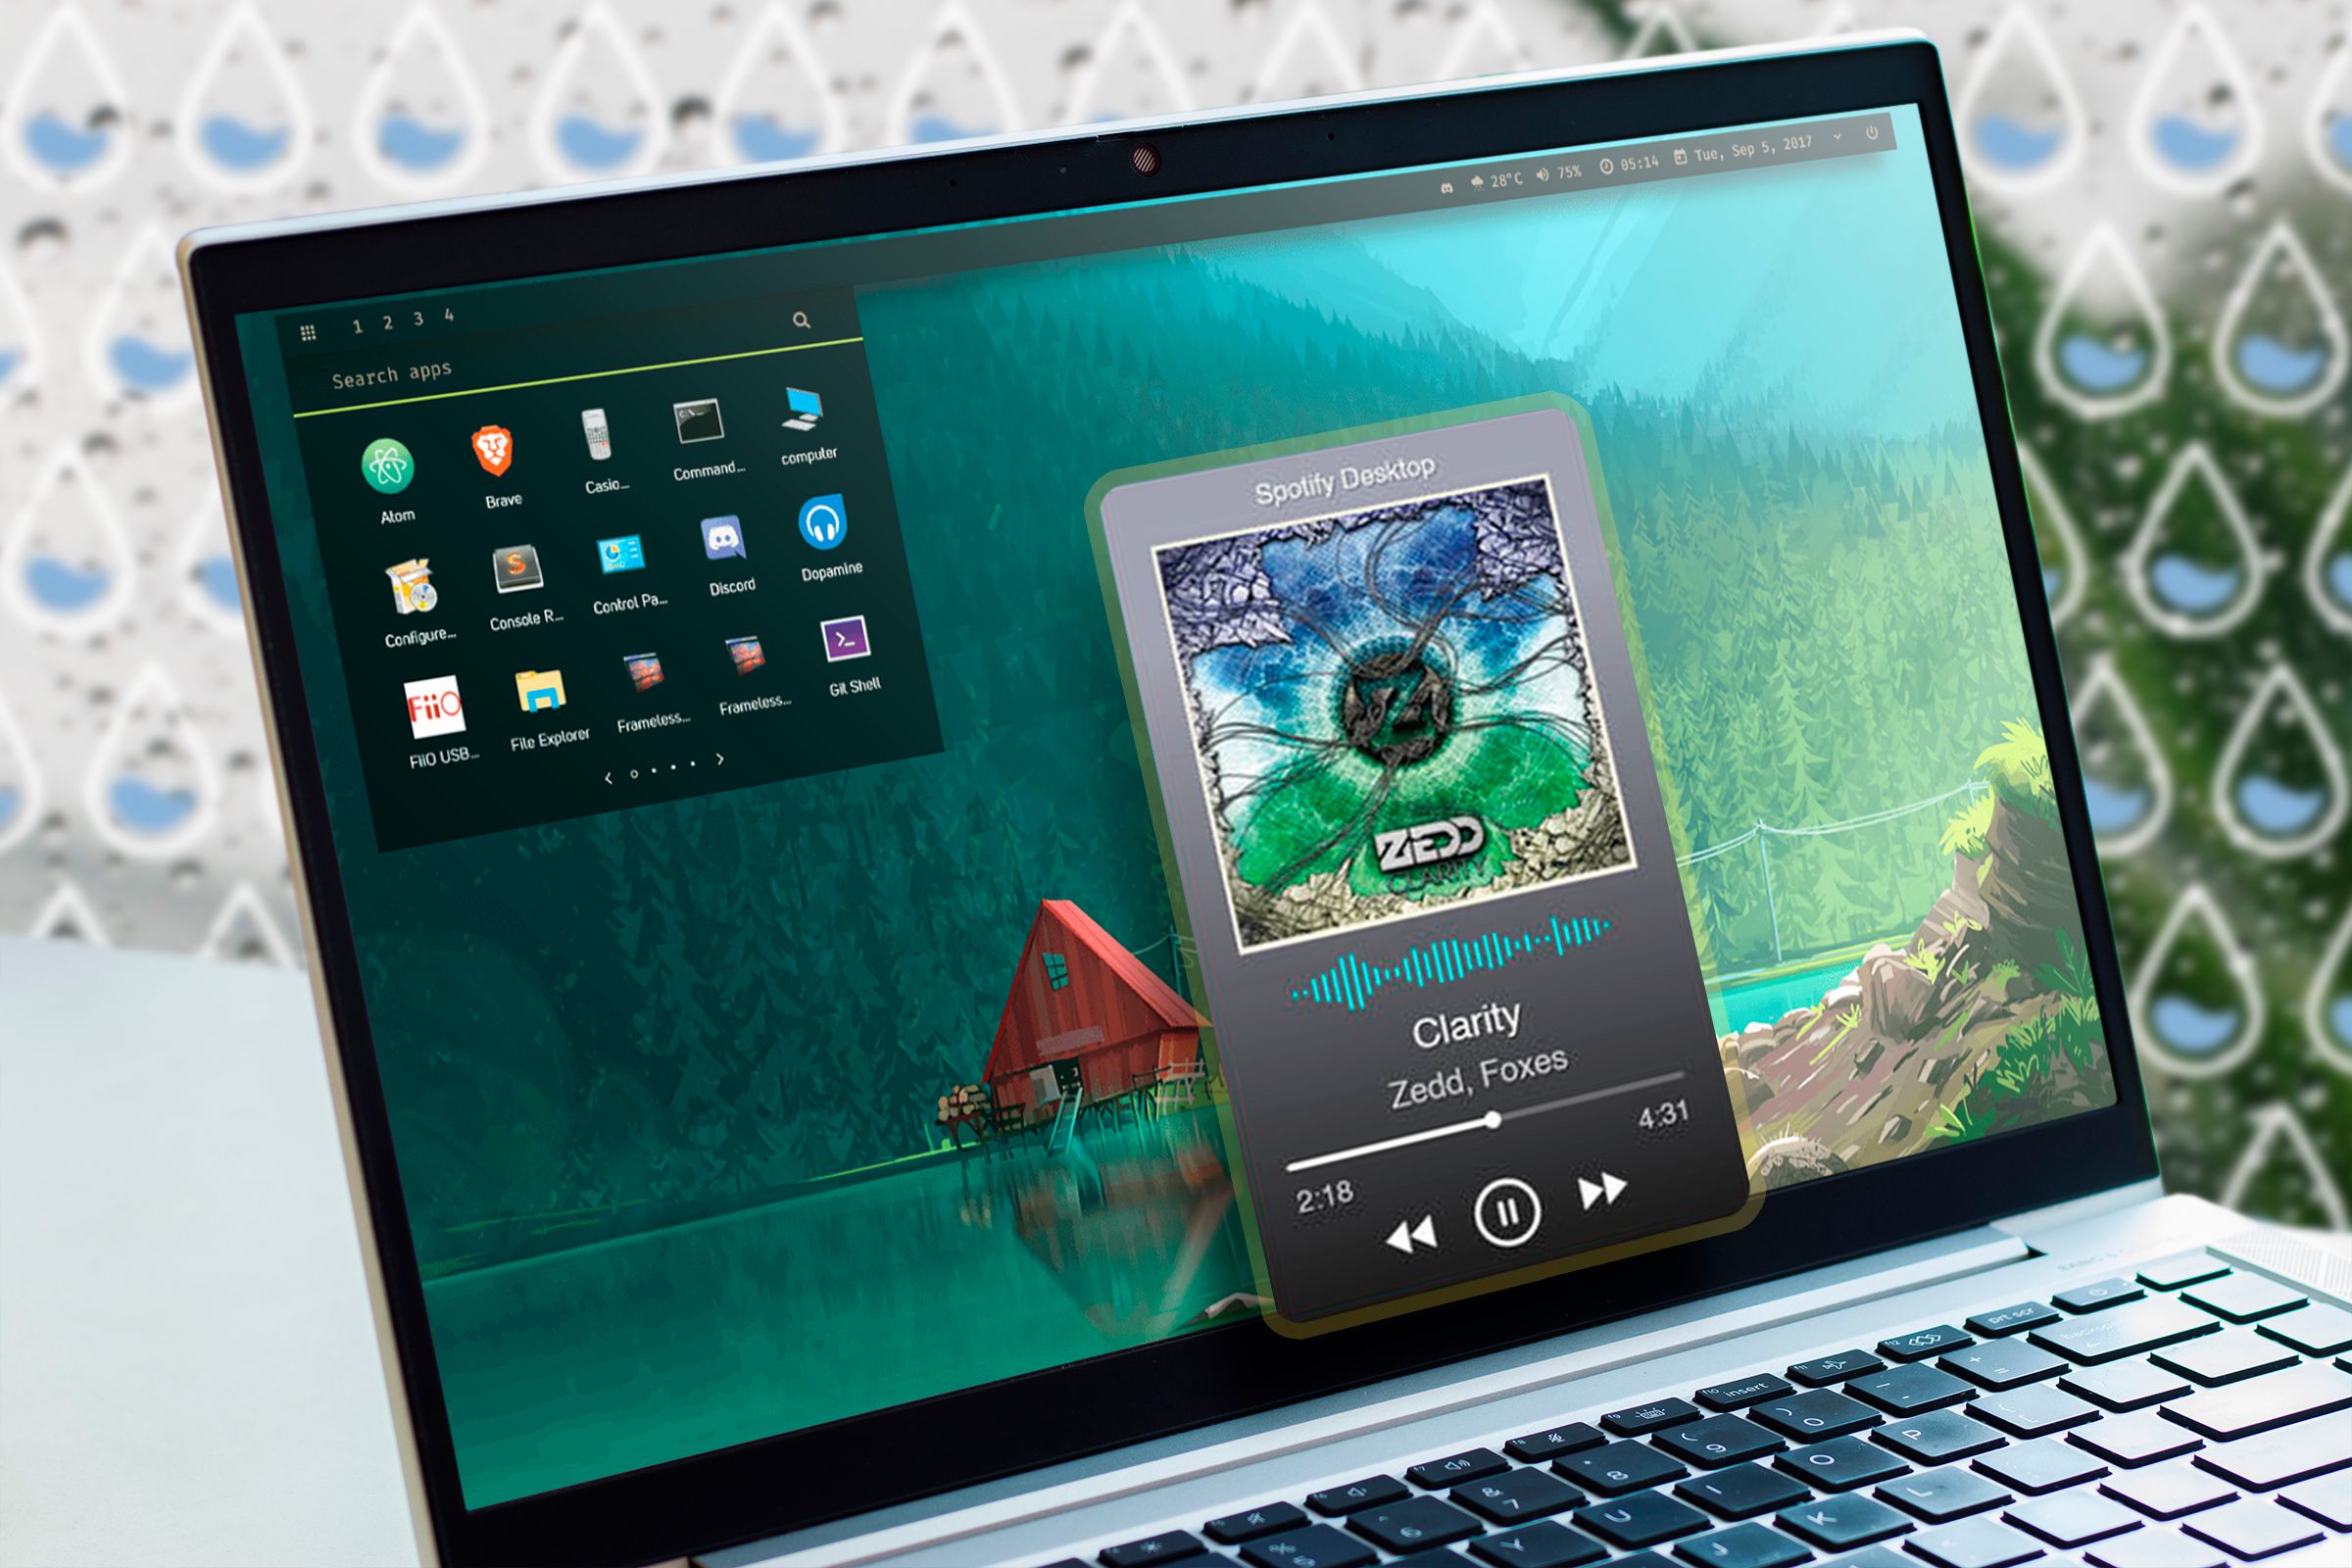
Im using a skin called Inside Dream.
You candownload itand follow along if you’d like, or grab your own.
Click Install on the next dialog box.
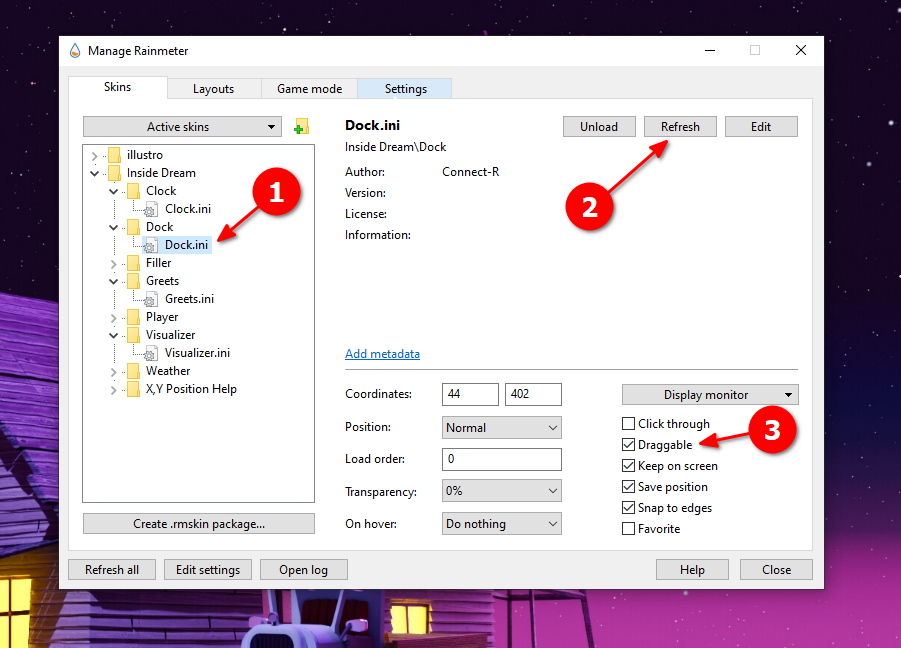
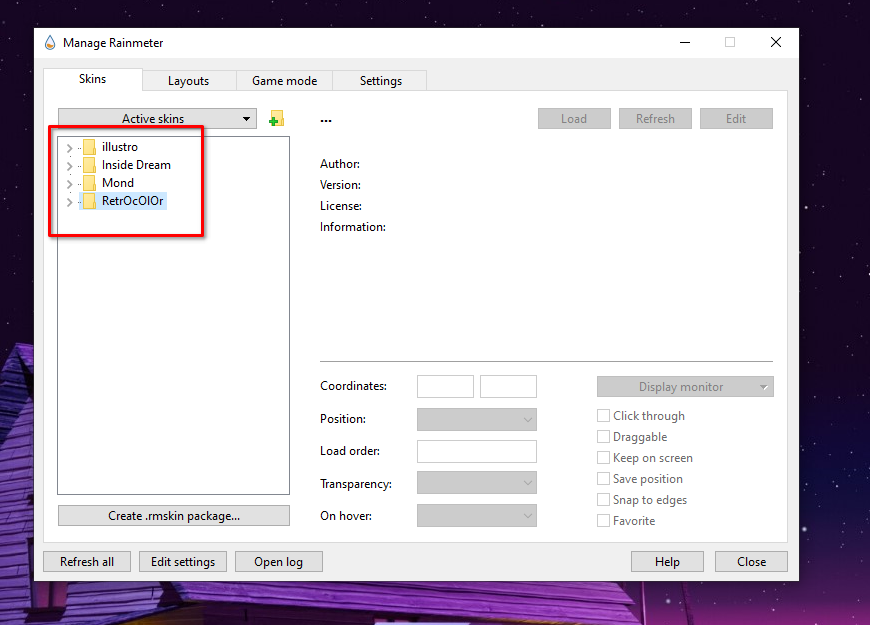
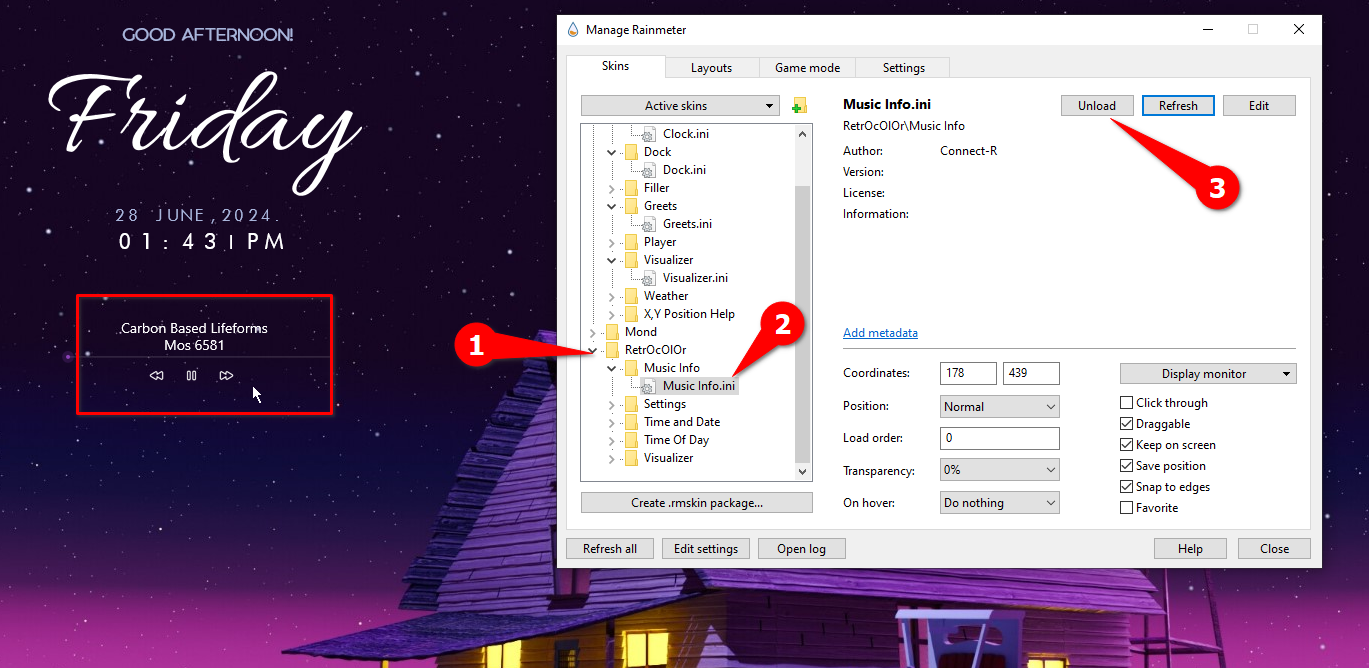
Launch Rainmeter, and youll find your newly installed theme in the right column.
Click to expand it and view all the skins in the package.
grab the “.ini” file and click Load.
If the skin doesnt automatically appear on the desktop, click Refresh.
Repeat these steps to load as many skins as you want.
you could drag to arrange skins in a layout of your choice.
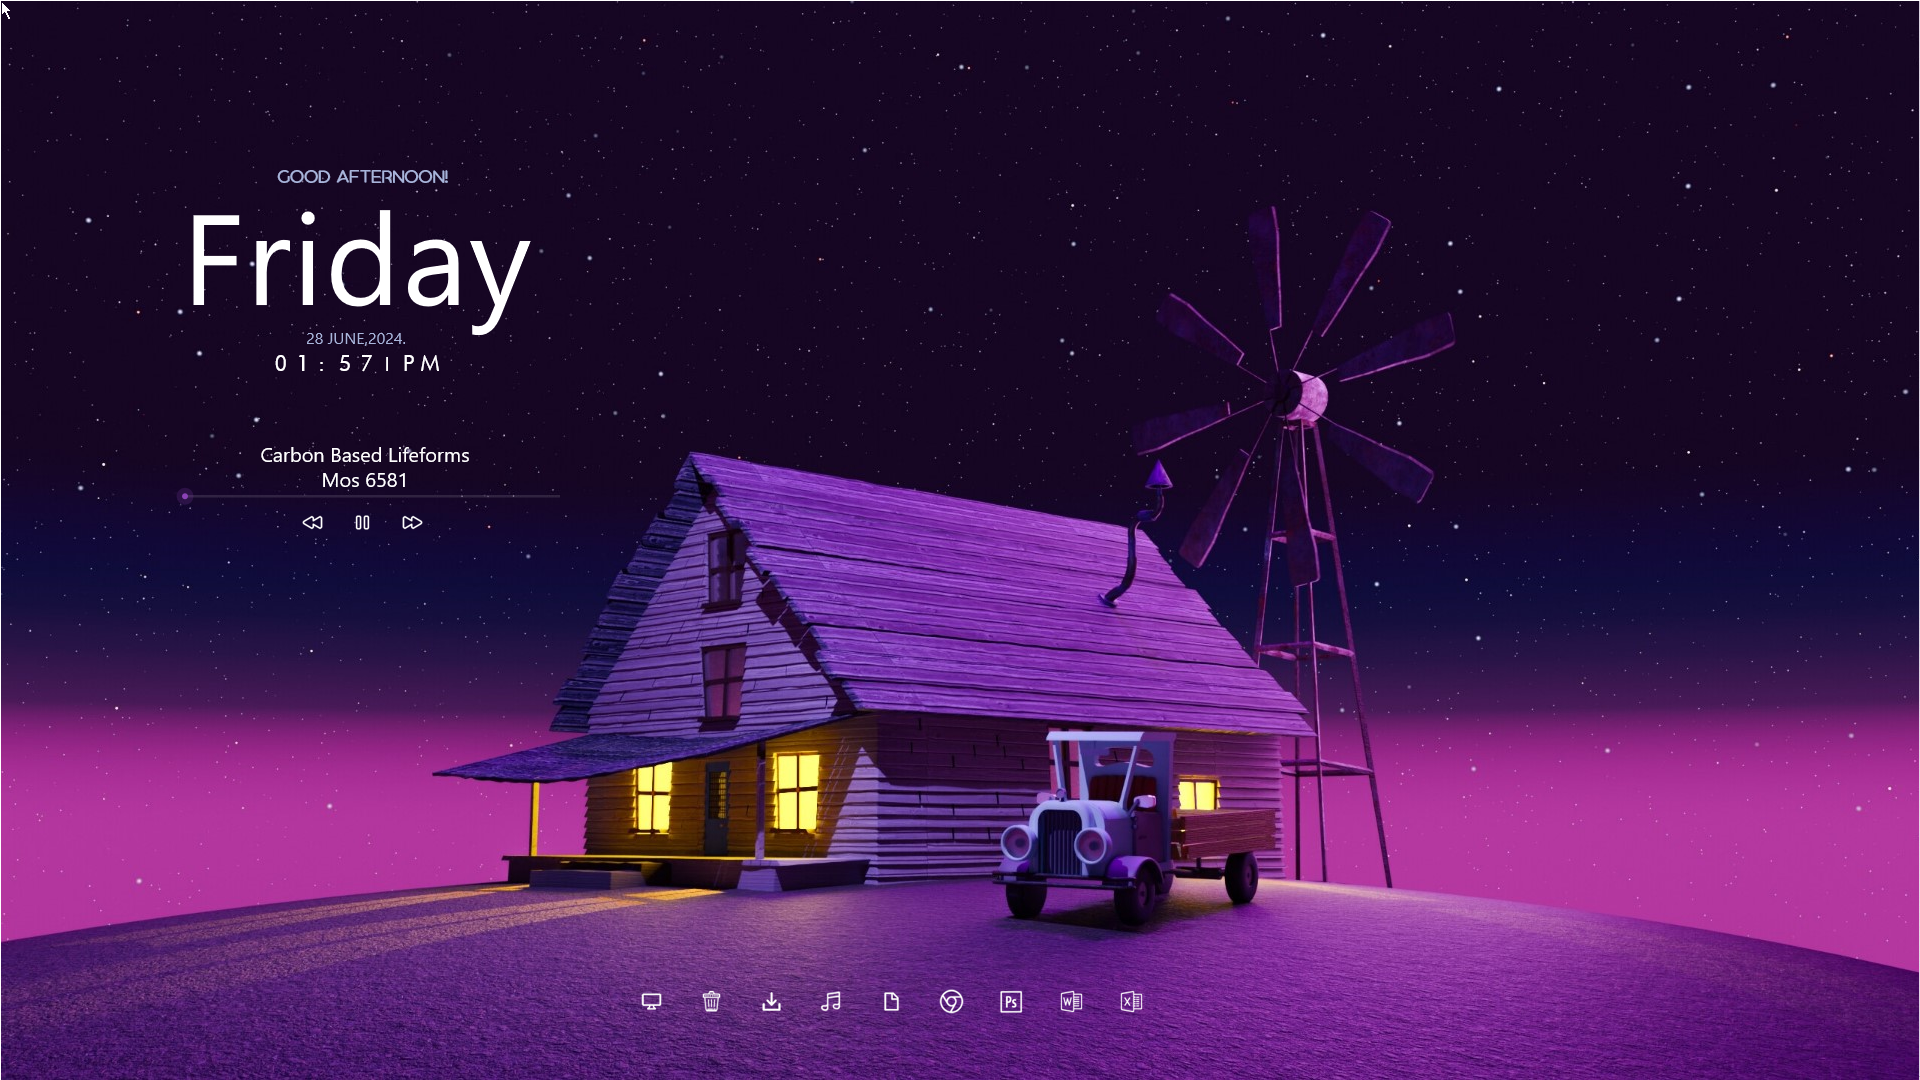
Inside Dream replaced my desktop shortcuts with a shortcut bar and added a visualizer, clock, and greeting.
The visualizer automatically picks up audio played from any app.
I didn’t like the visualizer skin in Inside Dream.
The result could look something like this.
but feel free to mix and match to create a design that works for you.
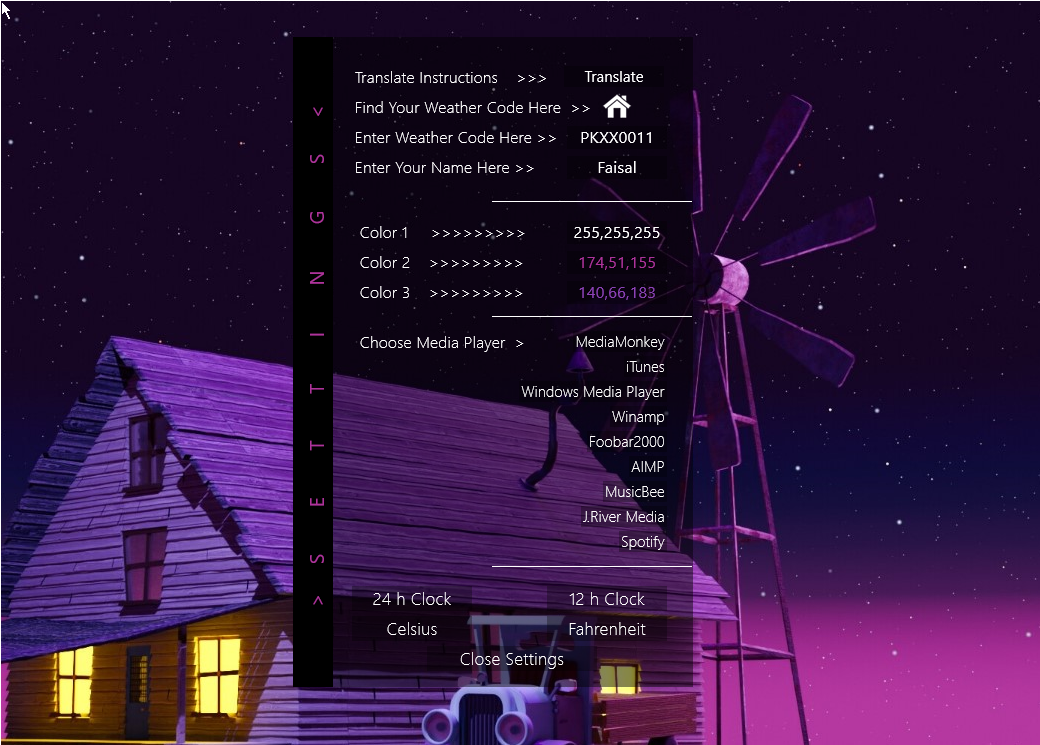
There are two ways to customize a skin.
In my setup, the Inside Dream package doesnt have a dedicated parameters menu.
However, both can be edited using the INI files for each skin.
The INI files have the code underlying the skin that makes it work.
you’re able to edit it to make the skin your own.
The tweaks on RetroColor are presented as just another skin.
The Inside Dream skin package doesnt have a dedicated controls menu.
you’ve got the option to only edit it using the INI files.
Im going to edit the dock shortcuts as an example.
Right now the Photoshop button says “Photoshop CC” and doesnt lead anywhere.
Heres how it’s possible for you to fix that shortcut.
Right-punch the dock and click Edit Skin.
Alternatively, select Dock.ini in the Rainmeter manager and click Edit.
Dock.ini will open in Notepad.
There you have it.
The dock shortcut has been updated, and it’s working.
Be sure to right-select a skin and hit “Refresh” if it doesn’t automatically update.
you could replace or modify every UI element within a skin using the INI files.
Now you know how to give your Windows a makeover.
