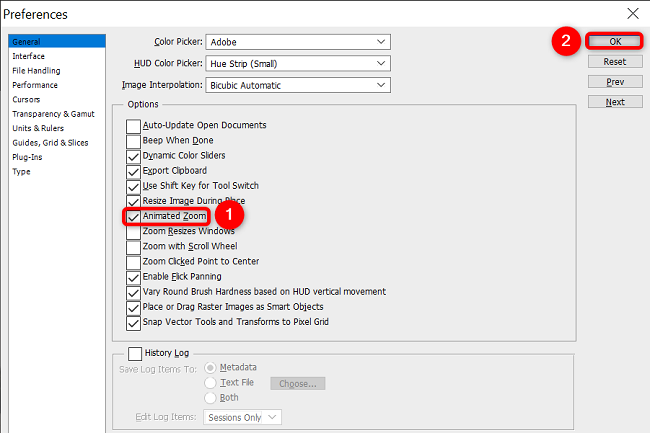
it’s possible for you to also use Animated Zoom by enabling it in Photoshop’s configs.
Luckily, Adobe Photoshop offers various ways to enlarge your photos, including on-screen options and keyboard shortcuts.
We’ll show you how to zoom in on Photoshop here.
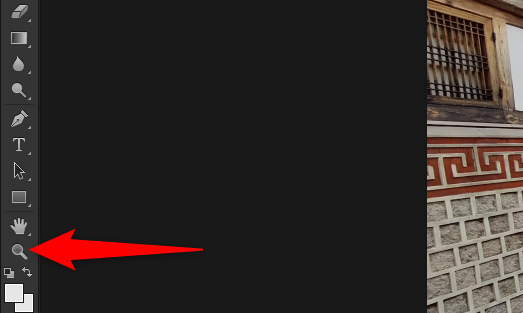
With this tool, you simply click a point on your photo and the app zooms in.
Alternatively, press Z on your keyboard.
With the Zoom tool now activated, tap the area of your photo you want to zoom into.
Photoshop will enlarge that region of the photo.
Keep clicking to zoom even further.
You move the wheel and Photoshop zooms in or out on your photo.
Related:Why Do Mice Have Scroll Wheels?
Your photo will zoom in and out.
This method doesn’t require you to activate the Zoom tool.
you’re free to use any app tool and still zoom in and out on your photo.
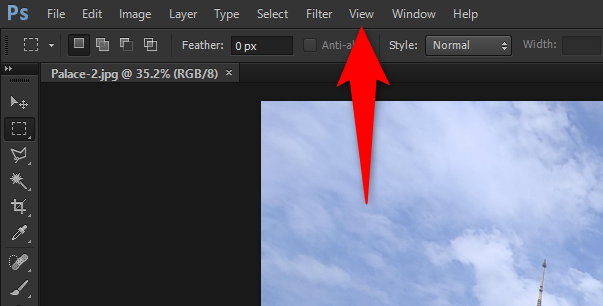
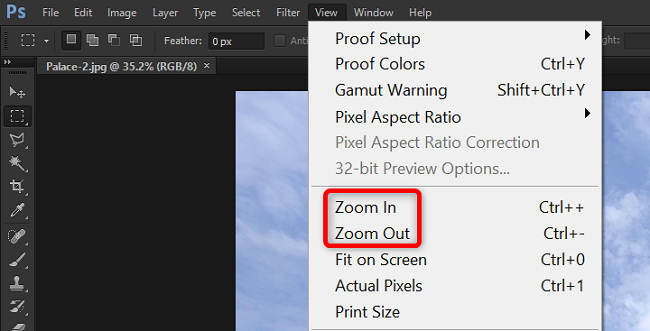
First, open your photo with Photoshop.
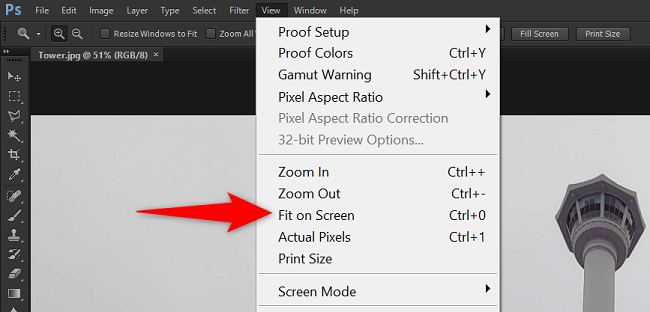
Then, from the app’s menu bar, select “View.”
You cancustomize your Photoshop keyboard shortcutsif you prefer using a custom shortcut to activate various options.
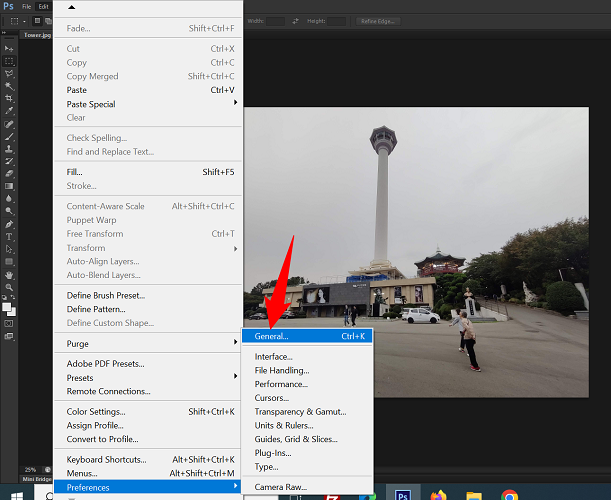
To use the feature, you’ll have to activate it first.
Do that by opening Photoshop’s configs from Edit (or Photoshop on Mac) > Preferences > General.
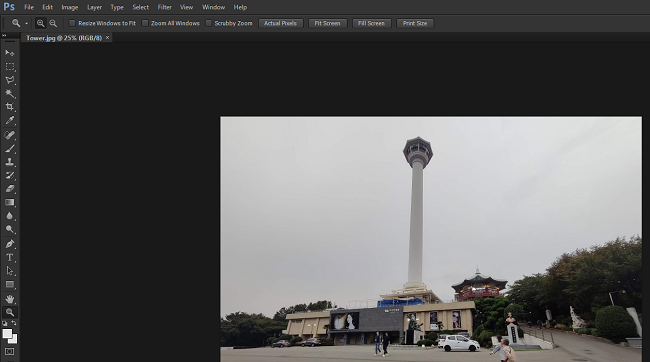
To do that, from Photoshop’s menu bar, select View > Fit on Screen.
Or, press the Ctrl+0 (Windows) or Command+0 (Mac) keyboard shortcut.
Your entire photo is now visible in the Photoshop window.
Want tozoom in on your Windows PC?
If so, there’s a way to do that.
Related:How to Zoom In on a Windows PC